Note
Access to this page requires authorization. You can try signing in or changing directories.
Access to this page requires authorization. You can try changing directories.
Important
Microsoft Defender Threat Intelligence (Defender TI) will be discontinued and merged into Microsoft Defender for a powerful unified experience. Existing customers will continue to have full access to their current Defender TI experience until the product is retired on August 1, 2026. Learn more
Microsoft Defender Threat Intelligence (Defender TI) tags provide quick insight about an artifact, whether derived by the system or generated by other users. Tags aid analysts in connecting the dots between current incidents and investigations and their historical context for improved analysis.
Defender TI offers two types of tags: system tags and custom tags.
Prerequisites
A Microsoft Entra ID or personal Microsoft account. Sign in or create an account
A Defender TI premium license.
Note
Users without a Defender TI premium license can still access our free Defender TI offering.
System tags
Defender TI generates system tags automatically for you to guide your analysis. These tags require no input or effort on your part.
System tags can include:
- Routable: Indicates that the artifact is accessible.
- ASN: Pulls an abbreviated portion of an IP address autonomous system number (ASN) description into a tag to provide analysts context into who the IP address belongs to.
- Dynamic: Indicates if a dynamic domain name system (DNS) service, such as No-IP or Change IP, owns the domain.
- Sinkhole: Indicates that an IP address is a research sinkhole used by security organizations to investigate attack campaigns. Therefore, the domains associated aren't directly connected to each other.

Custom tags
Custom tags bring context to indicators of compromise (IOCs) and make analysis even simpler by identifying those domains that are known bad from public reporting or that you categorized as such. You create these tags manually based on your own investigations, and these tags let you share key insights about an artifact with other Defender TI premium license users within your tenant.

Adding, modifying, and removing custom tags
You can add your own custom tags to the tag cluster by entering them into the tag bar. You and your team members, if your organization is a Defender TI customer, can view these tags. Tags entered into the system are private and aren't shared with the larger community.
You can also modify or remove tags. Once you add a tag, you or another paid license user within your organization can modify or remove it, allowing for easy collaboration among the security team.
Access the Defender portal and complete the Microsoft authentication process. Learn more about the Defender portal
Navigate to Threat intelligence > Intel explorer.
Search an indicator that you would like to add tags for in the Intel explorer search bar.

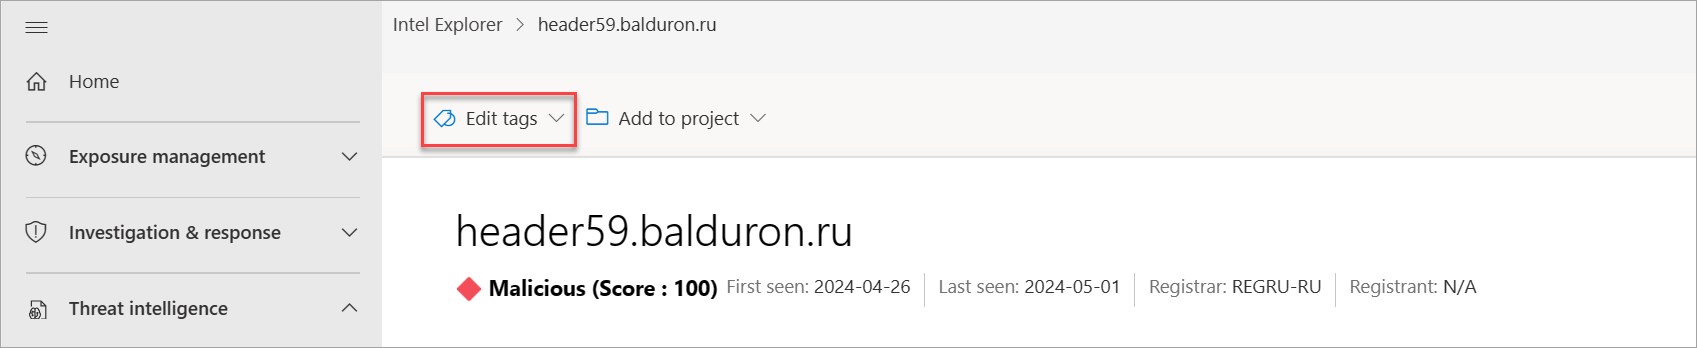
Select Edit tags on the upper left-hand corner of the page.
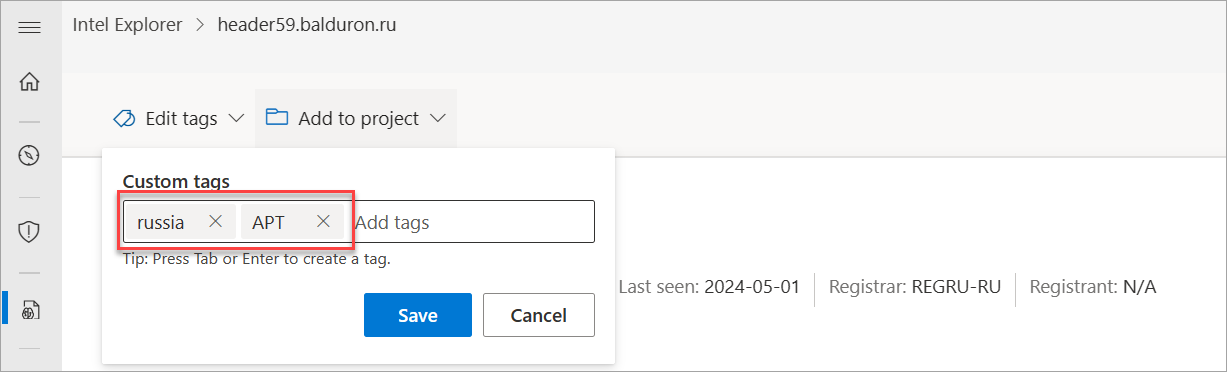
Add any tags you would like to associate with this indicator on the Custom tags pop-up window that appears. To add a new indicator, press the Tab key to add a new indicator.
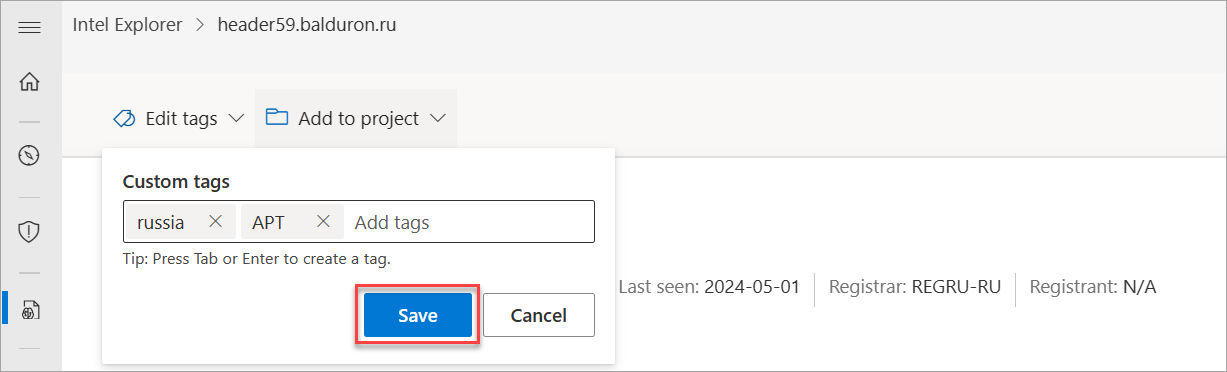
Select Save once you finish adding all your tags to save your changes.
Repeat step 3 to edit tags. Remove a tag by selecting X at the end of it, then add new ones by repeating the steps 4 to 6.
Save your changes.


Viewing and searching custom tags
You can view tags that you or others added within your tenant after searching an IP address, domain, or host artifact.

Access the Defender portal and complete the Microsoft authentication process.
Navigate to Threat intelligence > Intel explorer.
Select the Tag search type in the Intel explorer search bar drop-down then search the tag value to identify all other indicators that share that same tag value.


Common tag use case workflow
Let's say you're investigating an incident and you find that it's related to phishing. You can add phish as a tag to the IOCs related to that incident. Later, your incident response and threat hunting team can further analyze these IOCs and work with their threat intelligence counterparts to identify which actor group was responsible for the phishing incident. They can then add another [actor name] tag to those IOCs or what infrastructure was used that connected them to other related IOCs, such as an [SHA-1 hash] custom tag.