Deploy a .NET Aspire app to Azure Container Apps
.NET Aspire apps are designed to run in containerized environments. Azure Container Apps is a fully managed environment that enables you to run microservices and containerized applications on a serverless platform. This article will walk you through creating a new .NET Aspire solution and deploying it to Microsoft Azure Container Apps using the Azure Developer CLI (azd), the Azure CLI, or Bicep. You'll learn how to complete the following tasks:
- Provision an Azure resource group and Container Registry
- Publish the .NET Aspire projects as container images in Azure Container Registry
- Provision a Redis container in Azure
- Deploy the apps to an Azure Container Apps environment
- View application console logs to troubleshoot application issues
Prerequisites
To work with .NET Aspire, you need the following installed locally:
- .NET 8.0
- .NET Aspire workload:
- A container runtime, such as:
- Integrated Developer Environment (IDE) or code editor, such as:
- Visual Studio 2022 Preview version 17.9 or higher (Optional)
- Visual Studio Code (Optional)
For more information, see .NET Aspire setup and tooling.
As an alternative to this tutorial and for a more in-depth guide, see Deploy a .NET Aspire app to Azure Container Apps using azd (in-depth guide).
Deploy .NET Aspire apps with azd
With .NET Aspire and Azure Container Apps (ACA), you have a great hosting scenario for building out your cloud-native apps with .NET. We built some great new features into the Azure Developer CLI (azd) specific for making .NET Aspire development and deployment to Azure a friction-free experience. You can still use the Azure CLI and/or Bicep options when you need a granular level of control over your deployments. But for new projects, you won't find an easier path to success for getting a new microservice topology deployed into the cloud.
Create the .NET Aspire template
To create a new .NET Aspire Starter Application, you can use either Visual Studio or the .NET CLI.
Visual Studio provides .NET Aspire project templates that handle some initial setup configurations for you. Complete the following steps to create a project for this quickstart:
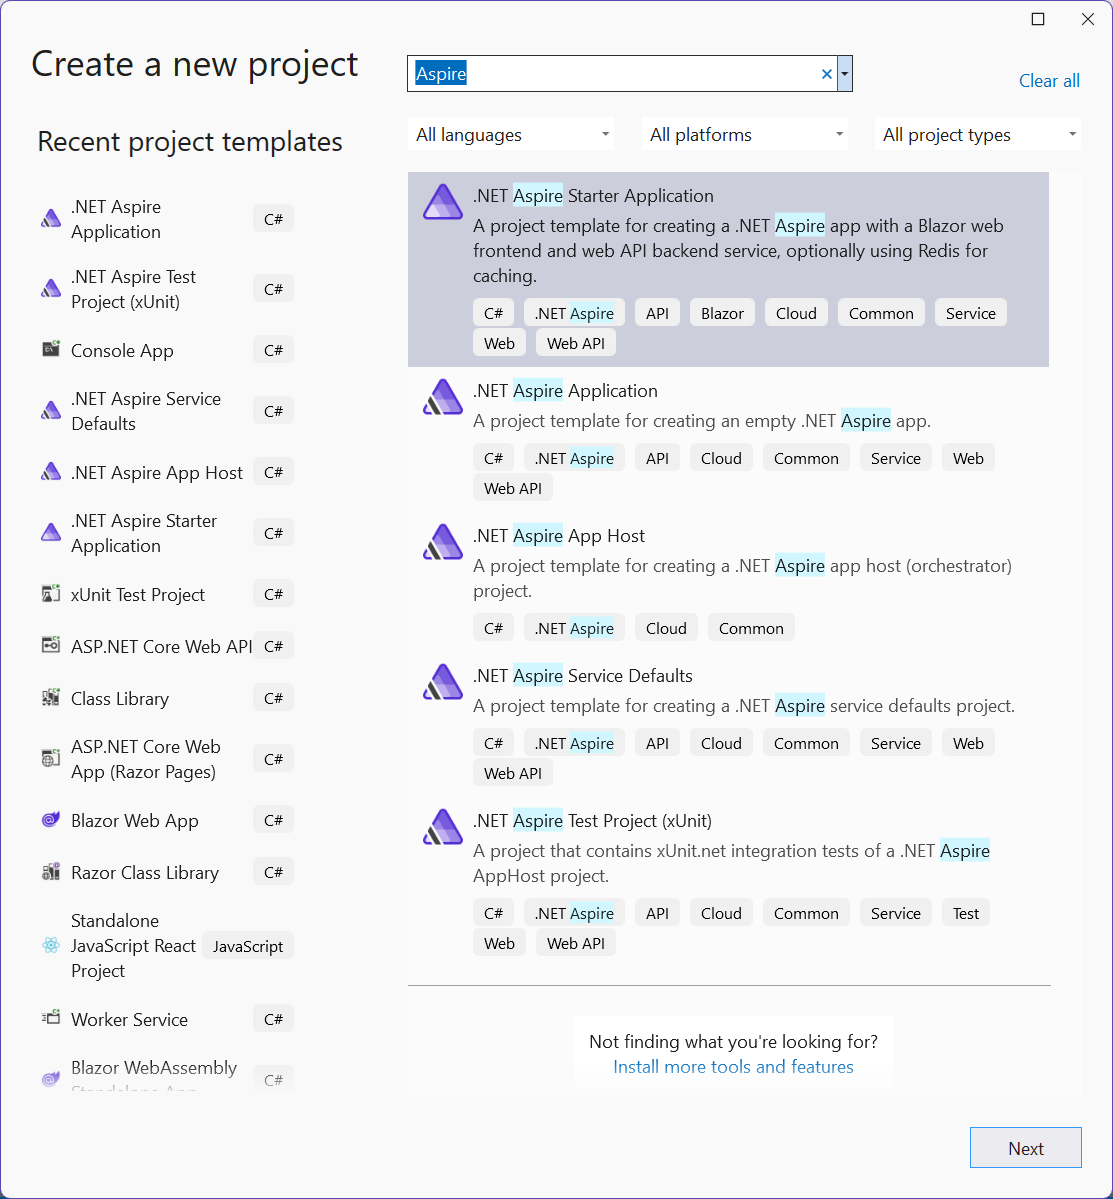
At the top of Visual Studio, navigate to File > New > Project.
In the dialog window, search for Aspire and select .NET Aspire Starter Application. Select Next.
On the Configure your new project screen:
- Enter a Project Name of AspireSample.
- Leave the rest of the values at their defaults and select Next.
On the Additional information screen:
- Make sure .NET 8.0 (Long Term Support) is selected.
- Ensure that Use Redis for caching (requires a supported container runtime) is checked and select Create.
- Optionally, you can select Create a tests project. For more information, see Testing .NET Aspire apps.

Visual Studio creates a new solution that is structured to use .NET Aspire.
Install the Azure Developer CLI
The process for installing azd varies based on your operating system, but it is widely available via winget, brew, apt, or directly via curl. To install azd, see Install Azure Developer CLI.
Initialize the template
Open a new terminal window and
cdinto the AppHost project directory of your .NET Aspire solution.Execute the
azd initcommand to initialize your project withazd, which will inspect the local directory structure and determine the type of app.azd initFor more information on the
azd initcommand, see azd init.If this is the first time you've initialized the app,
azdprompts you for the environment name:Initializing an app to run on Azure (azd init) ? Enter a new environment name: [? for help]Enter the desired environment name to continue. For more information on managing environments with
azd, see azd env.Select Use code in the current directory when
azdprompts you with two app initialization options.? How do you want to initialize your app? [Use arrows to move, type to filter] > Use code in the current directory Select a templateAfter scanning the directory,
azdprompts you to confirm that it found the correct .NET Aspire AppHost project. Select the Confirm and continue initializing my app option.Detected services: .NET (Aspire) Detected in: D:\source\repos\AspireSample\AspireSample.AppHost\AspireSample.AppHost.csproj azd will generate the files necessary to host your app on Azure using Azure Container Apps. ? Select an option [Use arrows to move, type to filter] > Confirm and continue initializing my app Cancel and exitazdpresents each of the projects in the .NET Aspire solution and prompts you to identify which to deploy with HTTP ingress open publicly to all internet traffic. Select only thewebfrontend(using the ↓ and Space keys), since you want the API to be private to the Azure Container Apps environment and not available publicly.? Select an option Confirm and continue initializing my app By default, a service can only be reached from inside the Azure Container Apps environment it is running in. Selecting a service here will also allow it to be reached from the Internet. ? Select which services to expose to the Internet [Use arrows to move, space to select, <right> to all, <left> to none, type to filter] [ ] apiservice > [x] webfrontendFinally, specify the the environment name, which is used to name provisioned resources in Azure and managing different environments such as
devandprod.Generating files to run your app on Azure: (✓) Done: Generating ./azure.yaml (✓) Done: Generating ./next-steps.md SUCCESS: Your app is ready for the cloud! You can provision and deploy your app to Azure by running the azd up command in this directory. For more information on configuring your app, see ./next-steps.md
azd generates a number of files and places them into the working directory. These files are:
- azure.yaml: Describes the services of the app, such as .NET Aspire AppHost project, and maps them to Azure resources.
- .azure/config.json: Configuration file that informs
azdwhat the current active environment is. - .azure/aspireazddev/.env: Contains environment specific overrides.
- .azure/aspireazddev/config.json: Configuration file that informs
azdwhich services should have a public endpoint in this environment.
Deploy the app
Once azd is initialized, the provisioning and deployment process can be executed as a single command from the AppHost project directory, azd up.
By default, a service can only be reached from inside the Azure Container Apps environment it is running in. Selecting a service here will also allow it to be reached from the Internet.
? Select which services to expose to the Internet webfrontend
? Select an Azure Subscription to use:  1. <YOUR SUBSCRIPTION>
? Select an Azure location to use: 1. <YOUR LOCATION>

Packaging services (azd package)


SUCCESS: Your application was packaged for Azure in less than a second.

Provisioning Azure resources (azd provision)
Provisioning Azure resources can take some time.

Subscription: <YOUR SUBSCRIPTION>
Location: <YOUR LOCATION>

  You can view detailed progress in the Azure Portal:
<LINK TO DEPLOYMENT>

  (✓) Done: Resource group: <YOUR RESOURCE GROUP>
  (✓) Done: Container Registry: <ID>
  (✓) Done: Log Analytics workspace: <ID>
  (✓) Done: Container Apps Environment: <ID>

SUCCESS: Your application was provisioned in Azure in 1 minute 13 seconds.
You can view the resources created under the resource group <YOUR RESOURCE GROUP> in Azure Portal:
<LINK TO RESOURCE GROUP OVERVIEW>

Deploying services (azd deploy)

  (✓) Done: Deploying service apiservice
  - Endpoint: <YOUR UNIQUE apiservice APP>.azurecontainerapps.io/

  (✓) Done: Deploying service webfrontend
  - Endpoint: <YOUR UNIQUE webfrontend APP>.azurecontainerapps.io/


SUCCESS: Your application was deployed to Azure in 1 minute 39 seconds.
You can view the resources created under the resource group <YOUR RESOURCE GROUP> in Azure Portal:
<LINK TO RESOURCE GROUP OVERVIEW>

SUCCESS: Your up workflow to provision and deploy to Azure completed in 3 minutes 50 seconds.
First, the projects will be packaged into containers during the azd package phase, followed by the azd provision phase during which all of the Azure resources the app will need are provisioned.
Once provision is complete, azd deploy will take place. During this phase, the projects are pushed as containers into an Azure Container Registry instance, and then used to create new revisions of Azure Container Apps in which the code will be hosted.
At this point the app has been deployed and configured, and you can open the Azure portal and explore the resources.
Test the deployed app
Now that the app has been provisioned and deployed, you can browse to the Azure portal. In the resource group where you deployed the app, you'll see the three container apps and other resources.

Click on the web Container App to open it up in the portal.

Click the Application URL link to open the front end in the browser.

When you click the "Weather" node in the navigation bar, the front end web container app makes a call to the apiservice container app to get data. The front end's output will be cached using the redis container app and the .NET Aspire Redis Output Caching component. As you refresh the front end a few times, you'll notice that the weather data is cached. It will update after a few seconds.
Deploy the .NET Aspire Dashboard
You can deploy the .NET Aspire dashboard as part of your hosted app. This feature is currently in alpha support, so you must enable the alpha.aspire.dashboard feature flag. When enabled, the azd output logs print an additional URL to the deployed dashboard.
azd config set alpha.aspire.dashboard on
You can also run azd monitor to automatically launch the dashboard.
azd monitor
Clean up resources
Run the following Azure CLI command to delete the resource group when you no longer need the Azure resources you created. Deleting the resource group also deletes the resources contained inside of it.
az group delete --name <your-resource-group-name>
.NET Aspire
Feedback
Coming soon: Throughout 2024 we will be phasing out GitHub Issues as the feedback mechanism for content and replacing it with a new feedback system. For more information see: https://aka.ms/ContentUserFeedback.
Submit and view feedback for