Note
Access to this page requires authorization. You can try signing in or changing directories.
Access to this page requires authorization. You can try changing directories.
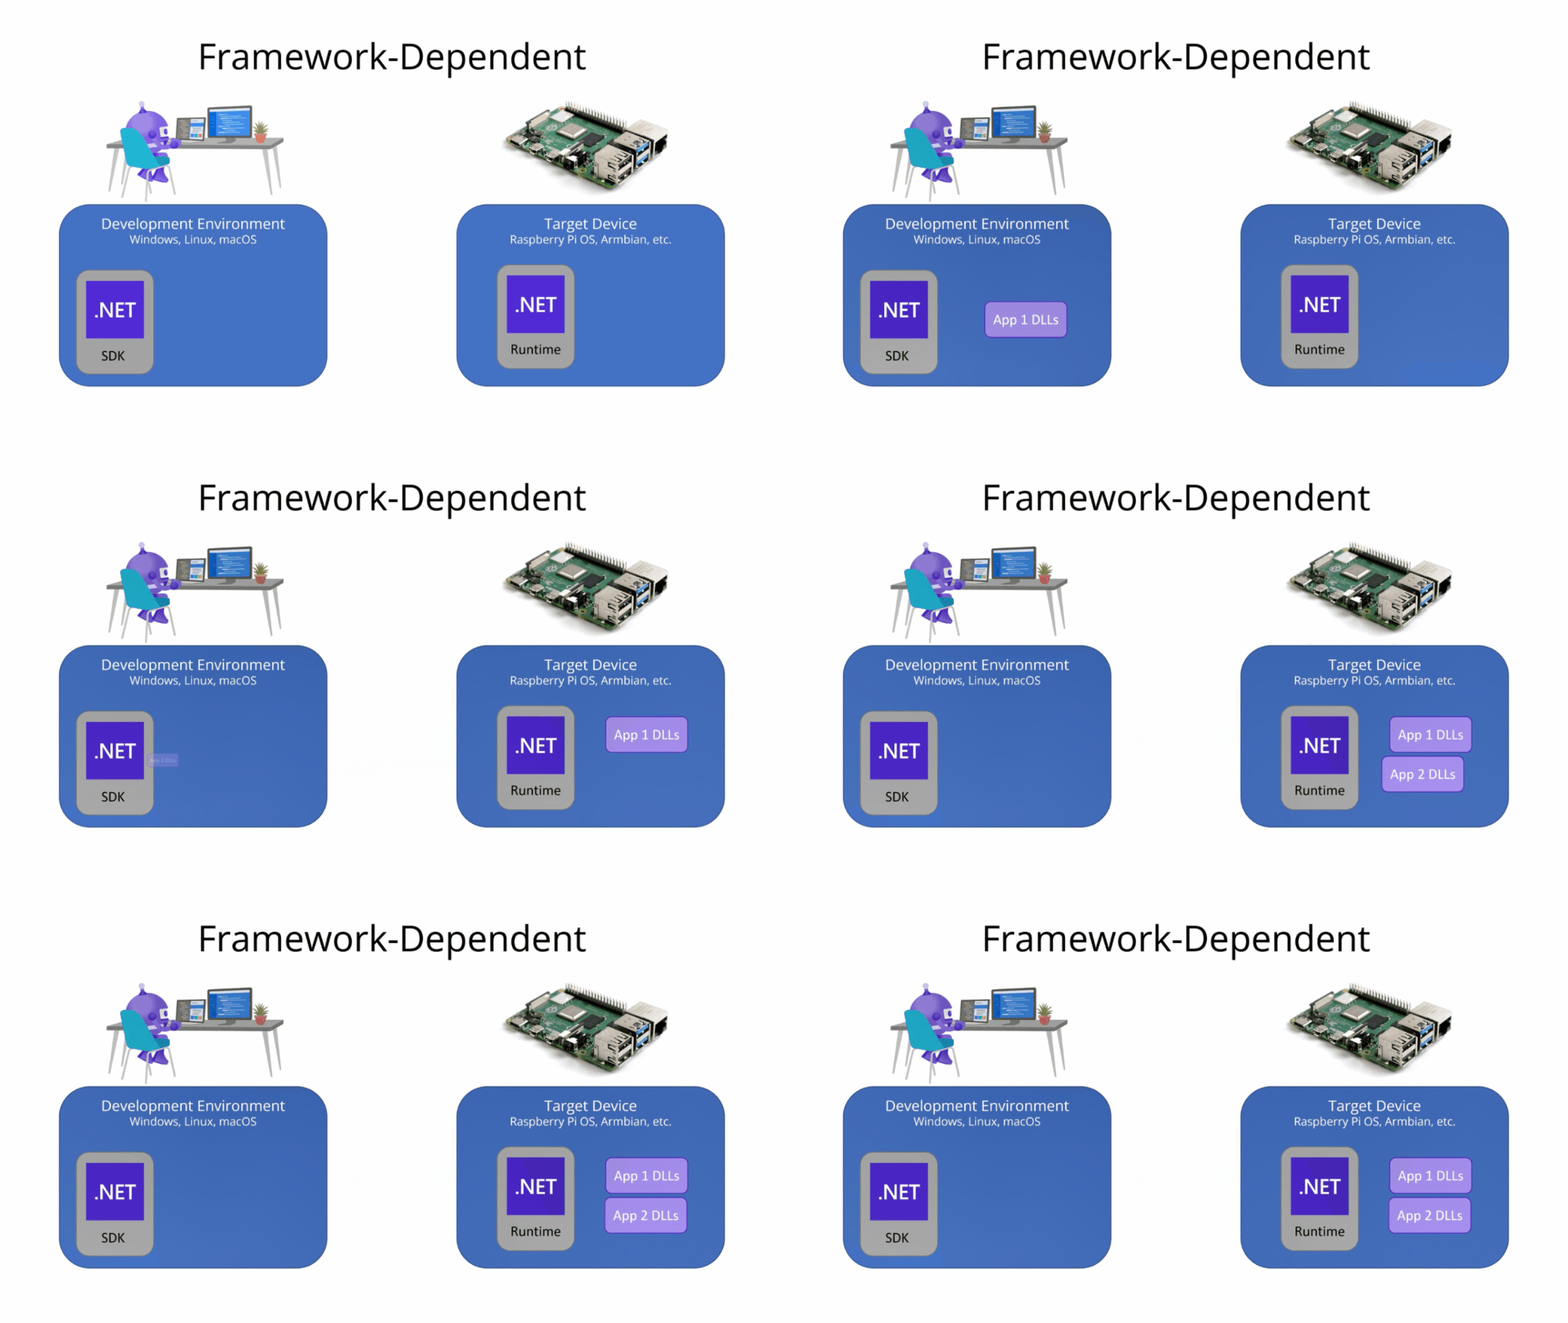
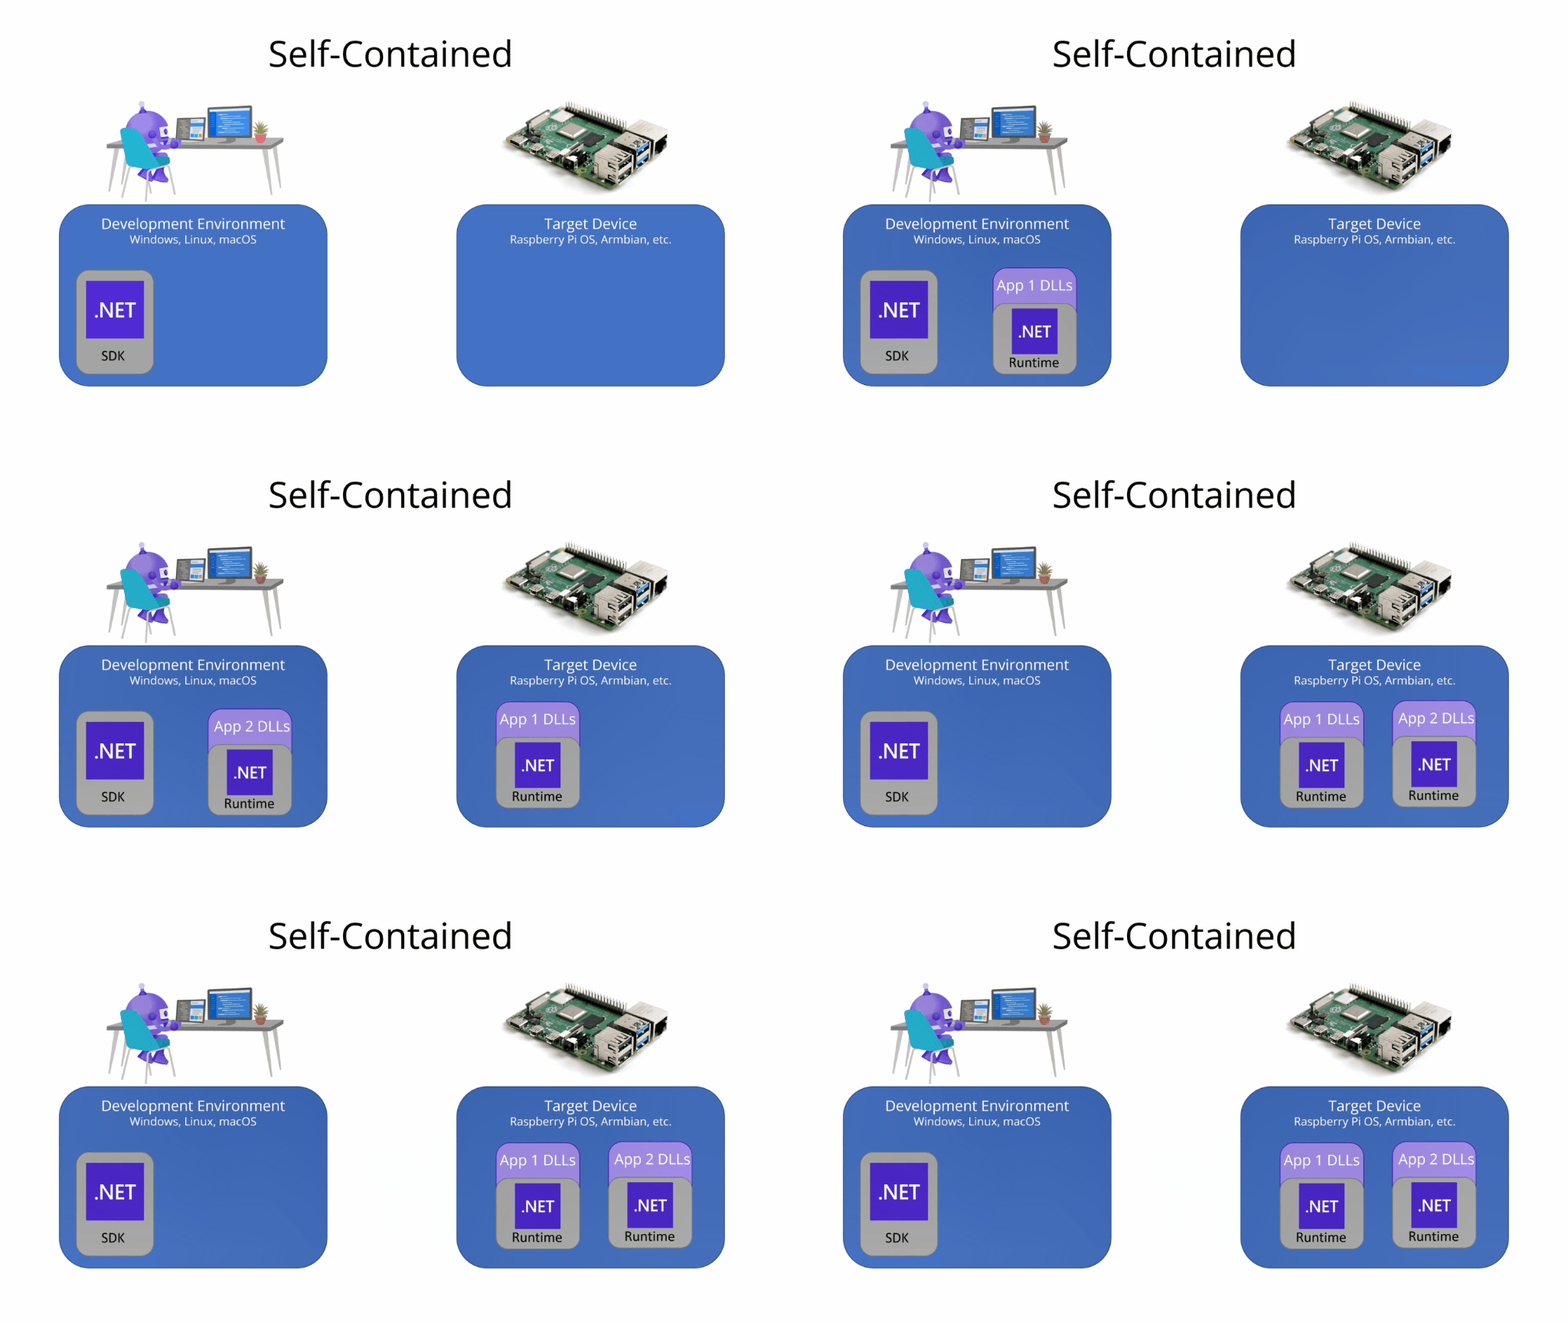
Deployment of .NET apps to single-board computers is identical to that of any other platform. Your app can run as self-contained or framework-dependent deployment modes. There are advantages to each strategy. For more information, see .NET application publishing overview.
Deploying a framework-dependent app

To deploy your app as a framework-dependent app, complete the following steps:
Ensure SSH is enabled on your device. For Raspberry Pi, refer to Setting up an SSH Server in the Raspberry Pi documentation.
Install .NET on the device using the dotnet-install scripts. Complete the following steps from a Bash prompt on the device (local or SSH):
Run the following command to install .NET:
curl -sSL https://dot.net/v1/dotnet-install.sh | bash /dev/stdin --channel STSNote
This command installs the latest version. If you need a specific version, replace the
--channel STSparameter with--version <VERSION>, where<VERSION>is the specific build version, for example8.0.404. For a list of versions, see .NET SDKs for Visual Studio. To determine the full build number, refer to the Visual Studio 2026 SDK column.To simplify path resolution, add a
DOTNET_ROOTenvironment variable and add the .dotnet directory to$PATHwith the following commands:echo 'export DOTNET_ROOT=$HOME/.dotnet' >> ~/.bashrc echo 'export PATH=$PATH:$HOME/.dotnet' >> ~/.bashrc source ~/.bashrcVerify the .NET installation with the following command:
dotnet --versionVerify the displayed version matches the version you installed.
Publish the app on the development computer as follows, depending on development environment.
- If using Visual Studio, deploy the app to a local folder. Before publishing, select Edit in the publish profile summary and select the Settings tab. Ensure that Deployment mode is set to Framework-dependent and Target runtime is set to Portable.
- If using the .NET CLI, use the dotnet publish command. No additional arguments are required.
Using an SFTP client like
scp, copy the files from the publish location on the development computer to a new folder on the SBC.For example, to use the
scpcommand to copy files from the development computer to your SBC, open a command prompt and execute the following:scp -r /publish-location/* pi@raspberrypi:/home/pi/deployment-location/Where:
- The
-roption instructsscpto copy files recursively. - /publish-location/ is the folder you published to in the previous step.
pi@raspberrypiis the user and host names in the format<username>@<hostname>.- /home/pi/deployment-location/ is the new folder on the SBC.
Tip
Recent versions of Windows have OpenSSH, which includes
scp, pre-installed.- The
From a Bash prompt on the Raspberry Pi (local or SSH), run the app. To do this, set the deployment folder as the current directory and execute the following command (where HelloWorld.dll is the entry point of the app):
dotnet HelloWorld.dll
Deploying a self-contained app

To deploy your app as a self-contained app, complete the following steps:
Ensure SSH is enabled on your device. For Raspberry Pi, refer to Setting up an SSH Server in the Raspberry Pi documentation.
Publish the app on the development computer as follows, depending on development environment.
If using Visual Studio, deploy the app to a local folder. Before publishing, select Edit in the publish profile summary and select the Settings tab. Ensure that Deployment mode is set to Self-contained and Target runtime is set to linux-arm64.
If using the .NET CLI, use the dotnet publish command with the
--runtime linux-arm64and--self-containedarguments:dotnet publish --runtime linux-arm64 --self-contained
Important
If you're using a 32-bit OS, you need to target the
linux-armruntime.Using an SFTP client like
scp, copy the files from the publish location on the development computer to a new folder on the SBC.For example, to use the
scpcommand to copy files from the development computer to your SBC, open a command prompt and execute the following:scp -r /publish-location/* pi@raspberrypi:/home/pi/deployment-location/Where:
- The
-roption instructsscpto copy files recursively. - /publish-location/ is the folder you published to in the previous step.
pi@raspberrypiis the user and host names in the format<username>@<hostname>.- /home/pi/deployment-location/ is the new folder on the SBC.
Tip
Recent versions of Windows have OpenSSH, which includes
scp, pre-installed.- The
From a Bash prompt on the device (local or SSH), run the app. To do this, set the current directory to the deployment location and complete the following steps:
Give the executable execute permission (where
HelloWorldis the executable file name).chmod +x HelloWorldRun the executable.
./HelloWorld
