Note
Access to this page requires authorization. You can try signing in or changing directories.
Access to this page requires authorization. You can try changing directories.
Note
Community interest groups have now moved from Yammer to Microsoft Viva Engage. To join a Viva Engage community and take part in the latest discussions, fill out the Request access to Finance and Operations Viva Engage Community form and choose the community you want to join.
This article describes how to enable and activate e-commerce maintenance mode and build an optional custom maintenance mode page in Microsoft Dynamics 365 Commerce.
Use maintenance mode to block access to an entire e-commerce site when you need to temporarily take down the site for development or other reasons. When you enable maintenance mode, the site shows a default static maintenance mode page. You can also create a custom maintenance mode page.
Enable and activate maintenance mode
To enable and activate maintenance mode in Commerce site builder, follow these steps:
- In site builder, go to your site.
- In the left navigation, under Site Settings, select Extensions.
- Select the Maintenance mode checkbox to enable maintenance mode.
- On the action pane, select Save and publish to activate maintenance mode.
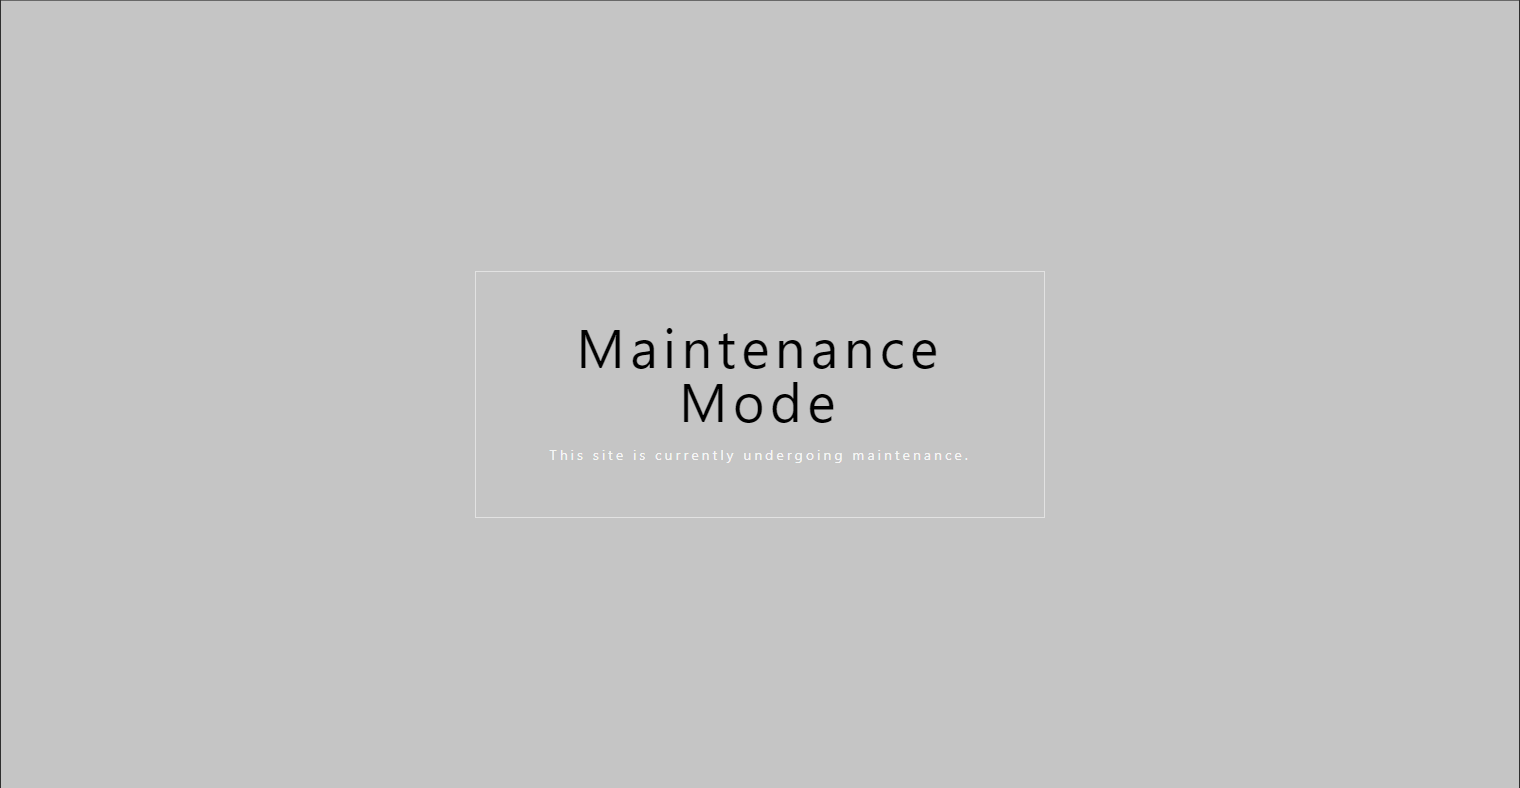
After you enable and activate maintenance mode, users who browse to the e-commerce site see the default maintenance mode page, as shown in the following illustration.
Create a custom maintenance mode page
To create a custom maintenance mode page in site builder, follow these steps:
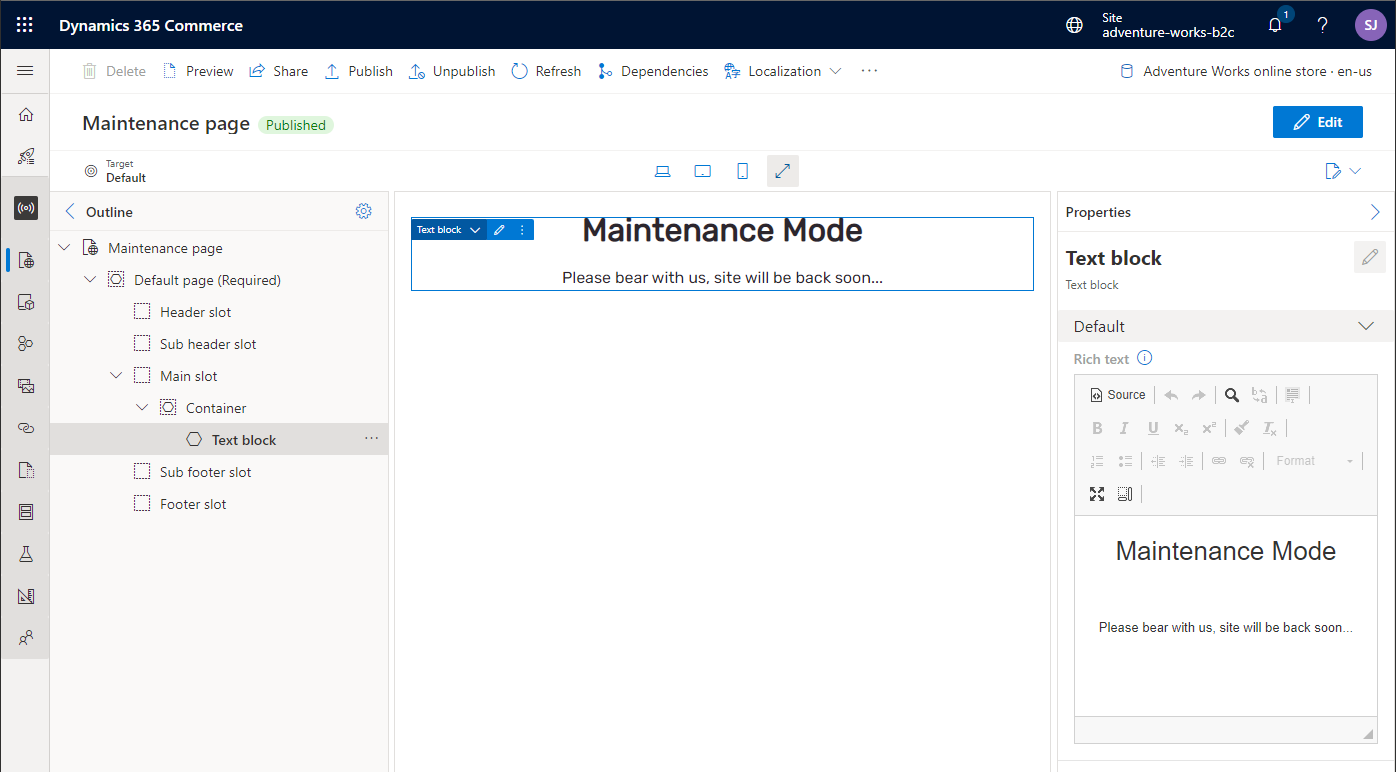
In site builder, create a new custom maintenance mode page. For instructions on creating site pages, see Add a new site page. The following illustration shows an example.
In the left navigation pane, select URLs. On the action pane, select New > New alias to create a new alias.
In the New alias dialog box, select the new maintenance mode page. In the Alias field, enter default-maintenance as the alias name.
Publish the custom maintenance mode page.
After you complete these steps and enable maintenance mode, site users see the custom maintenance mode page, as shown in the following example illustration.
