Note
Access to this page requires authorization. You can try signing in or changing directories.
Access to this page requires authorization. You can try changing directories.
This article explains how to create and update store hours in Microsoft Dynamics 365 Commerce headquarters.
From a single place, retailers can create, maintain, and manage the store hours for different stores across geographic regions. Retailers can then show the store hours on point of sale (POS) terminals. In this way, cashiers can share store hours with customers and better help shoppers who are interested in inventory in other stores. Retailers can also print the store hours on receipts, in case customers want to return to the store later.
You can configure multiple store hours across different channels. These channels include brick-and-mortar stores, call centers, mobile devices, and e-Commerce sites.
If a customer has a pickup order for a different store, the cashier can select dates when the pickup is available in that store. The store lookup provides a reference to the dates and store times. The cashier can select a date and location, and can also print a pickup receipt that includes the store hours.
This functionality is available in Microsoft Dynamics 365 Retail versions 8.1.2 and later.
Configure store hours
To configure store hours, follow these steps:
In Commerce headquarters, go to Retail and Commerce > Channel Setup > Store hours.
Select New to create a new store hours template. To use an existing template, select the template in the left pane.
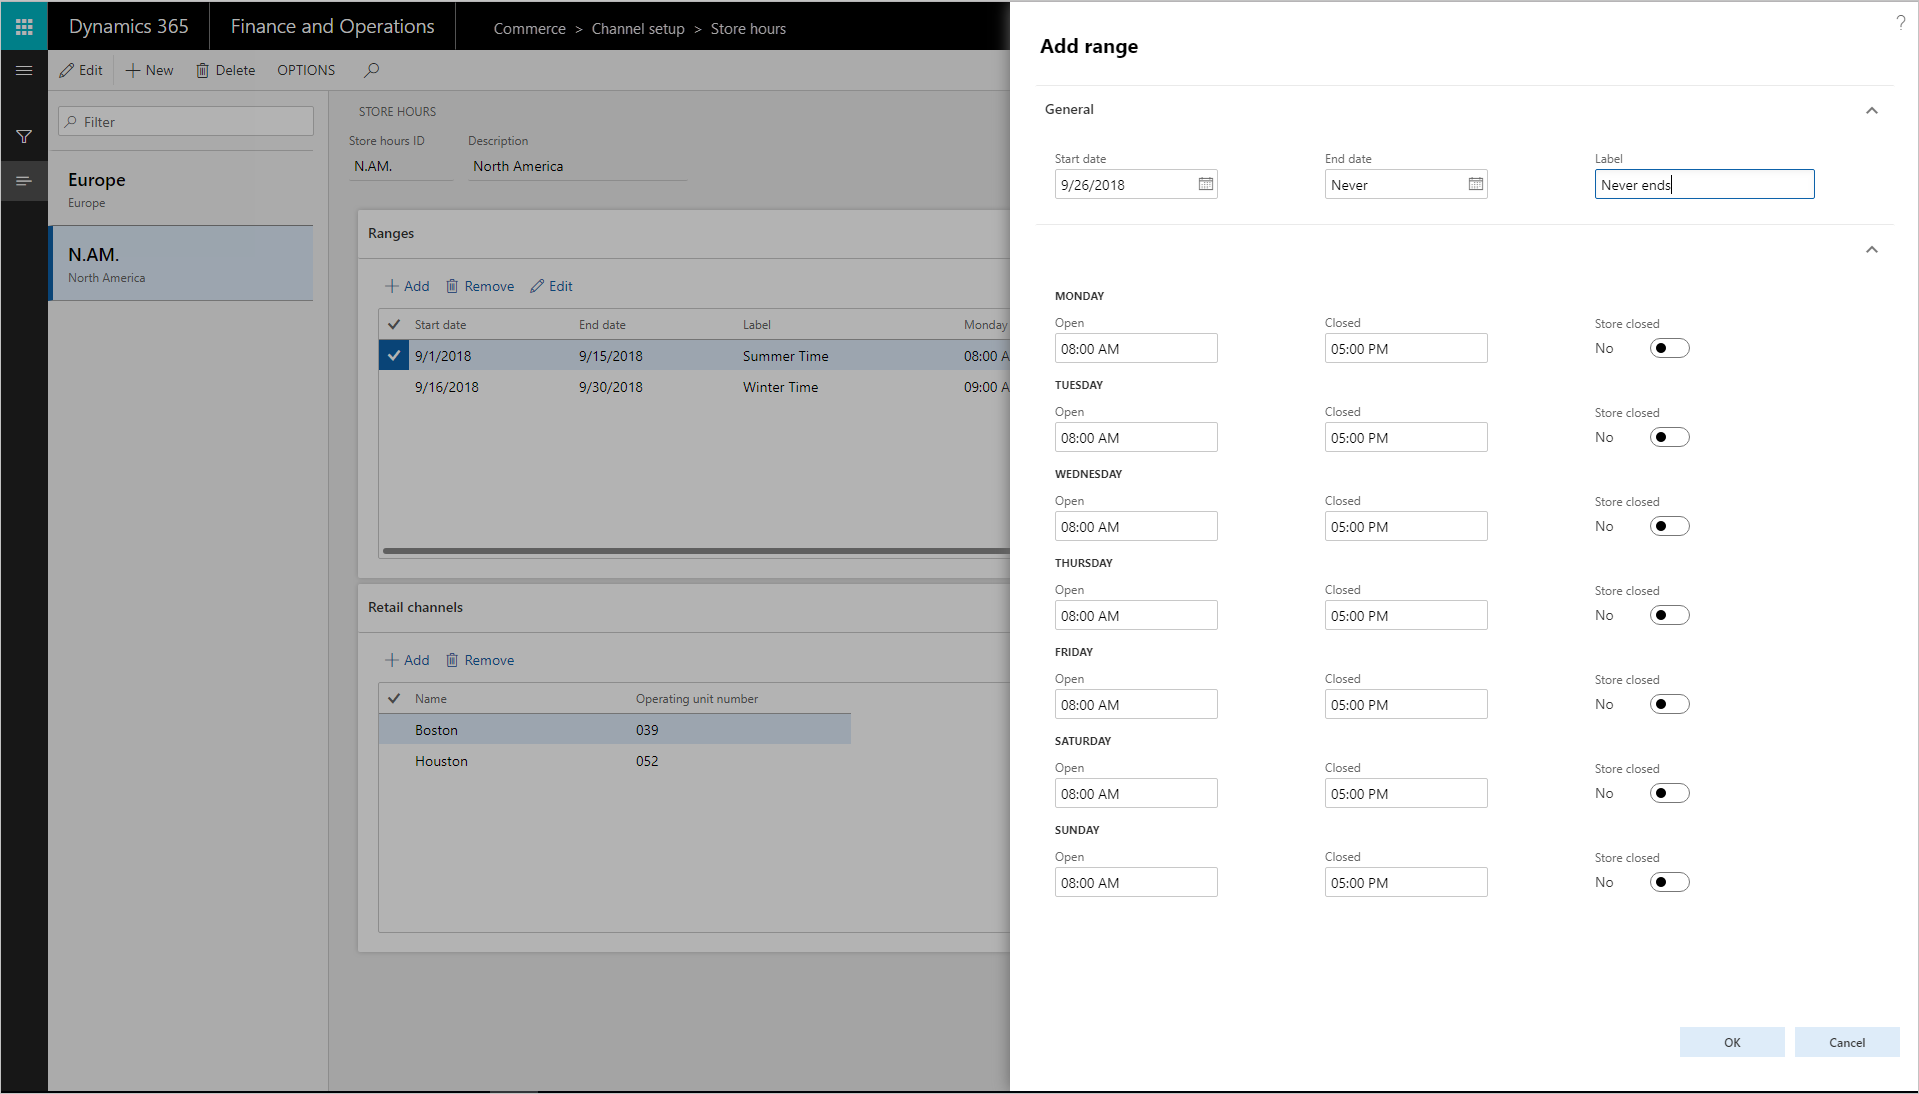
In the Add range dialog box, define the date range, the store hours, and any holidays that are required.
- If store hours don't change, select Never ends in the End date field.
- If the store hours are for a specific month, week, or day, set the appropriate dates in the Start Date and End date fields.
Note
You can create multiple templates that have overlapping start and end dates. Therefore, you can, for example, define store hours for stores in different time zones.
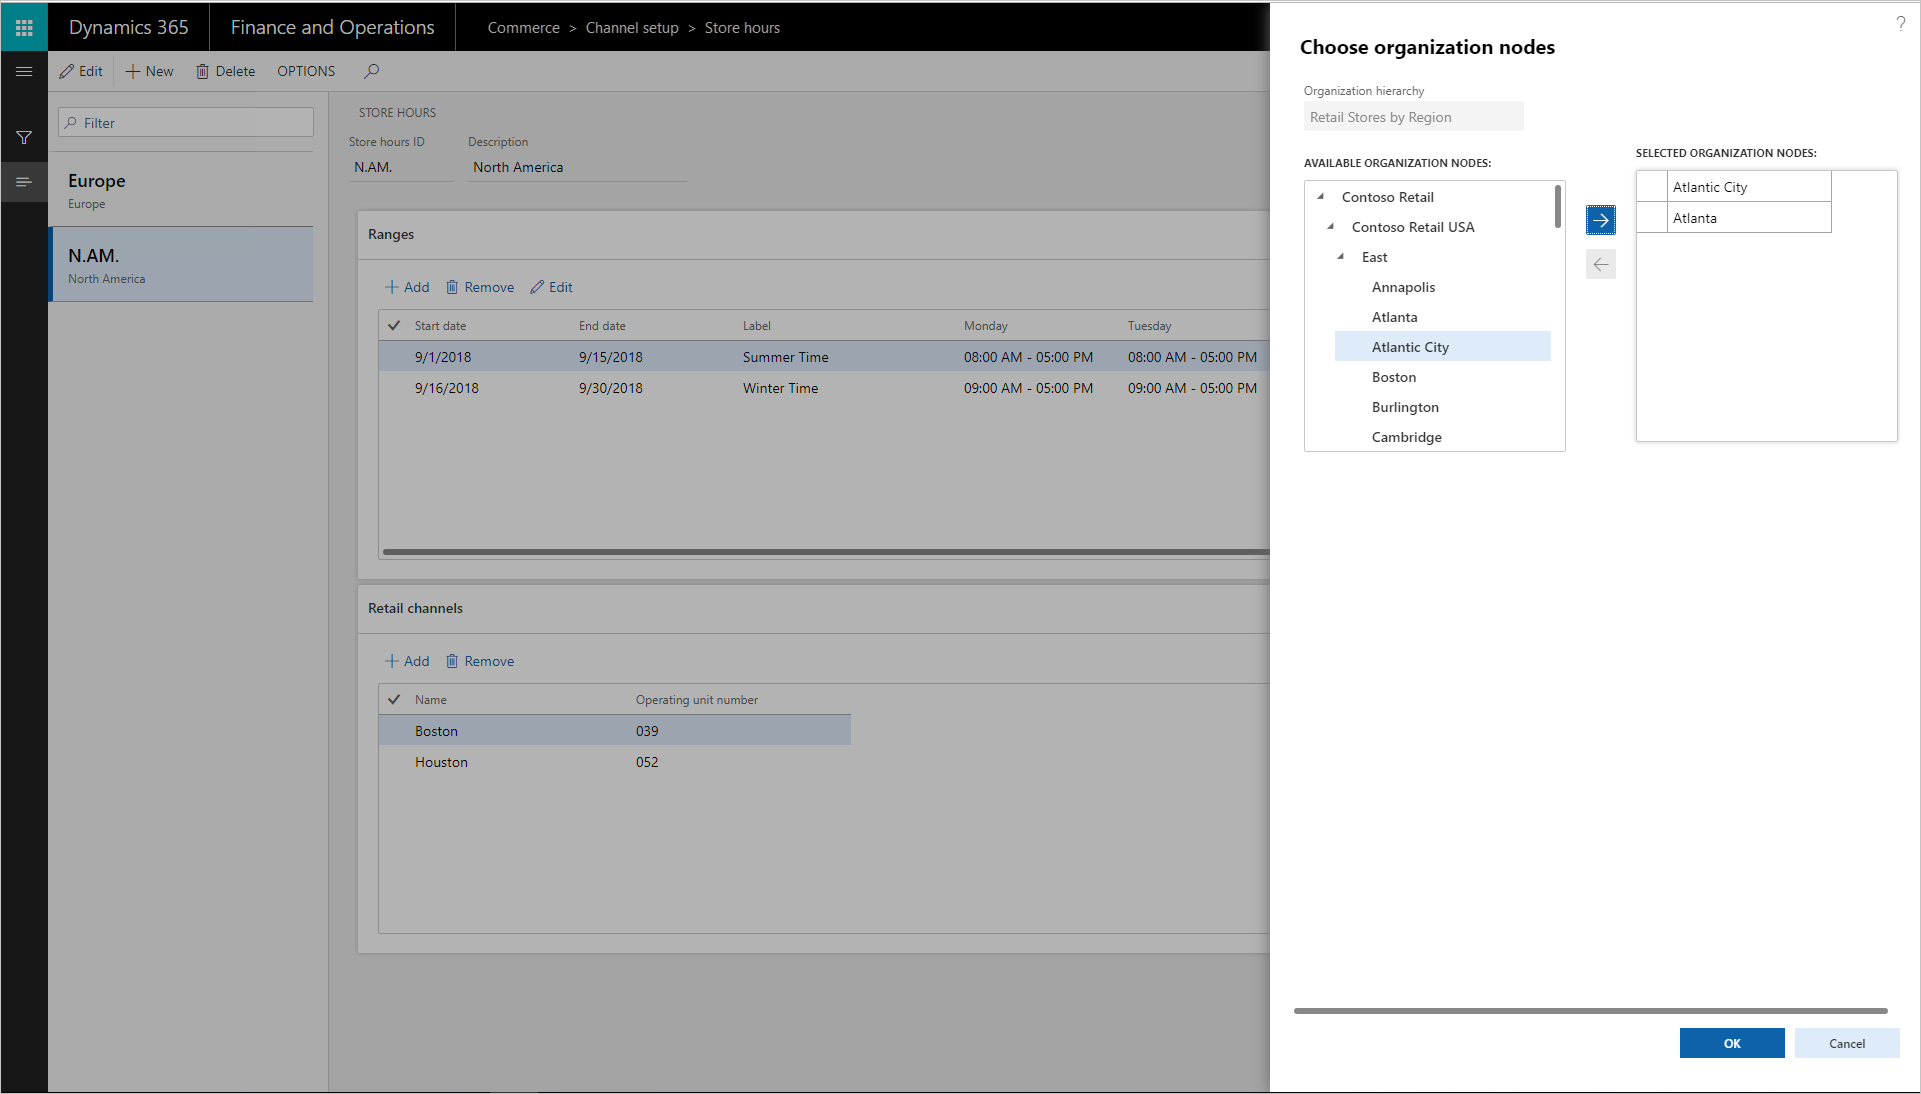
Associate the store hours template with the stores where it's used. In the Choose organization nodes dialog box, select the stores, regions, and organizations that the template should be associated with.
- Associate each store with only one store hours template.
- Use the arrow buttons to select stores, regions, or organizations. The calendar is available to the stores or store groups, and it's visible at the POS for reference.
On the Distribution schedule page, run the 1070 and 1090 jobs to make the store hours available to the POS.
Add store hours to printed receipts
To add store hours to the printed POS receipts, follow these steps:
- Open the receipt designer.
- Select Footer in the lower-left corner.
- Drag the Store hours element from the left pane to the footer at the bottom of the receipt template.
- Edit the default label on the Store hours element as needed.
- Save the receipt, and close the receipt designer.
- On the Distribution schedule page, run the 1070 and 1090 jobs.
- Sign in to the POS.
- Complete a sale, and select to print a receipt.
POS receipts now include the store hours. If any holidays were included in the template, they are shown on the receipt.
