Note
Access to this page requires authorization. You can try signing in or changing directories.
Access to this page requires authorization. You can try changing directories.
Note
The Retail Interest Group by Dynamics 365 Commerce has moved from Yammer to Viva Engage. If you don't have access to the new Viva Engage community, fill out this form (https://aka.ms/JoinD365commerceVivaEngageCommunity) to be added and stay engaged in the latest discussions.
This article covers social share modules and describes how to add them to site pages in Microsoft Dynamics 365 Commerce.
With social share modules, users can share e-commerce site page URLs on social media such as Facebook, Twitter, Pinterest, and LinkedIn. Users can also share site page URLs through email. To help users share product information, use social share modules on product details pages (PDPs).
Each social share module acts as a container for social share item modules. You can configure each social share item module to point to a specific social media site. The module supports integration with Facebook, Twitter, Pinterest, LinkedIn, and email. When a site user selects a social media symbol, the module launches an HTML iframe for the respective social media site. Within the iframe, the user can sign in and post the page content that they were viewing.
Each social media platform might track cookies, so this module requires site users to accept the cookie consent notification message. When users don't accept cookie consent, the module is hidden on the page. For more information, see Cookie compliance.
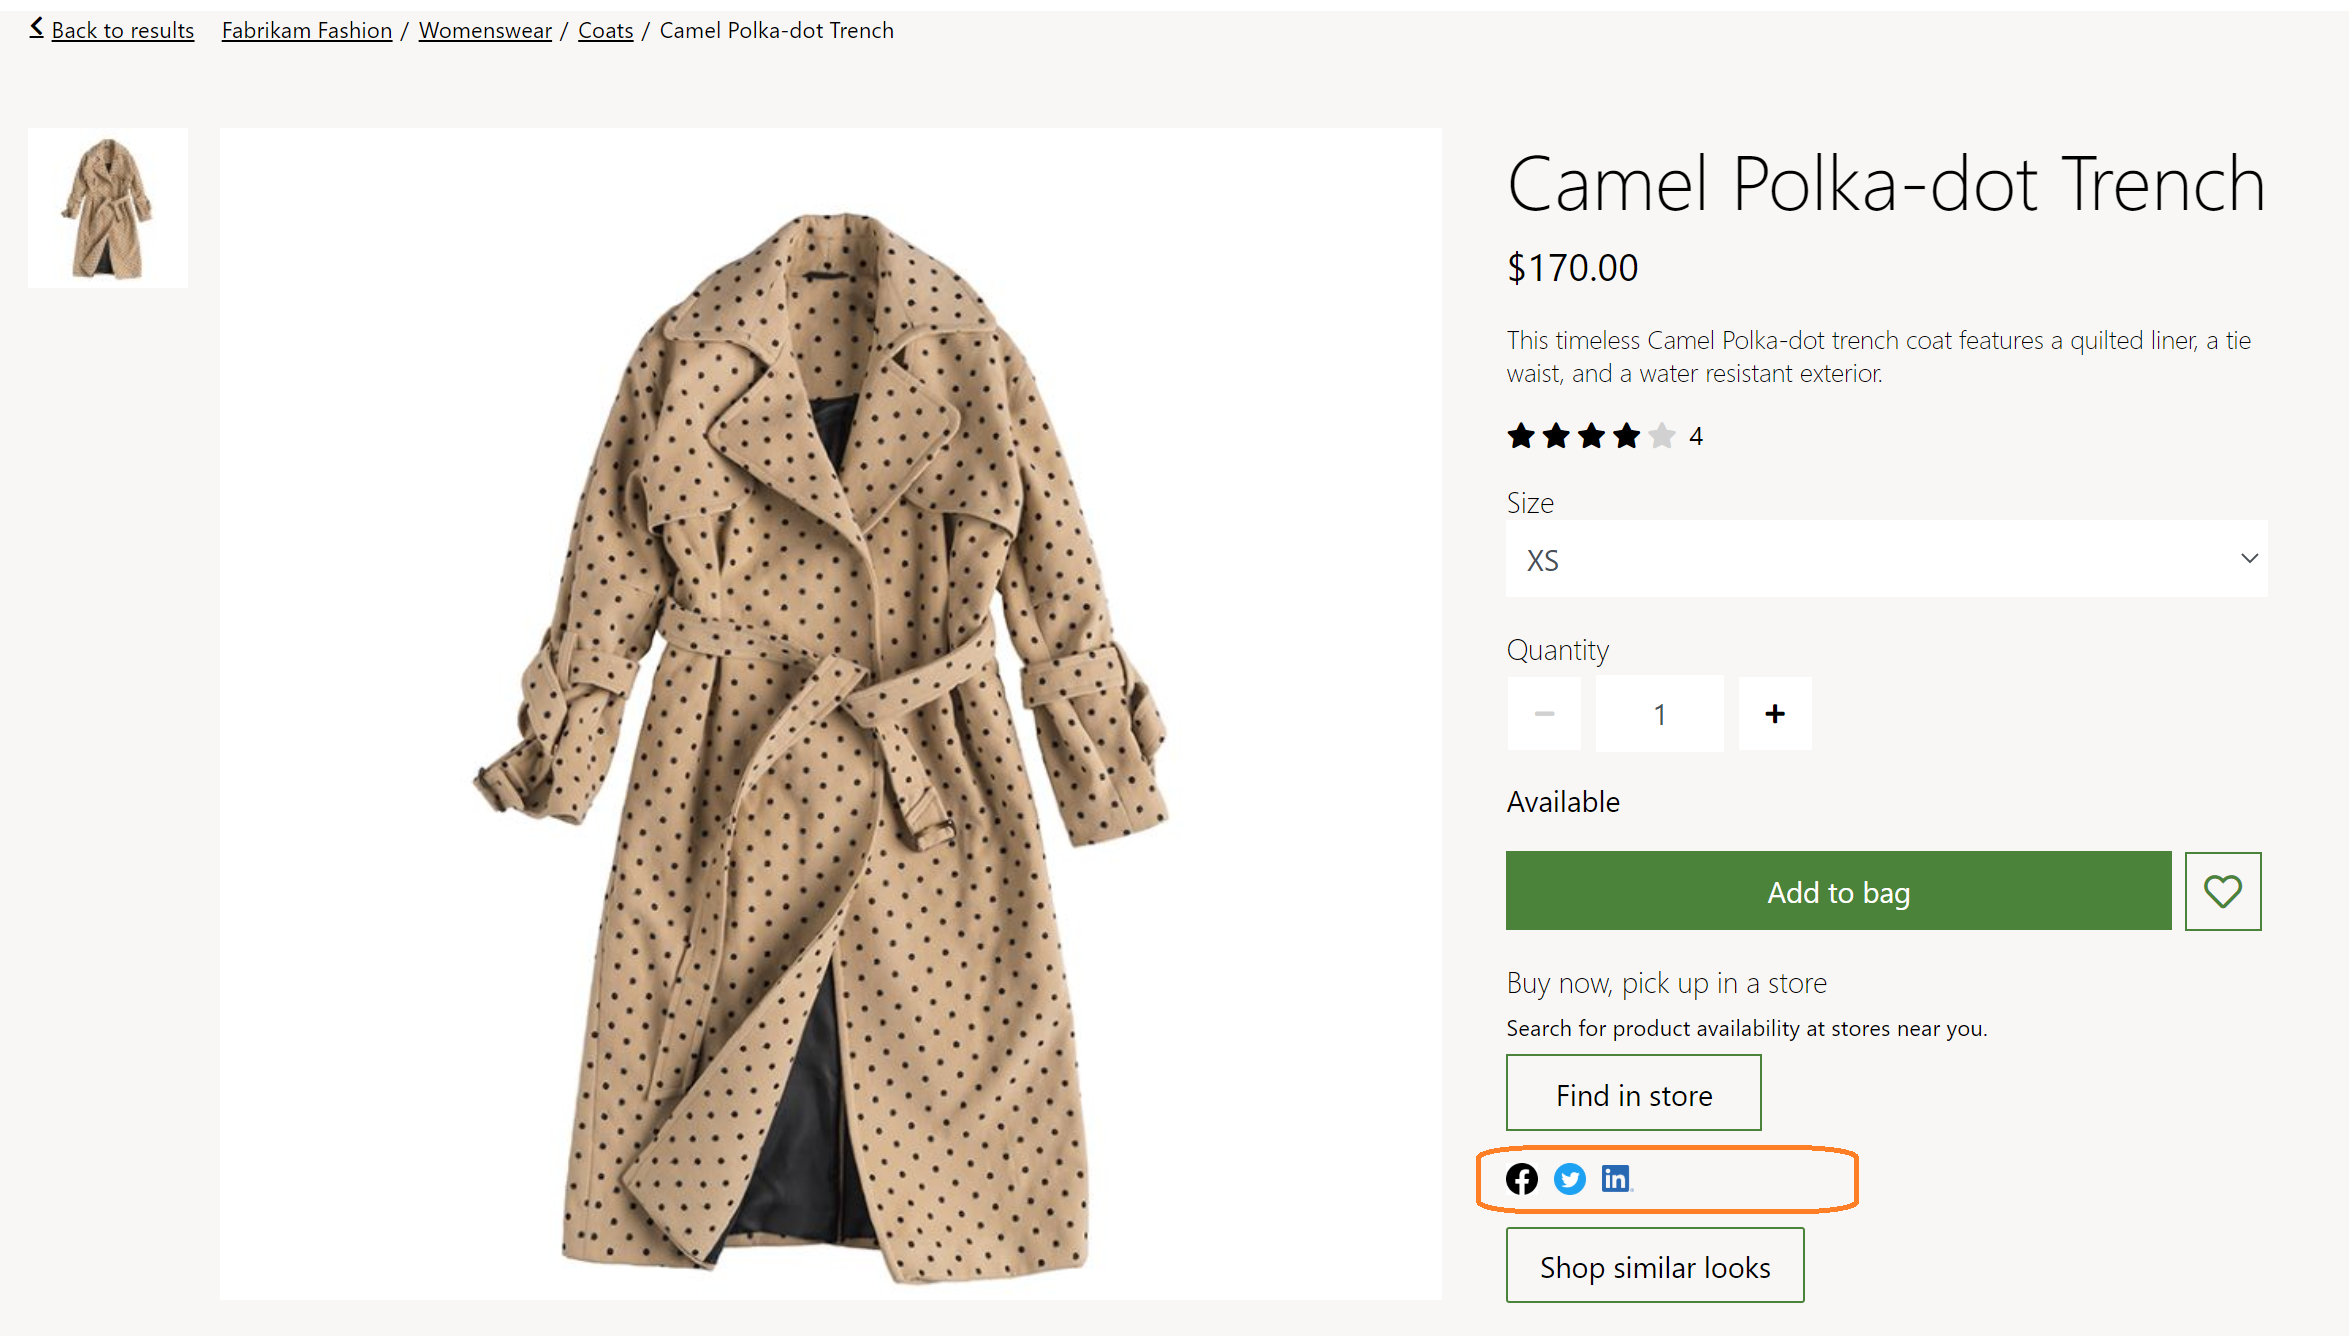
The following illustration highlights an example of a social share module used on a product details page.
Social share module properties
| Property name | Value | Description |
|---|---|---|
| Caption | Text | This property specifies a caption for the module. |
| Orientation | Horizontal or Vertical | This property defines the layout orientation for the social media items. |
Social share item module properties
| Property name | Value | Description |
|---|---|---|
| Social media | Facebook, Twitter, Pinterest, LinkedIn, Mail | A drop-down menu with a list of social media platforms. |
| Icon | Image | This image represents the respective social media platform. As a best practice, refer to the social media platform's SDK for the recommended image to use for each platform. |
Add a social share module to a buy box module
To add a social share module to a buy box module, follow these steps:
- In the Fabrikam site, select Pages, and then select the DefaultPDP page to open the product details page.
- In the Buybox (required) slot, select the ellipsis (...), and then select Add module.
- In the Select modules dialog box, select the Social Share module, and then select OK.
- In the Social Share slot, select the ellipsis (...), and then select Add module.
- In the Select modules dialog box, select the SocialShare module, and then select OK.
- In the properties pane of the SocialShare module, under Orientation, select Horizontal. Add a caption as needed.
- In the SocialShare slot, select the ellipsis (...), and then select Add module.
- In the Select modules dialog box, select the SocialShareItem module, and then select OK.
- In the properties pane of the SocialShareItem module, under Social Media, select Facebook.
- In the properties pane of the SocialShareItem module, under Icon, select + Add an image.
- In the Media Picker dialog box, select the Facebook logo image, and then select OK. If no Facebook logo image is present, select Upload new media item to upload one.
- Add and configure more SocialShareItem modules as needed.
- Select Save, and then select Preview to preview the page. The page shows the social share module.
- Select Finish editing to check in the page, and then select Publish to publish it.