Note
Access to this page requires authorization. You can try signing in or changing directories.
Access to this page requires authorization. You can try changing directories.
Applies to: Dynamics 365 Contact Center—embedded, Dynamics 365 Contact Center—standalone, and Dynamics 365 Customer Service
Use data masking to block sensitive data such as credit card information, social security number (SSN), or even profanity in a conversation. You can create a masking rule and define a regular expression to identify the sensitive information and replace it with the masked characters. Any masked text in a conversation is also masked in the conversation transcript. Data masking works for chat and asynchronous channels.
Masking rules can be configured to apply to messages sent by a customer, a customer service representative (service representative or representative), or both. You must make sure that the masking rules you want applied are set to Active. If not, then they aren't applied to the selections you make.

You can choose to:
- Mask private agent data from the customer: Data the service representative sends is masked for both the customer and the representative for live chat and async channel messages.
- Mask private customer data from the agent: Data the customer sends is masked for both the customer and the representative for live chat, but only for the user interface of the representative when using async channels.
The following masking rules are provided out of the box:
- Credit Card: Masks the credit card number, if provided in a message.
- Email: Masks the email address, if provided in a message.
- SSN: Masks the SSN, if provided in a message.
As an administrator, you can delete or modify the out-of-the-box masking rules and create new masking rules.
Note
- Only an administrator can access and edit data masking rules.
- Only 10 data masking rules, including the rules provided out of the box, can exist in Omnichannel for Customer Service.
Create a data masking rule

In the site map of Copilot Service admin center, select Productivity in Support experience.
Select Manage for Data masking.
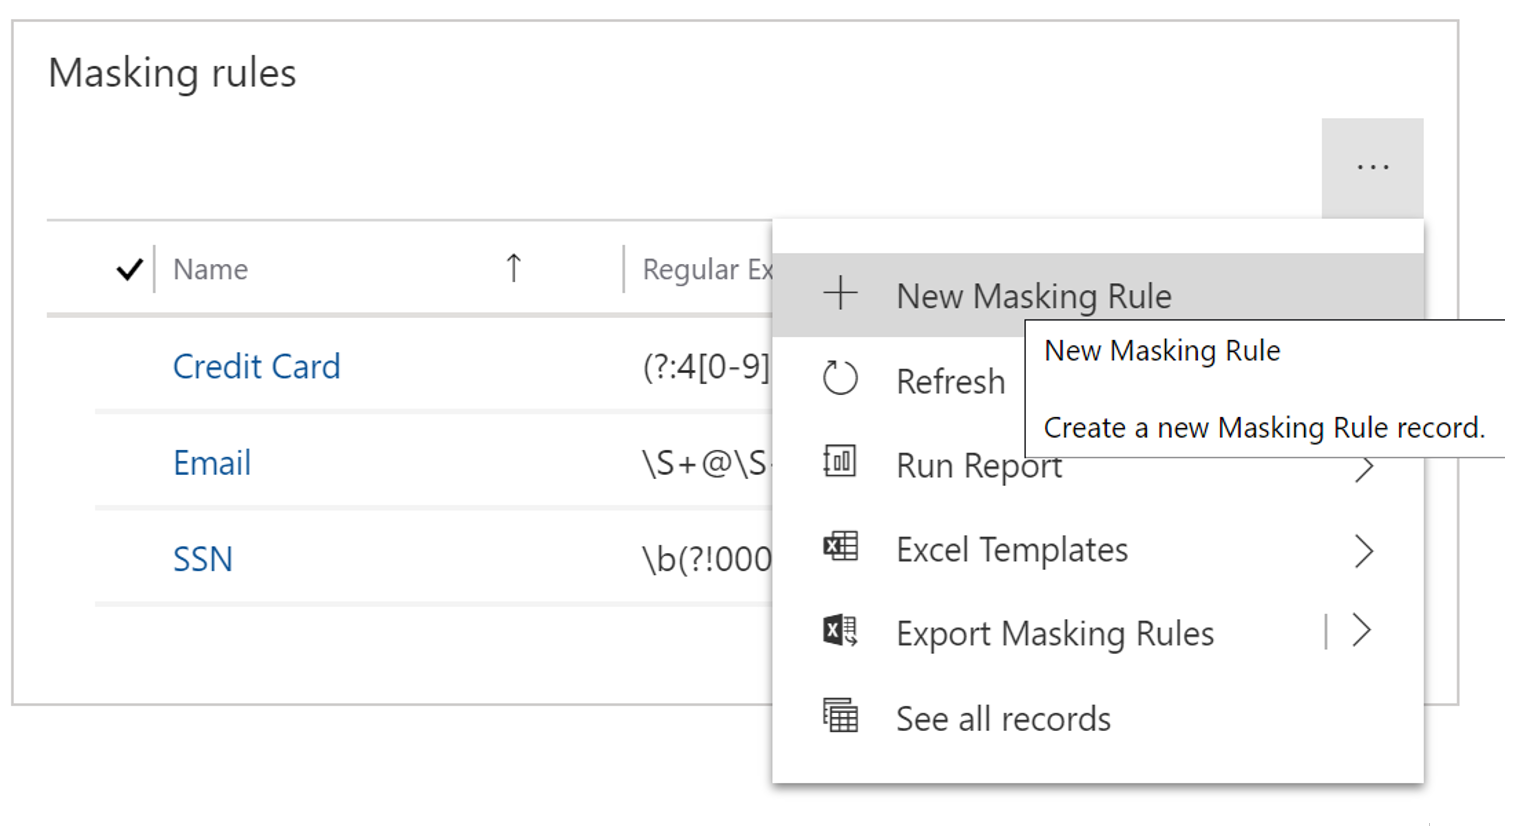
In Masking rules, select New Masking Rule.
On the New Masking Rule page, provide the following information:
Name: The name of the masking rule.
Description: An optional description of the masking rule.
Regular expression: A regular expression to identify the data to be masked.
To test the data masking as defined by the specified regular expression, enter a value in the Enter test data field. The masked value is displayed in the Masked test data field. By default, the number sign (#) is used to mask sensitive data.

Select Save.
Manage data masking rules
After a masking rule is created, you can edit, activate, deactivate, or permanently delete it.

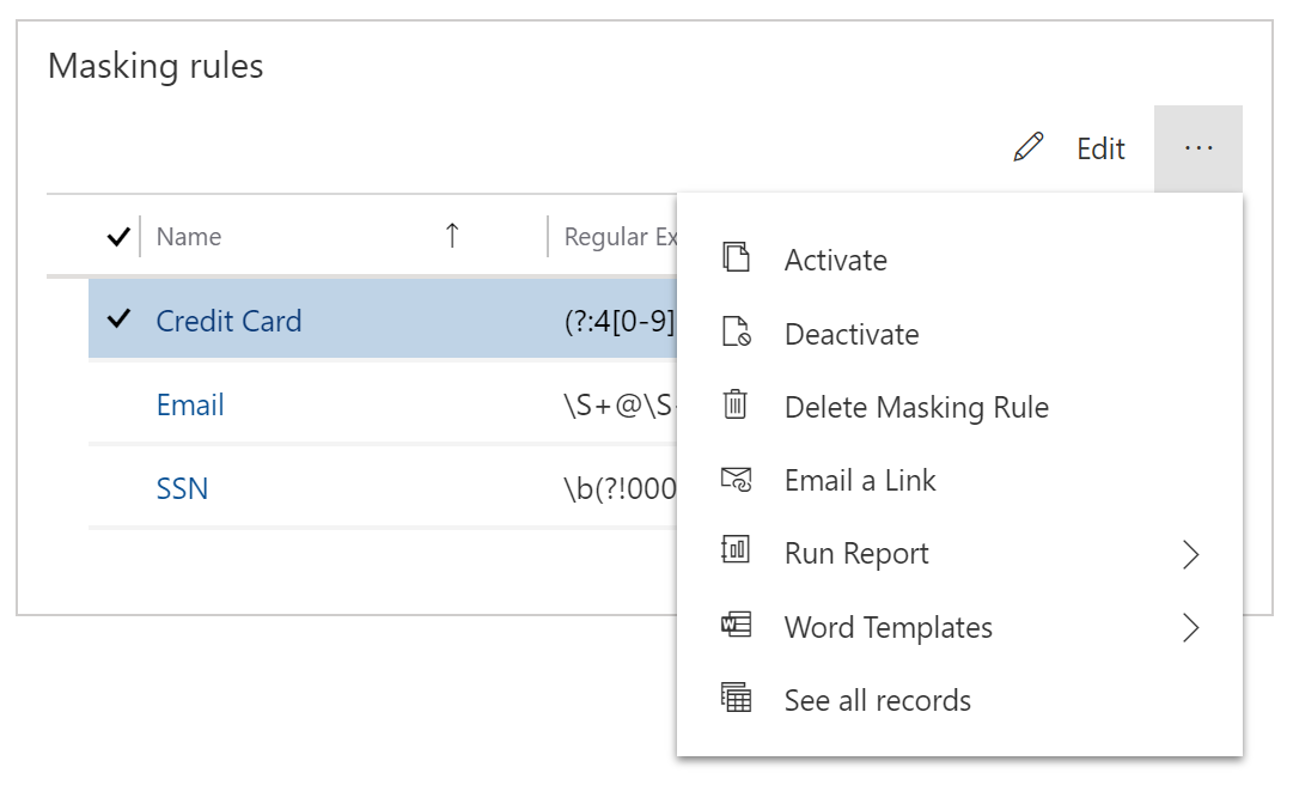
Under Masking rules, select the ellipsis to see the options for managing an existing masking rule.
To activate, deactivate, or delete a masking rule, select the rule, and then select the appropriate action from the list.