Note
Access to this page requires authorization. You can try signing in or changing directories.
Access to this page requires authorization. You can try changing directories.
Applies to: Dynamics 365 Contact Center—standalone and Dynamics 365 Customer Service only
After the content in the article is complete and reviewed, you can publish the article to the portal to make it available to your customers. You can publish the article immediately or schedule it for a later time.
Important
If your organization uses a portal to publish the knowledge articles, your customizer can write a plug-in that picks the published articles and posts on your portal, and also reports the article views.
Prerequisites
Ensure that you have the Publish and Update permissions on the Knowledge Article record type. These permissions are added by default to the roles of knowledge manager, customer service manager, customer service representative, or system administrator. If you want to change the state of a published article, you need the Publish permission on the Knowledge Article record type.
Publish an article
In Copilot Service Workspace or Customer Service Hub, go to Service > Knowledge Articles.
Open a knowledge article that’s in the Approved state.
To make it easy to find knowledge articles related to specific products, associate the knowledge article with a product.
On the command bar, select More > Relate Product.
In the Select Product to Associate with field, select the Lookup button, select the product the article is about, and then select Associate.
The associated article appears in the Related Products list in the Related Information section of the Summary tab.
On the Business process bar, select the Publish stage.
In the Set Product Associations field, select Mark as Complete.
If you want to schedule the article to publish on a later date, on the Summary tab, in the Publish On field, select a date and time to publish the article.
Select Finish. The Publish dialog appears.
Note
The Publish dialog appears only for the default business process flows where the final stage is Publish. To configure the Publish dialog for other customized stages, go to Process events and event handler methods.
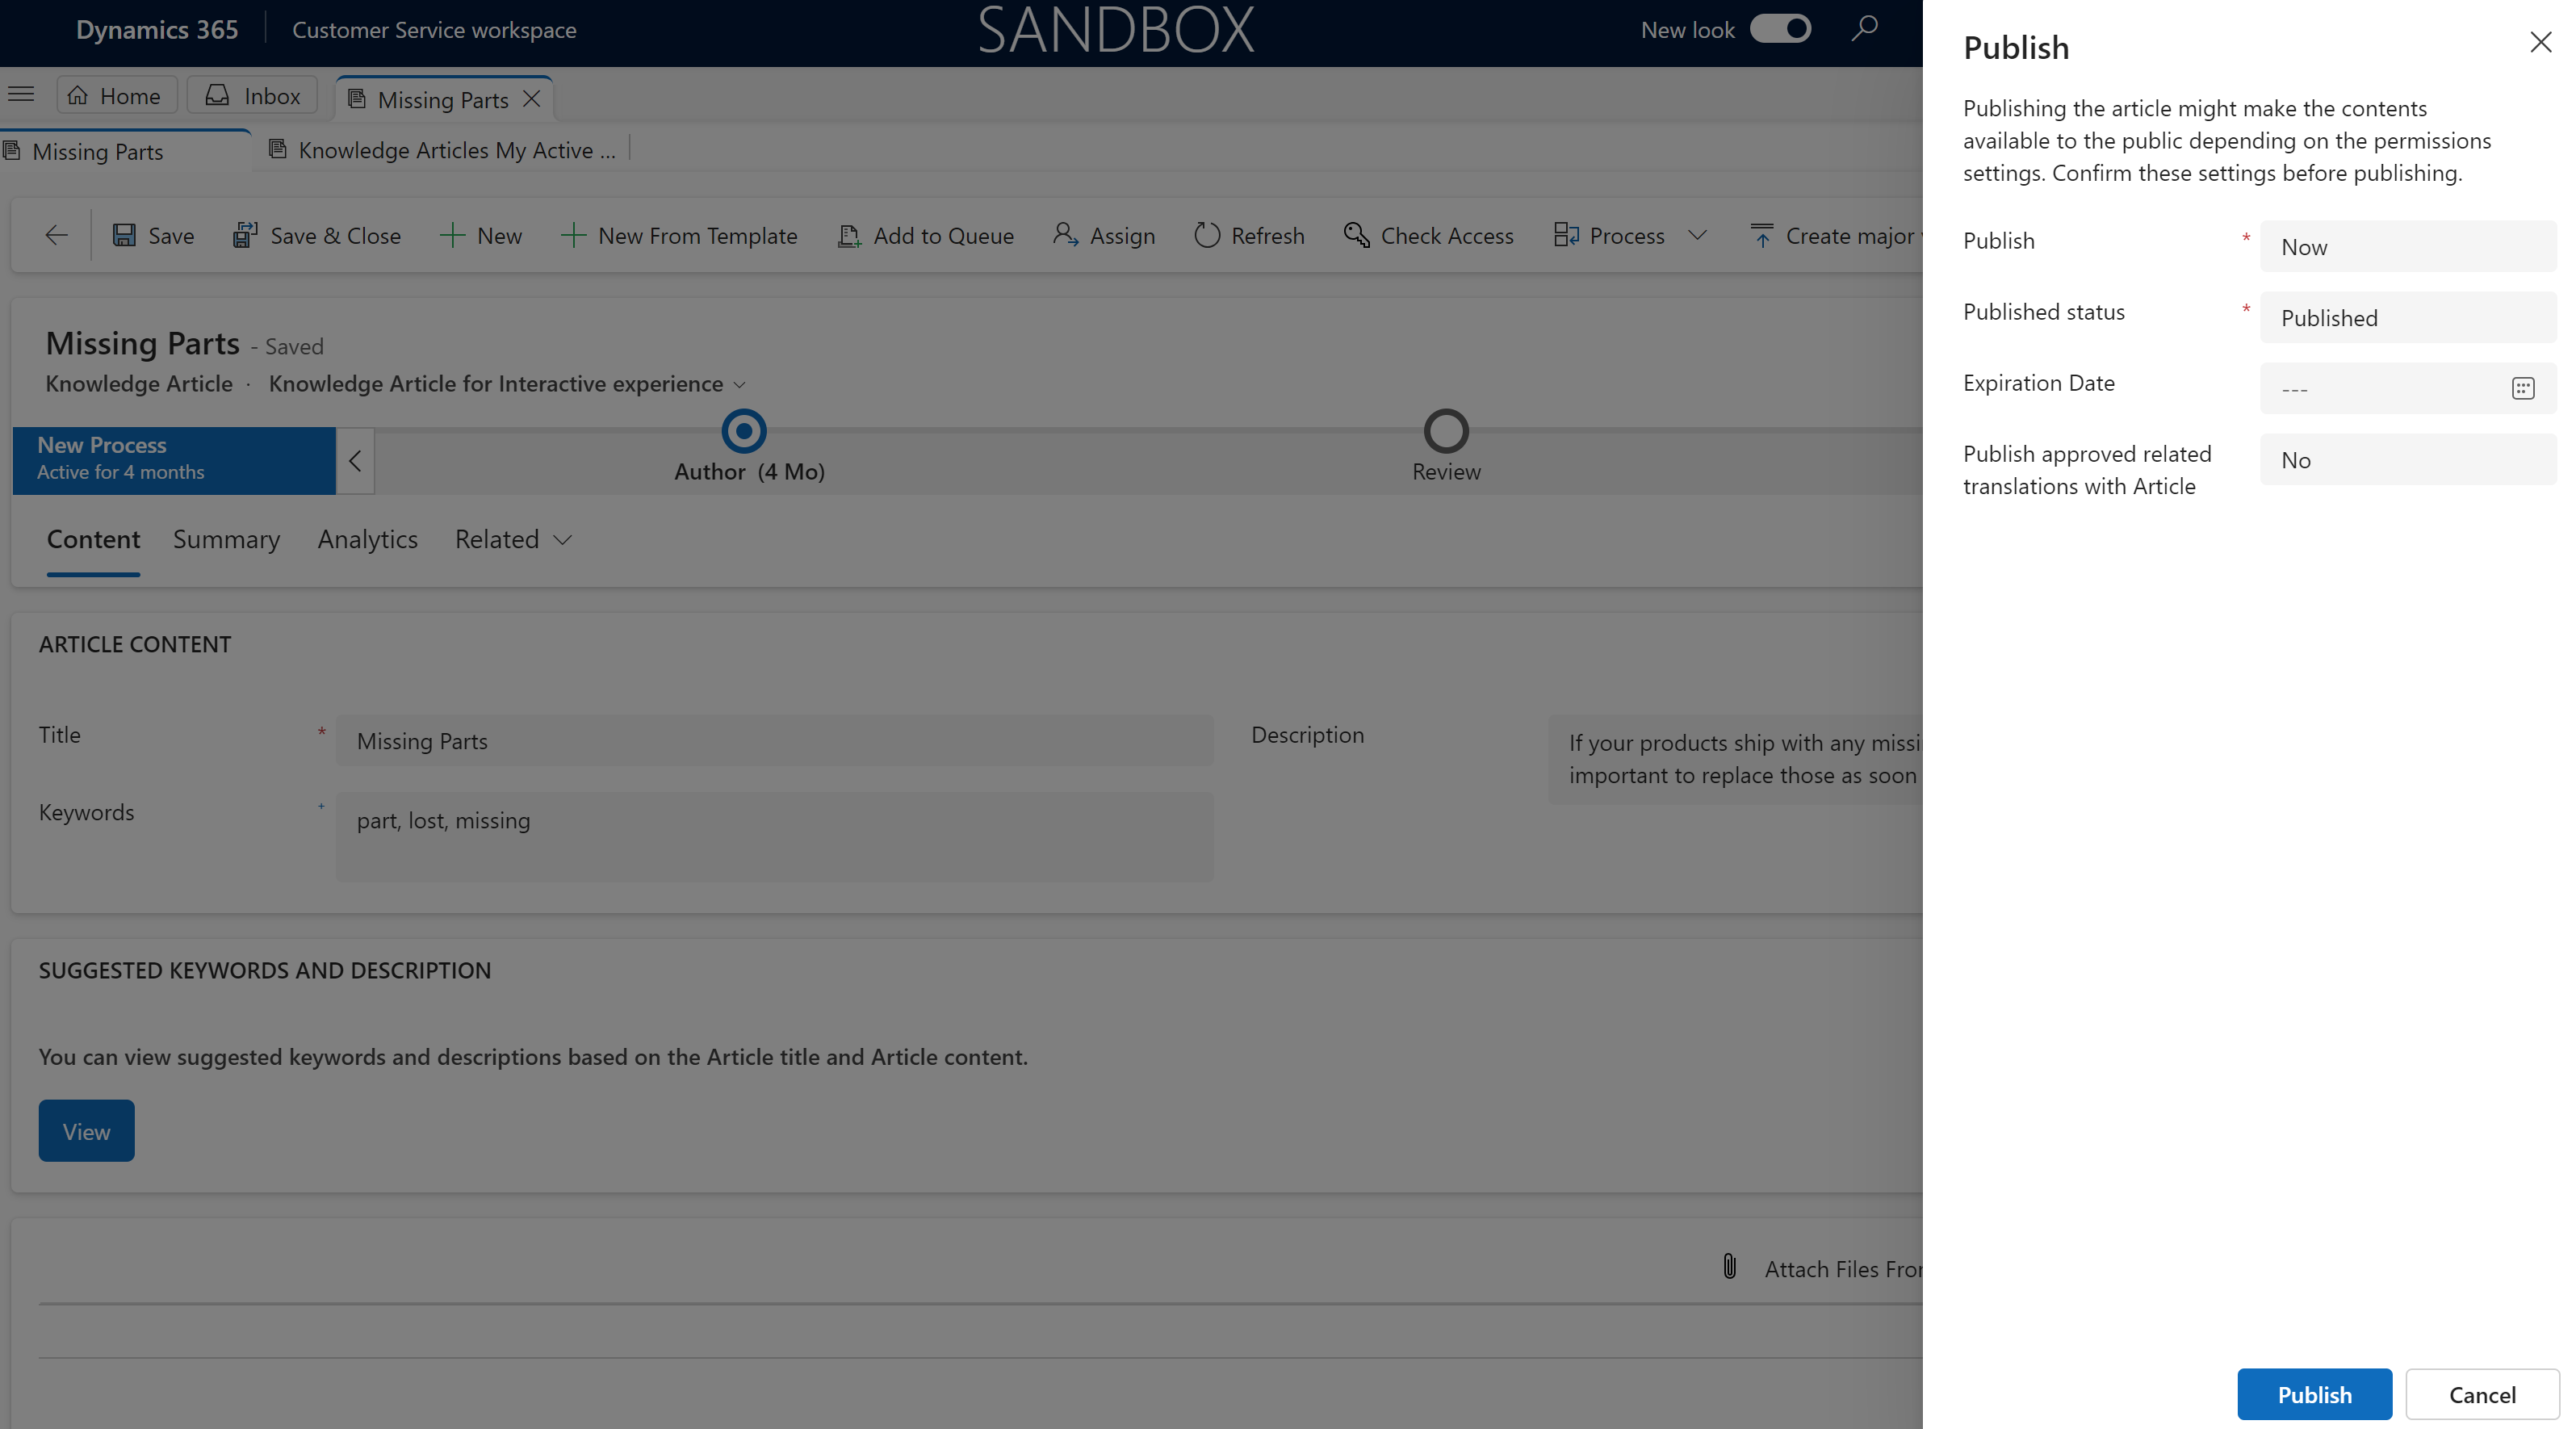
In the Publish field, select whether you want to publish the knowledge article now or in the future. To publish the article in the future, in the Publish On field, select a date and time.
In the Published Status field, select what status the article should be in after it's published. By default, Published is selected.
In the Expiration Date field, select a date and time when you want the published article to expire. Expired articles are no longer available in searches.
If you’ve set an expiration date, in the Expiration Status field, select the status the knowledge article should be set to after it expires.
To publish all approved related translated articles with the article, in the Publish Approved related translations with Article field, select Yes.
Select Publish.
Note
In the knowledge article for interactive experience form, if there is an active customization layer over the msdynce_KnowledgeManagementFeatures layer, you can't view the quick form publish dialog. You need to delete the active customization layer to view the quick form publish dialog. Learn more in Removed an unmanaged layer.
Update published knowledge articles
When a knowledge article is in the Published (or Scheduled) state, only those users who have the Publish privilege can update it.
In the site map of Copilot Service Workspace or Customer Service Hub, go to Service > Knowledge Articles.
Select the published article you want to edit.
On the command bar, select Update.
Update the article based on the feedback.
If the article has information that complements an existing knowledge article, associate the existing article with the current knowledge article.
In the knowledge article, on the command bar, select More > Relate Article.
In the Select Article to Associate field, select the Lookup button, select an existing article, and then select Associate.
The associated article appears in the Related Articles list in the Related Information section of the Summary tab.