Send a survey from Dynamics 365
Prerequisites
An administrator must install the Send Customer Voice survey from Dynamics 365 app in your environment for you to send surveys from customer engagement applications. If the option to send surveys isn't visible, contact your administrator.
An administrator must configure the Power Automate flow to send surveys. More information: Configure the Power Automate flow.
Users must at least have the Survey Sender role to send the survey through Dynamics 365 apps.
You can send a survey to your customer from within the customer engagement application's interface. This helps you to send a survey at the right time in the customer's journey. Let's consider the following scenario:
As a sales representative, you don't have access to surveys in Dynamics 365 Customer Voice. With this capability, you can send the survey from a customer engagement application without requiring access to Dynamics 365 Customer Voice.
As a salesperson, you can send a survey from the following entities:
- Contact
- Opportunity
- Lead
- Account
- Case
- Contract
You can only send surveys that are shared with you or created by you. If no surveys are shared with you, you can create a new survey (if you have permission to create a survey) and then send it to your customers. If you have Share privilege on the Customer Voice survey entity, you can share a survey with other users or team. More information: Share a survey
To send a survey from Dynamics 365
In the site map of the customer engagement app, select the entity from which you want to send a survey.
From the list of records, open a record.
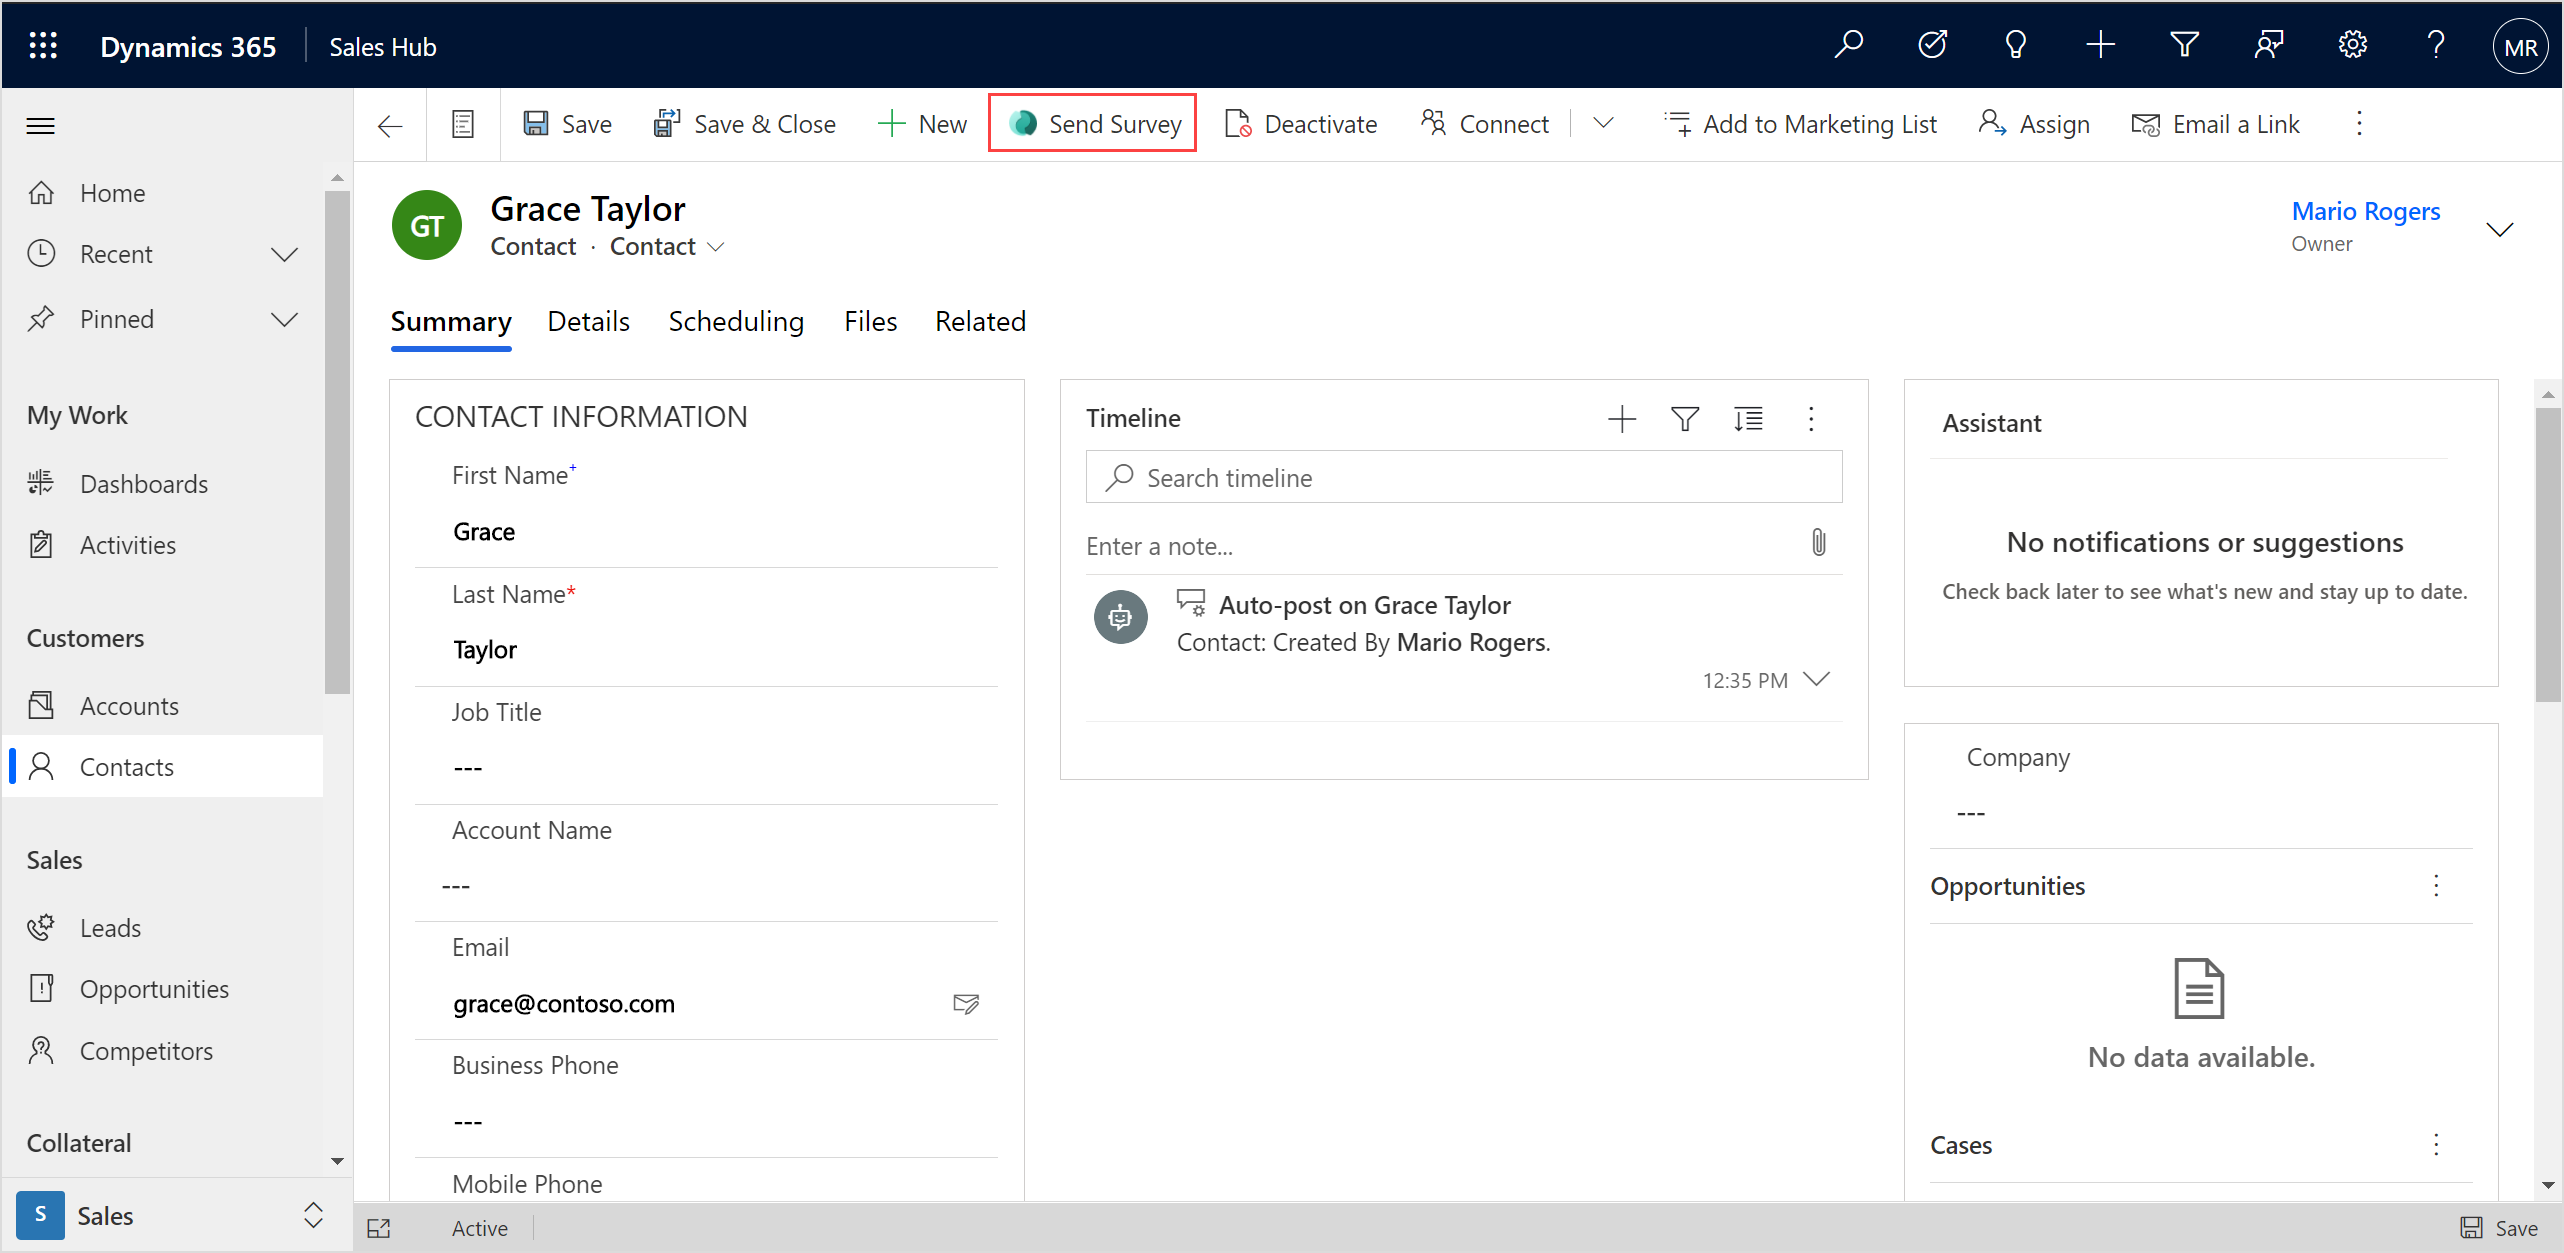
On the toolbar at the top of the page, select Send Survey.
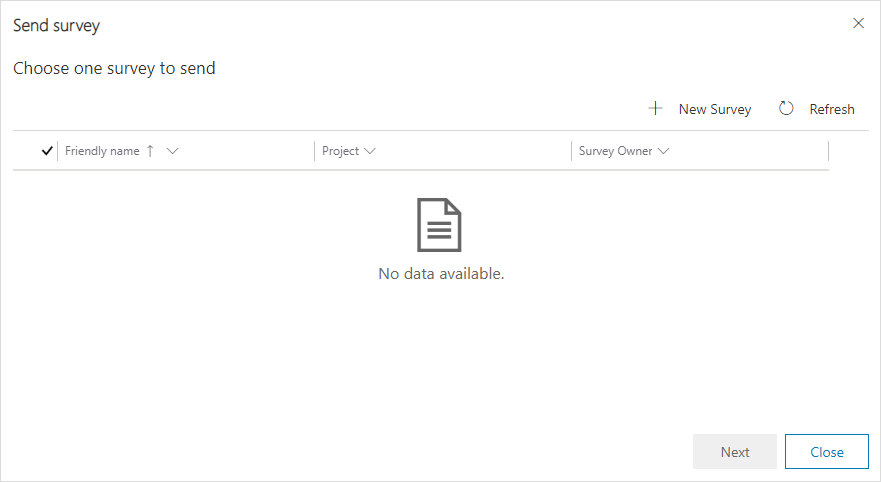
If you don't have any surveys created or shared with you, select + New Survey to create a new survey. You'll be redirected to Dynamics 365 Customer Voice for the survey creation. More information: Create a project
If you have surveys created or shared with you, you'll be provided with a list of surveys.
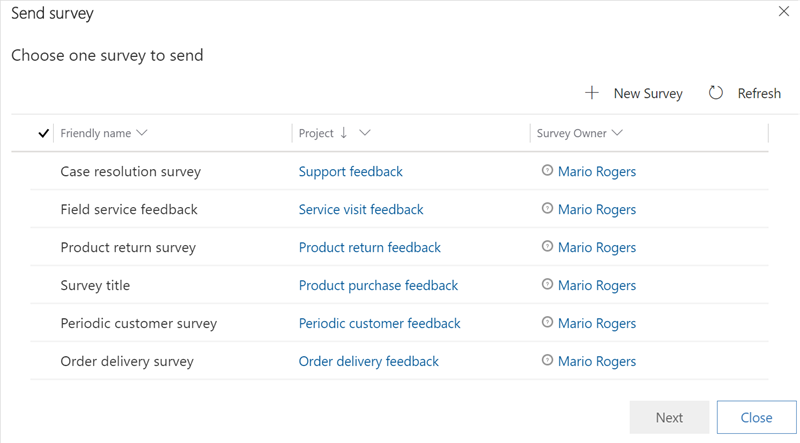
If you don't want to send a survey from the available list of surveys, you can create a new survey by selecting + New Survey. You'll be redirected to Dynamics 365 Customer Voice for the survey creation. More information: Create a project
In the Choose one survey to send dialog box, select a survey to be sent.
Note
You can select only one survey at a time.
To preview the survey, select Preview.
To share the survey, see Share a survey.
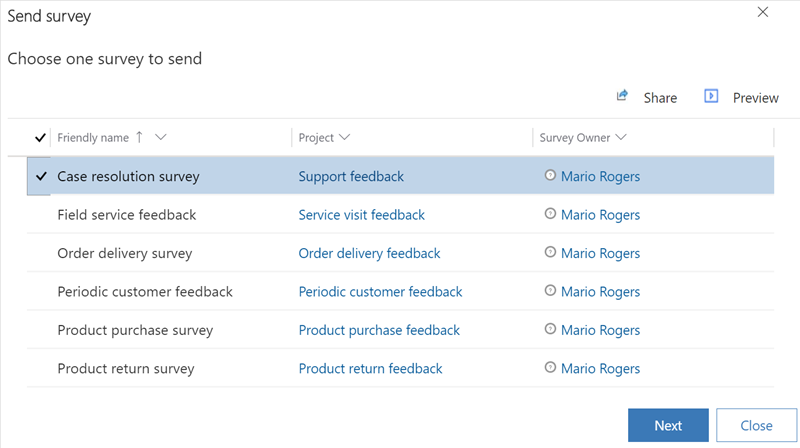
Select Next.
In the These details will show in your email or survey dialog box, select the following information:
Recipient: By default, the name of the contact associated with the entity is populated. You can also remove and select a different recipient, if required. You can select only one recipient at a time.
Email template: Email template to be used to send the survey invitation.
Locale: Language of the email template.
If you've used variables in your survey, they'll be displayed as fields and you can specify their values accordingly.
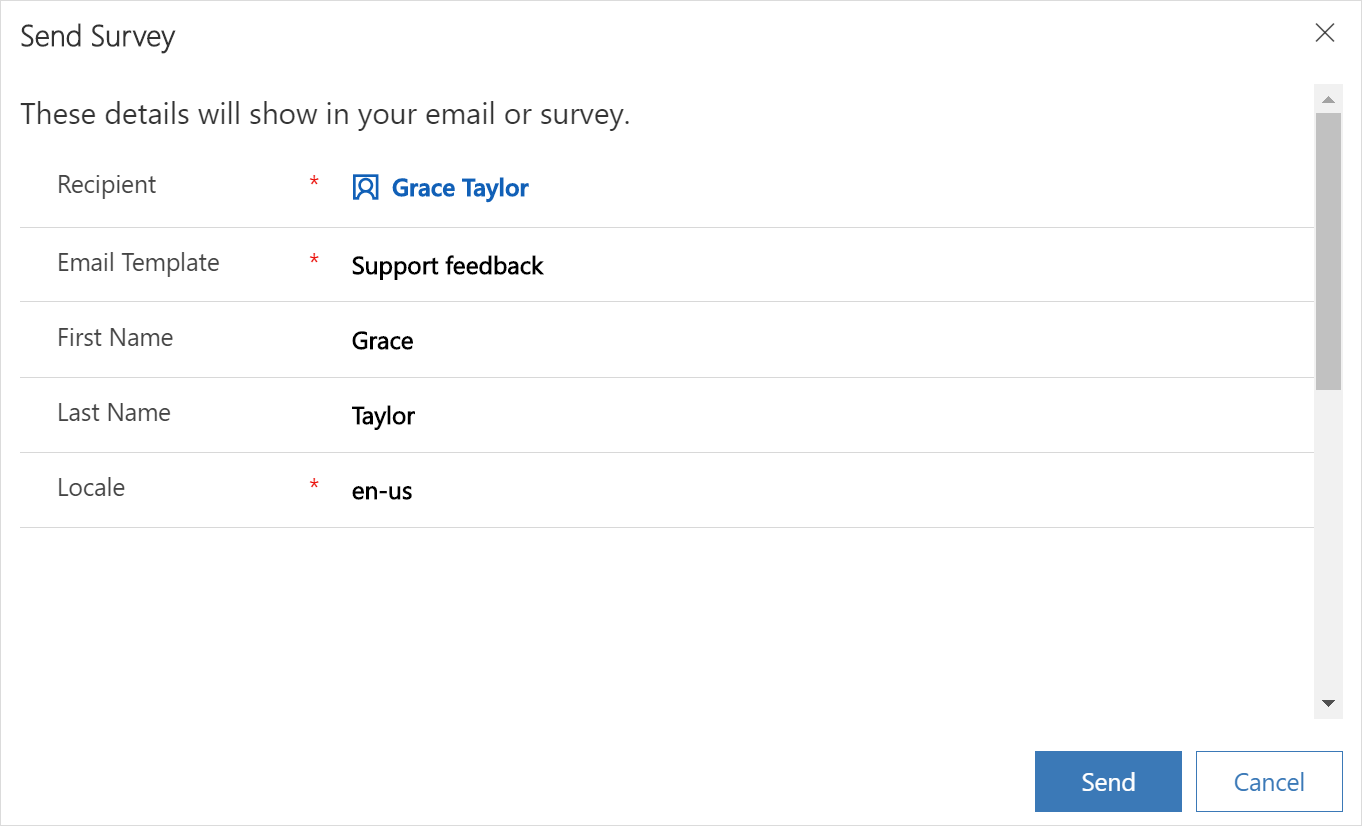
Select Send.
Note
The Regarding field is populated only for Account, Contact, and Lead entities.
Check survey invitation status
When you send a survey invitation, its status will be one of the following:
Sending: The survey invitation email is being sent.
Sent: The survey invitation email was sent successfully.
Failed: The survey invitation email wasn't sent due to an incorrect email address or other error.
To check survey invitation status
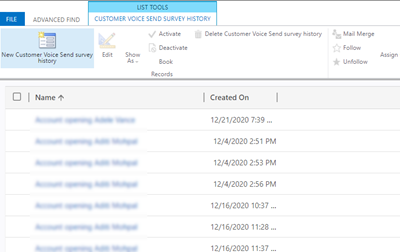
Go to Advanced Find.
In the Look for list, select Customer Voice Send survey history.
Add the Status Reason column.
Select Results. A list of survey invitations is displayed with their corresponding status.
Share a survey
If you have Share privilege on the Dynamics 365 Customer Voice survey entity, you can share a survey with other users or a team.
In the Choose one survey to send dialog box, select a survey to be shared.
Select Share.

Note
If you don't have permission to share surveys, the Share button is not displayed.
In the Share customer voice survey dialog box, add the users or team you want.
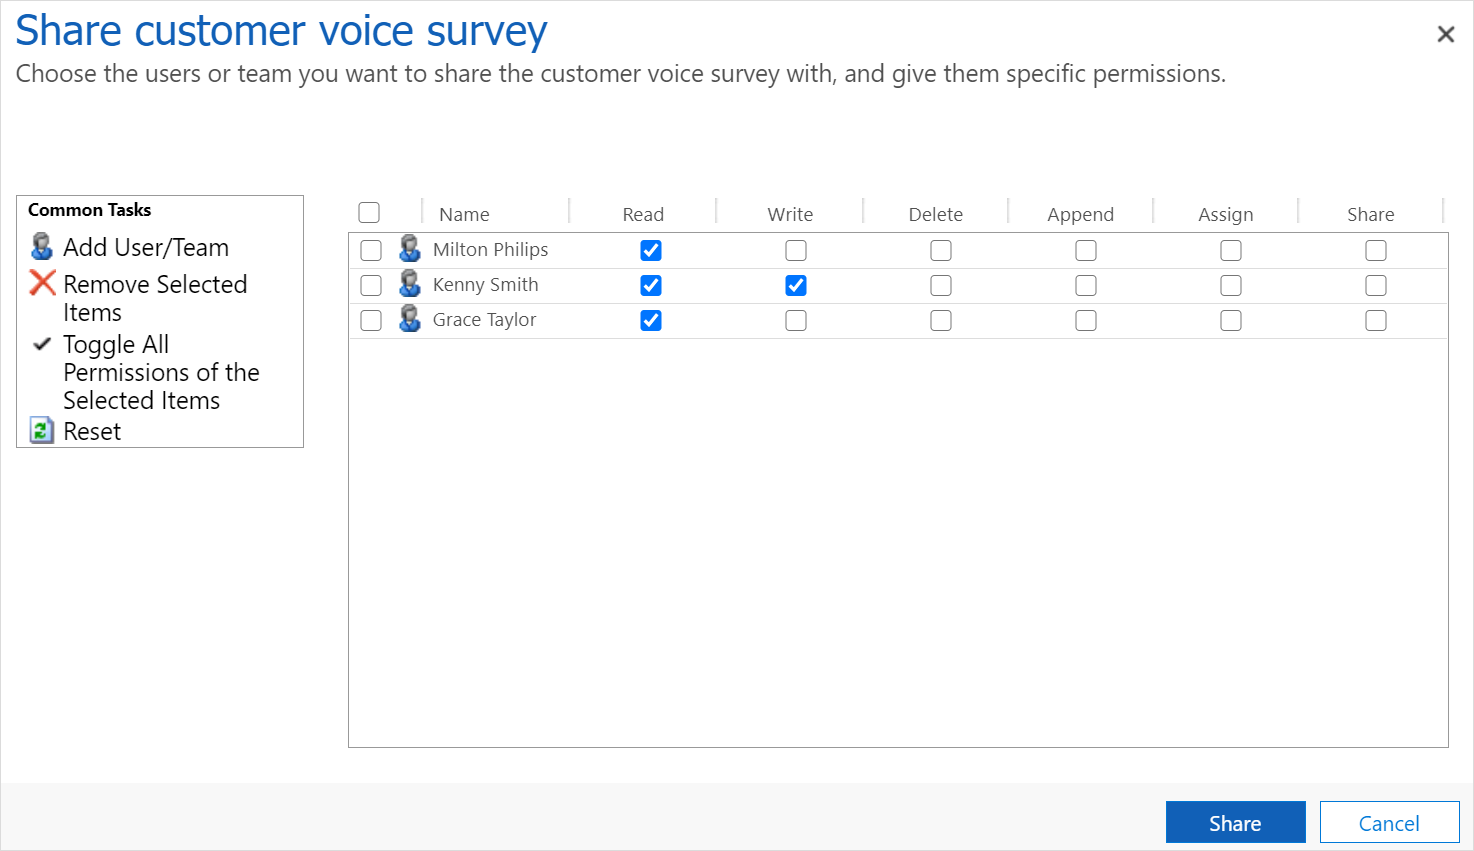
Select Share.
Configure the Power Automate flow
The Send survey on create of custom entity record Power Automate flow is created automatically when the Send survey app is installed. This flow sends the survey when you select Send Survey from an entity record. An administrator must set the connection references manually and turn on the flow.
To configure the Power Automate flow
Go to flow.microsoft.com, and select Solutions on the left pane.
Find and select the Send Customer Voice survey from Dynamics 365 solution to open it.
Find and select the Send survey on create of custom entity record flow to open it.
Select Edit on the toolbar at the top. The flow editor opens.
A warning symbol is displayed in the header of conditions and actions that have the connection error.
Select the condition or action, and then select the appropriate connection.
Save the changes, and turn on the flow.