Create or edit a public or system view using the app designer
This topic applies to Dynamics 365 Customer Engagement (on-premises). For the Power Apps version of this topic, see: Work with views in app designer
In Dynamics 365 Customer Engagement (on-premises), views define how records for a specific entity are displayed. A view defines the following:
- The columns (attributes) to display
- The width of the columns
- How the records are sorted by default
- Which filters are applied to determine which records appear in the list by default
Typically, views are classified into three types:
- Personal: Individual users can create personal views according to their personal requirements. These views are visible only to the user who created them and anyone they choose to share them with.
- Public: As an app maker, you can create and edit public views to fit your organizational requirements. These views are available in the view selector, and you can use them in subgrids in a form or as a list in a dashboard.
- System: As an app maker, you can also modify system views to meet the requirements of your organization. These are special views that the application depends on: they exist for system entities or are automatically created when you create custom entities. These views are available to some or all users, depending on their permissions.
More information: Types of views
Create a public view
As an app maker, you can create and edit public views by using the app designer.
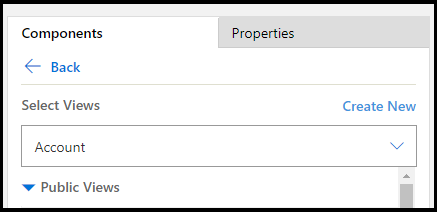
On the Components tab, select Create New.
Add the columns you want to display in the view. More information: Add a column to your view
Apply filtering criteria to refine the data that is displayed in the view. More information: Define filter criteria
Group the filters by using AND or OR options to further refine the data that is displayed in the view. More information: Group multiple filters
Sort the order of the data by configuring the primary and secondary sort order for columns. More information: Set the primary and secondary column sort order
(Optional) Configure column width:
a. Select a column. The Properties tab opens.
b. Configure Set Width with the column width you want.
Note
The column width value ranges from 25 pixels through 300 pixels.
(Optional) Reorder columns by dragging a column to the position you want to move it to.
You will see a visual indicator when you hold the column over a position it can be moved to.

Note
You can also change column order by using keyboard shortcut keys. Cut the column by selecting Ctrl + X, select a column, and then paste by selecting Ctrl + V. The column will be moved to the right of the selected column.
(Optional) Attach an icon or a file to a column to differentiate it from other columns during run time. More information: Define a web resource
Save and close the view.
Choose Publish to make the view available for other users in your organization.
Open and add a view in the app designer
The following steps explain how to open and add a view in the app designer.
In solution explorer select Apps, and then select the app you want to edit to open it in app designer.
In the Entity View section, select Views.
In this example, we have selected Views from the Account entity.
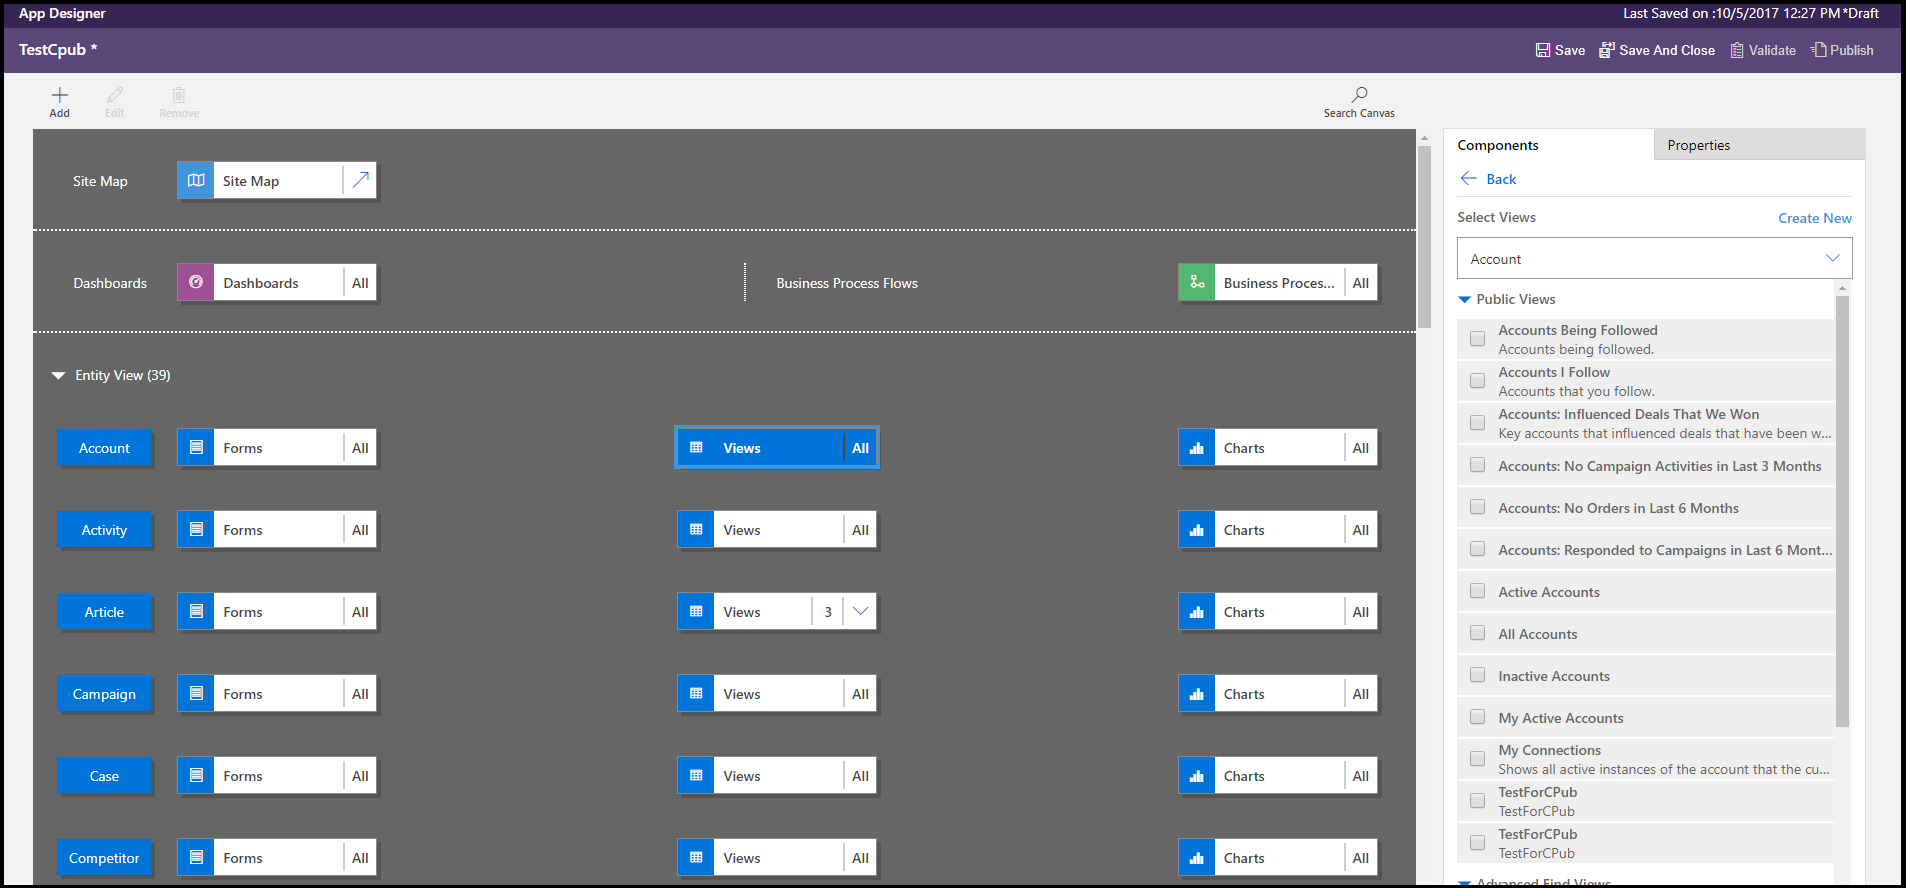
To add a view, select it by using view types such as Public, Advanced Find, Associated, and Lookup. The view is automatically added to the Views list.
Note
Views are displayed based on the entity that you have selected. For example, when you select Account, views that are related to the Account entity are displayed.
More information about the app designer: Design custom business apps by using the app designer
Add a column to your view
Views display records in a table that contains rows and columns. Each row is a record, and the fields you display from the record are determined by the columns you add to the view.
In app designer, on the Components tab, select the Column Attributes list for either the Primary Entity or Related Entity.
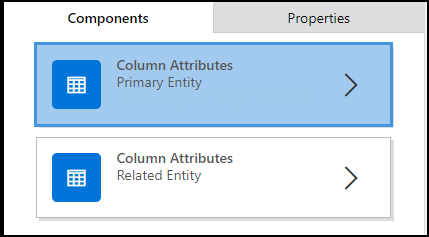
From the list, select the attribute you want and drag it to the column heading. You can also add the attribute by double-clicking it.
Repeat step 2 until you’ve added all the attributes you want to display in your view .
As you add attributes, you can drag them to any position among existing column headings. You can also move columns around after you add them to your view.
Define filter criteria
You can set filter criteria so that only a subset of the records is displayed in a view. When a user opens the view, only the records that meet the defined filter criteria are displayed. You can select fields from both the primary and related entities to filter on.
In the app designer, expand the Filter Criteria section.
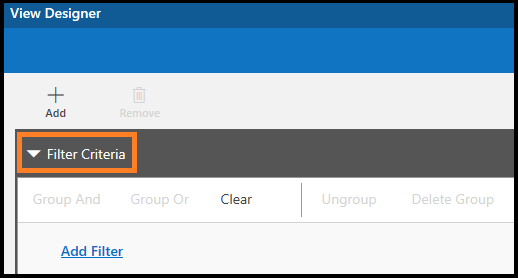
Select Add Filter.
Select an attribute from the drop-down list in the first column.
Select an operator from the drop-down list in the second column.
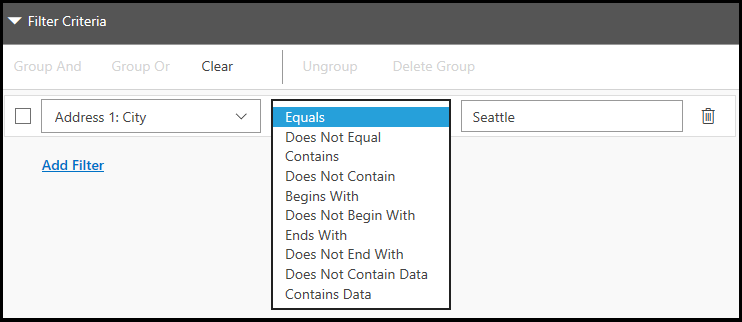
Enter a value to filter by in the third column.
You can filter data based on the attributes of related entities in addition to the primary entity.
On the Components tab, select the Column Attributes list for Related Entity, select the Choose an Entity down arrow in the topmost field, and then choose the entity you want.
This will add a separate section.
Repeat steps 2 through 5 from the previous procedure.
More information: Create and edit relationships between entities
Group multiple filters
You can add multiple filters to your view if you want to filter records by using more than one field.
- Select the filters that you want to group.

- Select Group And or Group Or to group the filters.
 When you select Group And, only records that meet both criteria are displayed in the view. When you select Group Or, records that meet any of the filter criteria are displayed. For example, to show only records that have priority of High or Normal, and status of Active, select Group And.
To remove the filter from a group, select the group, and then select Ungroup.
Set primary and secondary sort order for columns
When a view is opened, the records it displays are sorted in the order you set when you created the view. By default, records will be sorted according to the first column in a view when no sort order is selected. You can choose to sort on a single column, or you can choose two columns—one primary and one secondary—to sort by. When the view is opened, the records will first be sorted by the column you want to use for primary sort order, and then by the column you want to use for secondary sort order.
Note
You can only set primary and secondary sort order for column attributes you added from the primary entity.
Select the column you want to use for sorting.
Select the down arrow, and then choose Primary Sort or Secondary Sort.
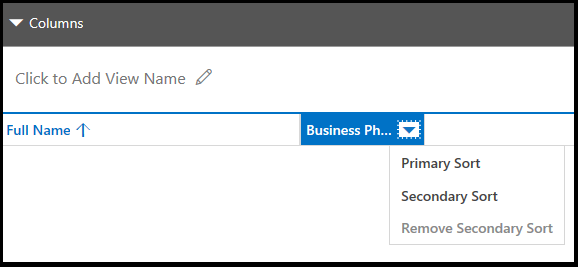
If you remove the column you chose for the primary sort order, the column you chose for the secondary sort order becomes the primary.
Define a web resource
Specify a web resource of script type, to associate with a column in your view. These scripts help to display icons for columns.
- Select the column you want to add a web resource to.
- On the Properties tab, select Advanced.
- In the Web Resource drop-down list, select the web resource you want to use.
- In the Function Name box, enter a function name.
Edit a public or system view
You can change the way a public or system view is displayed by adding, configuring, or removing columns.
In the Views list for an entity, select the Show list of references down arrow
 .
.

Next to the view you want to edit, select Open the View Designer
 .
.The view opens in the view designer.
When you edit a public or system view, you must save and publish your changes before they will be visible in the application.
Community tools
View Lyout Replicator and View Designer are tools that XrmToolbox community developed for Customer Engagement Customer Engagement.
More information: Developer tools.
Note
These tools are provided by XrmToolBox and are not supported by Microsoft. If you have questions pertaining to the tool, please contact the publisher. More information: XrmToolBox.