Set up notifications for the Field Service portal
The portal uses Power Automate flows to trigger notifications. Before we can send notifications, choose which channels to use and configure the flows accordingly. To send text messages, set up an SMS provider with a Power Automate connector. For emails, we recommend an Office 365 Outlook account.
Caution
When enabled, the system sends notifications to contacts of the account associated with bookings. When using real customer data to test this feature, prevent accidental communication by adding accounts to Excluded Accounts.
Configure email and SMS connectors in Power Automate
The Customer Portal settings in Field Service link directly to the default Power Automate flows for email and SMS.
- Sign in to Power Apps and select Solutions > your Dynamics 365 Field Service solution.
- Select Objects > Cloud flows to see the list of flows.
To configure email:
- Select the Field Service PowerApps Portal Flow Email Notifications flow, which is turned off by default.
- On the flow, select Save as and create a copy of the default flow.
- Open the flow you created and select Edit. Authenticate or update the connections and Save the flow.
- Select Turn on to enable the flow.
To configure SMS:
- Select the Field Service PowerApps Power Flow SMS Notifications flow, which is turned off by default.
- On the flow, select Save as and create a copy of the default flow.
- Open the flow you created and select Edit. Authenticate or update the connections and Save the flow.
- Select Turn on to enable the flow.
List of notifications
Once you configure your portal and enable notifications, emails, and SMS messages are sent to the customer contact. You can customize some aspects of the portal, which also applies to the notifications.
The portal sends a notification for the following events:
Upcoming Booking: Reminder messages are sent seven days before the scheduled service time. This message includes the scheduled service time and a link to the portal with information about the booking. By default, reminders are sent daily at 10:00 AM UTC for any bookings during that period. You can change this time by editing the Create notification items for bookings flow.
Traveling: Sent when the booking status changes to Traveling. This message provides the estimated time of arrival considering the traffic on the planned route. It links to the customer portal where your customer can see more details.
Booking Completed: Sent when booking status changes to Complete. This message confirms the work is completed, along with the date and time of completion.
Booking Rescheduled: Sent if a booking reminder is sent and the scheduled start time changes by more than 10 minutes.
Booking Canceled: Sent if a booking reminder is sent and a scheduled service appointment is canceled.
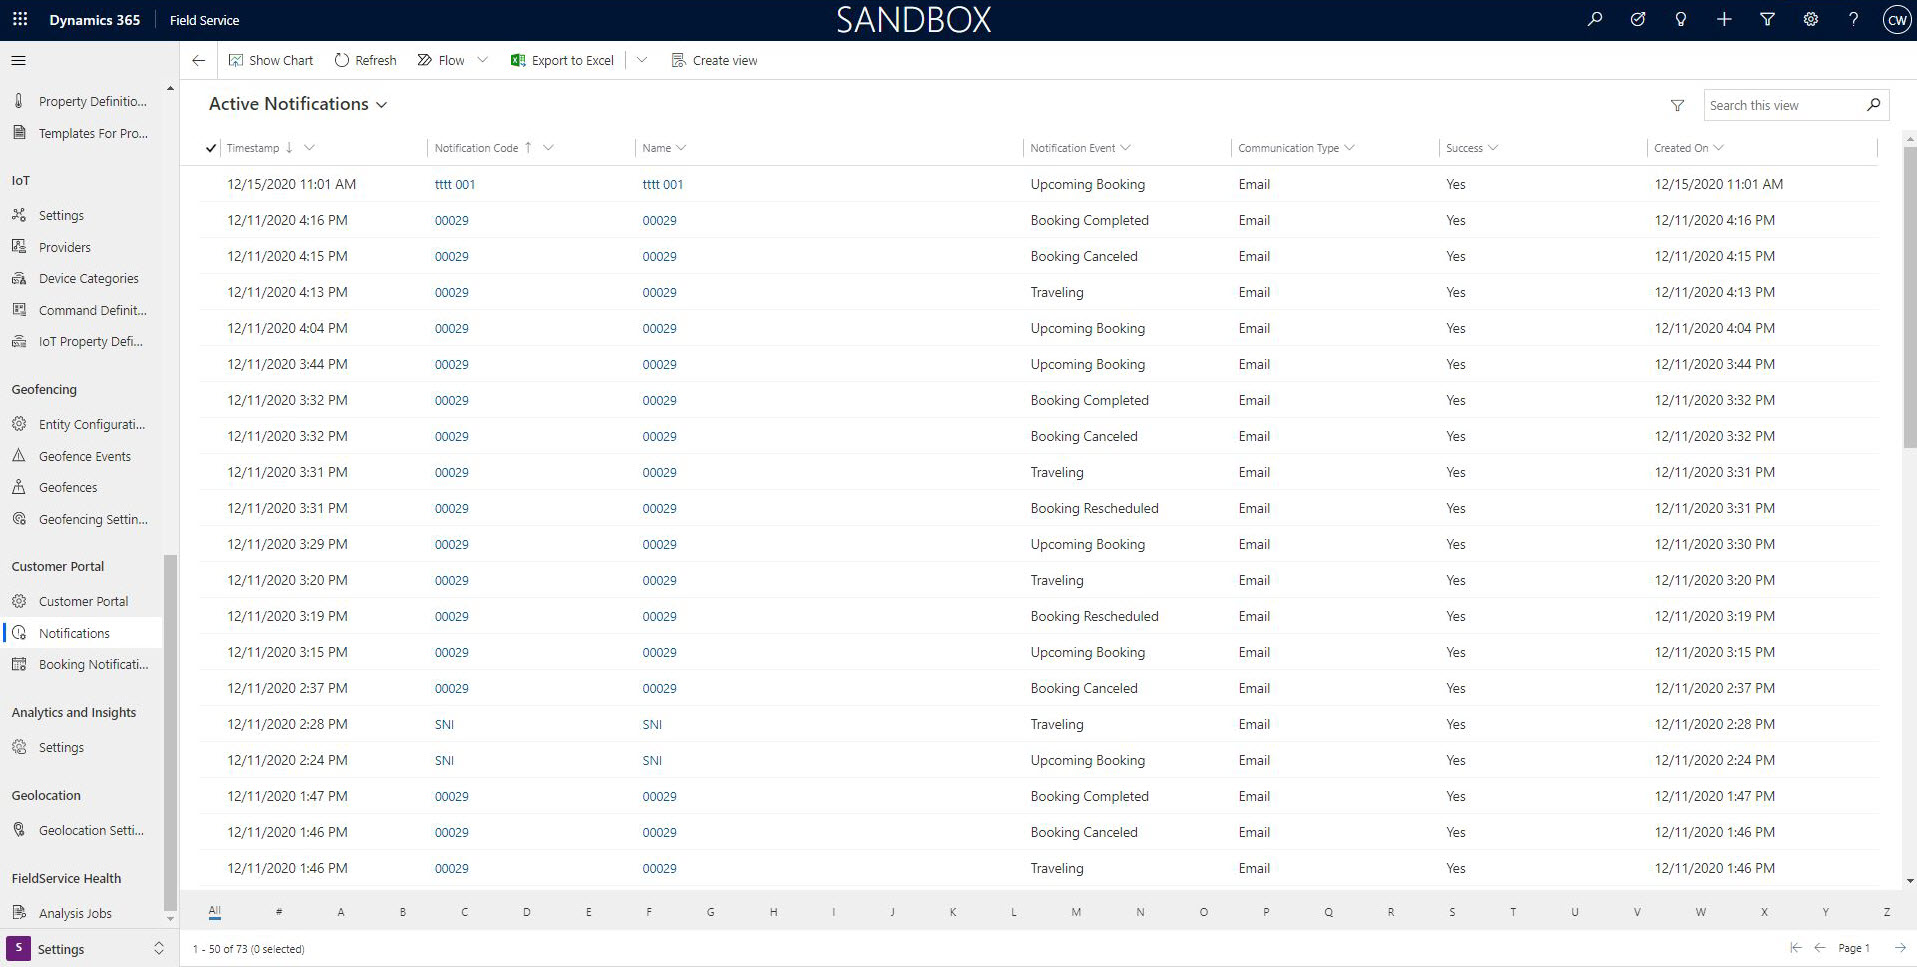
View sent notifications
Notification settings offer a read-only view of all messages sent to customers. You can see which customers received a message, the type of message sent, and its current status.
In Field Service, go to the Settings area. Under Customer Portal, select Notifications to view the list.
Configure booking notification codes
With booking notification codes, Field Service admins can extend, expire, or block access to a portal link shared with a customer.
In Field Service, go to the Settings area. Under Customer Portal, select Booking Notification Codes to create and manage codes.