Note
Access to this page requires authorization. You can try signing in or changing directories.
Access to this page requires authorization. You can try changing directories.
To process a return of a product or customer asset, create a return merchandise authorization (RMA) and then an RMA receipt. In addition, if the return goes to a vendor, create a return to vendor (RTV). Learn more about returns.
Create an RMA
In Dynamics 365 Field Service, select the Inventory area.
Under Inventory, select RMAs and then select New.
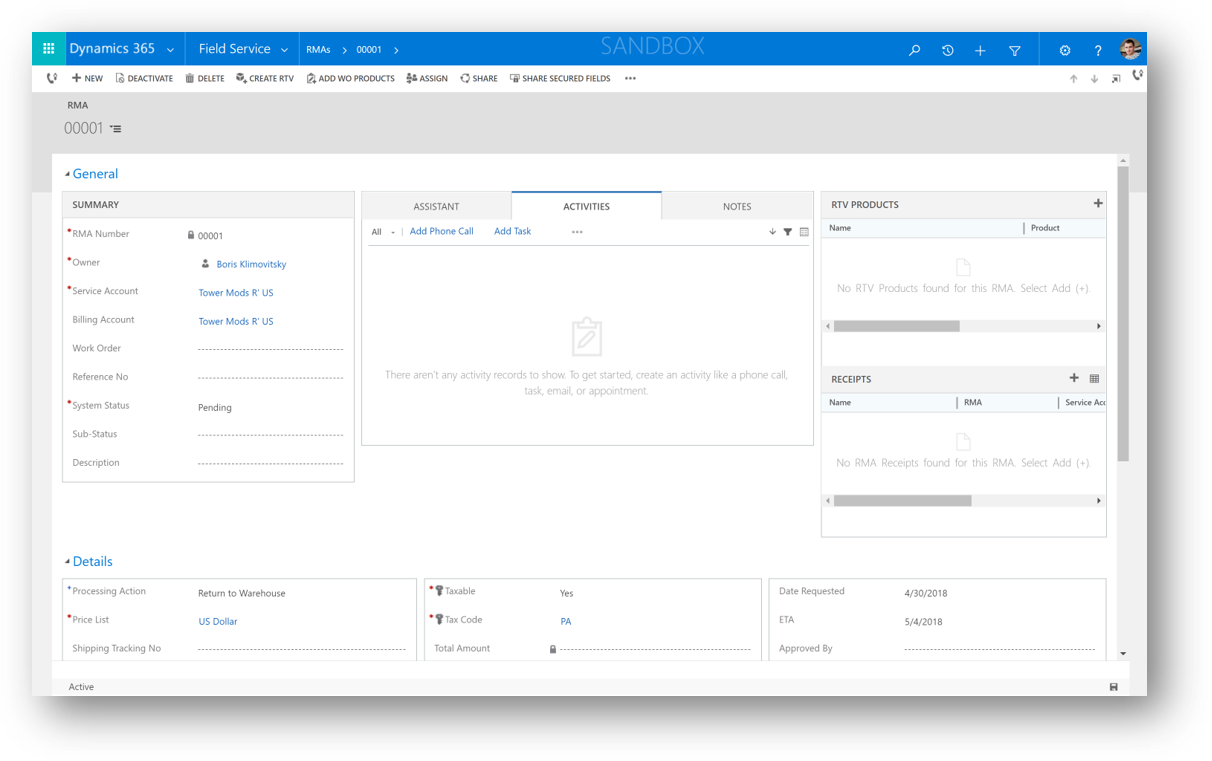
Enter the following information:
- Work Order: If the product was used on a work order, select the work order. The related service account is automatically filled in.
- Substatus: If you want an RMA substatus, select or create one. Examples of substatuses include exchange, repair, retire, and upgrade.
- Ship Via: If you want to track the method of transport for the return, select or create one. Examples of methods of transport include freight shipping, USPS Ground, and FedEx.
Enter optional information if available such as tracking numbers.
Select Save.
Add RMA products
After you create an RMA, add the products that someone can return. You can manually add RMA products, or you can add products that were used on a work order.
Add products manually
In the RMA record, on the Products tab, select Add New RMA Product.
Enter the following information:
- Quantity: Enter the quantity of the product that is being returned.
- Product: Select the product that is being returned.
- Processing Action: Select what should happen to the returned item after it's received.
- Create RTV: The product is sent back to the supplier or manufacturer. Indicate the vendor in the Vendor field.
- Return to warehouse: The product is returned to inventory in a warehouse. Indicate the warehouse in the Return to Warehouse field.
- Change Asset Ownership: The asset belongs to a different account. Indicate the new account in the Change Ownership field.
Select Save & Close.
Add products used on a work order
Note
You can use this method only if a work order is associated with the RMA.
In the RMA record, on the command bar at the top, select Add Work Order Product.
Enter the following information:
- Work Order Product: Select the product that was used on the work order.
- Quantity to Return: Enter the quantity of the product that was used on the work order that is being returned.
- Processing Action: Select what should happen to the returned item after it's received.
- Create RTV: The product is sent back to the supplier or manufacturer. Indicate the vendor in the Vendor field.
- Return to warehouse: The product is returned to inventory in a warehouse. Indicate the warehouse in the Return to Warehouse field.
- Change Asset Ownership: The asset belongs to a different account. Indicate the new account in the Change Ownership field.
Select OK and then confirm.
Select Save & Close.
Create an RMA receipt
After the appropriate user receives the RMA products, create an RMA receipt.
Open the RMA record, select Related > Receipts.
Select New RMA Receipt.
Enter a name for the receipt and the date the product is received.
Select Save.
Add RMA receipt products
In the RMA receipt record, select Related > Receipt Products.
Select New RMA Receipt Product.
Enter the following information:
- RMA Product: the product that is received.
- Quantity: the quantity that is received.
Select Save & Close.
For products that are tracked in inventory, and for returns that go to warehouses, the system automatically creates an inventory journal. This inventory journal increases the on-hand quantity in the warehouse by the quantity of the RMA receipt product.
Create an RTV (optional)
If the return goes back to the vendor, create an RTV.
In the RMA record, on the command bar at the top, select Create RTV.
Review the details, and then select OK and confirm.
To view the RTV record, on the main menu, go to Field Services > Inventory > RTVs.
Select the RTV record that you created to open it.
To track the return, update the System Status value when the return is approved, shipped, and received.
Credit the customer (optional)
Open the RMA, and then select Related > Receipts.
Edit the receipt and update the RMA Product value.
Set the Credit to Account field to Yes, and then select Save.

To issue a credit memo, return the RMA, and then go to RMA Receipts.
Select the RMA receipt.
On the command bar at the top, select Credit To Customer.