Note
Access to this page requires authorization. You can try signing in or changing directories.
Access to this page requires authorization. You can try changing directories.
Microsoft provides sample data in the Dynamics 365 apps that is standard across industries. As part of the onboarding process for new users or decision makers, the standard sample data can seem irrelevant to their job type, geographical location, or other factors. But with Copilot Studio, you can take advantage of generative AI and integrations with Dynamics 365 to generate sample data in locations where your organization does business.
Start with a sample solution that we provide in the https://github.com/microsoft/Dynamics-365-FastTrack-Implementation-Assets/ GitHub repo. This sample data solution is intended for anyone around the world who wants to demo, test, or just play with Dynamics 365 Field Service. The agent does the work of creating data in Dynamics 365, which means the user doesn't need to know about Dynamics 365 tables and schema.
We show you how to build an agent using Copilot Studio that helps you create location-based Account sample data in Dynamics 365.
Tip
Download the complete Copilot Studio Sample Data Agent solution from our FastTrack GitHub repro at https://github.com/microsoft/Dynamics-365-FastTrack-Implementation-Assets/Field Service/Component Library/Copilot Sample Data Agent/Solutions.
Note
Experience with Copilot Studio can be helpful but isn't required to follow the steps in this article. There are also licensing requirements for using Copilot Studio that this article doesn't discuss.
Note
We hope to help organizations get started with agents. This agent can be extended or modified to suit an organization's unique processes.
Overview
Copilot Studio is a low-code user interface that is used to build agents. The following list outlines key components that you can build in Copilot Studio:
- A Dataverse solution to contain all our components
- Power Automate flows that integrate with Dynamics 365
- An agent with topics in Copilot Studio
In this article, we walk you through creating each of these components.
Dataverse solution
Complete the following steps to create a new solution for our Copilot agent:
- Go to https://copilotstudio.microsoft.com/, and select the environment where you want to create your agent. It's the environment your Dynamics 365 org is already located in.
- From the left menu, select Solutions.
- From the toolbar, select New Solution.
- Enter a display name, name, publisher, and version. For example, call your solution something like Sample Data Copilot.
We're now ready to add components to our solution.
Create a flow in Power Automate
We use Power Automate to create the sample data records in Dynamics 365. In the following steps, we build our flow that takes the input from Copilot, parses it into a readable format, and imports it into Dynamics 365 to create account records.
To create a Power Automate Flow for account records
Open the solution you created earlier, and then select New -> Automation -> Cloud Flow -> Instant.
In the Build an instant cloud flow page, specify a name for the flow, such as Create Accounts in Dynamics 365 Flow, and then for how to trigger this flow, select Run a flow from Copilot. Then select Create.
Tip
If you skip this step, you can manually add the trigger to run a flow from Copilot.
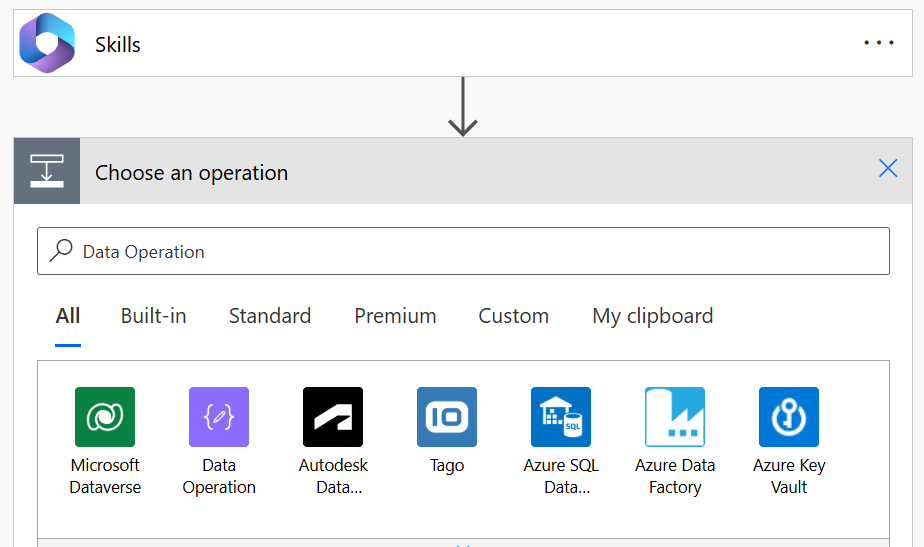
In the authoring canvas, select the Skills trigger node, and then add an input. Select Text, and then set the fields as indicated in the following table.
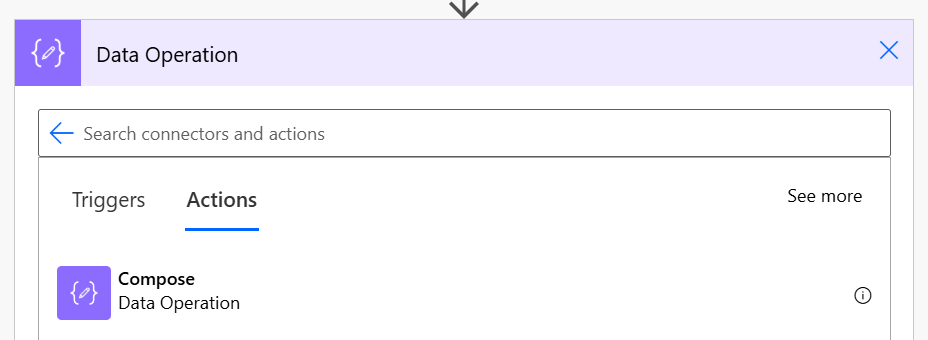
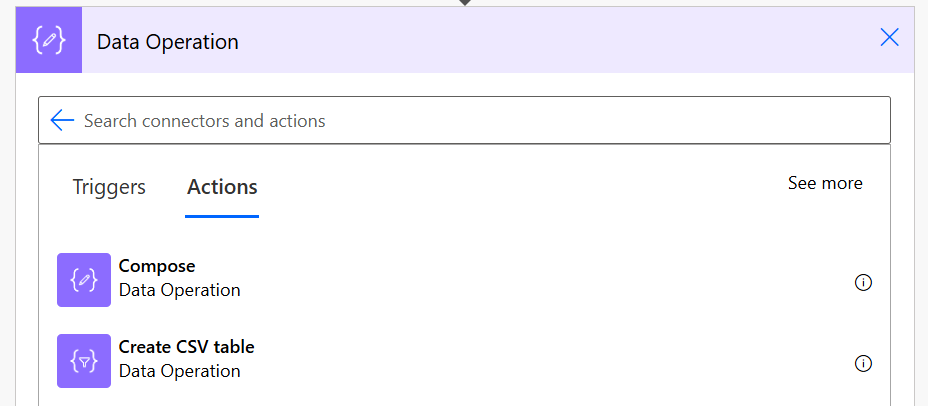
Title Description Input Accounts CSV Choose the New Step icon below the Run a flow from Copilot trigger, select Data Operation, and then select Compose.
Select the three dots, select Rename, and then name the step Split String to CSV.
Under Inputs, select Expression to add a function, and then enter the following code:
slice(triggerBody()?['text'], indexOf(triggerBody()?['text'], 'Name'), length(triggerBody()?['text']))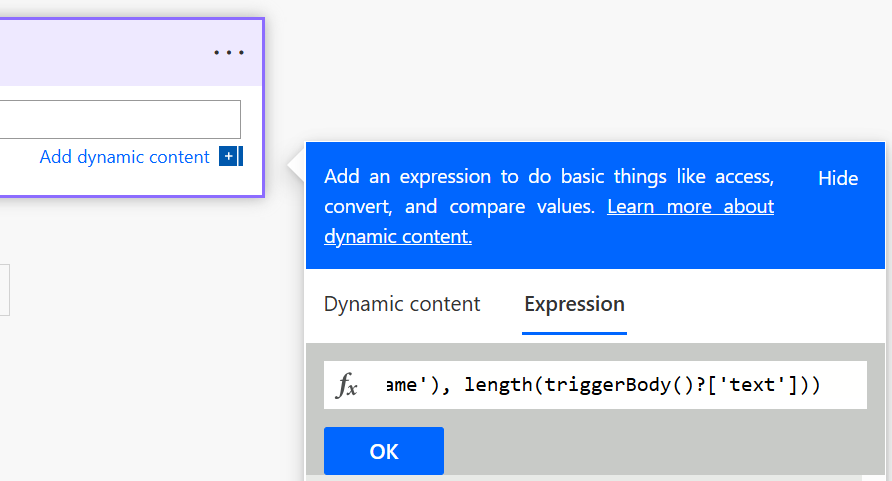
This step is now complete. Navigate back on the canvas.
Choose the New Step action, select Data Operation, and then select Compose.
Name the step CSVTable.
Under Inputs, select Expression to add a function and then enter the following code:
trim(slice(outputs('Split_String_to_CSV'), indexOf(outputs('Split_String_to_CSV'), 'Name'), indexOf(outputs('Split_String_to_CSV'), '```')))This step is now complete. Navigate back on the canvas.
Choose the New Step action below this step, select Data Operation, and then select Compose.
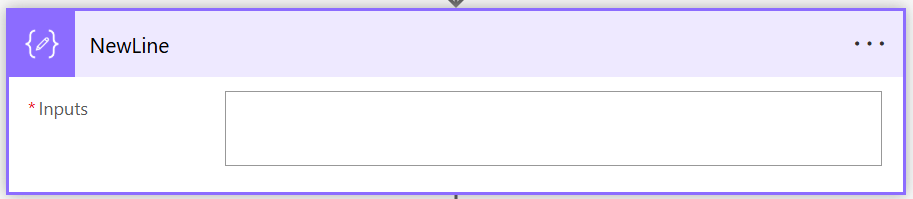
Name the step NewLine.
Under Inputs, enter a new line by pressing enter.
This step is now complete. Navigate back on the canvas.
Choose the New Step action below this step, select Data Operation, and then select Compose.
Name the step Split CSV.
Under Inputs, select Expression to add a function, and then enter the following code:
split(outputs('CSVTable'),outputs('NewLine'))This step is now complete. Navigate back on the canvas.
Choose the New Step action below this step, select Data Operation, and then select Compose.
Name the step Get Field Names.
Under Inputs, select Expression to add a function, and then enter the following code:
split(first(outputs('Split_CSV')),',')This step is now complete. Navigate back on the canvas.
Choose the New Step action below this step, select Data Operation, and then select Create CSV Table.
Name the step Map Fields.
In the From field, enter the following formula:
skip(outputs('Split_CSV'),1)Set the Columns field to Custom.
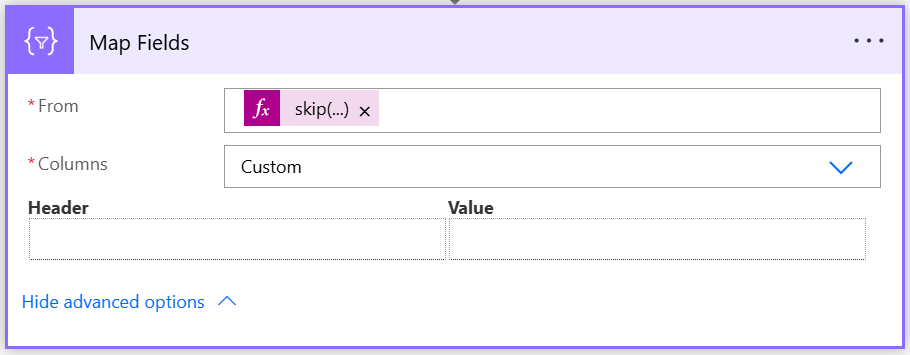
Add rows that map headers and values in the fields under Map Fields.
Important
You must select Expression for each formula, don't enter the formula directly into the text box.
Create a new row for each row in the following table:
Header textbox Value textbox outputs('Get_Field_Names')[0]split(item(), ',')[0]outputs('Get_Field_Names')[1]split(item(), ',')[1]outputs('Get_Field_Names')[2]split(item(), ',')[2]outputs('Get_Field_Names')[3]split(item(), ',')[3]outputs('Get_Field_Names')[4]split(item(), ',')[4]outputs('Get_Field_Names')[5]split(item(), ',')[5]outputs('Get_Field_Names')[6]split(item(), ',')[6]This step is now complete. Navigate back on the canvas.
Choose the New Step action below this step, select Data Operation, and then choose Parse JSON.
Name the step Parse JSON.
In the Content section, add a variable, and then select Body from the Map Fields step.
Paste the following schema:
{
  "type": "array",
  "items": {
    "type": "object",
    "properties": {
      "Name": {
        "type": "string"
      },
      "Address1_Line1": {
        "type": "string"
      },
      "Address1_City": {
        "type": "string"
      },
      "Address1_StateorProvince": {
        "type": "string"
      },
      "Address1_PostalCode": {
        "type": "string"
      },
      "Address1_Latitude": {
        "type": "string"
      },
      "Address1_Longitude": {
        "type": "string"
      }
    },
    "required": [
      "Name",
      "Address1_Line1",
      "Address1_City",
      "Address1_StateorProvince",
      "Address1_PostalCode",
      "Address1_Latitude",
      "Address1_Longitude"
    ]
  }
}
This step is now complete. Navigate back on the canvas.
Choose the New Step action below this step, select Microsoft Dataverse, and then choose Add a new row.
Name the step Add a new row.
Select the Table Name as Accounts.
An Apply to Each control is applied automatically. Map the following fields:
Field Name Map To (from Parse JSON) Account Name Name Address 1: Street 1 Address1_Line1 Address 1: City Address1_City Address 1: Latitude Address1_Latitude Address 1: Longitude Address1_Longitude Address 1: State/Province Address1_State Address 1: ZIP/Postal Code Address1_PostalCode This step is now complete. Navigate back on the canvas.
Save the Power Automate flow.
Tip
If you create a flow outside of the solution, make sure you add it to the solution so it's visible to our Copilot Studio agent. Learn more at Create a flow - Microsoft Copilot Studio
Create an agent in Copilot Studio
We'll now create our agent.
- From the solution you created earlier, select New -> Agent -> Agent.
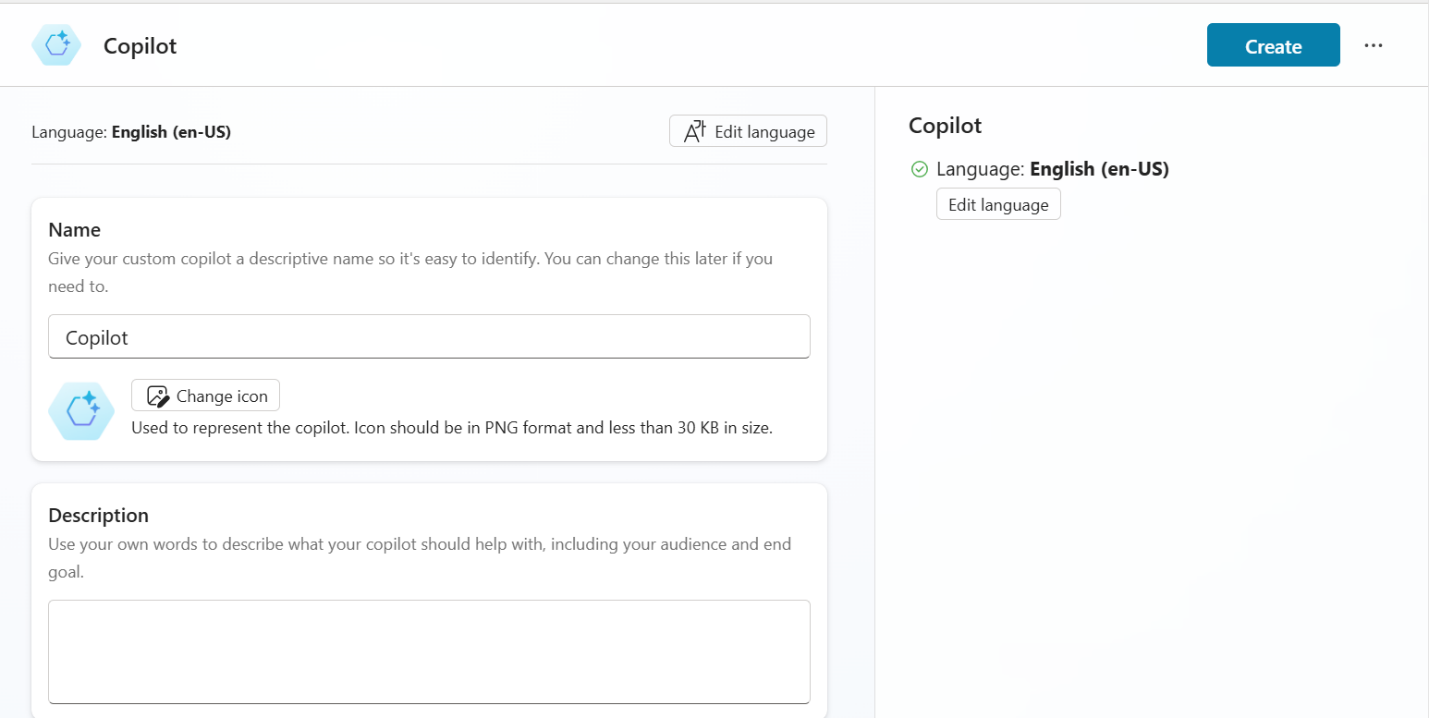
You can use Copilot itself to create agents. In our example, we choose the Skip to Configure button in the top right corner:
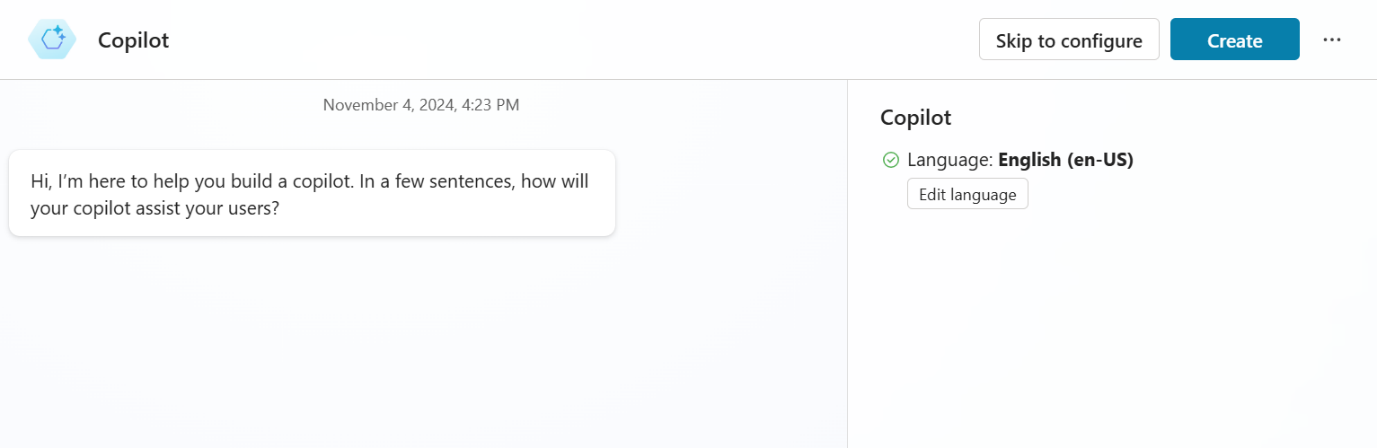
Provide a name and a description, and then choose the Create action. In this article, we call the agent Dynamics 365 Sample Data Copilot.
Next, we modify one of the out-of-the-box topics, Conversation Start, and create a new topic, Create Dynamics 365 Account Sample Data, in two different ways:
Create the topic with code
Follow these steps to create a new topic.
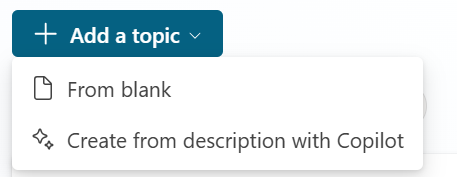
Go to the Topics tab and select Add a topic -> From blank:
In the top left, choose the label Untitled, and replace it with the name Create Dynamics 365 Account Sample Data.
Go to the More menu option, and then select Open code editor.
Paste the following code into the editor:
kind: AdaptiveDialog
beginDialog:
  kind: OnRecognizedIntent
  id: main
  intent:
    triggerQueries:
    - Create Dynamics 365 Account Records

  actions:
    - kind: Question
      id: question_l2NZ5B
      interruptionPolicy:
      allowInterruption: true

      variable: init:Topic.LatLongQuestion
      prompt: Sure, I can help with that. Let's start by defining a central location where our data will be based. Would you like to enter a central location or use the default location of Times Square (40.757500, -73.985830)?

      entity:
        kind: EmbeddedEntity
        definition:
          kind: ClosedListEntity
          items:
            - id: Use Times Square
              displayName: Use Times Square
            - id: Enter my own starting place
              displayName: Enter my own starting place
    - kind: ConditionGroup
      id: conditionGroup_8TBebf
      conditions:
        - id: conditionItem_YT2JNQ
          condition: =Topic.LatLongQuestion = 'cref4_copilotUpdateDynamics.topic.Test2.main.question_l2NZ5B'.'Use Times Square'
          actions:
            - kind: SetVariable
              id: setVariable_cU0YkY
              variable: Global.Latitude
              value: "\"40.7575\""
            - kind: SetVariable
              id: setVariable_OBsvkQ
              variable: Global.Longitude
              value: "\"-73.98583\""
        - id: conditionItem_XI2Wt8
          condition: =Topic.LatLongQuestion = 'cref4_copilotUpdateDynamics.topic.Test2.main.question_l2NZ5B'.'Enter my own starting place'
          actions:
            - kind: Question
              id: question_PvLcgI
              interruptionPolicy:
              allowInterruption: true
              variable: Global.Latitude
              prompt: "OK, please enter the latitude of your starting place. It should look something like this: 40.757500"
              entity: StringPrebuiltEntity
            - kind: Question
              id: question_ABqb2S
              interruptionPolicy:
              allowInterruption: true
              variable: Global.Longitude
              prompt: "Now enter the longitude of your starting place. It should look something like this: -73.985830"
              entity: StringPrebuiltEntity
    - kind: SendActivity
      id: sendActivity_MVCLUE
      activity: You got it! I'll show you the data to verify before we create it in Dynamics 365. This might take a moment.
    - kind: SearchAndSummarizeContent
      id: 0ozNLn
      displayName: Generate accounts with generative answers
      autoSend: false
      variable: Topic.AccountsCSVOutput
      userInput: "''"
      additionalInstructions: "Create a CSV format list without double quotes of 5 accounts with the following fields: fake company name = Name, fake street name and number = Address1_Line1, real city = Address1_City, real state abbreviation = Address1_StateorProvince, real zip code = Address1_PostalCode , real latitude = Address1_Latitude, real longitude = Address1_Longitude within 50 miles of {Global.Latitude}, {Global.Longitude} "
    - kind: SendActivity
      id: sendActivity_qy2BJm
      activity: "{Topic.AccountsCSVOutput}"
    - kind: Question
      id: question_rLxDXK
      interruptionPolicy:
      allowInterruption: true
      variable: init:Topic.CreateInDynamics
      prompt: Please verify the sample data. If it looks good, I can create these accounts in Dynamics 365 for you now. Do you want me to import the accounts?
      entity:
        kind: EmbeddedEntity
        definition:
          kind: ClosedListEntity
          items:
            - id: Yes, create these in Dynamics 365
              displayName: Yes, create these in Dynamics 365
            - id: No, I don't want these created in Dynamics 365.
              displayName: No, I don't want these created in Dynamics 365.
    - kind: ConditionGroup
      id: conditionGroup_Y9BPEq
      conditions:
        - id: conditionItem_kV0eBW
          condition: =Topic.CreateInDynamics = 'cref4_copilotUpdateDynamics.topic.Test2.main.question_rLxDXK'.'Yes, create these in Dynamics 365'
          actions:
            - kind: SendActivity
              id: sendActivity_ZISjiE
              activity: Account records have been created in Dynamics 365.
        - id: conditionItem_NttcFZ
          condition: =Topic.CreateInDynamics = 'cref4_copilotUpdateDynamics.topic.Test2.main.question_rLxDXK'.'No, I don''t want these created in Dynamics 365.'
          actions:
            - kind: SendActivity
              id: sendActivity_upTEZp
              activity: Thanks. You must create these records manually or try again.

    elseActions:
      - kind: SendActivity
        id: sendActivity_YxbkmR
        activity: Thanks. You must create these records manually or try again.

inputType:
  properties:
    AccountsCSVOutput:
      displayName: AccountsCSVOutput
      type: String
Scroll down to the Create Records in Dynamics Condition, and then choose the plus sign to add a new node.
Select Call an Action, and then select the Create Accounts in Dynamics 365 Flow action that we created in the previous step:
For the Input (String) value, select the AccountsCSVOutput variable.
Save the topic.
Create the topic manually
The following steps are the manual equivalent of pasting the code into the editor that we did in the previous section.
Tip
Only follow these steps if you didn't follow the steps in the To create the topic with code section to create the topic with AI. Continue with the steps here if you want to manually create the topic, such as to understand how each step of the topic works.
Select the Topics tab. Select Add a Topic then From Blank.
Under the Trigger node, add a new node Ask a question. In the message, enter
Sure, I can help with that. Let's start by defining a central location where our data will be based. Would you like to enter a central location or use the default location of Times Square (40.757500, -73.985830)?Select + New Option and enter
Use Times Square.Select + New Option and enter
Enter my own starting location.Scroll down to view the conditions automatically created from the Ask a Question node. Locate the condition for
Use Times Square, and then add a new node under it, Variable Management->Set Variable Value. Select Set Variable to Global.Latitude and To value to 40.7575.Add a new node Variable Management->Set Variable Value. Select Set Variable to Global.Longitude and To value to -73.98583.
Under the Enter my own starting place condition, add a new node, Ask a Question. Set the message to
OK, please enter the latitude of your starting place. It should look something like this: 40.757500.. Set Identify to User's Entire Response. Save the response in the variable Global.Latitude.Add a new node Ask a Question. Set the message to
OK, please enter the longitude of your starting place. It should look something like this: -73.98583. Set Identify to User's Entire Response. Save the response in the variable Global.Longitude.After the Conditions nodes, add a new node Send a Message. The message verifies that the information is received and informs the user of what's next. The message should be
You got it! I'll show you the data to verify before we create it in Dynamics 365. This might take a moment.After the Send a Message node, add a new node Advanced->Generative Answers. For Input, enter two single quotes.
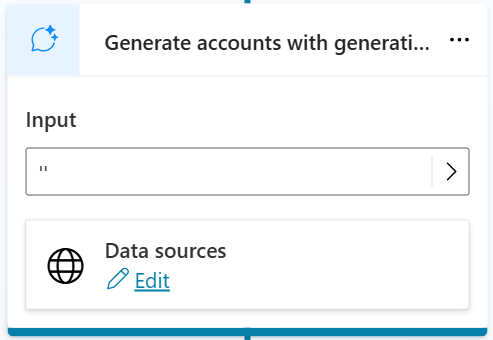
Choose the Edit Data Sources action. Under Classic data, select the box to Allow the AI to use its own general knowledge and use the following query:
Create a CSV format list without double quotes of 5 accounts with the following fields: fake company name = Name, fake street name and number = Address1_Line1, real city = Address1_City, real state abbreviation = Address1_StateorProvince, real zip code = Address1_PostalCode , real latitude = Address1_Latitude, real longitude = Address1_Longitude within 50 miles of {latitude}, {longitude}Replace
{latitude}and{longitude}in the example by selecting {x} and then specifying the Global.Latitude and Global.Longitude variables, respectively.Under Advanced, check the box for Send a message and save the bot response as a new variable AccountsCSVOutput type string.
Under the Generative Answers node, create a new node and select Ask a Question. In the message, enter
Please verify the sample data. If it looks good, I can create these accounts in Dynamics 365 for you now. Do you want me to import the accounts?We provide two options for the user:
Yes, create these accounts in Dynamics 365andNo, I don't want these created in Dynamics 365. The user's response saves to a new variable called CreateInDynamics.Using the variable from the answered question, if the answer is Yes, then select Call an Action, and then Create Accounts in Dynamics 365 Flow, which is the flow we created earlier.
Finally, add a node to Send a Message, display a message to the user that
Account records have been created in Dynamics 365.
Modify the Conversation start topic
Now, we modify the out-of-the-box Conversation Start topic to call the new Create Dynamics 365 Account Sample Data topic that we created earlier.
Select the Topics tab, then the System tab, and then open Conversation Start.
Open the Message node to edit it. This is the first text that users see when they engage with the bot.
Replace the text with the following string:
Hello, I'm the <Bot.Name>. I can create Dynamics 365 sample data that is relevant to your organization! Be sure to only run me in a development or test environment, not in your production org as we will be inserting data into the selected org.In the text, replace
<Bot.Name>with the variable Bot.Name under the variable System tab.Choose the plus sign to create a new node below the conversation start box, and then choose Ask a question. In the message box, enter the following text:
Do you want to get started by creating some service accounts?Under Options for User, select the + New Option action, and then enter Yes for option 1.
Select + New Option and enter No for option 2
Scroll down and there should be 3 condition nodes created from the Ask a Question node. Under the Yes node, add a new node, select Topic Management, choose Go to Another Topic, and then select the topic Create Dynamics 365 Account Sample Data that we created earlier.
Tip
The flow should automatically add the conditions. If it doesn't, follow the manual steps to add the conditions.
Run the agent
To run the agent:
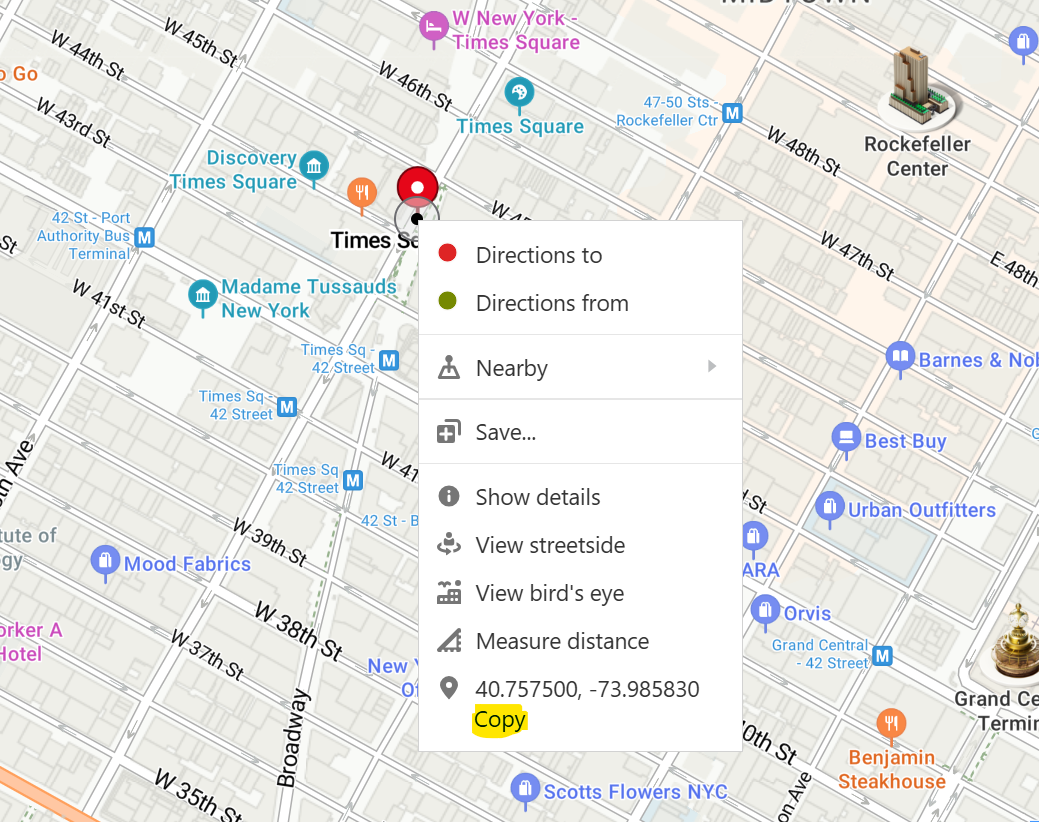
In a browser tab, go to Bing Maps at https://www.bing.com/maps/, enter your chosen central location, and then right-click the map, and then copy the coordinates.
For example, if you are in New York City and in Times Square, you can copy the coordinates (40.757500, -73.985830).
In a separate browser tab, go to Copilot Studio at https://copilotstudio.microsoft.com/, and then select the environment that you deployed the Copilot in the top right.
In the left menu, select Agents, then Dynamics 365 Sample Data Copilot.
On the right, select the Test action, and then follow the instructions of Copilot.
Follow the prompts in Copilot agent to create sample data. When prompted, enter the latitude and longitude, you copied from Bing Maps.
Once Copilot has generated the sample data, go to your Dynamics 365 organization and browse to Accounts to see the sample data created.