Migrate data with the data sync accelerator
Important
Fundraising and Engagement is being retired. Support for Fundraising and Engagement will end at 11:59 PM Pacific Time on December 31, 2026. For more information, go to What’s new in Fundraising and Engagement.
Migrate data into Fundraising and Engagement with the data sync accelerator, a scalable solution based on Azure Data Factory. This tool speeds up your migration process. While we recommend this tool for all customers, you must use it if you're migrating over 100,000 records or 5,000 contacts and accounts.
Prerequisites
Set up autoscaling for Azure SQL before you run the data sync accelerator, because the Fundraising and Engagement Azure SQL server doesn't allow for automatic scale up. You can turn off autoscaling after the migration completes.
Note
If you have a large environment (one million records or more), we recommend that you use at least an Azure Premium P1 tier with 125 DTUs.
You must be running version 2.1.3.3 or higher. If you're running an older version, we recommend you perform an upgrade before you use the data sync accelerator.
This process pauses all payment processing and background services. We recommended that you run this tool outside of your normal gift processing windows to reduce disruption.
Costs
You incur extra costs during the migration in Azure Data Factory and in Azure SQL. For information about accurate costs, go to the Azure pricing calculator. The following are examples of costs you might incur:
- For Data Factory to process 10 million records across all the entities, the cost would be about $20.
- The cost of running Azure SQL on the higher tier depends on the duration of the migration. With an estimated maximum migration time of 36 hours, the cost would be about $45.
Process overview
- Amend settings in Azure and Data Factory.
- Migrate data into the Dataverse.
- Run the data sync accelerator.
- Restore the original settings in Azure and Data Factory.
This article guides you through the steps to prepare Azure and Data Factory, run the data sync accelerator, and then restore the settings in Azure and Data Factory.
Important
It's important to follow every step in this process. If you miss any step, your migration will fail.
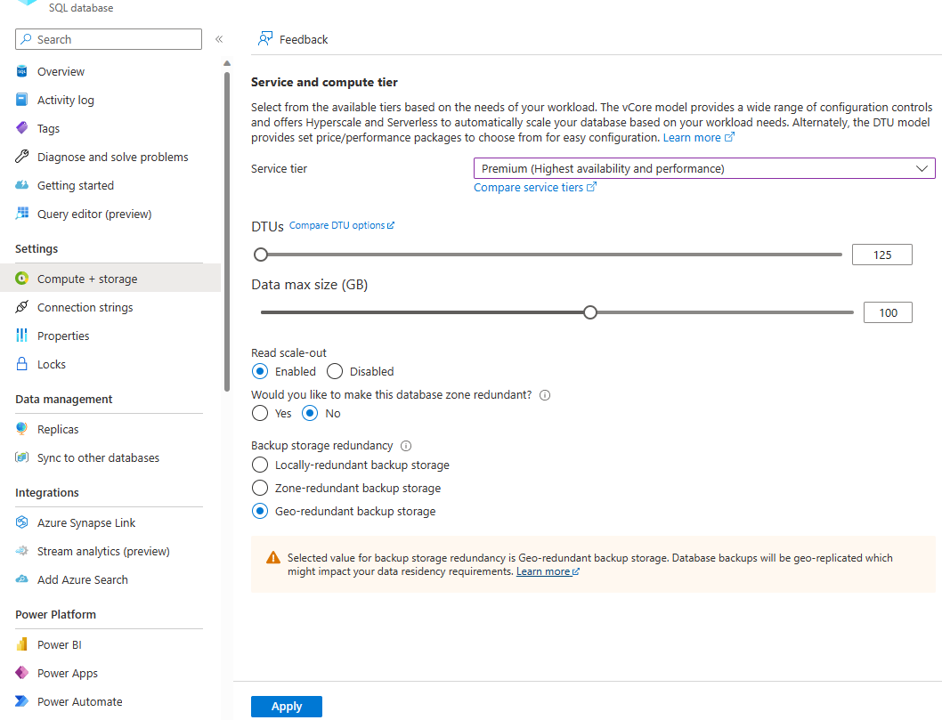
Step 1: Enable autoscale
Navigate to your SQL database.
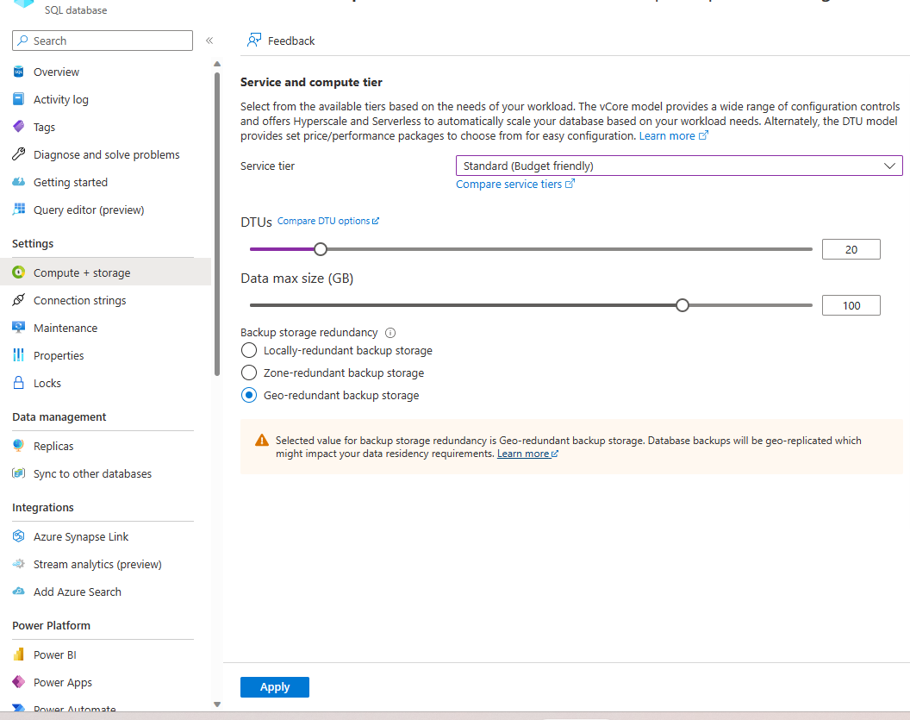
Select Compute + Storage from the Settings group.
In the Service tier field, select Premium (Highest availability and performance).
Adjust the slider to display 125 DTUs.
Select Apply.
Step 2: Stop BackgroundServices in Azure
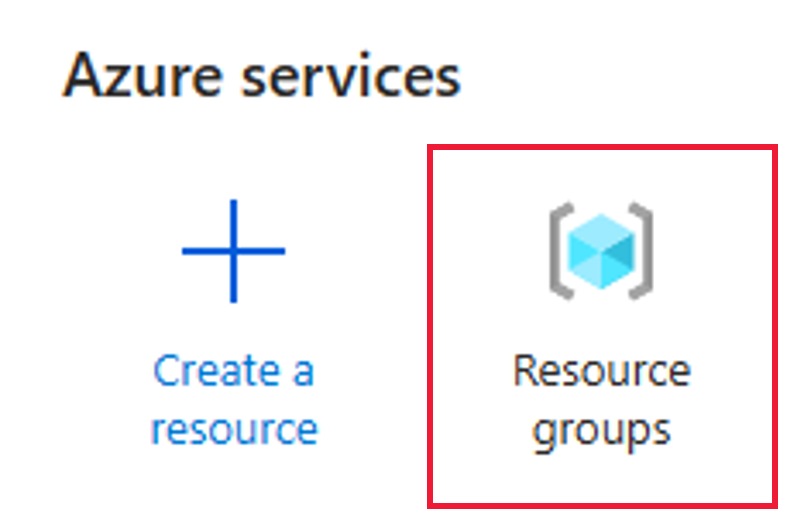
Navigate to the Azure portal.
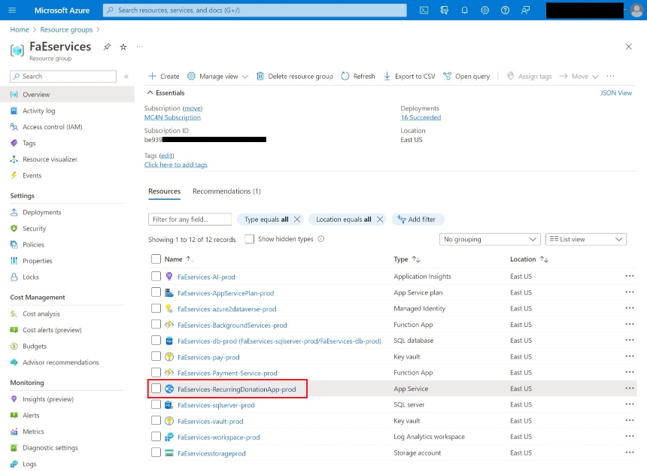
Select or search for Resource groups.
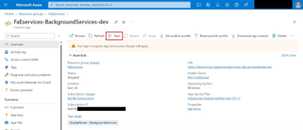
Open the Fundraising and Engagement Services resource group and locate BackgroundServices.
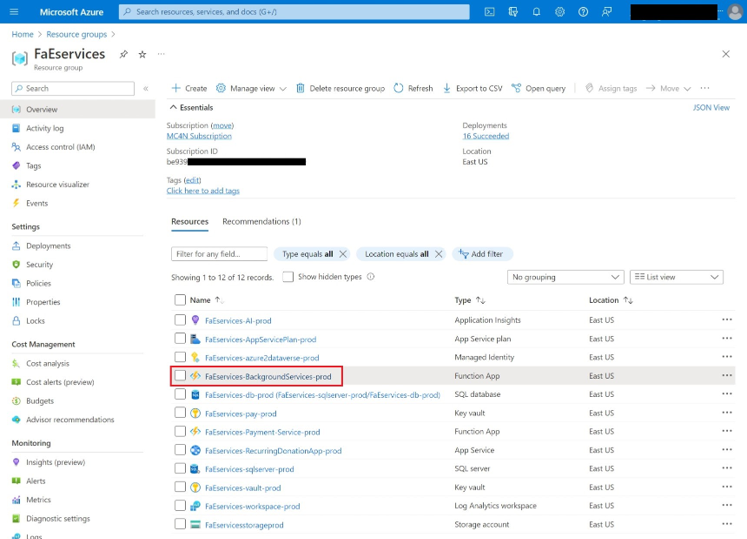
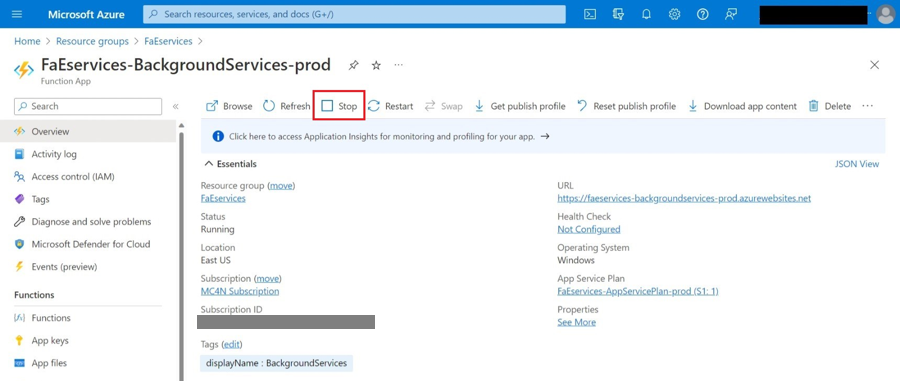
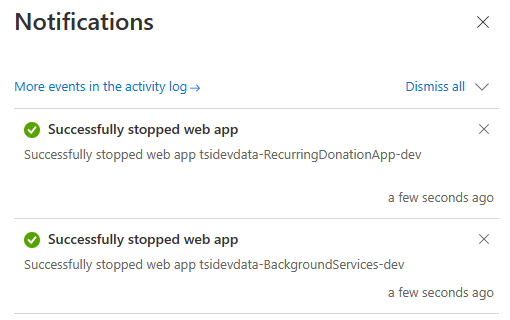
Open BackgroundServices and select Stop. Select Yes on the Stop web app confirmation dialog box. Continue after you see the Successfully stopped web app confirmation message.


Step 3: Stop RecurringDonationApp in Azure
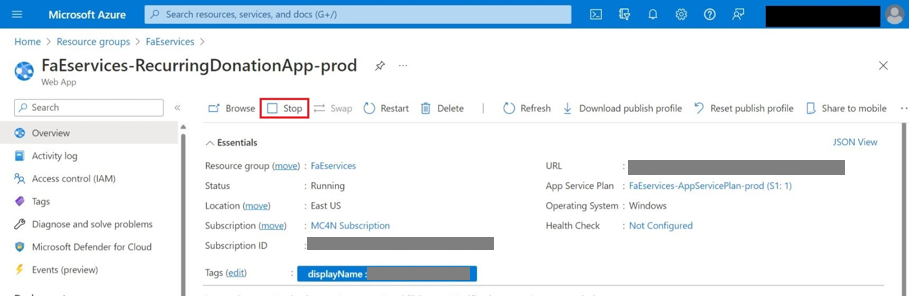
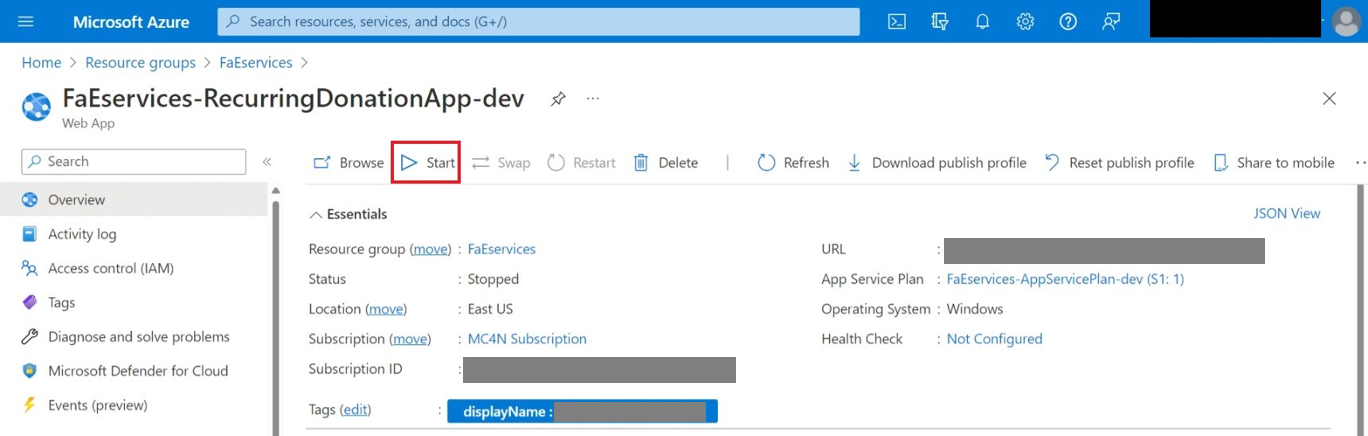
Return to the Fundraising and Engagement resource group and locate RecurringDonationApp.
Open RecurringDonationApp, and then select Stop.
Verify that both apps have been stopped in the notifications panel.
Remain in the RecurringDonationApp.


Step 4: Disable web jobs
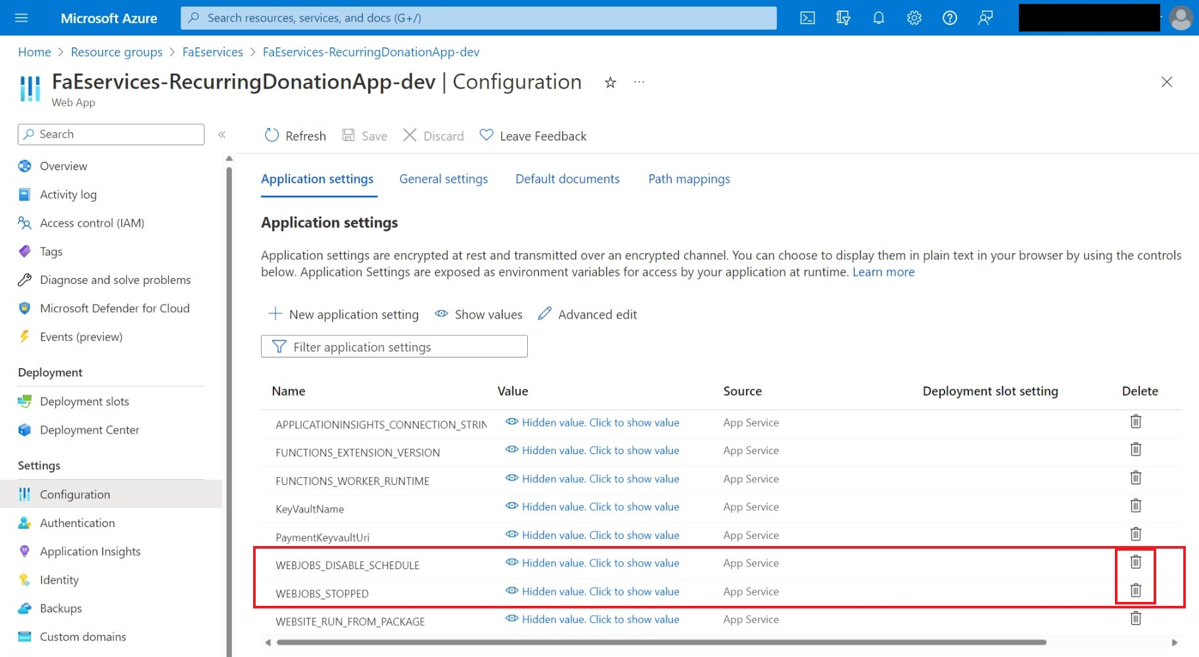
Select Configuration from the side panel.
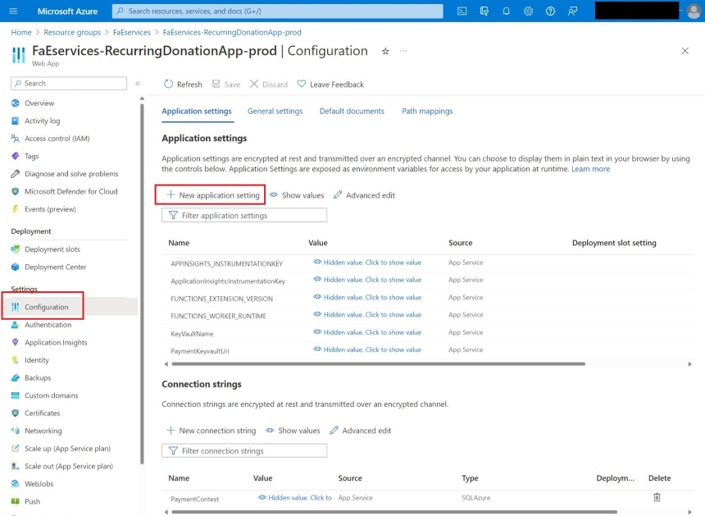
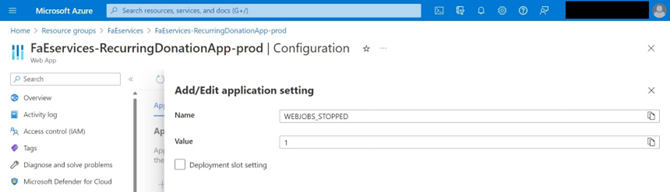
Select + New application setting. In the popup window, enter the following values:
- Name: WEBJOBS_STOPPED
- Value: 1
Select OK to close the window.
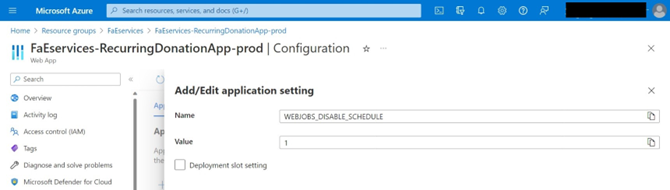
Select + New application setting. In the popup window, enter the following values:
- Name: WEBJOBS_DISABLE_SCHEDULE
- Value: 1
Select OK to close the window.
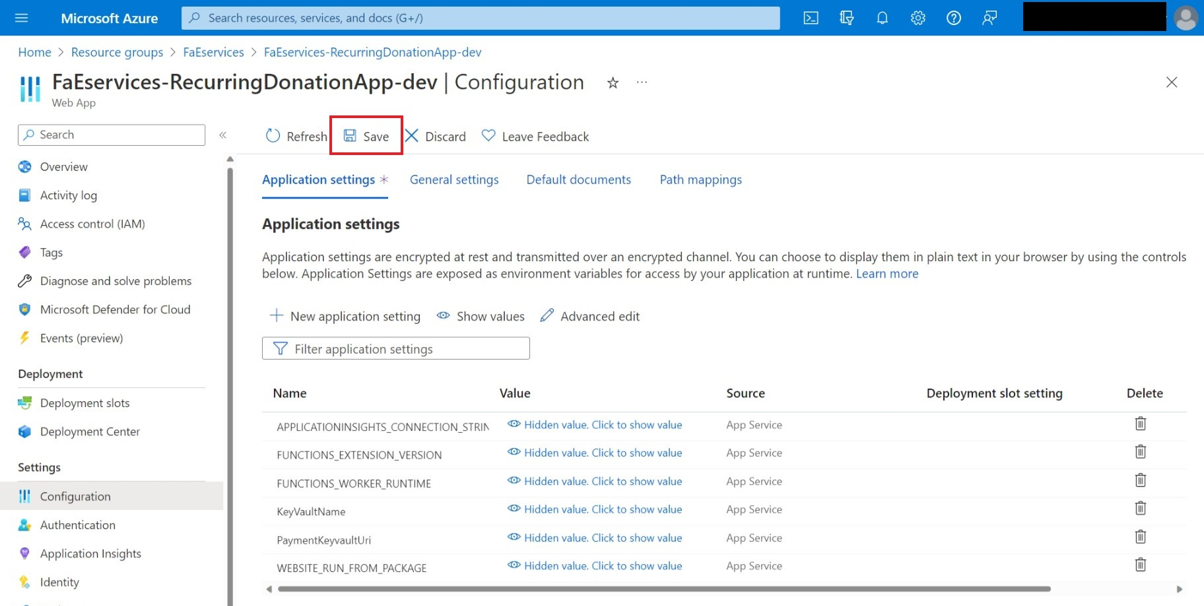
Select Save, and then select Continue. Proceed after you get the Successfully updated web app settings confirmation message.
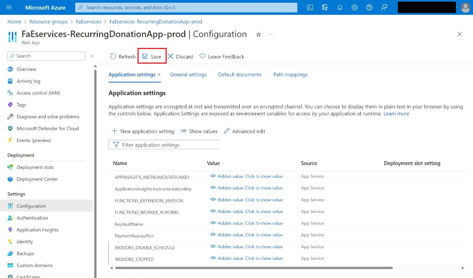


You've finished changing the settings in Azure. Leave this window open, because you'll need to refer to this information in the next step.
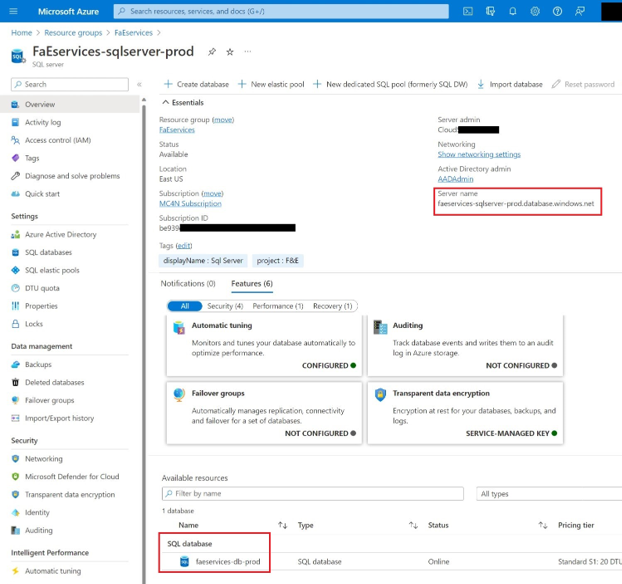
Step 5: Obtain the SQL server and database names from Azure
Navigate to the Fundraising and Engagement Azure Services resource group.
Navigate to the server hosting Fundraising and Engagement.
Copy and paste the server name and SQL database name into Notepad or Word, because you'll need this information for the next section.

You can now close Azure.
Step 6: Disable related Dynamics plugins in Power Apps
Navigate to the Power Apps Portal.
Select the environment that hosts Fundraising and Engagement from the main banner.

Select Solutions, and then select Fundraising and Engagement.
Select the ellipses (...), and then select Edit.

Select Objects, and then select Plug-in steps. A list of plug-ins displays.
In the search box, enter YearlyGiving.
Select the first item in the list and select Turn off.
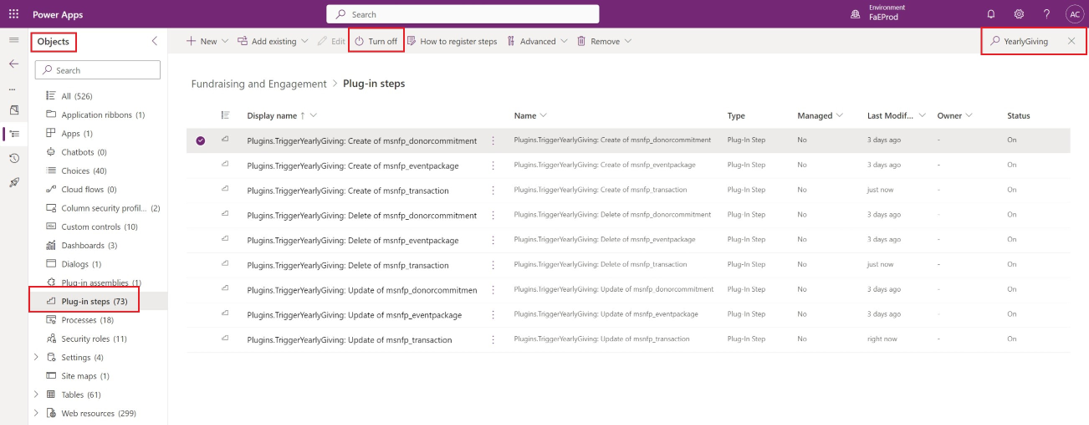
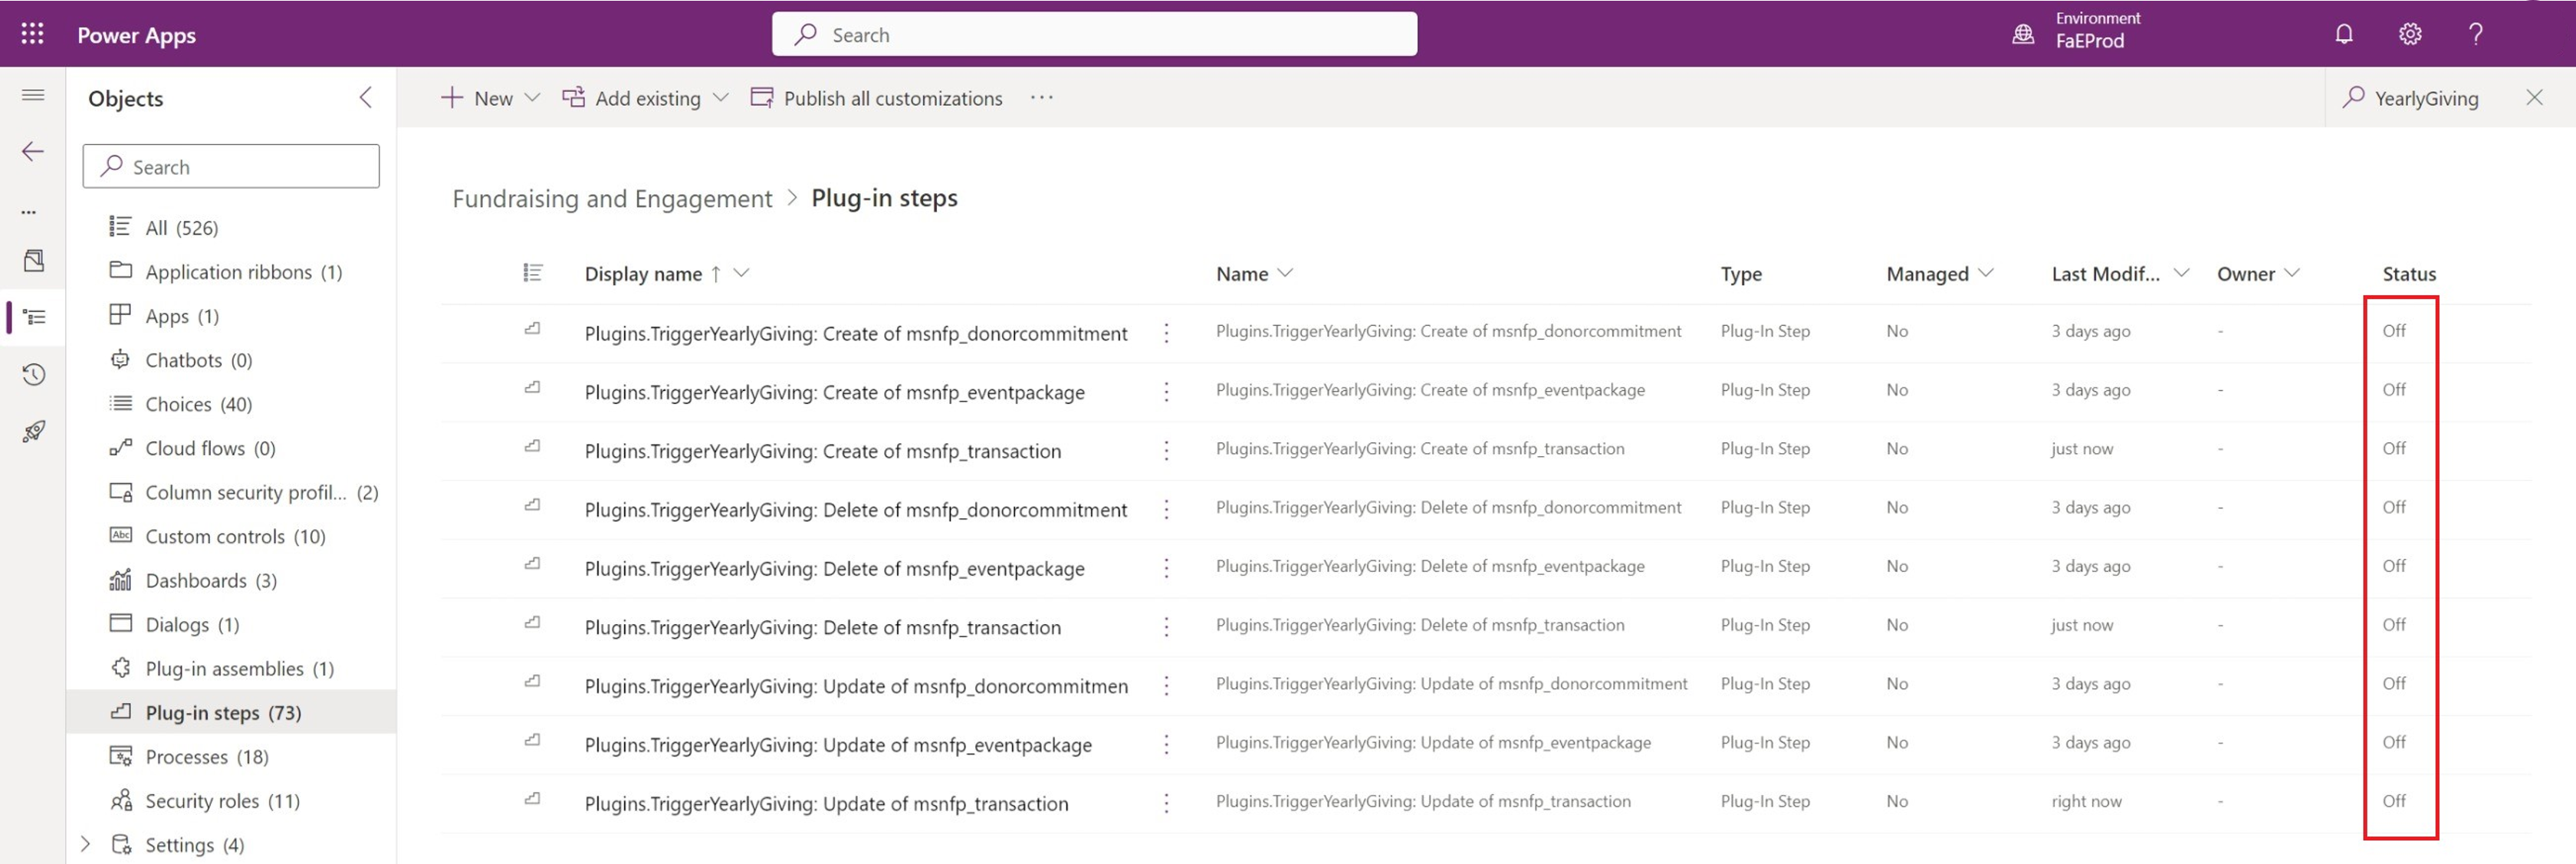
After the plugin is turned off, a confirmation banner appears, and the plugin status changes to Off.

Repeat these steps to turn off all the remaining create, delete, and update plugins for the three entities, msnfp_transaction, msnfp_donorcommitment, and msnfp_eventpackage until all the statuses show as Off.
If you have Dynamics 365 Customer Insights, turn off the process for GDPROptOutPreValidationPlugin: Update of contact. If you don't use Dynamics 365 Customer Insights, ignore this step.


You can now close Power Apps.
Step 7: Import the data sync accelerator
Open the Azure Resource Manager template.
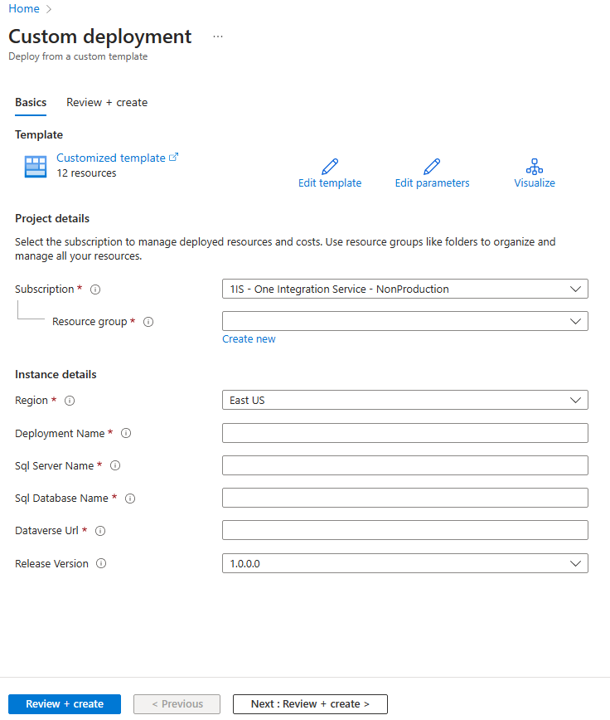
Complete the following fields:
Field Description Subscription Select the subscription from the dropdown. Resource group Select the resource group for the data sync accelerator. We recommend that you set up a dedicated resource group, which you can delete after the migration completes. Region Select the region for deploying the data sync accelerator. We recommend that you deploy the resources in the same region where the Dataverse and other Fundraising and Engagement resources are stored. Deployment Name Enter a friendly name to identify the instance. Take note of this name so you can use it in the next step. Sql Server Name Enter your SQL server name. Sql Database Name Enter your SQL database name. Dataverse Url Obtain the Dataverse URL where you run the data sync accelerator. We recommend that you test in a development or testing environment before running in production. Release Version This field is prepopulated. Select Next: Review and create.
The terms and conditions display. Select Create to continue.
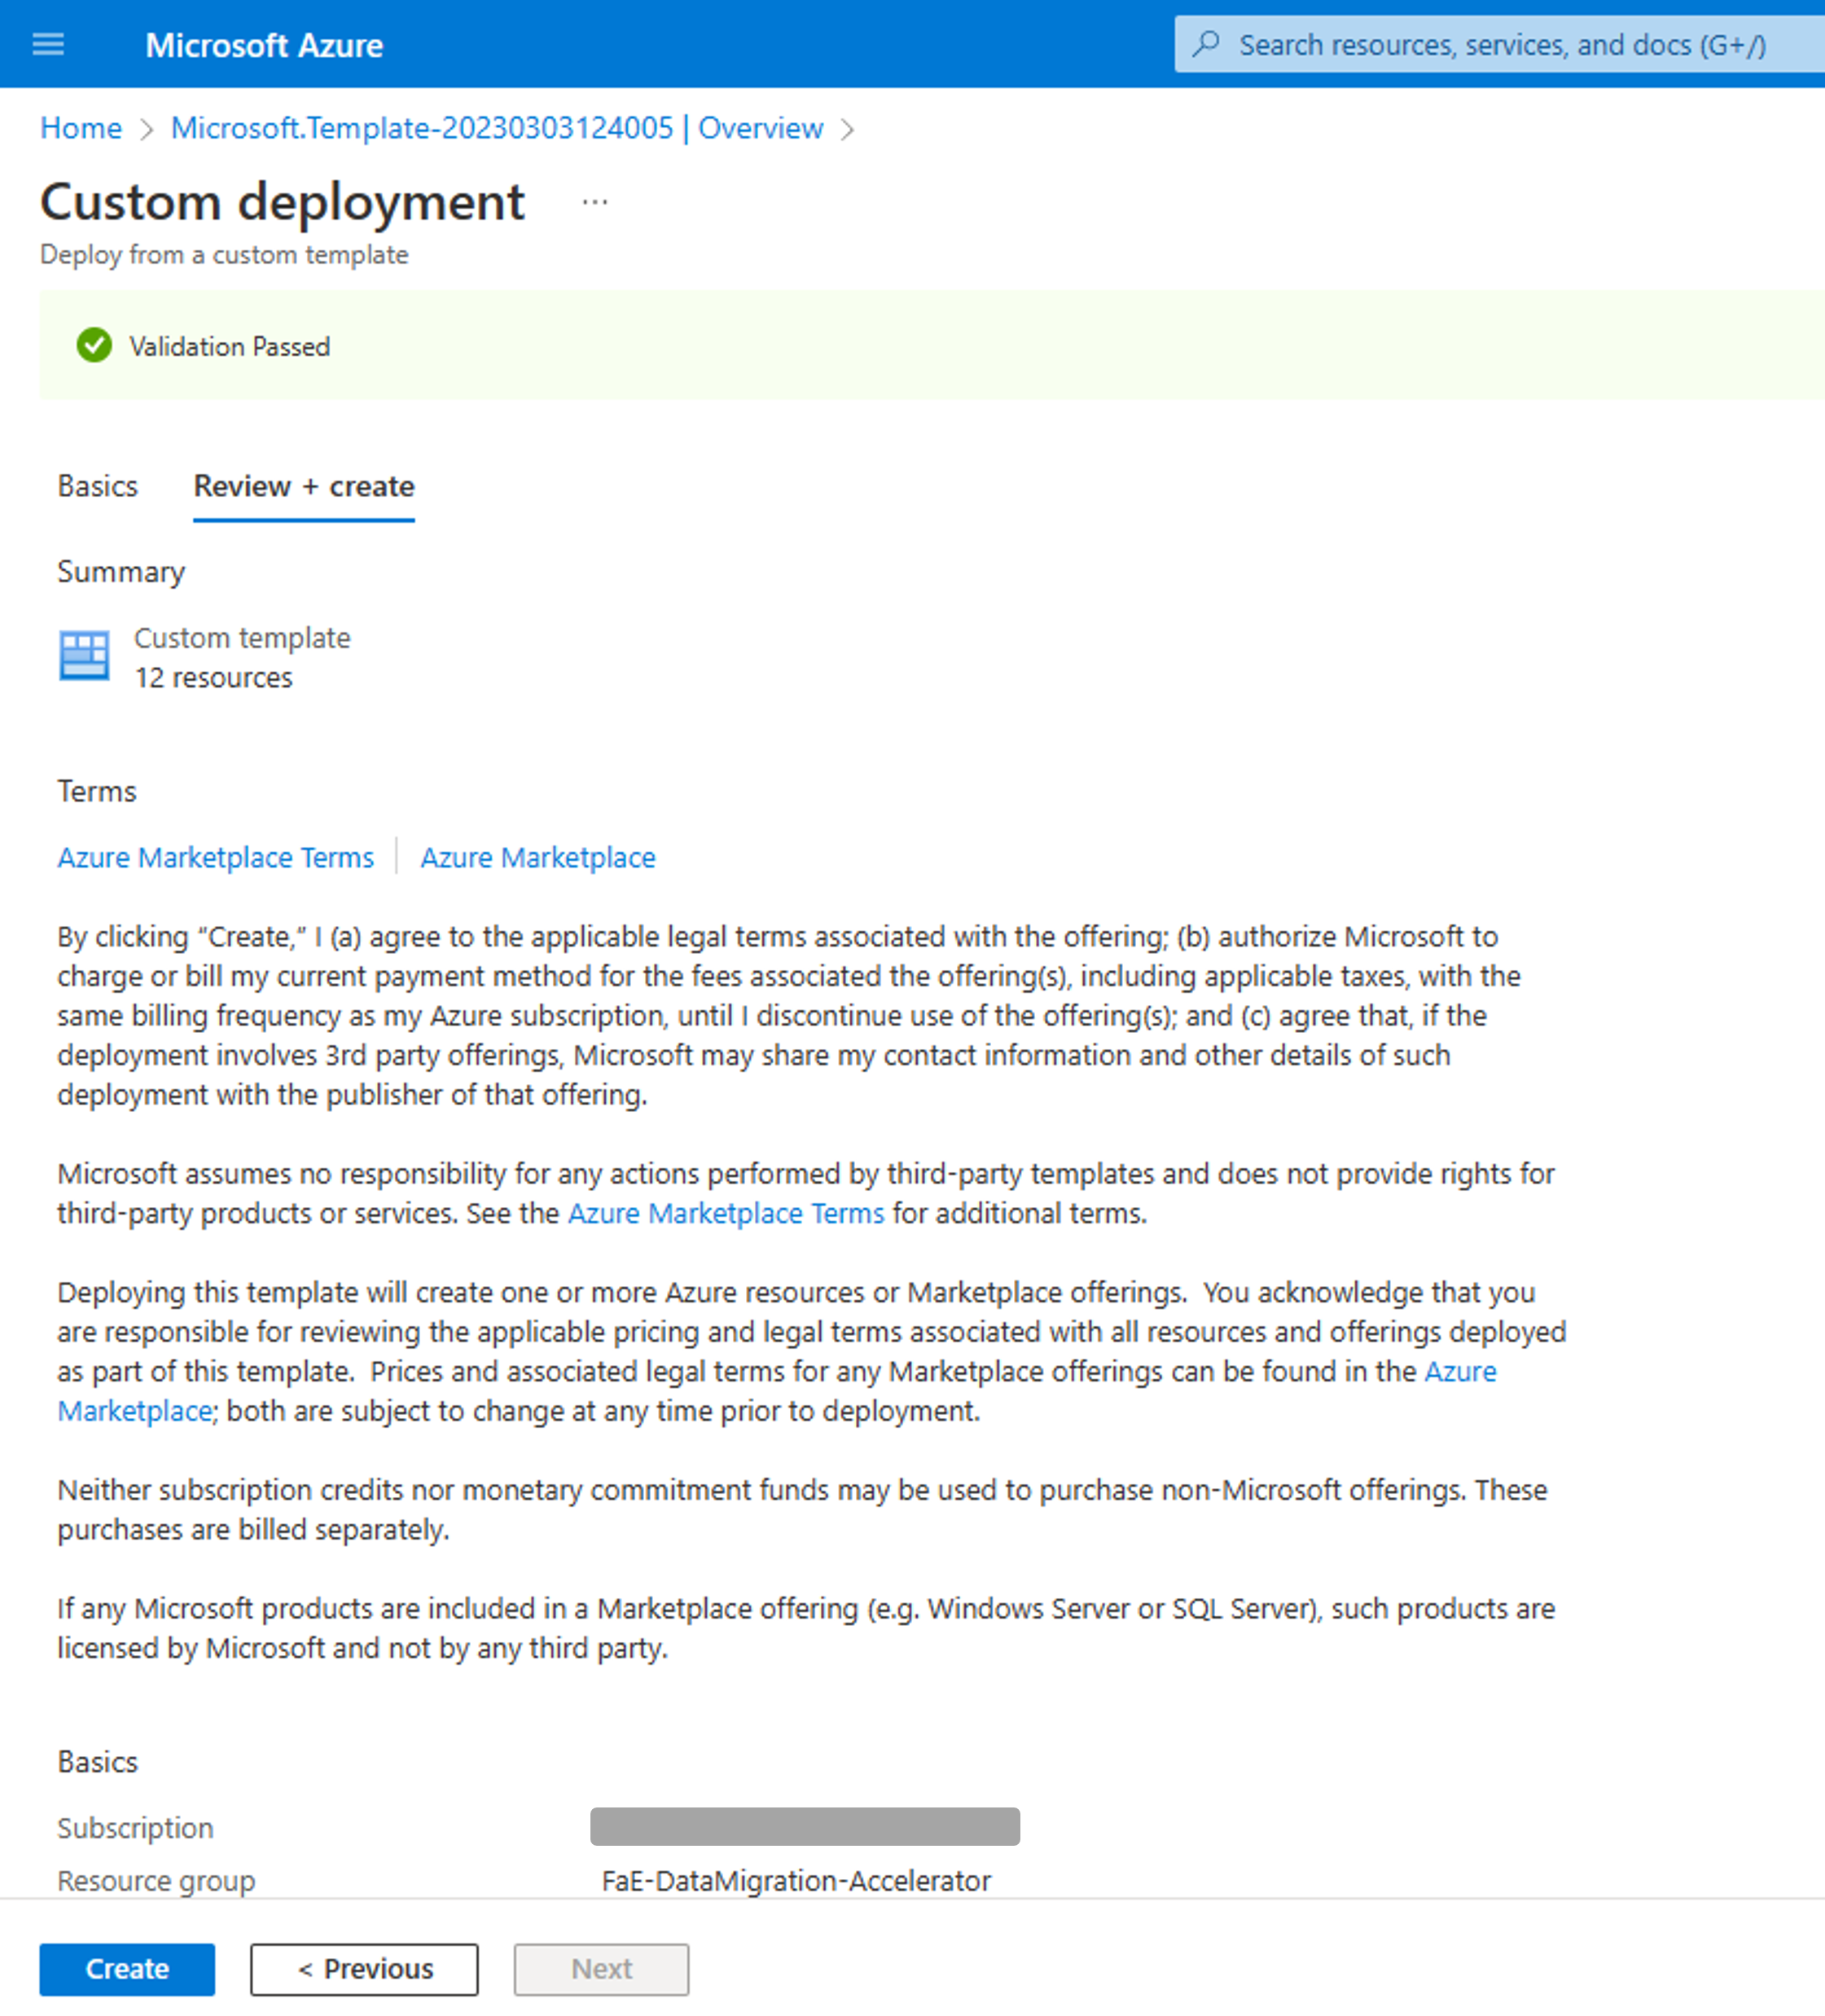
A deployment in progress screen displays, with different messages as the deployment progresses. When the deployment has finished, a confirmation message displays.
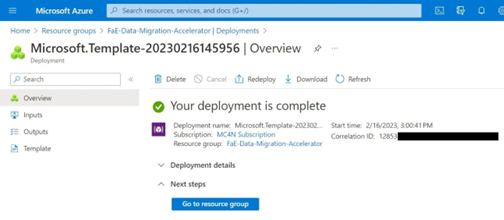

Leave this tab open for use in the next step.
Step 8: Grant read/write access Azure Data Factory and Azure
Create a new tab and open a new instance of Azure.
Select Overview and open the SQL database you used when completing the template.
Select Query editor (preview) and sign in if needed.
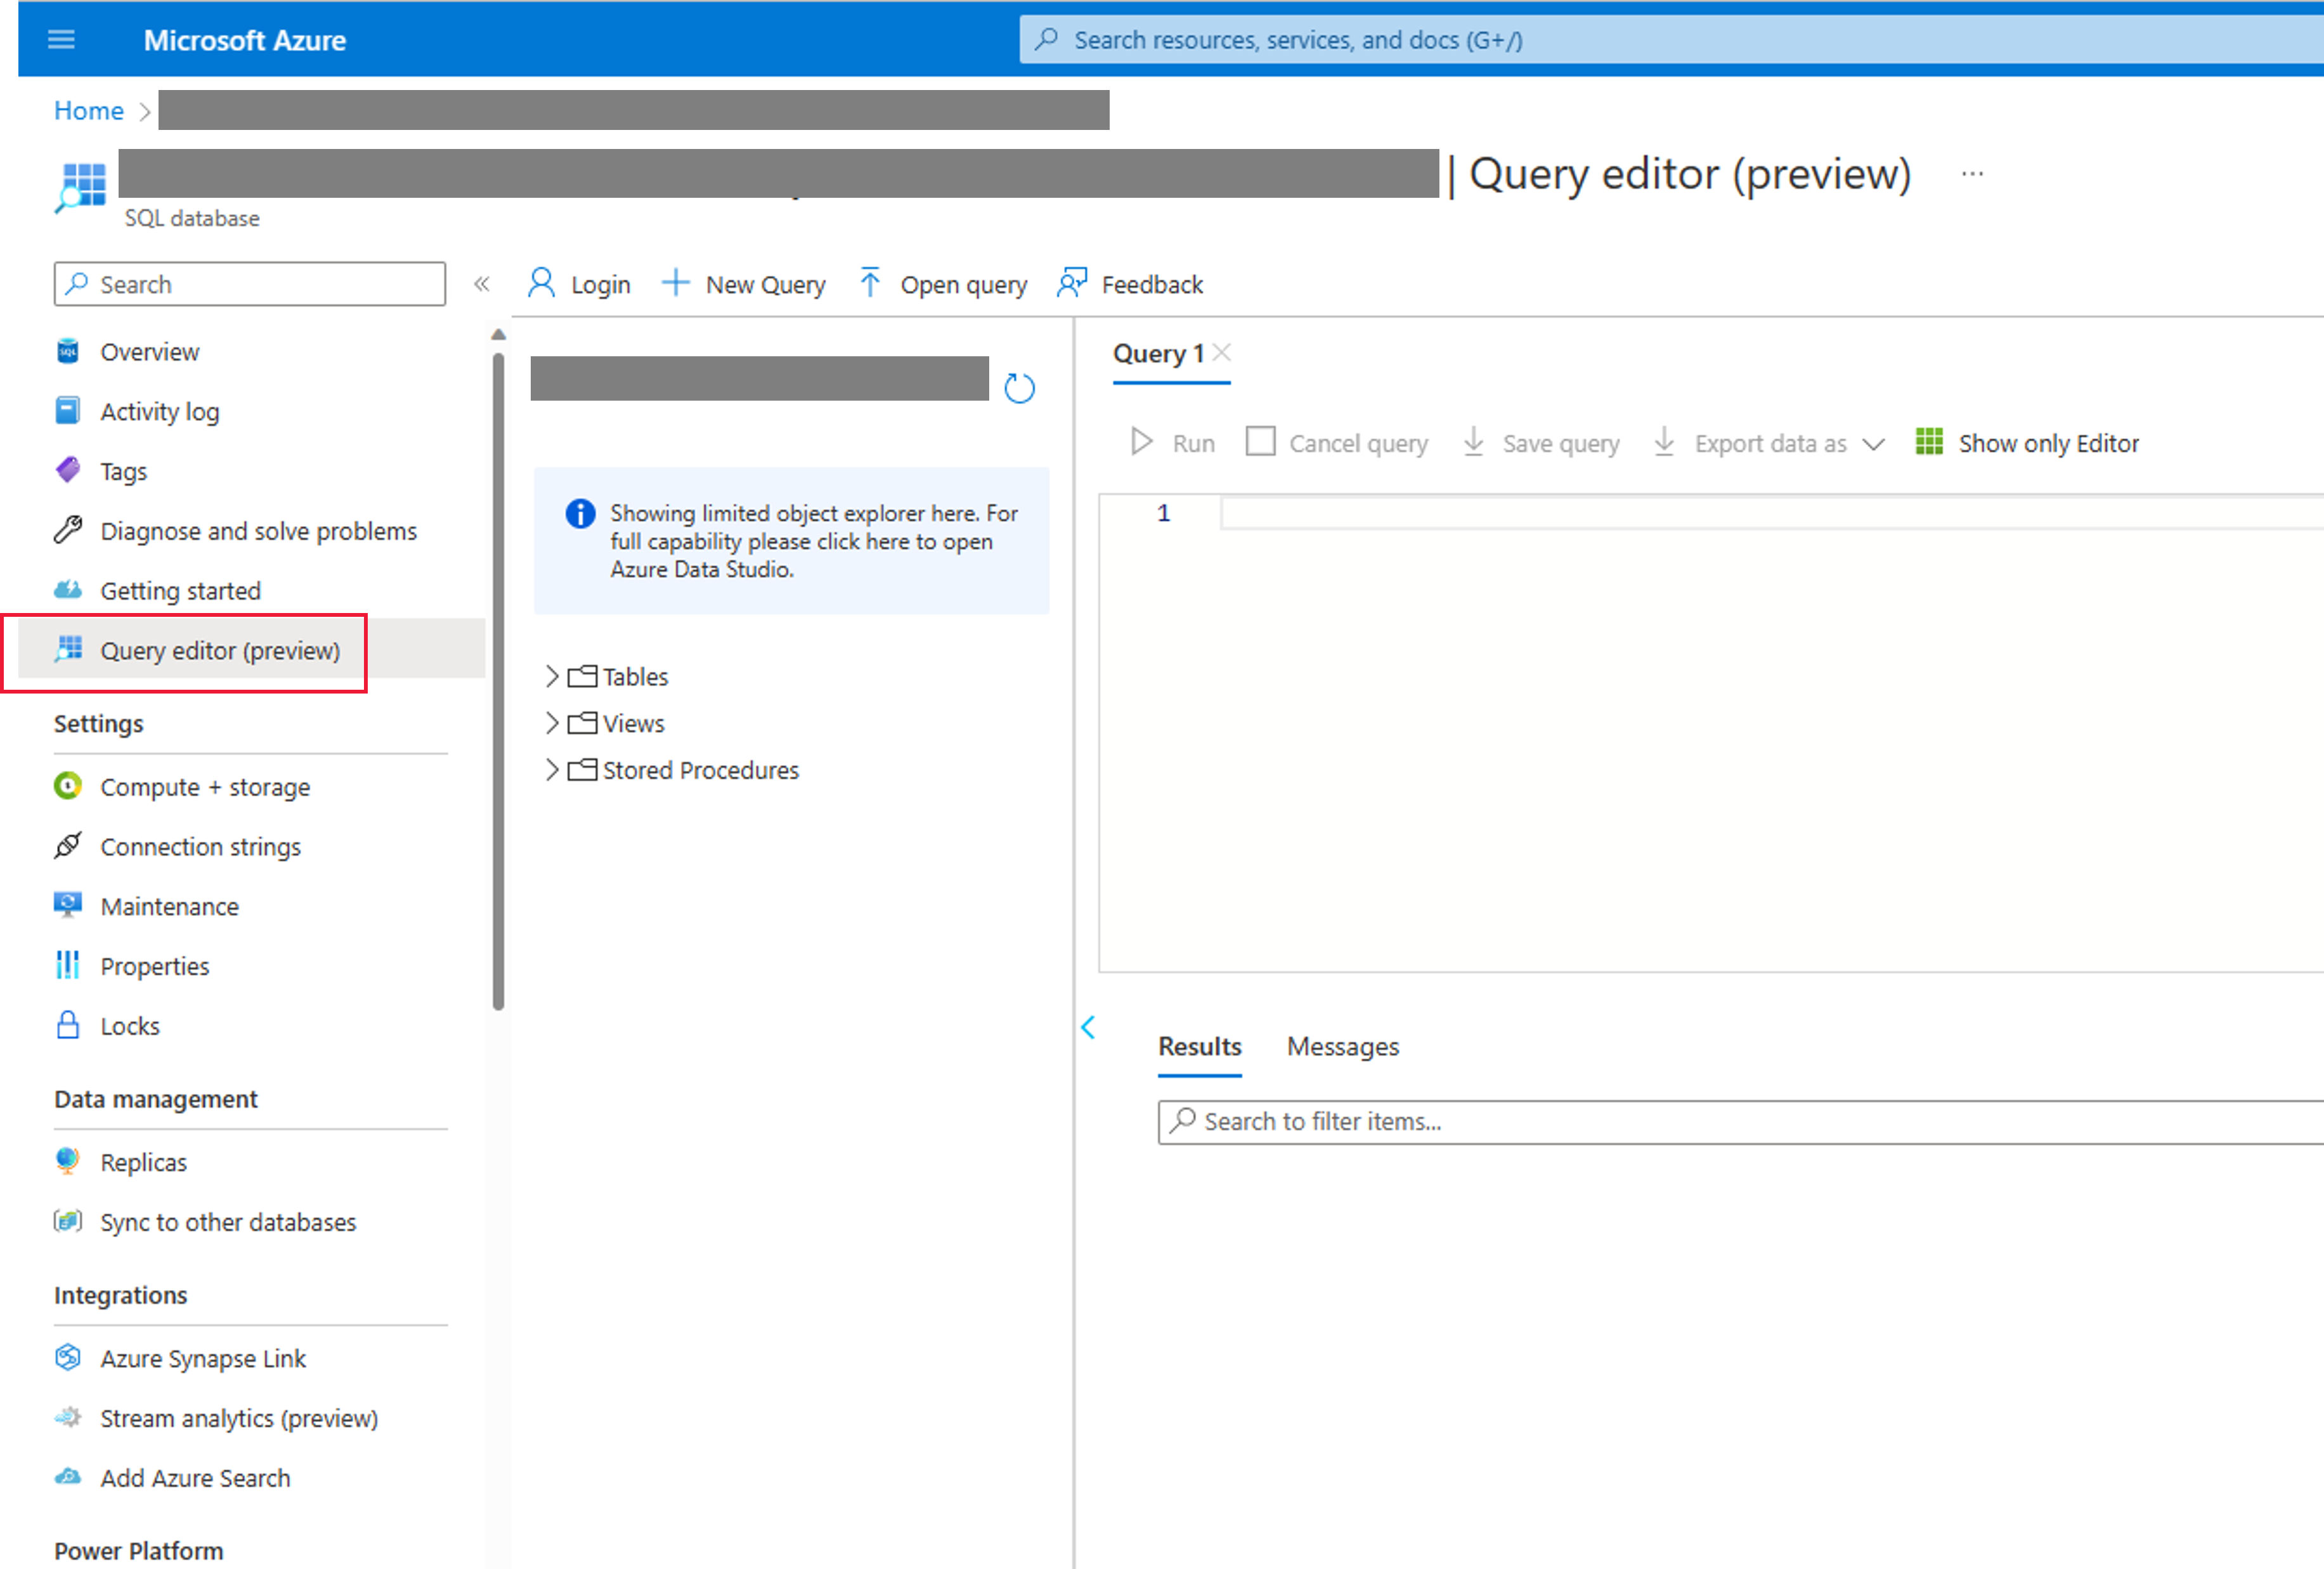
In the query window, enter the following code. Replace DEPLOYMENT NAME with the name you used when completing the template. Select Run.
 CREATE USER [DEPLOYMENT NAME] FROM EXTERNAL PROVIDER;
 ALTER ROLE [db_owner] ADD MEMBER [DEPLOYMENT NAME];

Step 9: Add an application user to the Dataverse environment
You need to create an application user for the managed identity in the Power Platform admin center so the data sync accelerator can connect to the Dataverse environment.
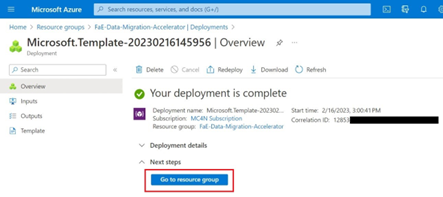
Return to the previous instance of Azure and select Go to resource group. If you closed this window earlier, navigate to the resource used when you deployed the template.
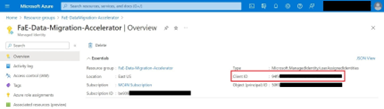
Two resources appear in the list:
- Data Factory
- A managed identity
Open the managed identity** and take note of the client ID.
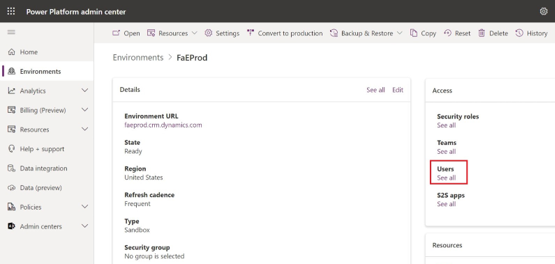
In the Power Platform admin center, select Environments, and then open the environment where you run the data sync accelerator.

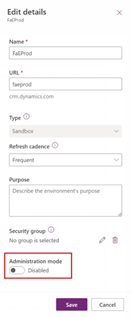
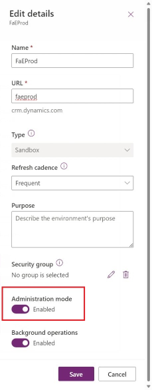
Select Edit.

Ensure that Administration mode is set to Disabled and select Save.
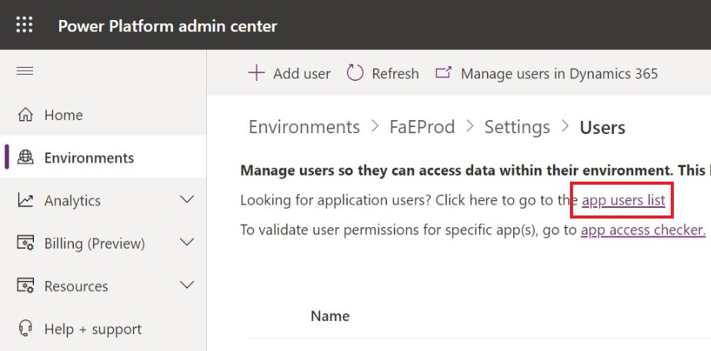
Select Users.
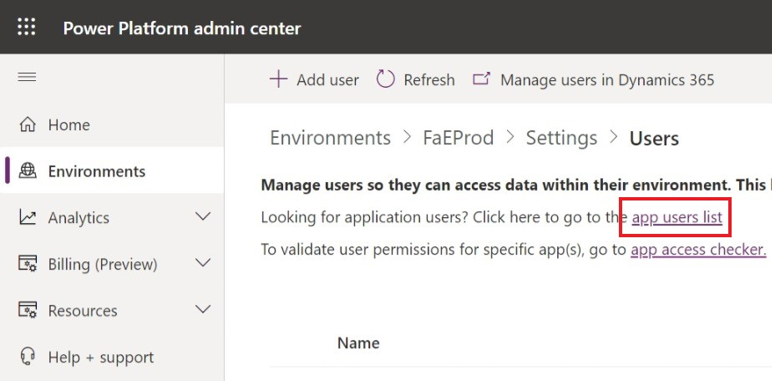
Select app users list.
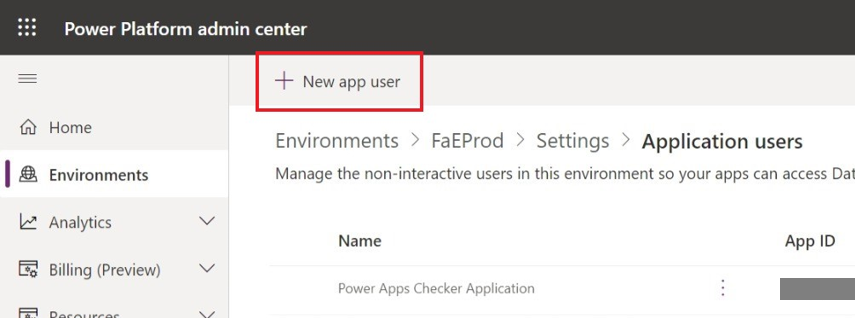
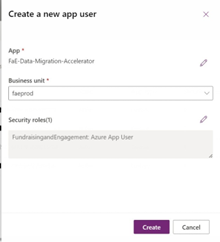
Select + New app user.
Select + Add an app and search for the client ID that you obtained from the managed identity.
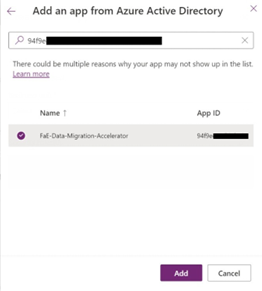
Select the managed identity, and then select Add.

Select the Business unit, and then select Create.
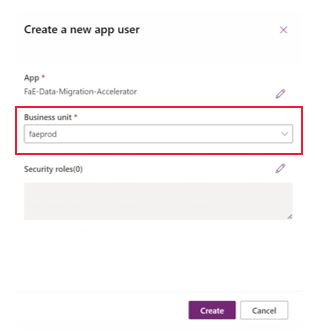
Select the security role, select Fundraisingandengagement:Azure App User from the list, select Save, and then select Create.


A message appears on screen confirming that you successfully added the new app user to the environment.
Step 10: Test your linked services
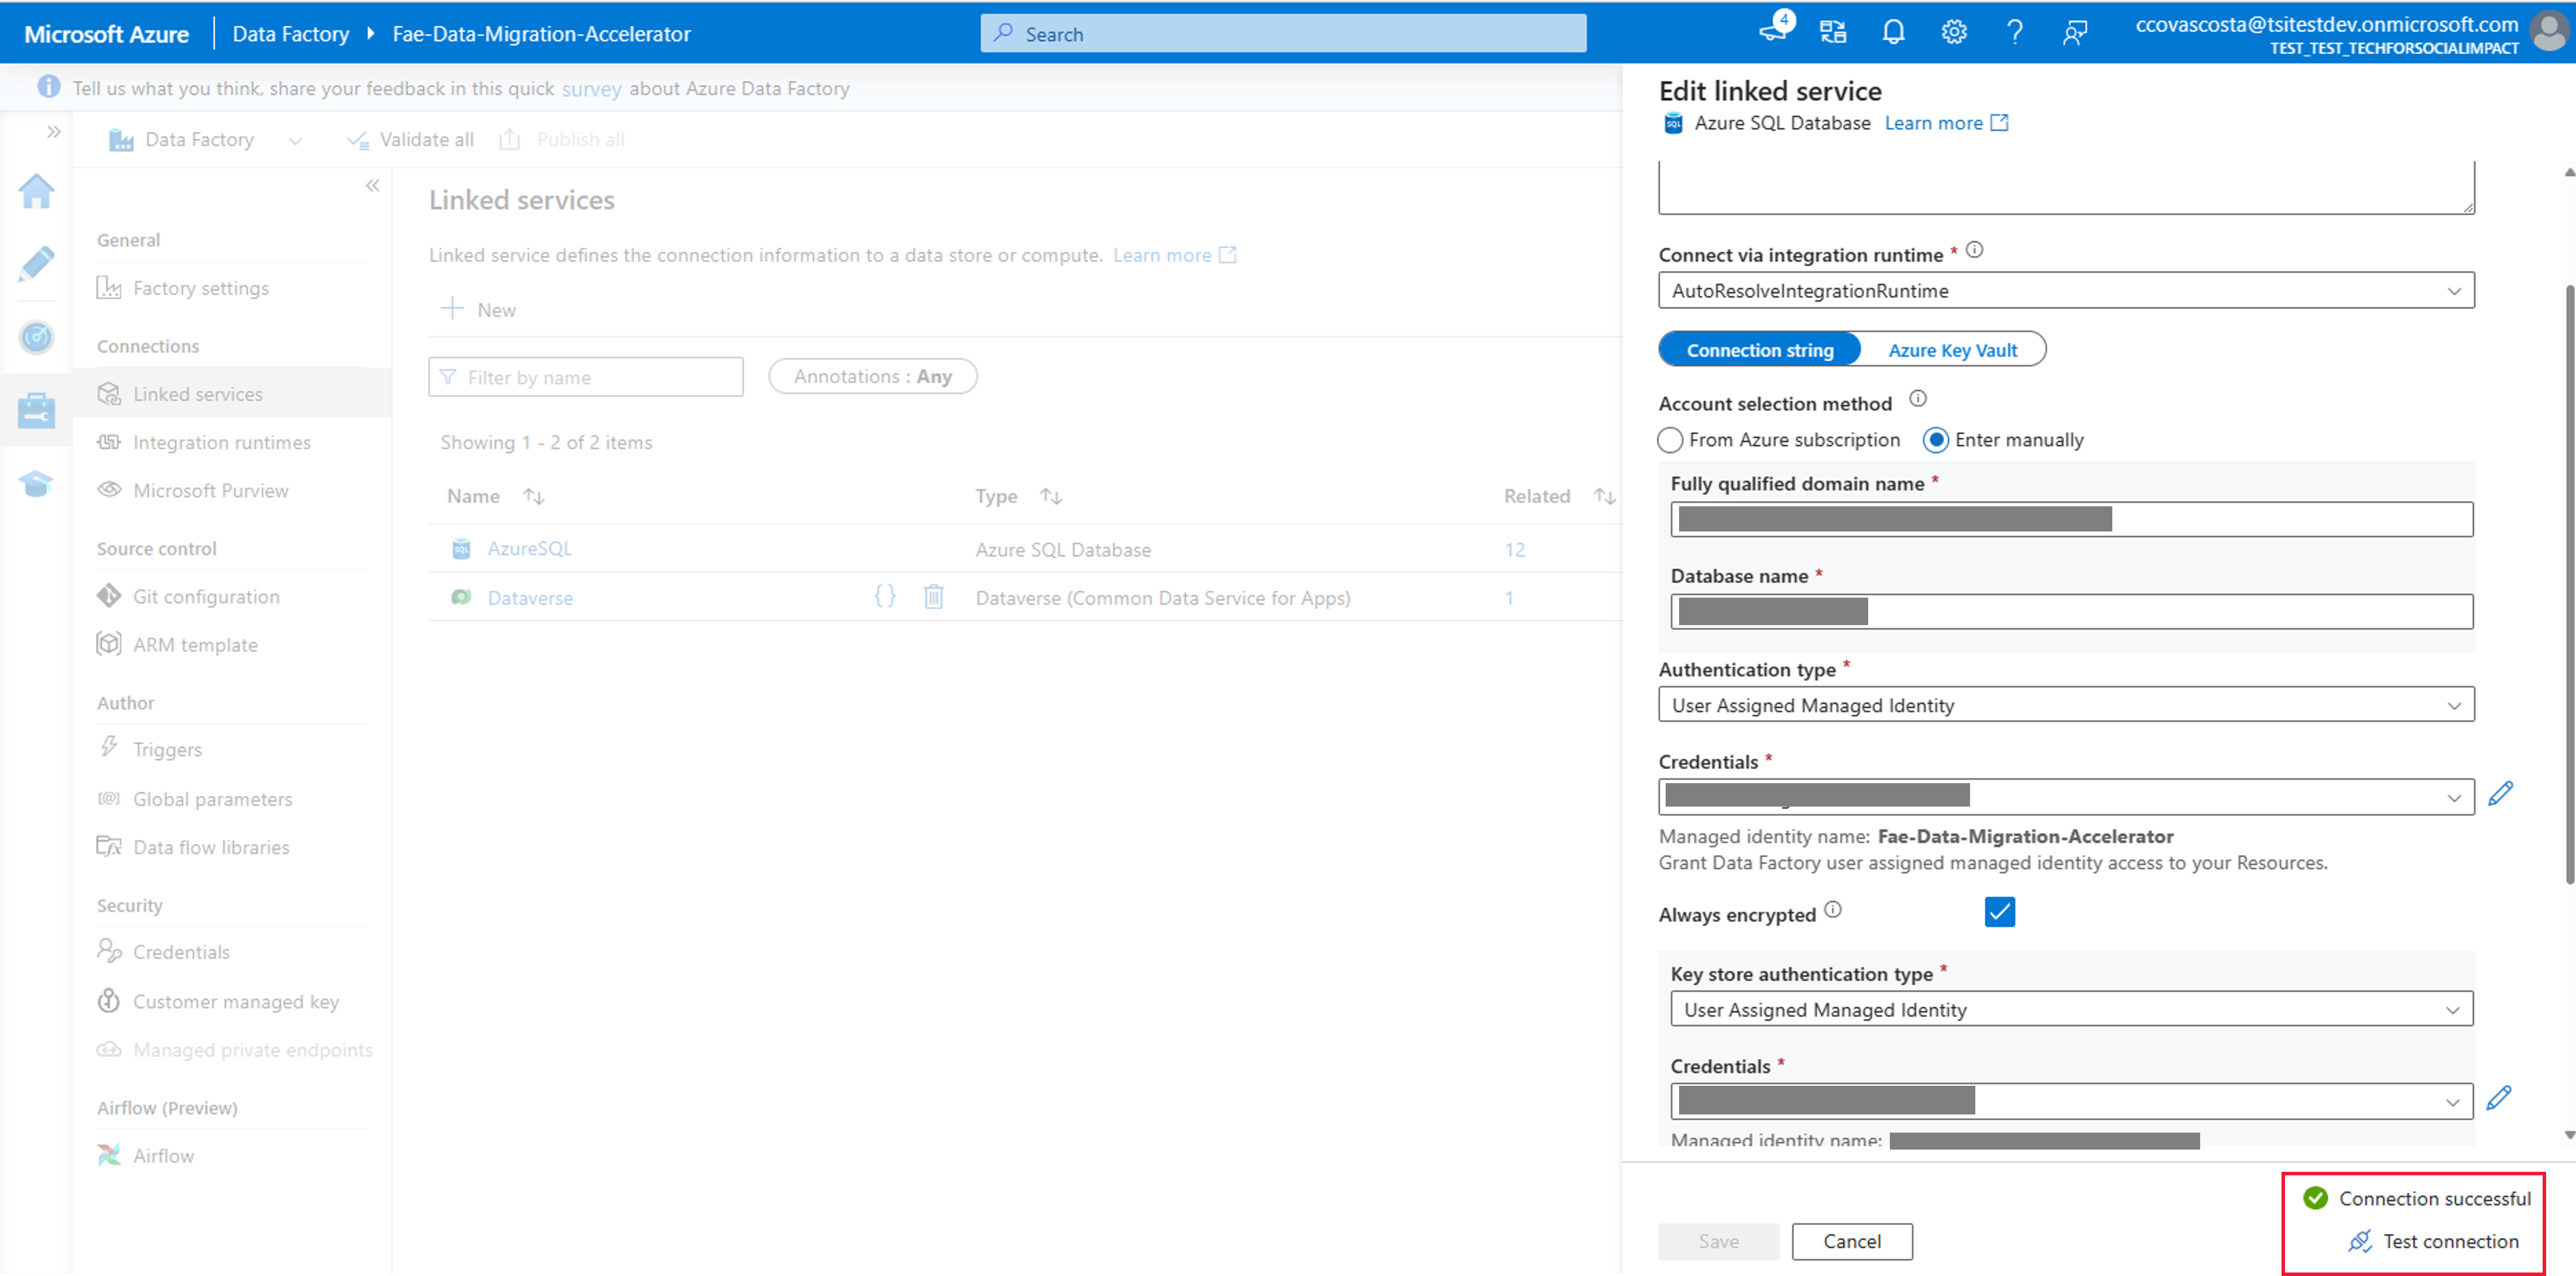
Navigate to Azure Data Factory, select Manage, and then select Linked Services. Two services should display:
- AzureSQL
- Dataverse
Select AzureSQL and select Test connection. Repeat for Dataverse.

Step 11: Ingest your data into Dataverse
You can now ingest your data into Dataverse with your preferred tool. Data ingestion can take some time depending on the amount of data that you need to ingest. Be sure not to proceed with the rest of the steps until all data has been ingested to ensure calculations are accurate.
Step 12: Amend global parameters
If you ingested fewer than 1,000,000 records across all entities, you can skip this step. Otherwise, if you ingested more than 1,000,000 records across all entities, you need to amend the global parameters.
In Azure Data Factory, select Manage, and then select Global parameters.
Select GlobalDataPushMaxConcurrentConnections.
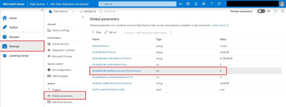
Change Value to 32.
Step 13: Run the Data Factory pipeline
Running each stage of the pipeline takes time. For your reference, the following table lists some estimated duration times:
| Number of contacts and accounts | Number of transactions | Preparation | Recalculation | Finalization | Approximate total duration |
|---|---|---|---|---|---|
| 120,000 | 1,000,000 | 30 minutes | 60 minutes | 90 minutes | Three hours |
| 2,250,000 | 5,000,000 | Two hours 15 minutes | One hour 15 minutes | Three hours 30 minutes | Seven hours |
| 3,250,000 | 10,000,000 | Four hours 30 minutes | One hour 15 minutes | Five hours 15 minutes | 11 hours |
Important
All times shown in this table are estimates.
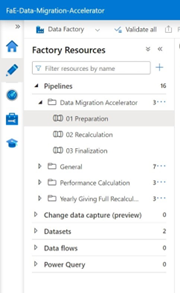
In Microsoft Azure, navigate to the FaE-Data-Migration-Accelerator resource group and select the Data Factory resource.
The three pipelines that are used are:
- 01 Preparation
- 02 Recalculation
- 03 Finalization
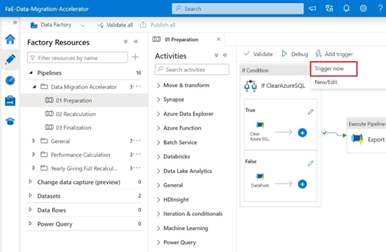
01 Preparation
Select 01 Preparation.
Select Add Trigger and then select Trigger Now.
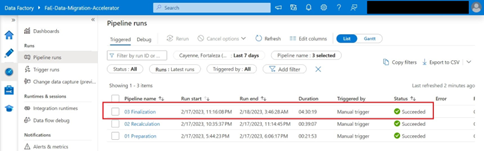
To check the progress of the pipeline, select Dashboards, and then select Pipeline runs.


This preparation stage can take between 30 minutes to over five hours, depending on the volume of data. During this stage, the Azure Data Factory preparation pipeline performs the following tasks:
- Checks if there are any records that need to be synchronized to the Azure SQL database
- Reads all the foreign keys in the database and exports them to a temporary table and then temporarily deletes them
- Creates stored procedures for running the performance and yearly giving calculations
Be sure not to continue onto stage 02 recalculation until the first pipeline has successfully run.
If the pipeline status displays Failed, go to Troubleshooting to resolve the issue.
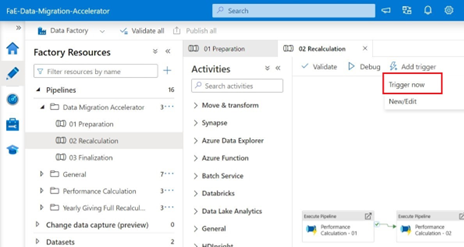
02 Recalculation
Select 02 Recalculation.
Select Add Trigger and then select Trigger Now.
To check the progress of the pipeline, select Dashboards, and then select Pipeline runs.

This second stage can take between 60 minutes to over 90 minutes, depending on the volume of data. During this stage, the pipeline recalculates the performance calculation and yearly giving amounts. The following tables detail the affected entities.
The performance calculation computes the following fields for the entities Appeal, Campaign, and Package:
| Display name | Logical name |
|---|---|
| Pledges Collected | msnfp_count_donorcommitments |
| Products Sold | msnfp_count_products |
| Registrations Sold | msnfp_count_registrations |
| Sponsorships Sold | msnfp_count_sponsorships |
| Donations Collected | msnfp_count_transactions |
| $ Pledges | msnfp_sum_donorcommitments |
| $ Products | msnfp_sum_products |
| $ Registrations | msnfp_sum_registrations |
| $ Sponsorships | msnfp_sum_sponsorships |
| $ Total Revenue | msnfp_sum_total |
| $ Donations | msnfp_sum_transactions |
The yearly giving calculation computes the following fields for the entities Account and Contact:
| Display name | Logical name |
|---|---|
| Current Year Giving | msnfp_year0_giving |
| Last Year’s Giving | msnfp_year1_giving |
| Third Year Giving | msnfp_year2_giving |
| Fourth Year Giving | msnfp_year3_giving |
| Fifth Year Giving | msnfp_year4_giving |
| Lifetime Giving | msnfp_lifetimegivingsum |
Be sure not to continue onto stage 03 finalization until the second pipeline has successfully run.
If the pipeline status displays Failed, go to Troubleshooting to resolve the issue.
03 Finalization
Select 03 Finalization.
Select Add Trigger and then select Trigger Now.

To check the progress of the pipeline, select Dashboards, and then select Pipeline runs.

This third stage can take between 90 minutes to over five hours depending on the volume of data. The following actions occur during this stage:
The newly created stored procedures are deleted.
The foreign keys are re-created in the database.
The following entities are synchronized between Azure SQL to Dataverse:
- Account
- Configuration
- Contact
- Credit/Debit Card Response
- Currency
- Designation
- Donor Commitment
- Event
- Event Disclaimer
- Event Donation
- Event Product
- Event Sponsor
- Event Sponsorship
- Event Ticket
- Membership
- Membership Category
- Membership Group
- Membership Order
- Payment
- Payment Method
- Payment Processor
- Payment Schedule
- Product
- Receipt
- Receipt Log
- Receipt Stack
- Refund
- Registration
- Registration Package
- Sponsorship
- Ticket
- Transaction
Be sure not to continue onto the next step until the third pipeline has successfully run.
If the pipeline status displays Failed, go to Troubleshooting to resolve the issue.
Step 14: Enable related Dynamics plugins
In Power Apps, select your environment.

Select Solutions, select Fundraising and Engagement, and then select Edit.

Select Plug-in steps, select the Filter box, and then enter YearlyGiving. Nine plugins display.
Perform the following steps for each plugin:
Select the plugin and select Turn on.

Wait for the Turn on succeeded message.

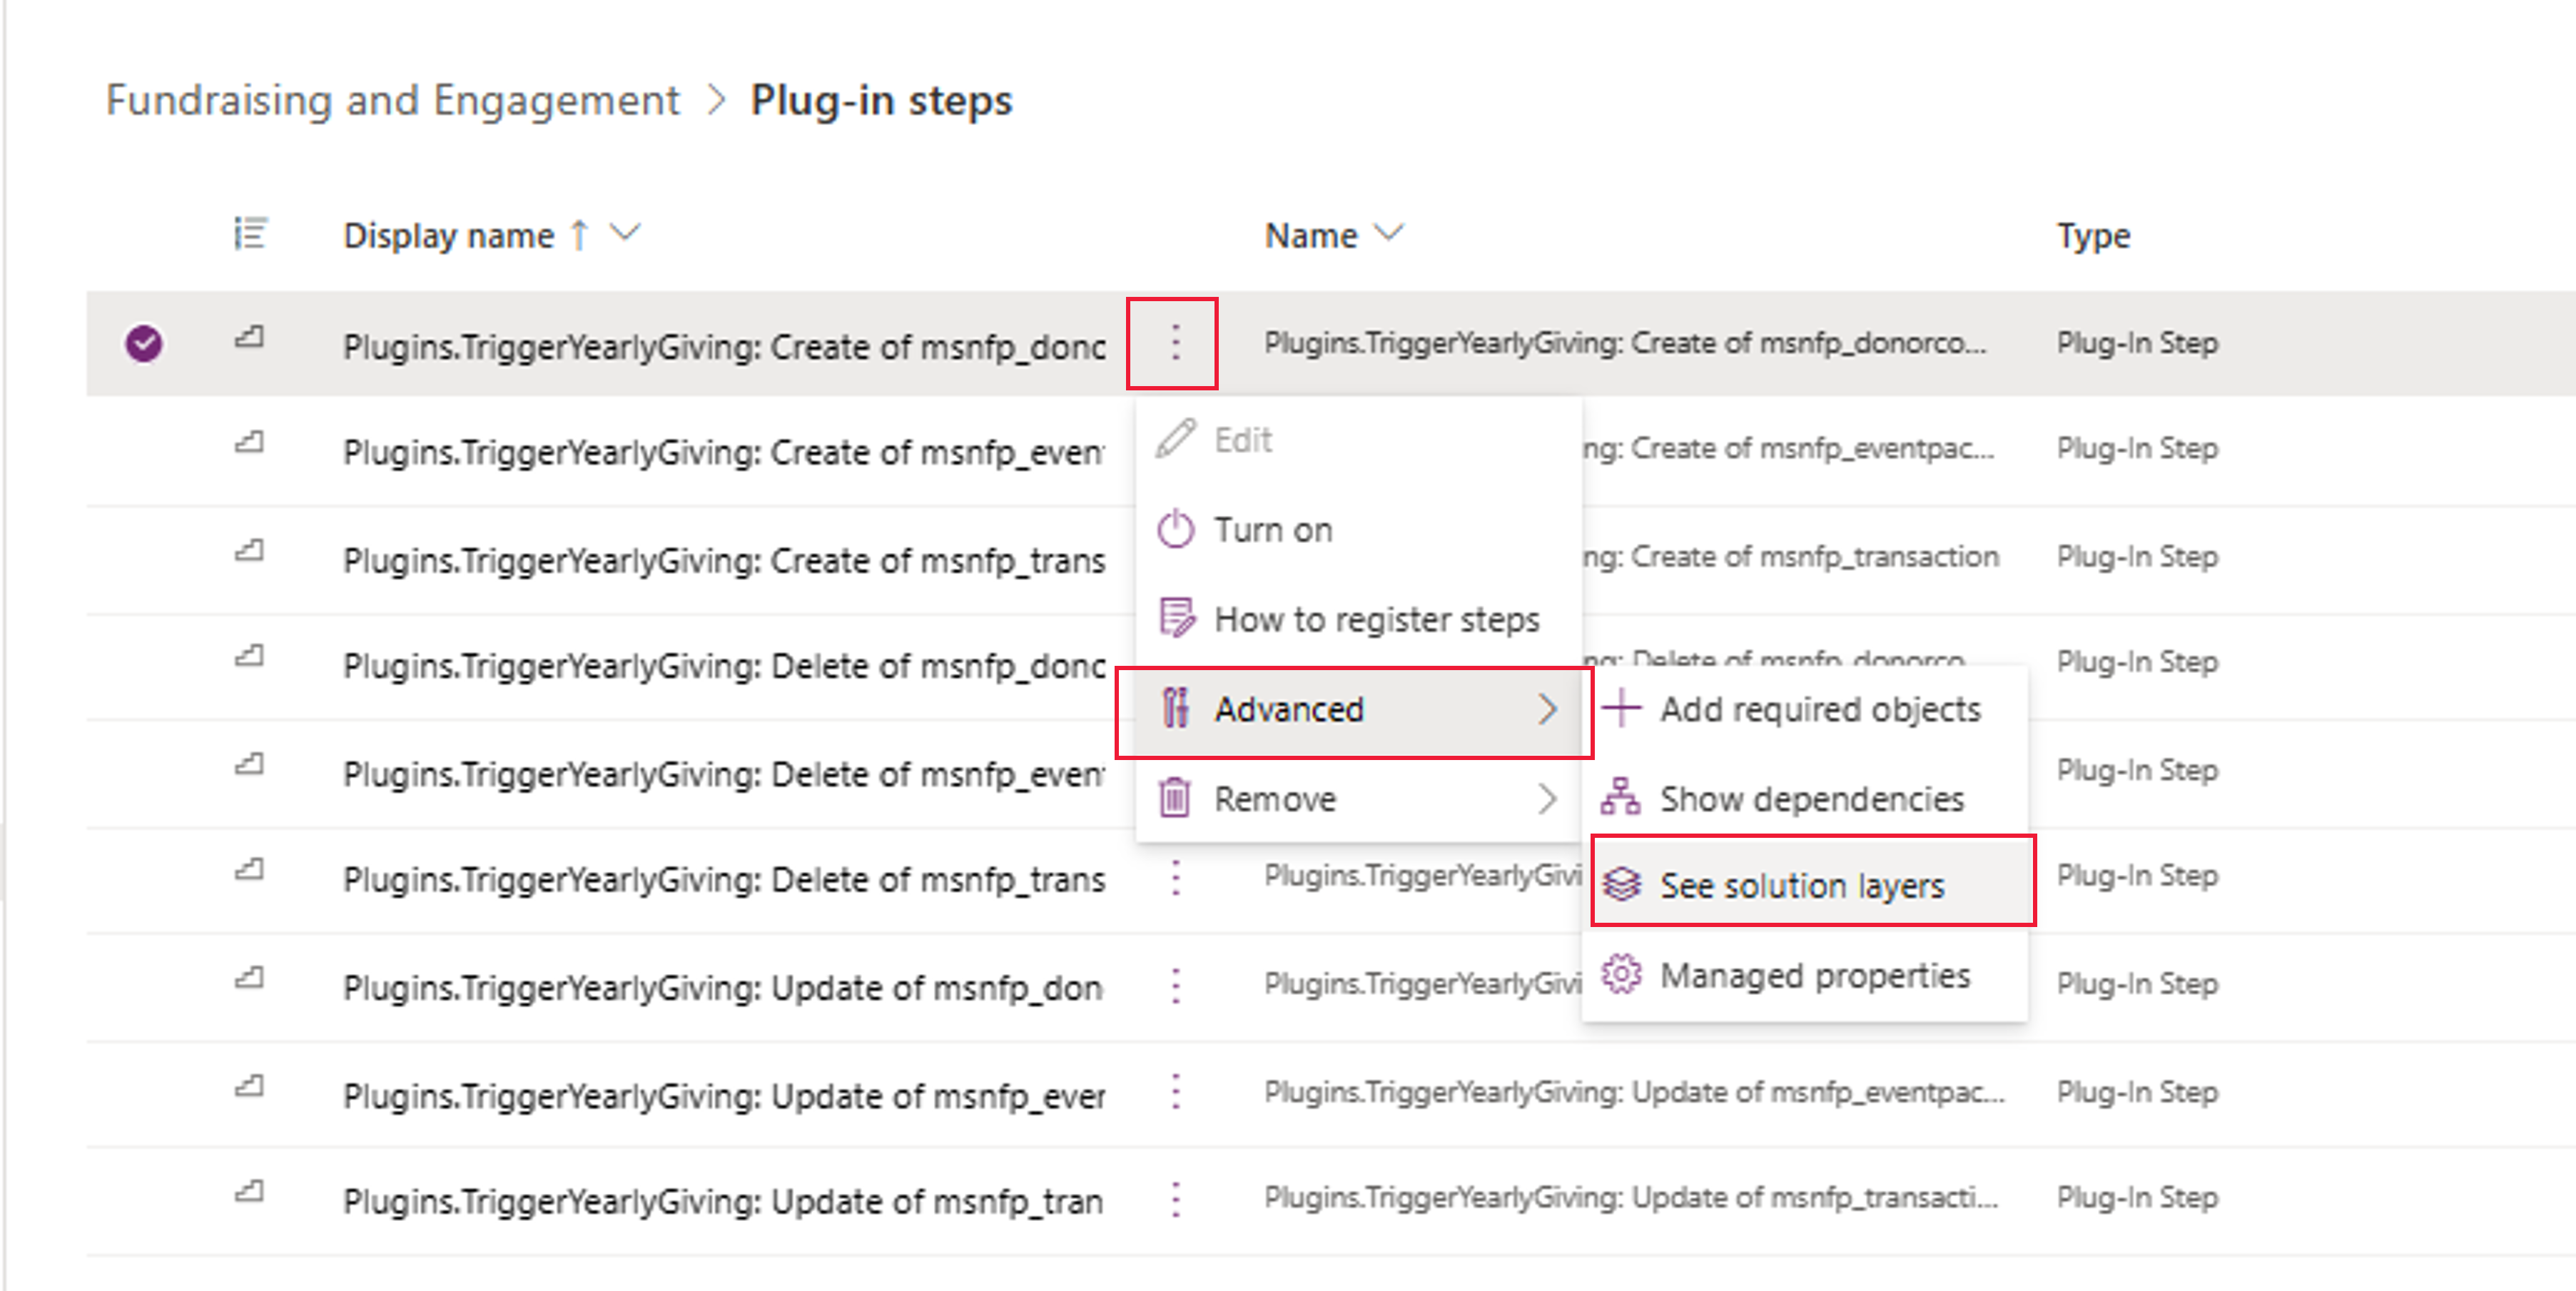
Select the ellipsis, select Advanced, and then select Solution layers.
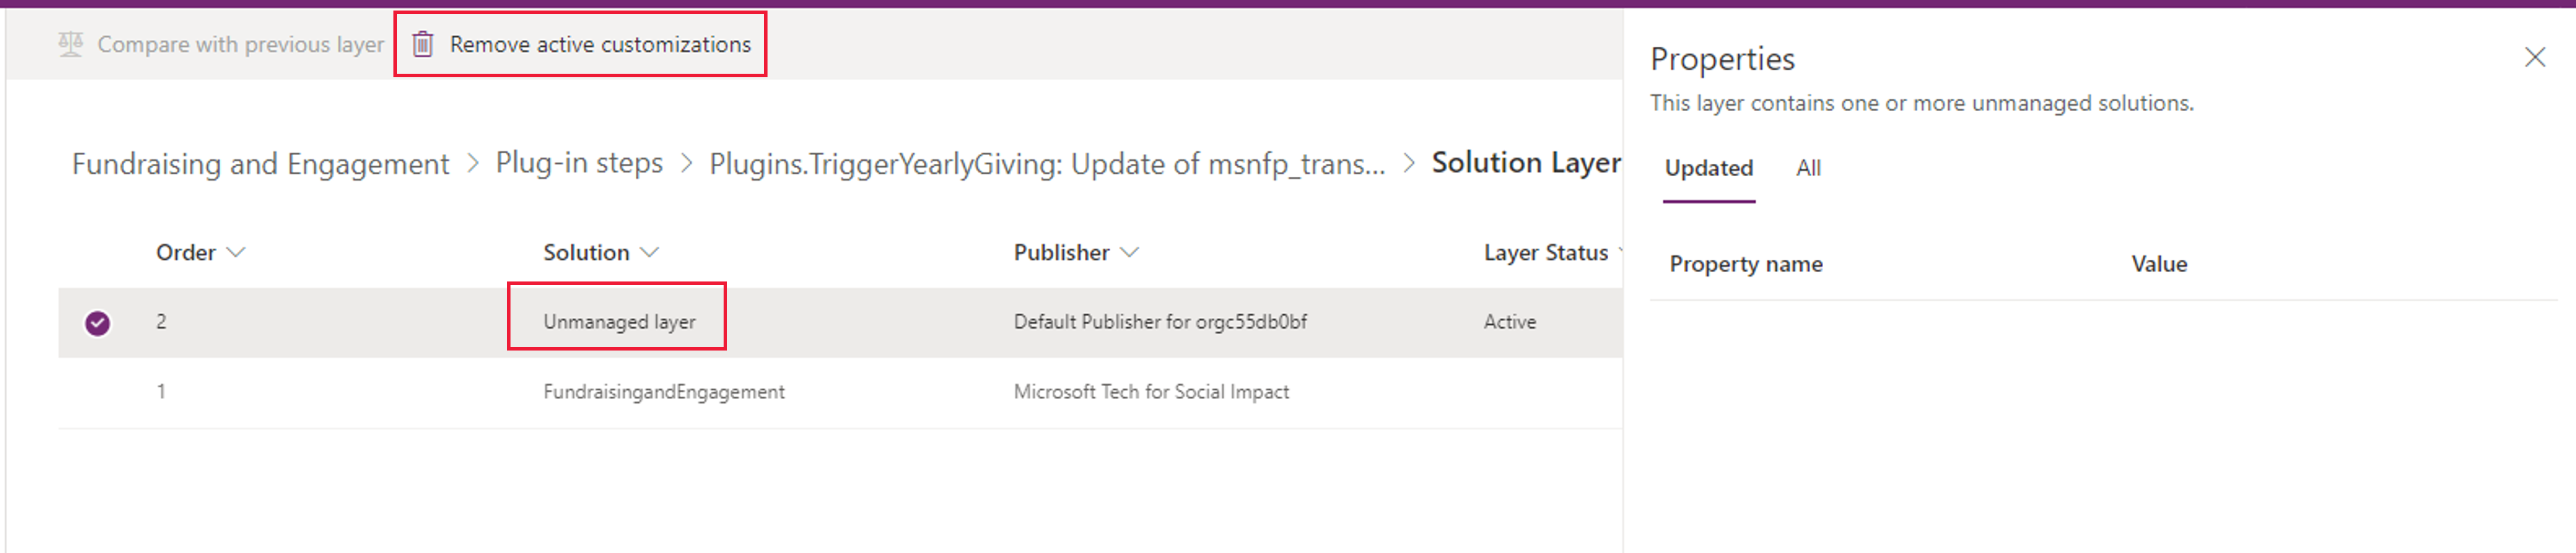
Select Unmanaged layer, and then select Remove active customizations.


If you have Dynamics 365 Customer Insights, repeat these steps for the GDPROptOutPreValidationPlugin: Update of contact process. If you don't use Customer Insights, then ignore this step.
Step 15: Resume BackgroundServices
In Azure portal, select or search for Resource groups.
Open the Fundraising and Engagement Services resource group and locate BackgroundServices.
Select Start.

Step 16: Resume RecurringDonationApp
Return to the Fundraising and Engagement Resource Group, open RecurringDonationApp, and then select Start.

Remain in the RecurringDonationApp.
Step 17: Remove application settings from the RecurringDonation configuration
Select Configuration from the side panel of the RecurringDonationApp.
Delete the following WEBJOBS:
- WEBJOBS_DISABLE_SCHEDULE
- WEBJOBS_STOPPED
Select Save.


Step 18: Test the Azure environment
Navigate to BackgroundServices.
Select Functions.
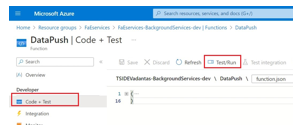
Open DataPush.
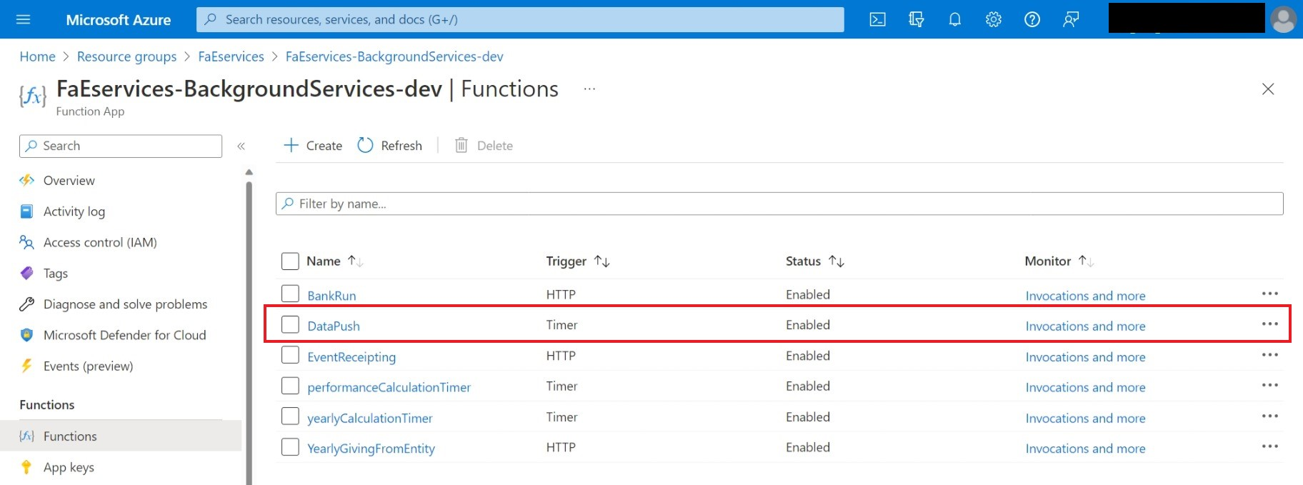
Select Code + Test.
Select Test/Run.
In the panel that opens, select Run.
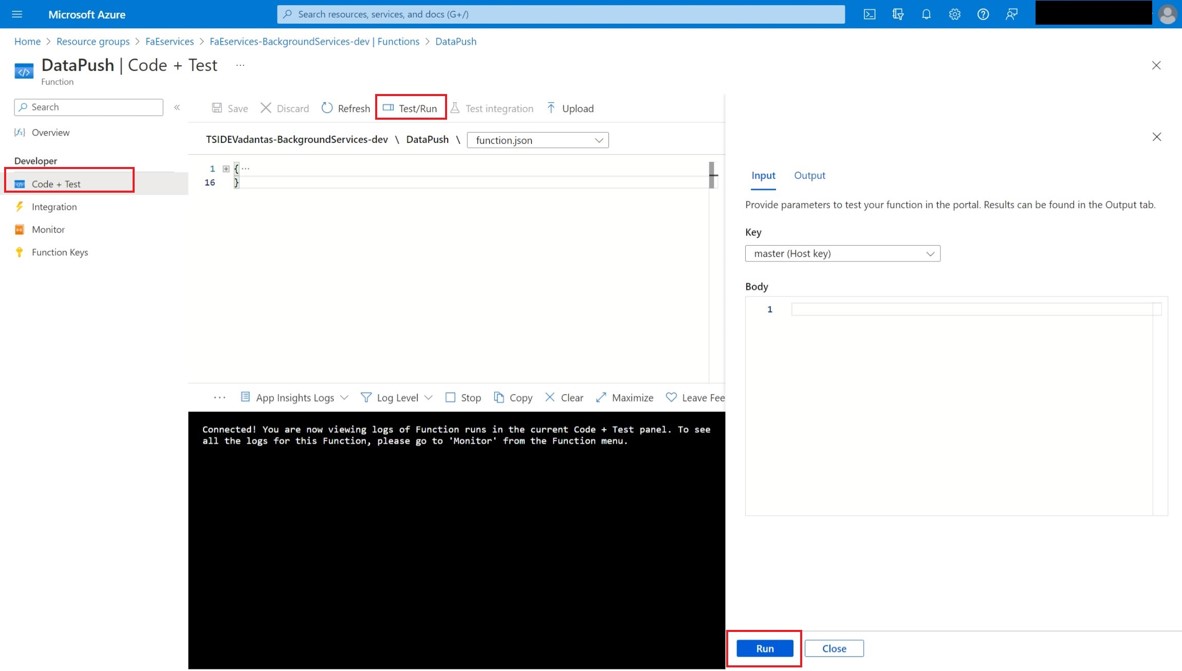
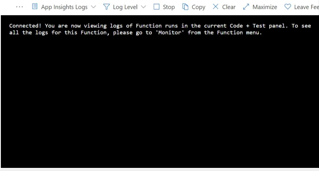
The code window displays a message indicating whether a connection could be made to BackgroundServices.
Repeat for the RecurringDonationApp.


Step 19: Remove the Data Factory pipeline
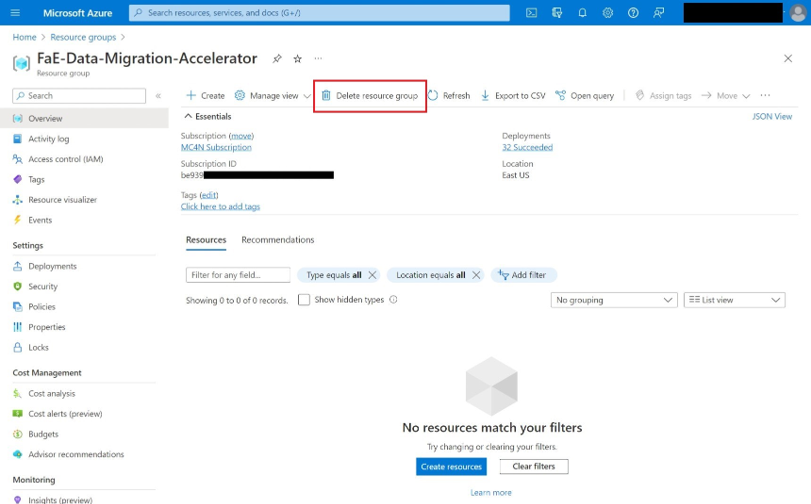
In Azure portal, navigate to the resource group where the Yearly Giving Accelerator ADF pipeline is deployed.
Select the Data Factory and managed identity resources.
Select Delete to remove the resources.
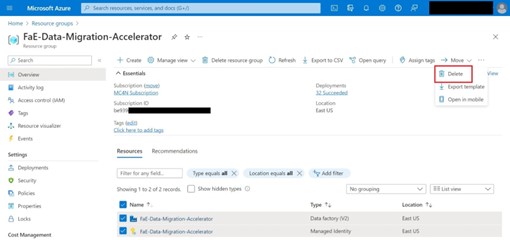
If you used a dedicated resource group, select Delete resource group.
Step 20: Remove application user
In Power Apps portal, select the environment that hosts Fundraising and Engagement from the main banner.
Select Users.

Select app users list.
Locate the user you created and select Deactivate.


Step 21: Remove autoscaling
Navigate to your SQL database.
Select Compute + Storage from the Settings group.
From the Service Tier, select Standard (budget friendly).
Adjust the slider to display 20 DTUs.
Select Apply.
Step 22: Restore administrator mode
If you previously disabled the administrator mode, you need to reinstate it.
In Power Platform admin center, select Environments and then open the environment you used to run the data sync accelerator.

Select Edit.
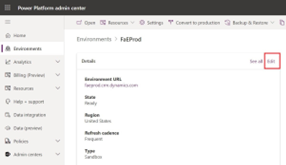
Ensure that the Administration mode is set to disabled. Select Save.

Troubleshooting
Azure Data Factory pipe line failed
- In Azure Data Factory, select Pipeline run.
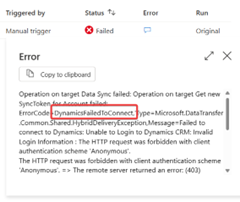
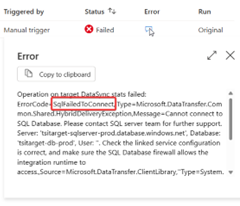
- The status shows as Failed. Select the bubble icon under the error to view which steps failed.
- Select the pipeline name to view all the steps and more details of the specific error.
- Select the blue bubble for error details.
Common errors include:
- DynamicsFailedToConnect
- SqlFailedToConnect
DynamicsFailedToConnect
This error means there's a missing application user for the managed identity in the Dataverse environment.
- Make sure the Data Factory pipeline was created.
- Check user access.
- Ensure the application user exists in the Dataverse environment with the proper security role.
SqlFailedToConnect
This error means there's a missing user in the Azure SQL database.
- Make sure the Data Factory pipeline was created.
- Check user access.
- Make sure the SQL script that creates the user for the Fundraising and Engagement Azure SQL database has been run.