Note
Access to this page requires authorization. You can try signing in or changing directories.
Access to this page requires authorization. You can try changing directories.
Important
This article only applies to outbound marketing, which is gradually being removed from Customer Insights - Journeys. To avoid interruptions, stop using outbound marketing and transition to real-time journeys. Learn more: Transition overview.
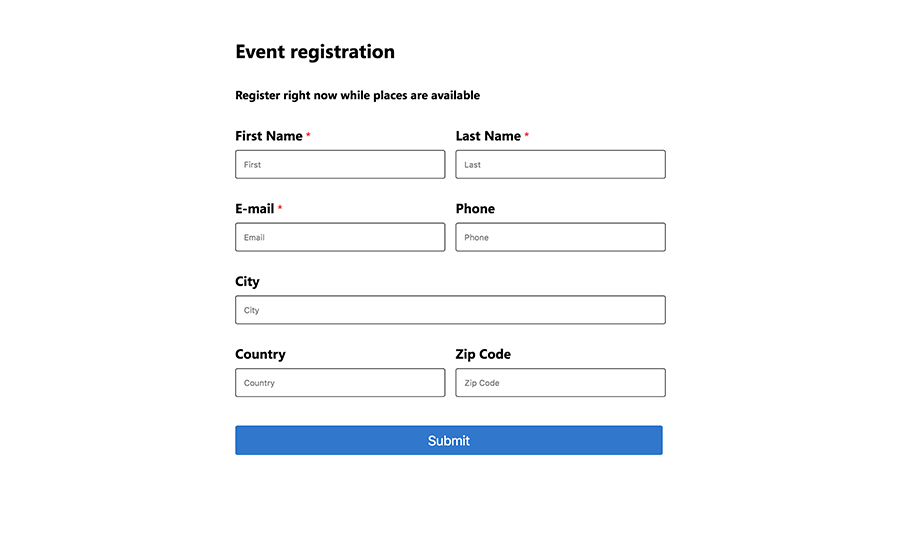
The event management application now allows you to use marketing forms for event registrations. You can create forms with a variety of fields, embed forms on your website, and use the forms for event registration.
Note
Forms are limited to free (non-recurrent) events and allow registration of one person at a time (instead of multiple people together).
The event website also needs to be updated to the February 2020 release (1.20.0) or later for this functionality to be used for events hosted on the website. Learn more: Manually overwriting sample website.
Tip
To use marketing forms for event registration, your administrator must enable the Event registration forms feature switch at Settings > Feature switches.
Create a marketing form for event registration
Go to Outbound marketing > Internet marketing > Marketing forms to go to the list of all forms currently available on your instance.
Select New in the command bar.
Choose the eventRegistrationForm template.
The template will load into the form designer.

Settings in the header
The header settings are available at the top of the page. To edit the header settings, select the More header fields button (which looks like a down-pointing chevron) at the right side of the header.

The button opens a drop-down dialog with the following settings:
- Name: Enter a name for the form. The form name you enter is the name you'll see in the forms list and when adding the form to an event page.
- Form type: For event registration marketing forms, leave the selected form type set to Event registration.
Design customization, validating, and going live
You can customize your registration form's design and check for errors just as you would with any marketing form. You can even add custom fields or multi-select buttons. If no errors are returned after you validate your form, you are ready to go live to make your form available for use.
Connect your event registration form to an event
- Ensure that your event registration form is in a live state.
- Go to Outbound marketing > Event management > Events and choose your event.
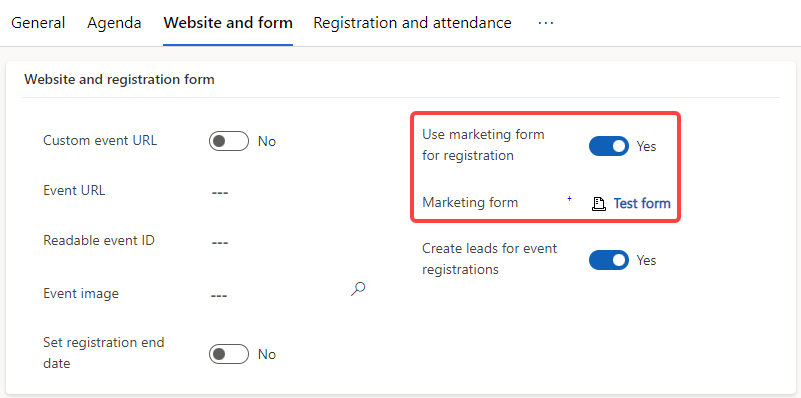
- Select the Website and form tab. Set the Use marketing form for registration toggle to Yes.
- Select your form using the Marketing form lookup.
- To save your changes, select the Save button.
