Note
Access to this page requires authorization. You can try signing in or changing directories.
Access to this page requires authorization. You can try changing directories.
Applies To: Project Operations Integrated with ERP, Project Operations Core
Important
Add all custom pricing dimension changes to a separate solution. This important best practice gives you the flexibility to update or remove changes as needed, helps you reuse your work, and makes it easier to port changes to other instances. After you make the required changes, export this solution as a Managed solution, and then import it into other instances for reuse.
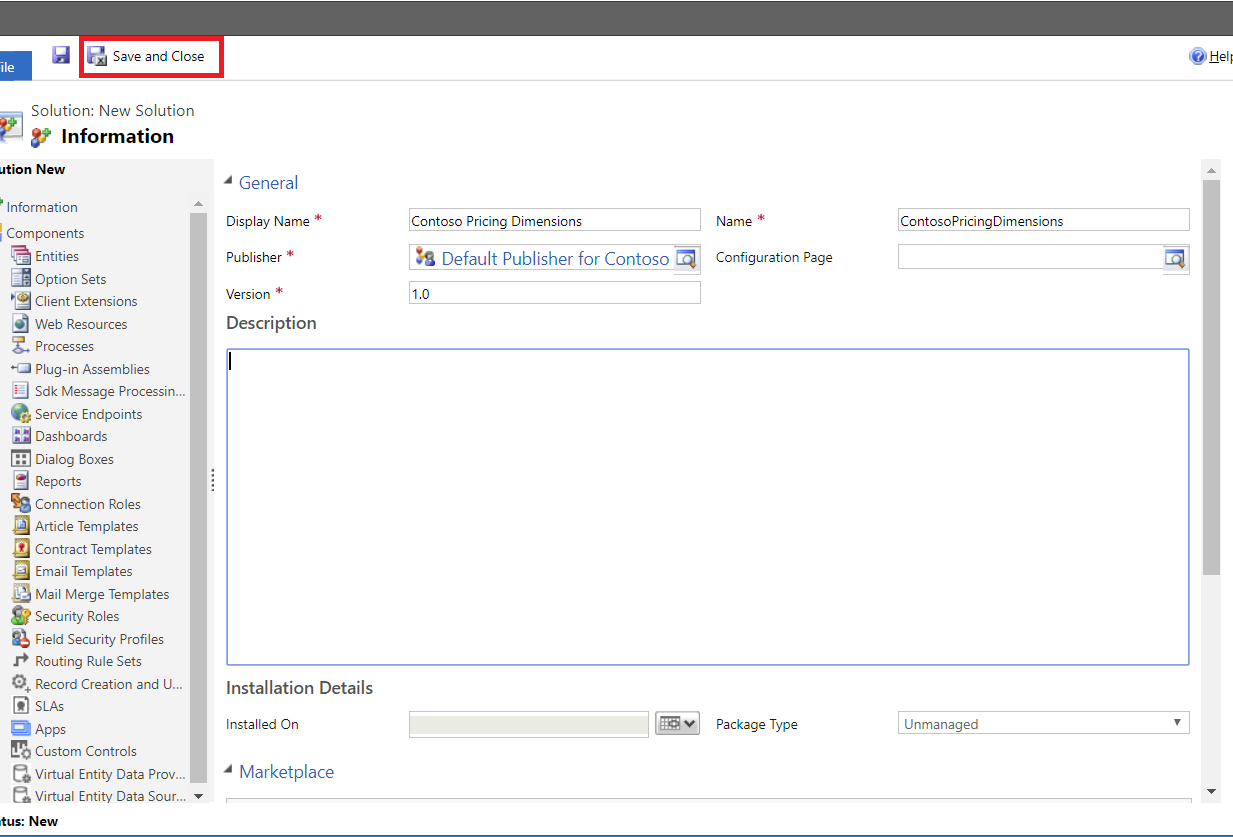
Create a solution for custom pricing dimensions
- Select Settings > Solutions, and then select New.
- Name the solution, <your organization name> pricing dimensions.
- Enter the remaining required information, and then select Save.
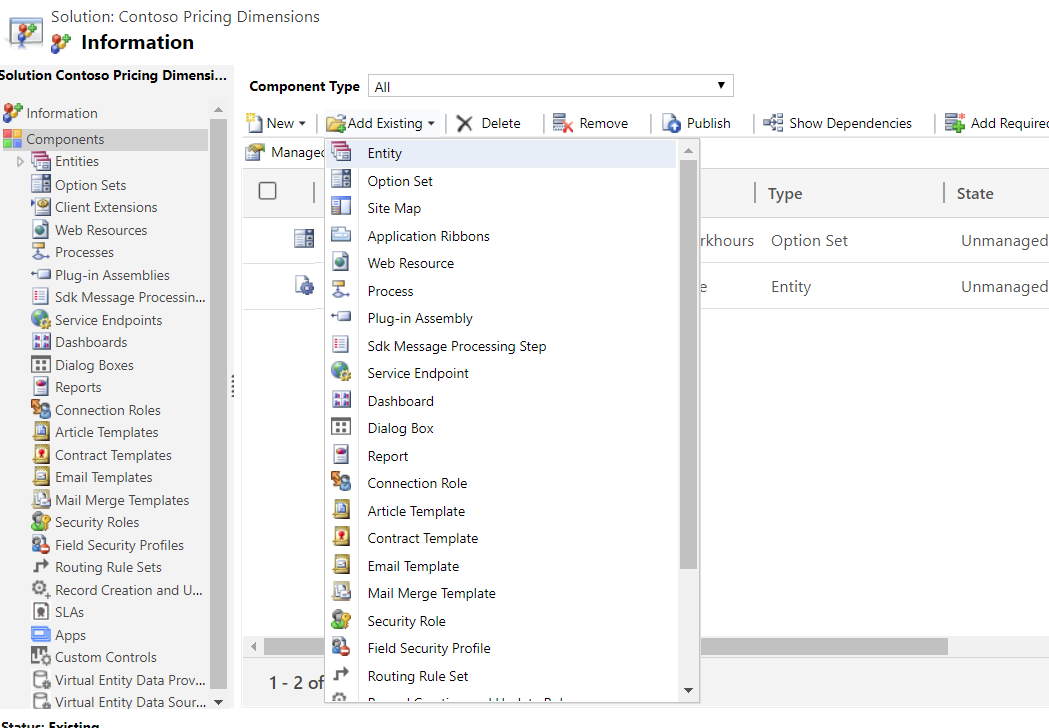
Add all required entities and related components to the Pricing dimension solution
Add the following Project Service entities to your pricing solution to make important schema changes in the pricing solution. After you complete this procedure, the entities recognize the new pricing dimensions.
- Select Settings > Solutions, and then double-click <your organization name> pricing dimensions.
- In Solution Explorer, on the left navigation pane, select Add Existing > Entities.
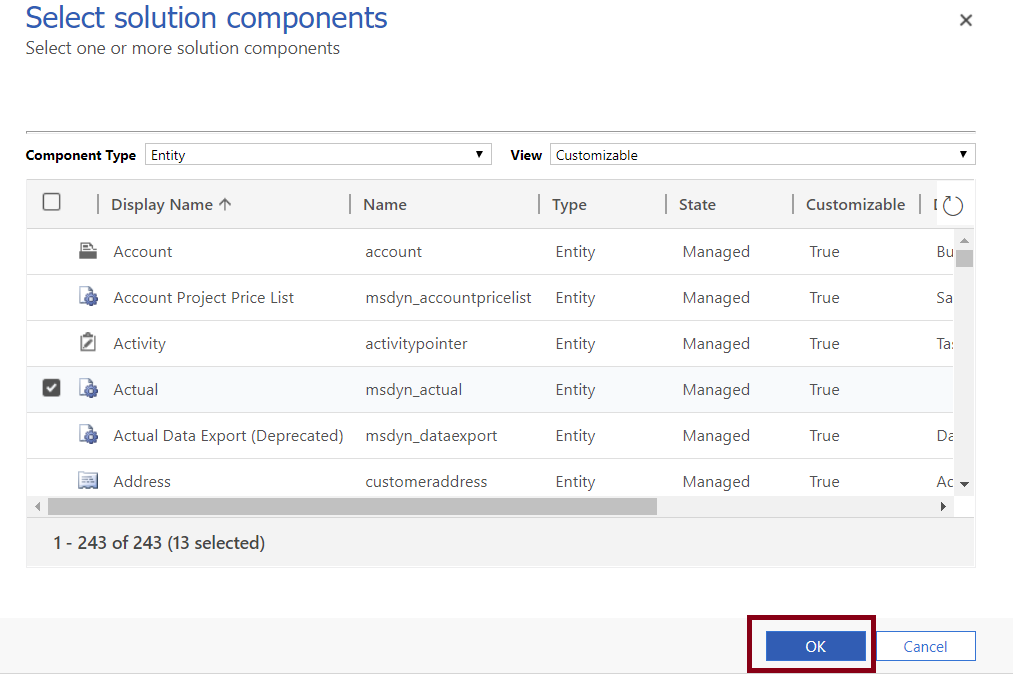
- In the Solution Components dialog box, select the following entities:
Actual
Bookable Resource
Estimate Line
Project Task
Invoice Line Detail
Journal Line
Project Contract Line Detail
Project Team Member
Quote Line Detail
Role Price Markup
Role Price
Time Entry
- For each entity, review the components you're adding and the final list of entity assets for each entity.
Note
Include all forms and views for each of the selected entities.
When prompted to include any dependent entities for the selected entities, select No, do not include required components.
