Note
Access to this page requires authorization. You can try signing in or changing directories.
Access to this page requires authorization. You can try changing directories.
Use the export preference to choose which record types you want to export and limit the number of records to export in each record type.
To configure export preferences
As an administrator, you configure the export preference to choose which record types (accounts, contacts, and leads) to export and limit the number of records that you export in each record type. You can also enable the creation of new records, allow record duplicate creation, and update existing records for each record type.
To configure export preferences. do the following steps:
Prerequisites
Before you start, be sure you've met the following prerequisites:
- The ZoomInfo app is installed on your Dynamics 365 Sales organization. More information: Install ZoomInfo app.
- You have a license to use the ZoomInfo app.
Configure the preferences
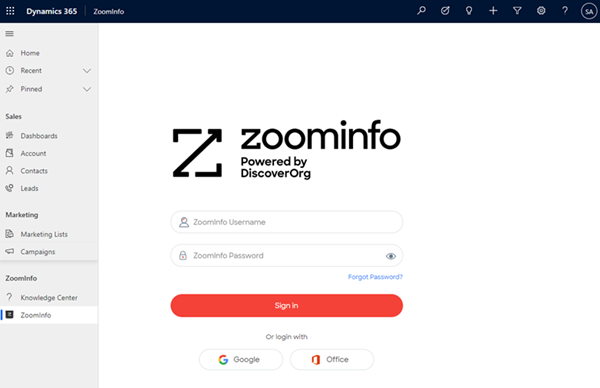
Open your Dynamics 365 Apps page and then open the ZoomInfo app.
On the left navigation pane, select ZoomInfo > ZoomInfo.
Note
The app might prompt you to enter credentials. Select either Google, Office, or enter your ZoomInfo credentials if you have an account with ZoomInfo.
On the top-right corner of the page, select More > Admin Portal.
On the Admin Portal page, select Dynamics Settings.
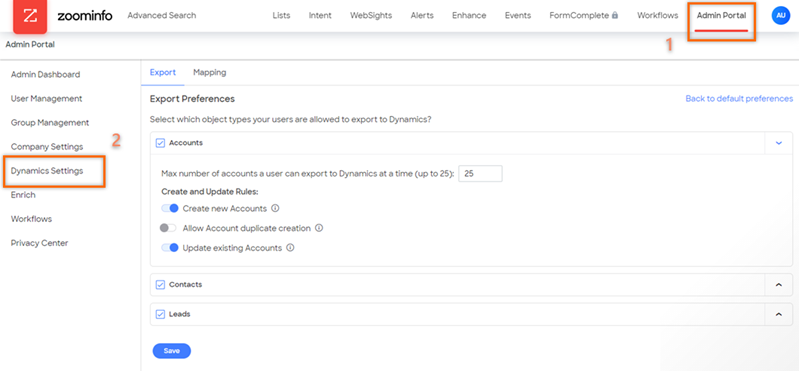
From the Export tab, select each record type (accounts, contacts, and leads) that you want your sales teams to be able to export to your Dynamics 365 Sales organization.
Enter the maximum number of records (up to 25) that a seller can export to your Dynamics 365 Sales organization.
Enable the following options as required:
Note
In this example, we're using the Accounts record type.
- Create new Accounts: To create an account in your Dynamics 365 Sales organization from ZoomInfo.
- Allow Account duplicate creation: To create a duplicate account even if the same account exists in your Dynamics 365 Sales organization.
- Update existing Accounts: To update an existing account with the latest information from the ZoomInfo app.
Select Save.
The changes are saved and applied to the ZoomInfo app for your Dynamics 365 Sales organization.
Can't find the feature in your app?
There are a few possibilities:
- You don't have the necessary license to use this feature. Check out the comparison table and the licensing guide to see which features are available with your license.
- You don't have the necessary security role to use this feature.
- To configure or setup a feature, you need to have the Administration and customization roles
- To use sales-related features, you need to have the Primary sales roles
- Some tasks require specific Functional roles.
- Your administrator hasn't turned on the feature.
- Your organization is using a custom app. Check with your administrator for exact steps. The steps described in this article are specific to the out-of-the-box Sales Hub and Sales Professional apps.