Note
Access to this page requires authorization. You can try signing in or changing directories.
Access to this page requires authorization. You can try changing directories.
Important
Support for Windows 11 SE will end in October 2026
Microsoft will not release a feature update after Windows 11 SE, version 24H2. Support for Windows 11 SE—including software updates, technical assistance, and security fixes—will end in October 2026. While your device will continue to work, we recommend transitioning to a device that supports another edition of Windows 11 to ensure continued support and security.
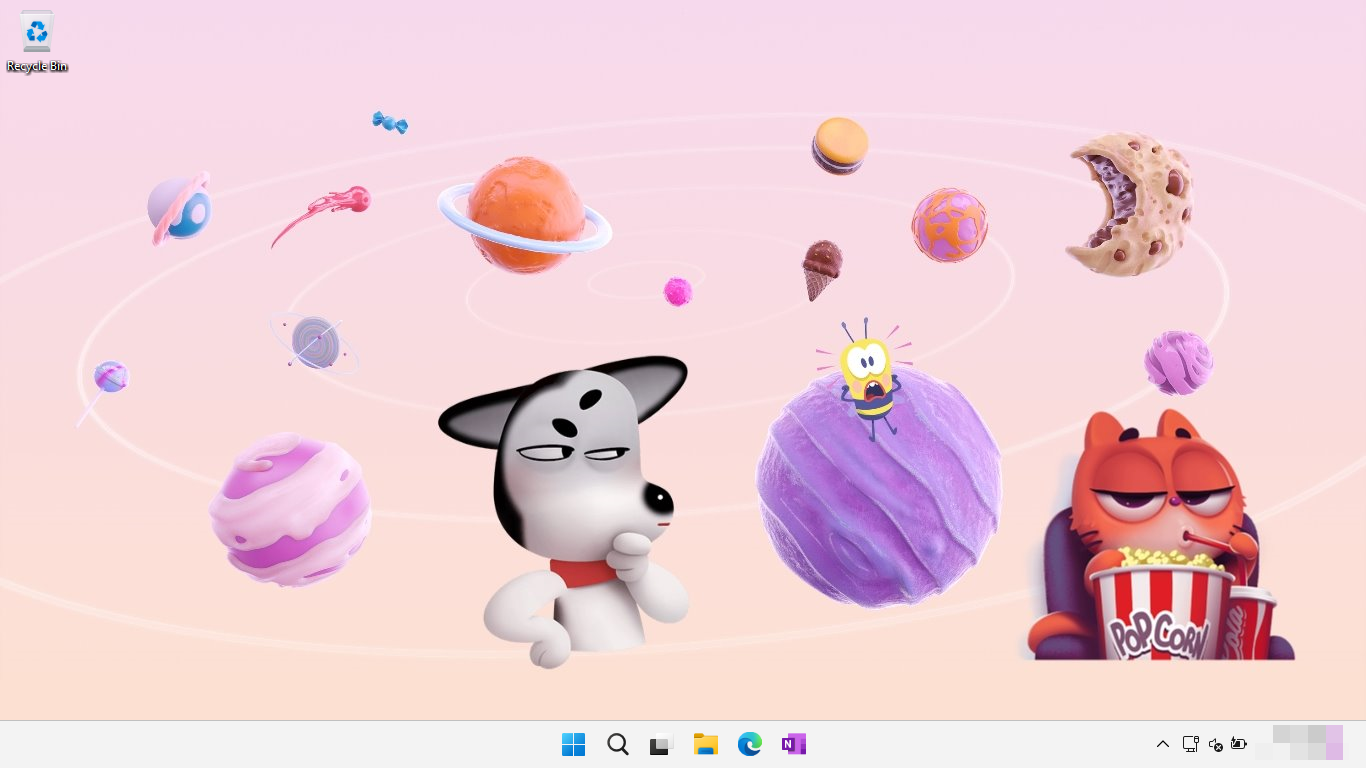
Starting in Windows 11 SE, version 22H2, Stickers is a feature that allows students to decorate their desktop with digital stickers. Students can choose from over 500 cheerful, education-friendly digital stickers. Stickers can be arranged, resized, and customized on top of the desktop background. Each student's stickers remain, even when the background changes.
Similar to the education theme packs, Stickers is a personalization feature that helps the device feel like it was designed for students.

Stickers are simple to use, and give students an easy way to express themselves by decorating their desktop, helping to make learning fun.
Benefits of Stickers
When students feel like they can express themselves at school, they pay more attention and learn, which benefits students, teachers, and the school community. Self-expression is critical to well-being and success at school. Customizing a device is one way to express a personal brand.
With Stickers, students feel more attached to the device as they feel as if it's their own, they take better care of it, and it's more likely to last.
Enable Stickers
Stickers aren't enabled by default. The following instructions describe how to configure your devices using either Microsoft Intune or a provisioning package (PPKG).
To configure devices with Microsoft Intune, create a custom policy and use the following settings:
| Setting |
|---|
./Vendor/MSFT/Policy/Config/Stickers/EnableStickers |
Assign the policy to a group that contains as members the devices or users that you want to configure.
Tip
Use the following Graph call to automatically create the custom policy in your tenant without assignments nor scope tags. 1
POST https://graph.microsoft.com/beta/deviceManagement/deviceConfigurations
Content-Type: application/json

{"id":"00-0000-0000-0000-000000000000","displayName":"_MSLearn_Stickers","roleScopeTagIds":["0"],"@odata.type":"#microsoft.graph.windows10CustomConfiguration","omaSettings":[{"omaUri":"./Vendor/MSFT/Policy/Config/Stickers/EnableStickers","displayName":"EnableStickers","@odata.type":"#microsoft.graph.omaSettingInteger","value":1}]}
1 When using this call, authenticate to your tenant in the Graph Explorer window. If it's the first time using Graph Explorer, you may need to authorize the application to access your tenant or to modify the existing permissions. This graph call requires DeviceManagementConfiguration.ReadWrite.All permissions.
How to use Stickers
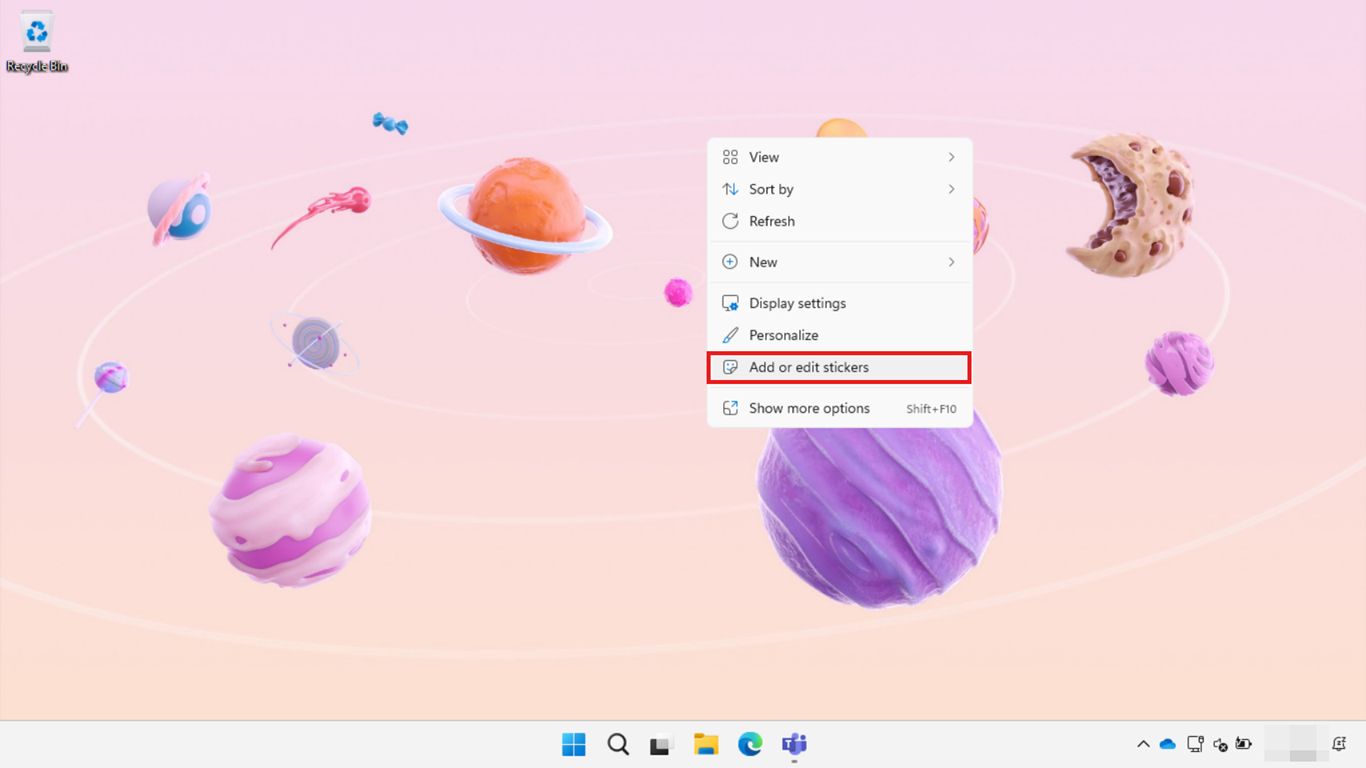
Once the Stickers feature is enabled, open sticker editor by either:
- using the contextual menu on the desktop and selecting the option Add or edit stickers
- opening the Settings app > Personalization > Background > Add stickers

Multiple stickers can be added from the picker by selecting them. The stickers can be resized, positioned, or deleted from the desktop by using the mouse, keyboard, or touch.

Select the X button at the top of the screen to save your progress and close the sticker editor.