Note
Access to this page requires authorization. You can try signing in or changing directories.
Access to this page requires authorization. You can try changing directories.
Applies to:  Workforce tenants External tenants (learn more)
Integrating identity management solutions into your organizational and customer-facing applications is essential for securing resources and customer data. Visual Studio's Connected Services allow you to quickly integrate the Microsoft identity platform into your ASP.NET web apps and configure sign-in experiences, all within Visual Studio. This article provides details of using Visual Studio's Connected Services feature for Microsoft Entra ID.
Prerequisites
- Visual Studio 2022 with the ASP.NET and web development workload installed.
- A Microsoft Entra tenant (workforce or external). If you don’t have one, choose from the following methods:
- Create a new tenant in the Microsoft Entra admin center.
- Use an Azure account with an active subscription. If you don't have one, create an account for free.
- The account you use must have permissions to manage applications in your tenant. Any of the following Microsoft Entra roles have the required permissions:
- Application Administrator
- Application Developer
- Cloud Application Administrator
Create your project and connect it to the Microsoft identity platform
- In Visual Studio, create or open an ASP.NET Model–view–controller (MVC) project, or an ASP.NET Web API project. For this quickstart, you use the ‘ASP.NET Core Web App (Razor Pages) template.
- Enter Project Name, for example,‘sample-asp-dotnet-webapp’ and the Location where you’d like to create the project then select Next.
- In the Framework selection, select .NET 8.0 (Long Term Support).
- Under Authentication Type, select Microsoft identity platform.
If you’re creating your app from an empty project template in Visual Studio or already have an existing ASP.NET web app and would like to add Microsoft Entra ID authentication, follow these steps:
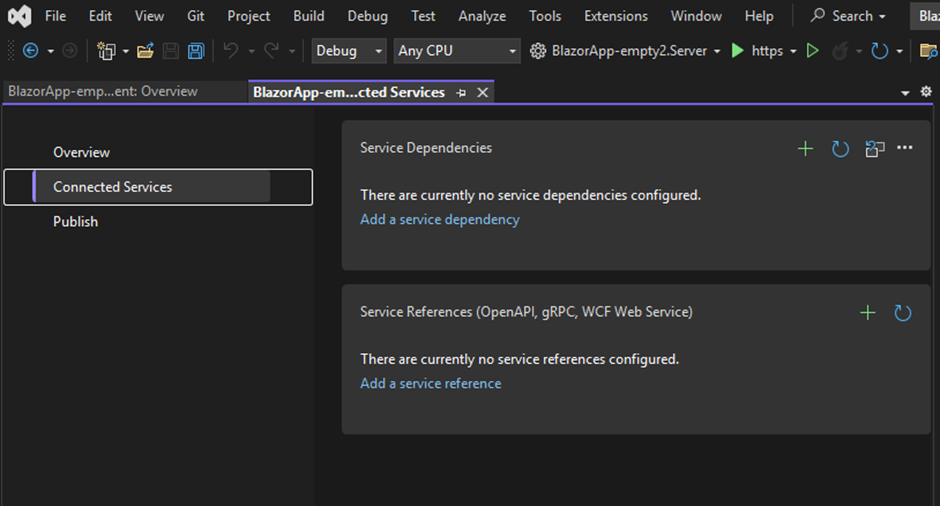
Open the solutions explorer and select Connected Services.
When the Connected Services pane opens on Visual Studio, select Add a service dependency or use the + icon.
From the dropdown list, select Microsoft identity platform. You can use the search tab if needed.
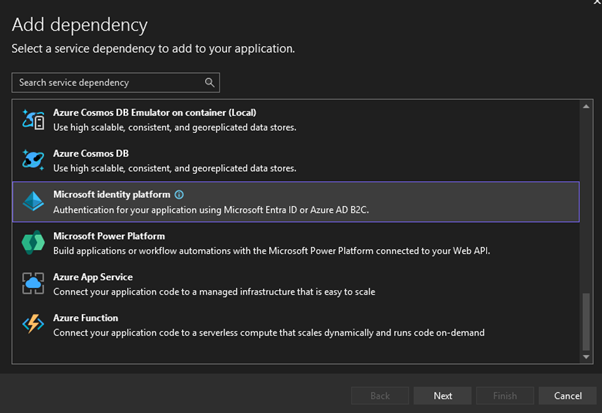
Microsoft identity platform shows under service dependencies in the Connected Services pane, as shown:

Install required components
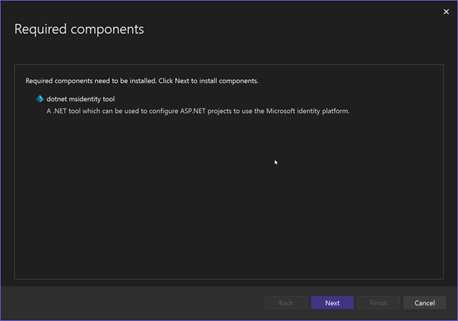
To use Microsoft identity platform in your project, you need to install the dotnet msidentity tool. This command line tool enables you to create Microsoft Entra app registrations. It also updates your app to use Microsoft identity platform by modifying the configuration files of your ASP.NET Core applications (MVC, Razor Pages, Blazor WebAssembly (WASM), Blazor WASM Hosted, Blazor Server).
If you don't have the dotnet msidentity tool installed on your device, Visual Studio prompts you to install it, as shown:
You can install the dotnet msidentity tool from your command line by running:
dotnet tool install --global Microsoft.dotnet-msidentity --version 2.0.8
Once you complete installing the dotnet msidentity tool, select Next to proceed to configuration.
Configure application to use Microsoft identity platform
The Microsoft identity platform connected service allows you to configure applications in either workforce or external tenants. To complete configuration, follow these steps:
In the top right section, sign in to your Microsoft account. If you have multiple accounts, select the account with the tenant where you’d like to register your application.
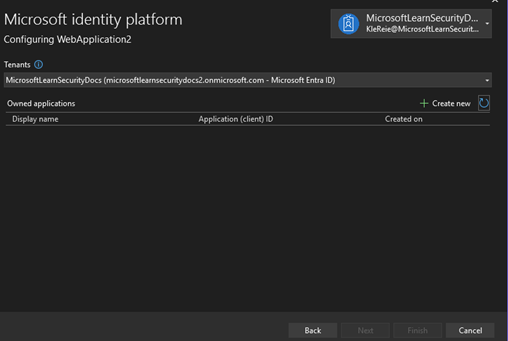
Once you're signed in, you see a list of applications registered in your tenant; with the application’s display name, client ID, and date created.
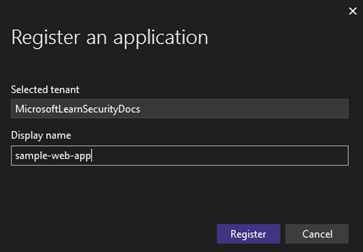
If you're yet to create an app registration in the Microsoft Entra admin center, select Create new. Choose the tenant where you’d like to create the application and provide a display name, such as sample-web-app and Select Register. You can change the application's display name later.
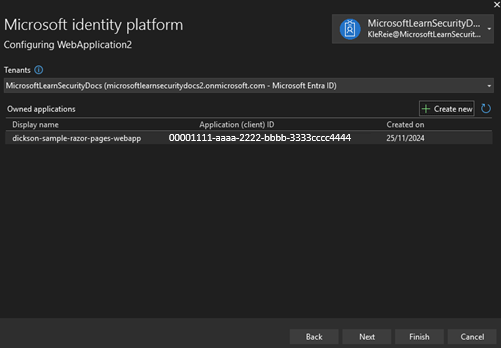
The application you created now shows in the list. Select it and choose Next.
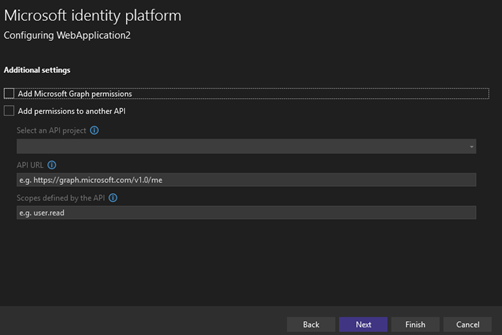
On the next screen, you can configure your app's permissions to access Microsoft Graph or other APIs. Select Next to complete the configuration later if you don't have the information yet.
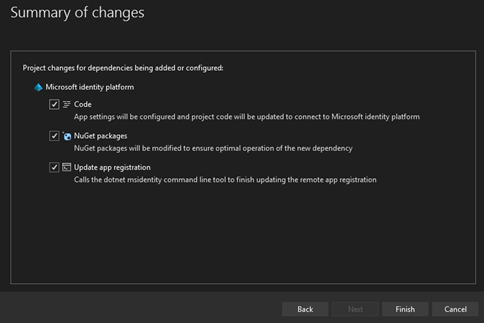
A screen with the summary of the changes being made to your project appears. Select Finish to complete the process.
A Dependency configuration progress screen showing the actual changes being in your project appears, as shown. Once successful, select Close.

[Optional]: Configure permissions to access a web API
The Microsoft identity platform connected service allows you to optionally add permissions to access Microsoft Graph or any other web API. You can add support for your own API or third-party APIs registered with the Microsoft identity platform.
If you want to modify it, such as to add support for an API such as Microsoft Graph, select the three dots on the Microsoft identity platform service dependency, and then choose Edit dependency. You can repeat the steps and add the APIs that you want to grant access to.
Run and test the app
To run the sample application, follow these steps:
Navigate to Visual Studio’s top navigation bar and select Debug > Start Without Debugging to start building your application, as shown:
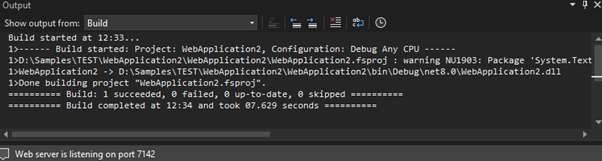
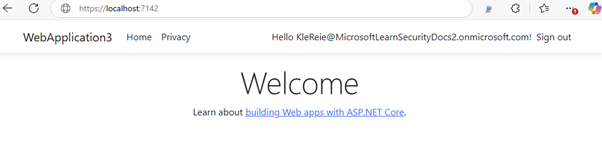
Once your build is complete, a new browser window opens at https://localhost:7142.
Depending on what your application does, Microsoft Entra ID will redirect you to perform the required action. For our sample application, the app prompts you to complete the sign-up and sign-in process as shown: