Register passkeys in Authenticator on Android or iOS devices (preview)
This article shows how to register a passkey using Microsoft Authenticator on your iOS or Android device by directly signing into the Authenticator app or by using My Security info. For more information on the availability of Microsoft Entra ID passkey (FIDO2) authentication across native apps, web browsers, and operating systems, see Support for FIDO2 authentication with Microsoft Entra ID.
Note that the easiest and fastest way to add a passkey is to add it directly in the Authenticator app.
Alternatively, you can add a passkey from your mobile device browser, or through cross-device registration using another device, such as a laptop. Your mobile device needs to run iOS version 17, or Android version 14, or later.
| Scenario | iOS | Android |
|---|---|---|
| Same-device registration by signing into Authenticator | ✅ | ✅ |
| Same-device registration in a browser | ✅ | ❌1 |
| Cross-device registration | ✅ | ✅ |
1 Support for same-device registration in a browser on Android is coming soon.
Same device registration using direct sign in to Authenticator (iOS)
You can sign in to Authenticator to create a passkey in the app and get seamless single sign-on (SSO) across Microsoft native apps. This is the recommended and preferred flow to setup a passkey in Authenticator. If you're signed in or already have an account in Authenticator, you still need to complete these steps to add a passkey in Authenticator.
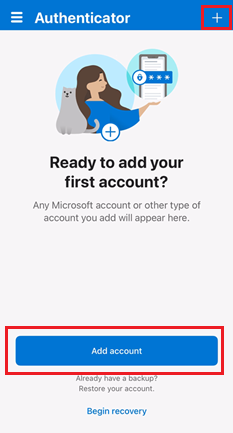
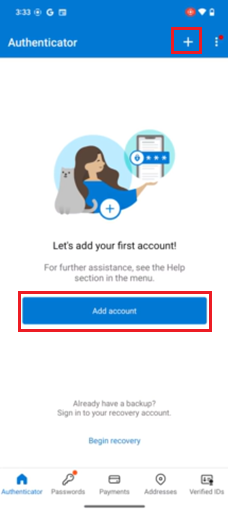
Open Authenticator.
Tap Add account or the + button.
Note
If you already have an account in Authenticator, you still need to tap on the + button to sign in and register a passkey for that same account.
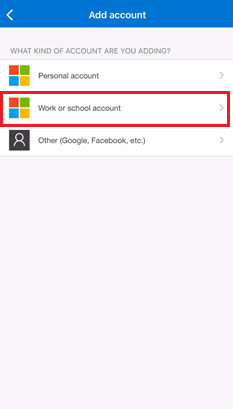
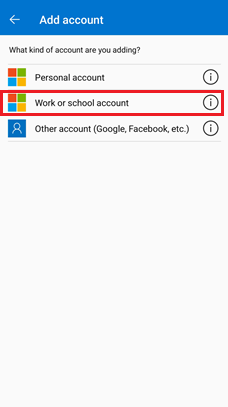
Select Work or school account.
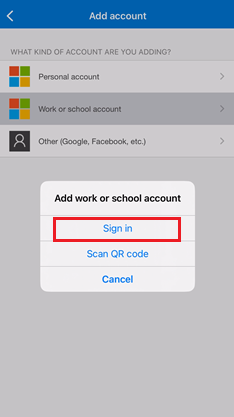
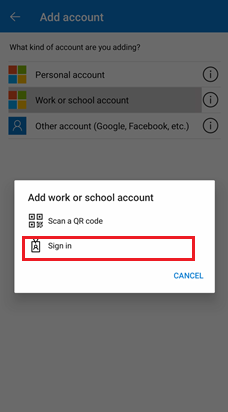
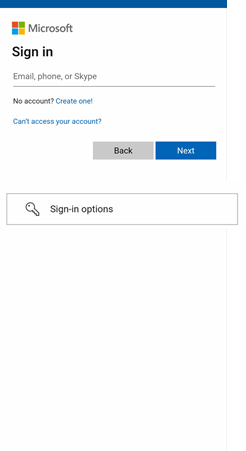
Tap Sign in.
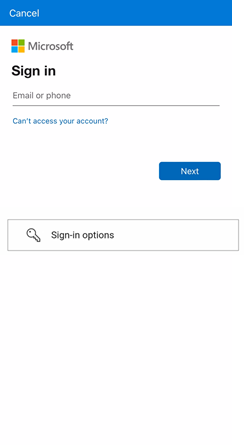
You need to complete multifactor authentication (MFA).
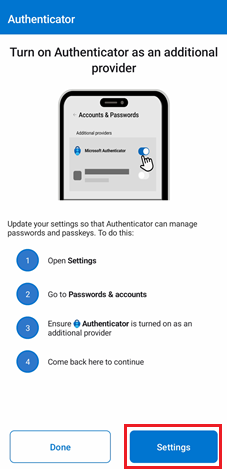
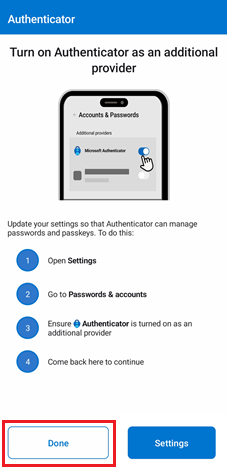
Select Open Settings to enable Authenticator as a passkey provider.

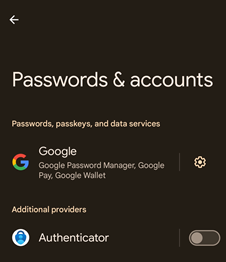
Open Passwords, then select Password Options.

Ensure Autofill Passwords and Passkeys is turned on.
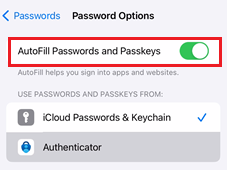
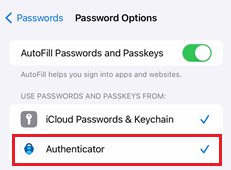
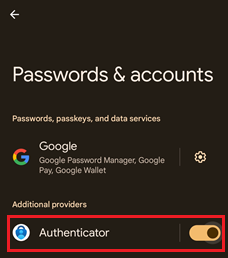
In the Use Passwords and Passkeys From option, make sure Authenticator is selected.
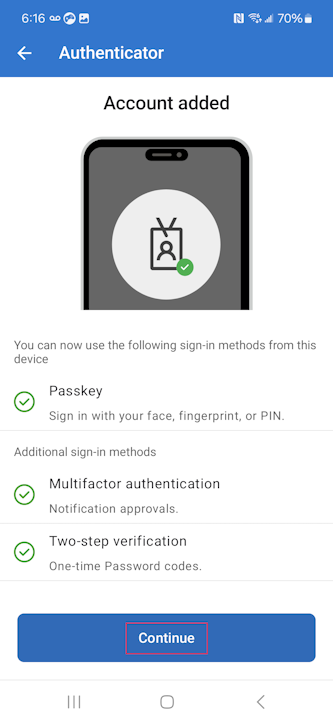
Authenticator sets up passkey, passwordless, and MFA for sign in according to your work or school account policies.
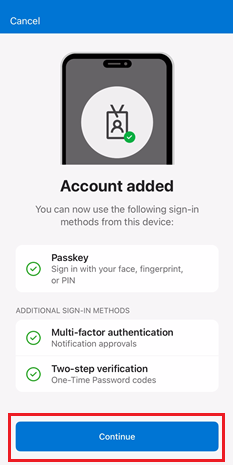
Tap Continue to complete the registration process.
Same-device registration from a browser (iOS)
You can also use your web browser to set up a passkey in Authenticator.
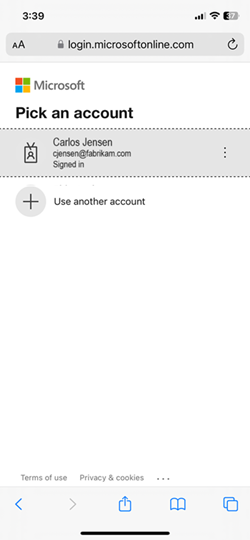
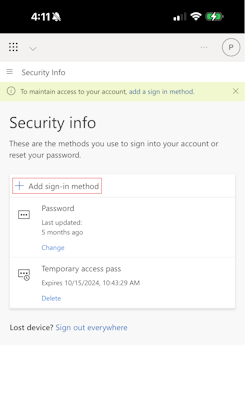
Using your iOS device, open a web browser and sign-in to My Security info.
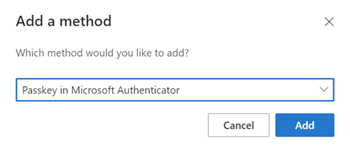
Tap + Add sign-in method.
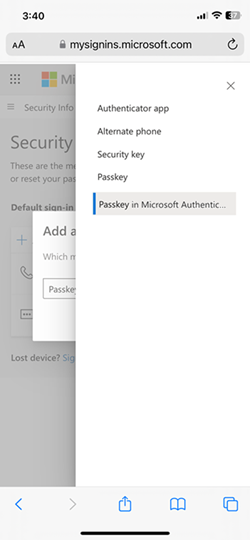
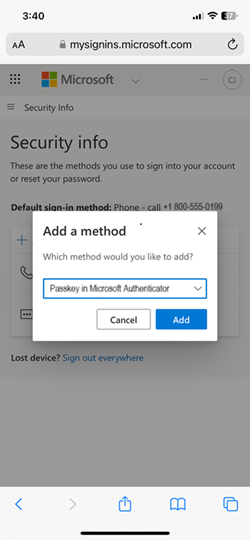
Select Passkey in Microsoft Authenticator (preview).
Tap Add.
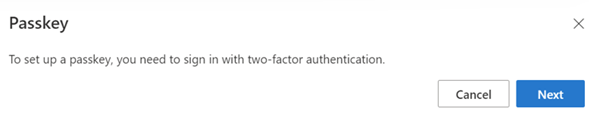
Sign in with multifactor authentication (MFA) before adding a passkey.
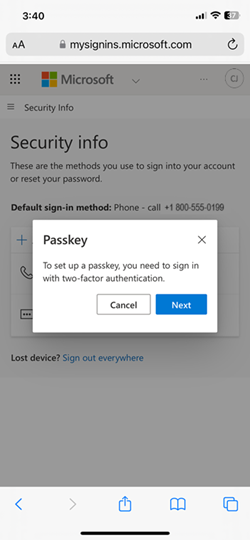
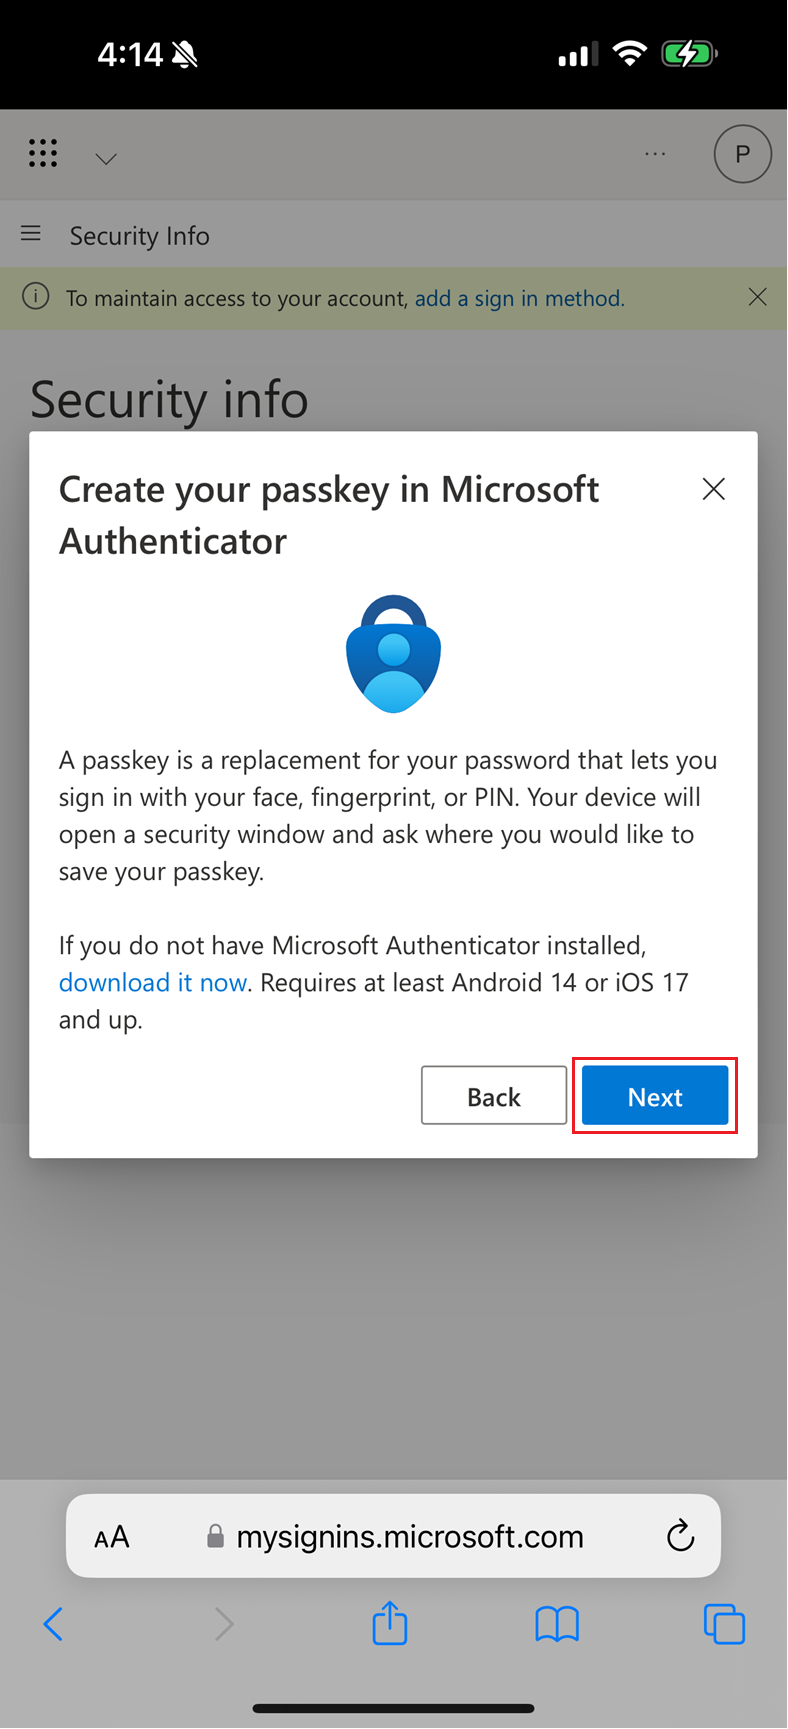
After you sign in with MFA, continue through the rest of the passkey setup.
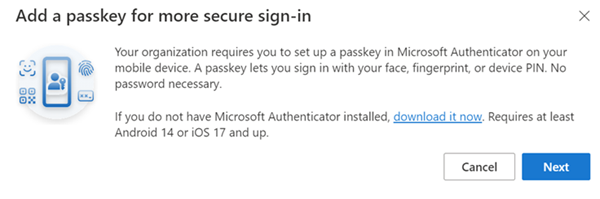
If necessary, download Microsoft Authenticator and tap Next.
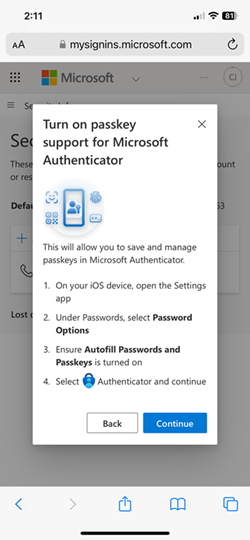
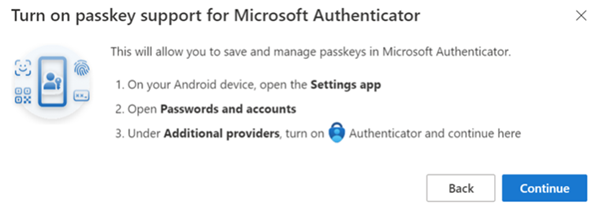
Follow the steps to turn on Authenticator as a passkey provider in the Settings of your iOS device:
- On your iOS device, open Settings.
- Open Passwords, and select Password Options.
- Ensure Autofill Passwords and and Passkeys is turned on.
- Under Use Passwords and Passkeys From, select Authenticator.
- Return to My Security info and select Continue.
When ready, read the reminder that you must save the passkey in Authenticator, and tap I understand to continue.
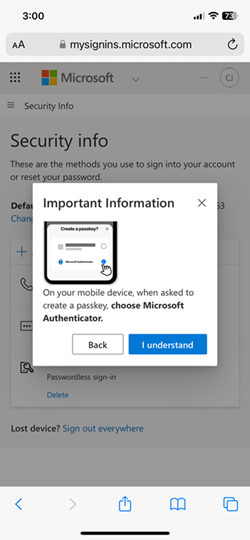
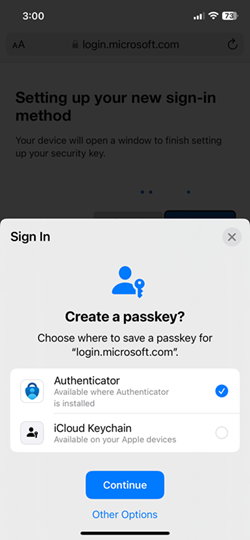
Your device opens a security window. Save the passkey to Authenticator following the prompts on your device.
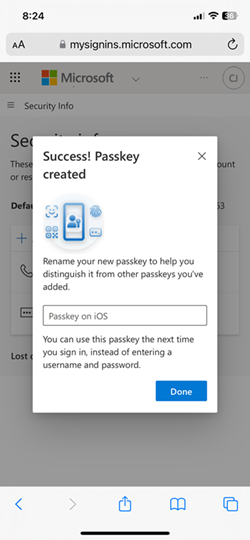
Once the passkey is successfully created on your device, you're directed back to My Security info.
Name the passkey something memorable to you, and select Done.
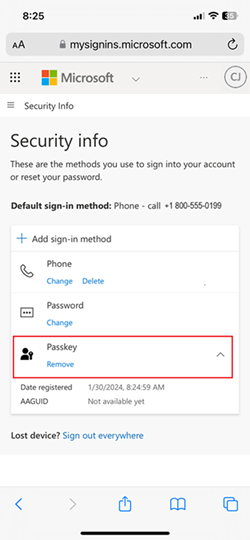
You can now see the passkeys in Authenticator along with your other registered security info options.
Cross-device registration (iOS)
You can also save a passkey in Authenticator from your computer or another mobile device. This registration option requires Bluetooth and an internet connection for both devices.
Using another device, such as a laptop, open a web browser and sign in to My Security info.
Tap + Add sign-in method > choose Passkey in Microsoft Authenticator (preview) > Add.
Sign in with multifactor authentication (MFA), then tap Next.
If necessary, download Microsoft Authenticator, then tap Next.
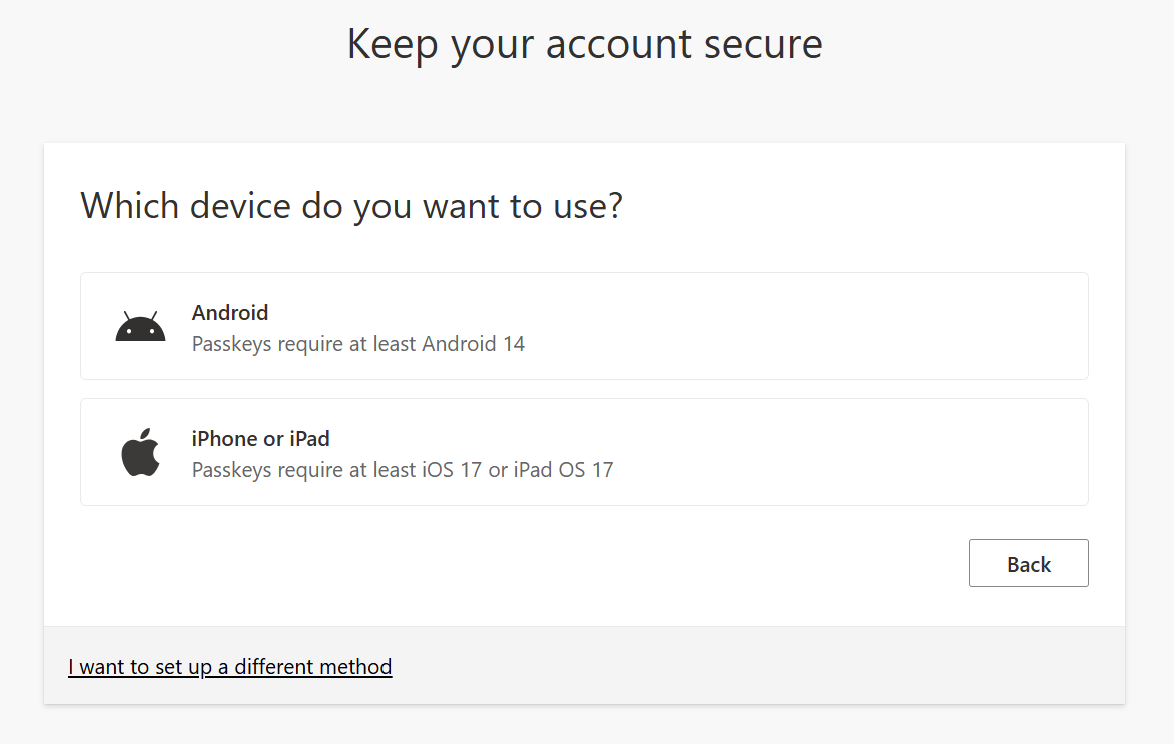
Tap iOS.
Follow the steps to turn on Authenticator as a passkey provider in Settings of your iOS device:
On your iOS device, open Settings.
Open Passwords select Password Options.
Ensure Autofill Passwords and and Passkeys is turned on.
Under Use Passwords and Passkeys From select Authenticator.
Return to My Security info, and select Continue.
Open the camera app on your mobile device.
Note
The camera inside the iOS Authenticator app doesn't support scanning a WebAuthn QR code. Make sure you use the system camera app.
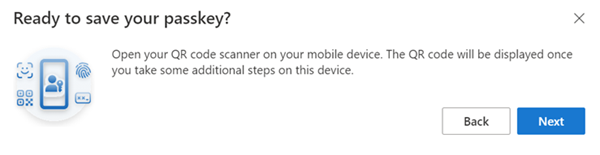
When ready, read the reminder on My Security info that you must save the passkey in Authenticator, and tap Next to continue.
A security dialog opens on your device.
Tap iPhone, iPad, or Android device, then tap Next.
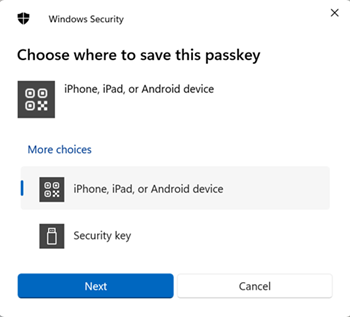
Note
The displayed options can vary on different browsers and devices. If the device where you started the registration process supports passkeys, you're asked to save the passkey to that device. Select Use another device or More options to see other ways you can save the passkey.
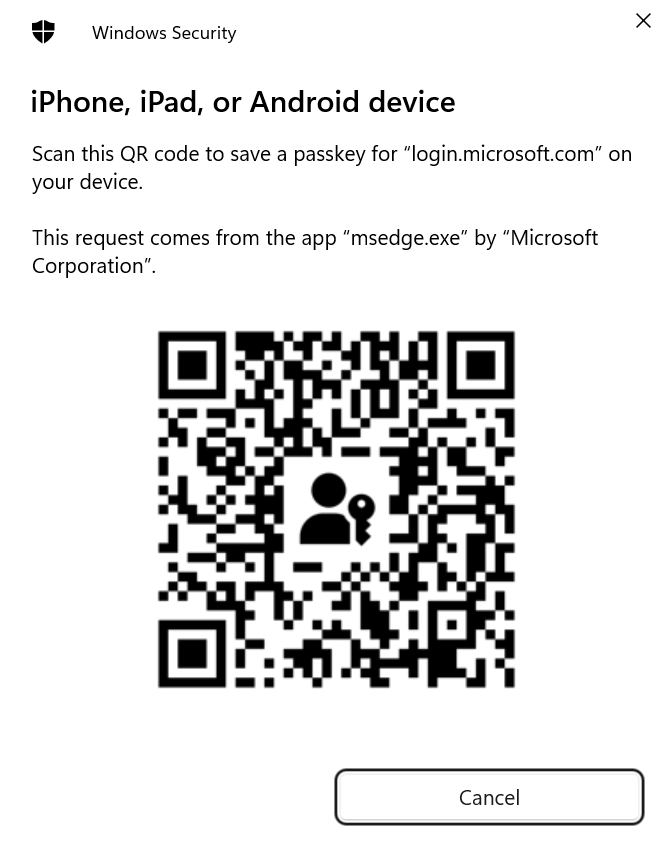
Use the system camera app to scan the QR code, then tap Save a passkey.
Your iOS device should now connect over Bluetooth to the device you started registration with.
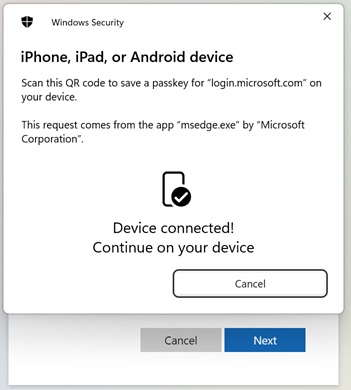
Note
Bluetooth and an internet connection is required for this step and must be enabled on both your mobile and remote device.
Your iOS device opens a security window. Save the passkey to Authenticator following the prompts on your device.
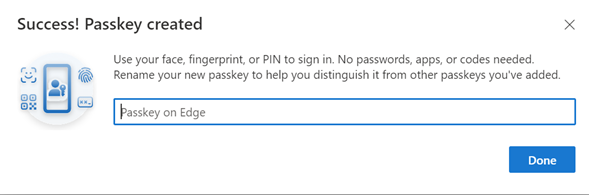
Once the passkey is successfully created on your device, you're directed back to My Security info, tap Done.
Name the passkey something memorable to you and select Done.
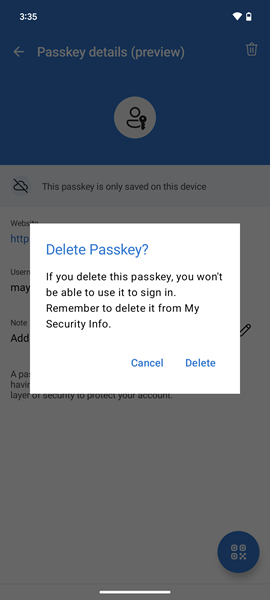
Delete your passkey in Authenticator for iOS
To remove the passkey from Authenticator, click the Trash icon, then tap Delete to confirm.
Note
You also need to delete the passkey from My Security info.
Troubleshooting
In some cases when you try to register a passkey, it gets stored locally in the Authenticator app but not registered on the authentication server. For example, the passkey provider might not be permitted, or the connection might time out. If you try to register a passkey and see an error that the passkey already exists, delete the passkey that was created locally in Authenticator, and retry registration.
Feedback
Coming soon: Throughout 2024 we will be phasing out GitHub Issues as the feedback mechanism for content and replacing it with a new feedback system. For more information see: https://aka.ms/ContentUserFeedback.
Submit and view feedback for