Note
Access to this page requires authorization. You can try signing in or changing directories.
Access to this page requires authorization. You can try changing directories.
This article walks you through the basic settings required for using deployment pipelines in Microsoft Fabric. We recommend reading the deployment pipelines introduction and understanding which items can be deployed before you proceed.
Note
- The new Deployment pipeline user interface is currently in preview. To turn on or use the new UI, see Begin using the new UI.
- Some of the items for deployment pipelines are in preview. For more information, see the list of supported items.
You can also complete the Create and manage a Fabric deployment pipeline training module, which shows you step by step how to create a deployment pipeline.
Prerequisites
In a deployment pipeline, one Premium workspace is assigned to each stage. Before you start working with your pipeline in production, review the capacity requirements for the pipeline's workspaces.
To access the deployment pipelines feature, you must meet the following conditions:
You have a Microsoft Fabric subscription
You're an admin of a Fabric workspace
Note
You can also see the deployment pipelines button if you previously created a pipeline or if a pipeline was shared with you.
Step 1 - Create a deployment pipeline
When you create a pipeline, you define how many stages it should have and what they should be called. The number of stages are permanent and can't be changed after the pipeline is created.
You can create a pipeline from the deployment pipelines entry point in Fabric (at the bottom of the workspace list), or from a specific workspace. If you create a pipeline from a workspace, the workspace is automatically assigned to the pipeline.
To create a pipeline from anywhere in Fabric:
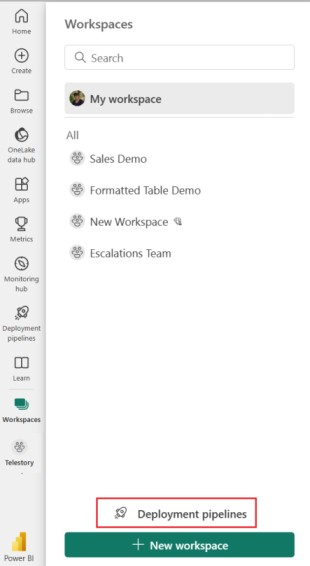
From the Workspaces flyout, select Deployment pipelines.
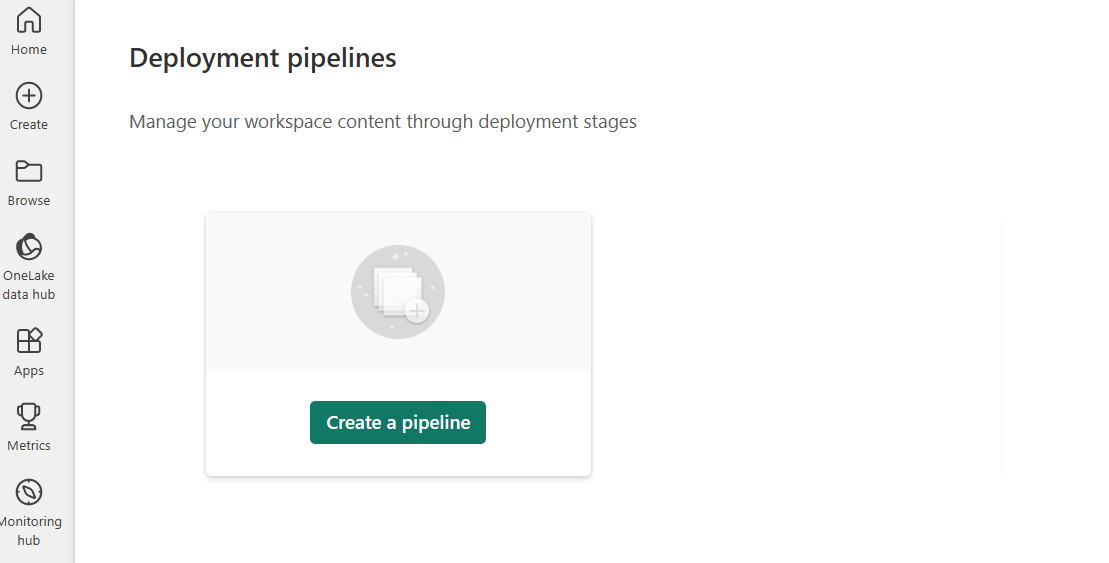
Select Create pipeline, or + New pipeline.
Step 2 - Name the pipeline and assign stages
In the Create deployment pipeline dialog box, enter a name and description for the pipeline, and select Next.
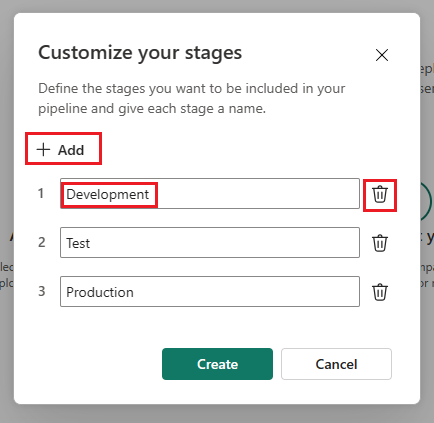
Set your deployment pipeline’s structure by defining the required stages for your deployment pipeline. By default, the pipeline has three stages named Development, Test, and Production. You can accept these default stages or change the number of stages and their names. You can have anywhere between 2-10 stages in a pipeline. You can add another stage, delete stages, or rename them by typing a new name in the box. Select Create (or Create and continue) when you're done.

To navigate between stages, zoom in and out with your mouse wheel or use the buttons in the top right. You can also drag the pipeline with your mouse to move it around.


After the pipeline is created, you can share it with other users, edit, or delete it. When you share a pipeline with others, they receive access to the pipeline and become pipeline admins. Pipeline access enables users to view, share, edit, and delete the pipeline.
Step 3 - Assign a workspace
Note
If you're creating a pipeline directly from a workspace, you can skip this stage as the workspace is already selected.
After creating a pipeline, you need to add the content you want to manage to the pipeline. Adding content to the pipeline is done by assigning a workspace to the pipeline stage. You can assign a workspace to any stage.
Follow the instructions in the link to assign a workspace to a pipeline.
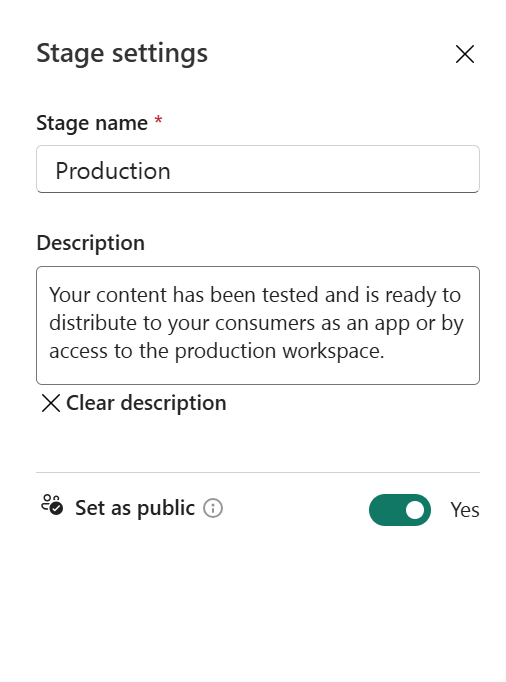
Step 4 - Make a stage public (optional)
By default, the final stage of the pipeline is made public. A consumer of a public stage without access to the pipeline sees it as a regular workspace, without the stage name and deployment pipeline icon on the workspace page next to the workspace name.
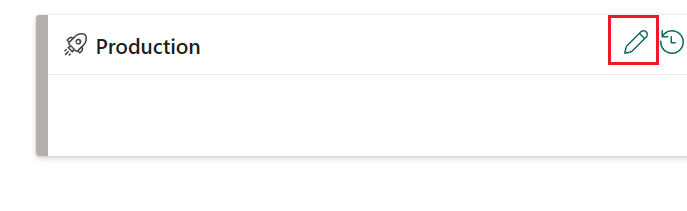
You can have as many public stages as you want, or none at all. To change the public status of a stage at any time, go to the pipeline stage settings and check or uncheck the Make this stage public box.
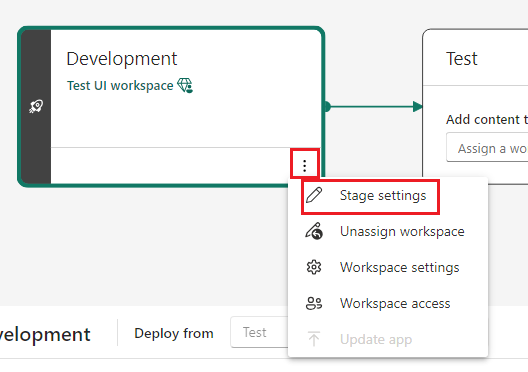
Set the Make this stage public box, and then save.
Step 5 - Deploy to an empty stage
When you finished working with content in one pipeline stage, you can deploy it to the next stage. Deploying content to another stage is often done after you performed some actions in the pipeline. For example, made development changes to your content in the development stage, or tested your content in the test stage. A typical workflow for moving content from stage to stage, is development to test, and then test to production, but you can deploy in any direction. You can learn more about this process, in the deploy content to an existing workspace section.
Deployment pipelines offer three options for deploying your content:
Full deployment - Deploy all your content to the target stage.
Selective deployment - Select which content to deploy to the target stage.
Backward deployment - Deploy content from a later stage to an earlier stage in the pipeline. Currently, backward deployment is only possible when the target stage is empty (has no workspace assigned to it).
After you choose how to deploy your content, you can Review your deployment and leave a note.
Step 6 - Deploy content from one stage to another
Once you have content in a pipeline stage, you can deploy it to the next stage, even if the next stage workspace has content. Paired items are overwritten. You can learn more about this process, in the deploy content to an existing workspace section.
You can review the deployment history to see the last time content was deployed to each stage.
Deployment history is useful for establishing when a stage was last updated. It can also be helpful if you want to track time between deployments.
To examine the differences between the two pipelines before you deploy, see compare content in different deployment stages.
Step 7 - Create deployment rules (optional)
When you're working in a deployment pipeline, different stages can have different configurations. For example, each stage can have different databases or different query parameters. The development stage might query sample data from the database, while the test and production stages query the entire database.
When you deploy content between pipeline stages, configuring deployment rules enables you to allow changes to content while keeping some settings intact. For example, you can define a rule for a semantic model in a production stage to point to a production database. Define the rule in the production stage under the appropriate semantic model. Once a rule is defined or changed, redeploy the content. The deployed content inherits the value defined in the deployment rule, and always applies as long as the rule is unchanged and valid.
Read about how to define deployment rules.