Note
Access to this page requires authorization. You can try signing in or changing directories.
Access to this page requires authorization. You can try changing directories.
In this tutorial, you set up a basic development environment and deploy a lakehouse and notebook to a Fabric workspace from your local dev workstation. You can choose between two approaches:
- Python SDK — Use the
fabric-cicdPython library to publish items programmatically. - Fabric CLI — Use the
fab deploycommand with a YAML configuration file. No Python code required.
The Fabric CLI fab deploy command uses the fabric-cicd library under the hood. Choose the approach that fits your workflow.
Prerequisites
- A test workspace in Fabric
- Admin permissions on the Fabric workspace.
- A GitHub account (required to access demo files)
- VS Code or similar editor: Download VS Code
- Python Install python
- Azure CLI (used only for authentication): Install Azure CLI
Step 1. Download the source files
- Fork the fabric-samples repository to your GitHub account.
- Clone your fork and navigate to the sample folder:
git clone https://github.com/<your-account>/fabric-samples.git
cd fabric-samples/docs-samples/cicd/fabric-cicd-local
Step 2. Install the deployment tool
Using the terminal from within VS Code, install the fabric-cicd python library.
pip install fabric-cicd
Step 3. Configure the deployment
Navigate to the fabric-cicd-local files that you cloned down in step 1. They're located in the samples folder. Edit the deploy.py script, replacing <YOUR_WORKSPACE_ID> with your id. Save the changes.
from pathlib import Path
from fabric_cicd import FabricWorkspace, publish_all_items # 👈 import the function

repo_dir = Path(__file__).resolve().parent # ...\fabric_items

workspace = FabricWorkspace(
 workspace_id="<YOUR_WORKSPACE_ID>",
 repository_directory=str(repo_dir),
 # environment="DEV", # optional, but required if you use parameter replacement via parameter.yml
 # item_type_in_scope=["Notebook", "DataPipeline", "Environment"], # optional scope
)

publish_all_items(workspace) # 👈 call the function
Step 4. Sign in
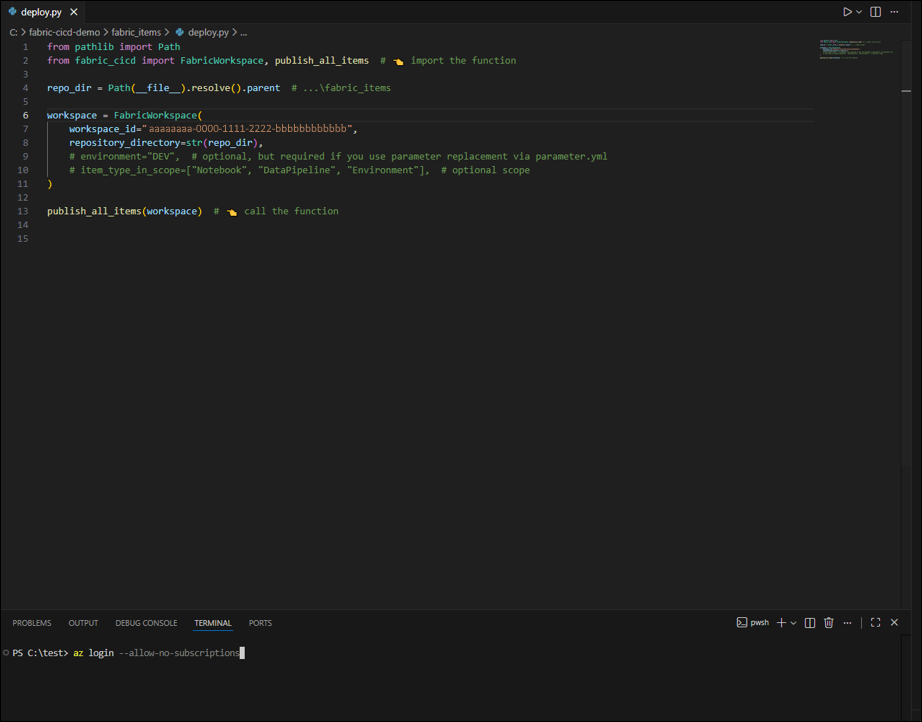
Using the terminal, sign in using az login.
az login
Note
If you're using a trial or have no Azure subscriptions associated with your account you can use the --allow-no-subscriptions switch.
az login --allow-no-subscriptions
Step 5. Run the deployment
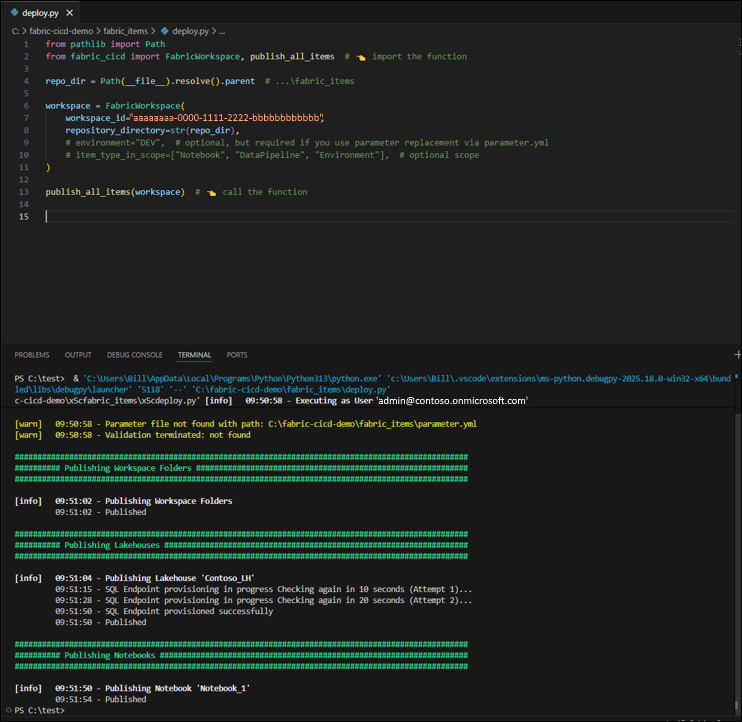
Run the deploy.py script. From within VS Code, go to Run -> Start Debugging. You should see the following output in the screenshot.
Step 6. Verify the items were created
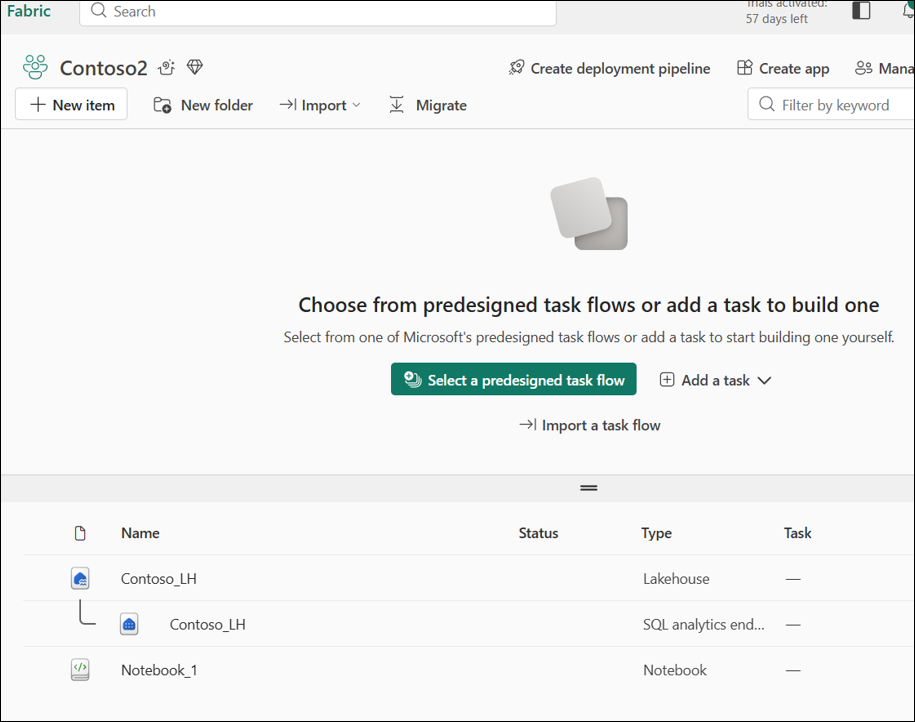
Once the deployment completes, check your Fabric workspace. You should see the new lakehouse and notebook. Congrats you're done!