Note
Access to this page requires authorization. You can try signing in or changing directories.
Access to this page requires authorization. You can try changing directories.
When you share a lakehouse, you grant other users or groups access to a lakehouse without giving access to the workspace and the rest of its items. To see the list of items that others shared with you, select Browse in the Fabric navigation bar, and then select Shared with me. You can also see lakehouses that others shared with you in your OneLake catalog.
Sharing a lakehouse also grants access to the SQL analytics endpoint.
Before you share
Before you share a lakehouse, make sure the following prerequisites are met:
- You have permission to share the item. Workspace Admin and Member roles can share by default. Workspace Contributor and Viewer roles can share only if they're granted Share (reshare) permission on the lakehouse. For details, see Roles in workspaces and Share items in Microsoft Fabric.
- Recipients have access to your organization tenant and can receive sharing links.
- You understand that sharing grants read access only. It doesn't grant workspace membership or write permissions.
Sharing and permissions
By default, sharing a lakehouse grants Fabric Read permission on the lakehouse and the associated SQL analytics endpoint. Lakehouse sharing does not provide write permissions—shared users can read data, but can't modify it.
You can also grant additional permissions:
| Permission | What it allows |
|---|---|
| Read | Open the shared lakehouse item. |
| Read all with SQL analytics endpoint | Read data from the SQL analytics endpoint through T-SQL without SQL policy. |
| Read all with Apache Spark | Read lakehouse data through Apache Spark and OneLake APIs. |
| SubscribeOneLakeEvents | Subscribe to OneLake events generated for the lakehouse. |
Important
Read all with Apache Spark is an additional permission and doesn't replace Read. When you share an item, Read is always included. For users who need Spark and OneLake API access, grant Read all with Apache Spark in addition to the base share access. For details, see Share items in Microsoft Fabric.
Share a lakehouse
To share a lakehouse, navigate to your workspace, and select the Share icon next to the lakehouse name. You can also select the ellipsis (...), then, from the More options menu, select Share. Complete the fields in the Grant people access screen and select Grant.
To edit or remove permissions, see Managing permissions.

Managing permissions
After you share an item, you can edit or remove permissions on the Direct access screen for that item.
To manage permissions for a lakehouse:
- Navigate to your workspace and select the ellipsis (...) next to the lakehouse name.
- From More options, select Manage permissions.
- In Direct access, review existing access entries.
- Add custom permissions, or remove access and custom permissions as needed.
Folder-level access control
OneLake security permissions (preview) allow you to create custom roles within a lakehouse and to grant read permissions only to specific folders in OneLake. OneLake security does not grant write permissions - it only provides granular control over read access for users who already have basic read access to the lakehouse. Write permissions must still be granted through workspace roles (Contributor or higher). OneLake folder security is inheritable for all subfolders. For each OneLake role, you can assign users and security groups, or grant an automatic assignment based on the workspace role.
Learn more about OneLake Role-based access control (RBAC).
For an overview of OneLake security concepts, see Data security overview.
OneLake security roles
To create a new data access role:
Open the lakehouse where you want to define the new role.
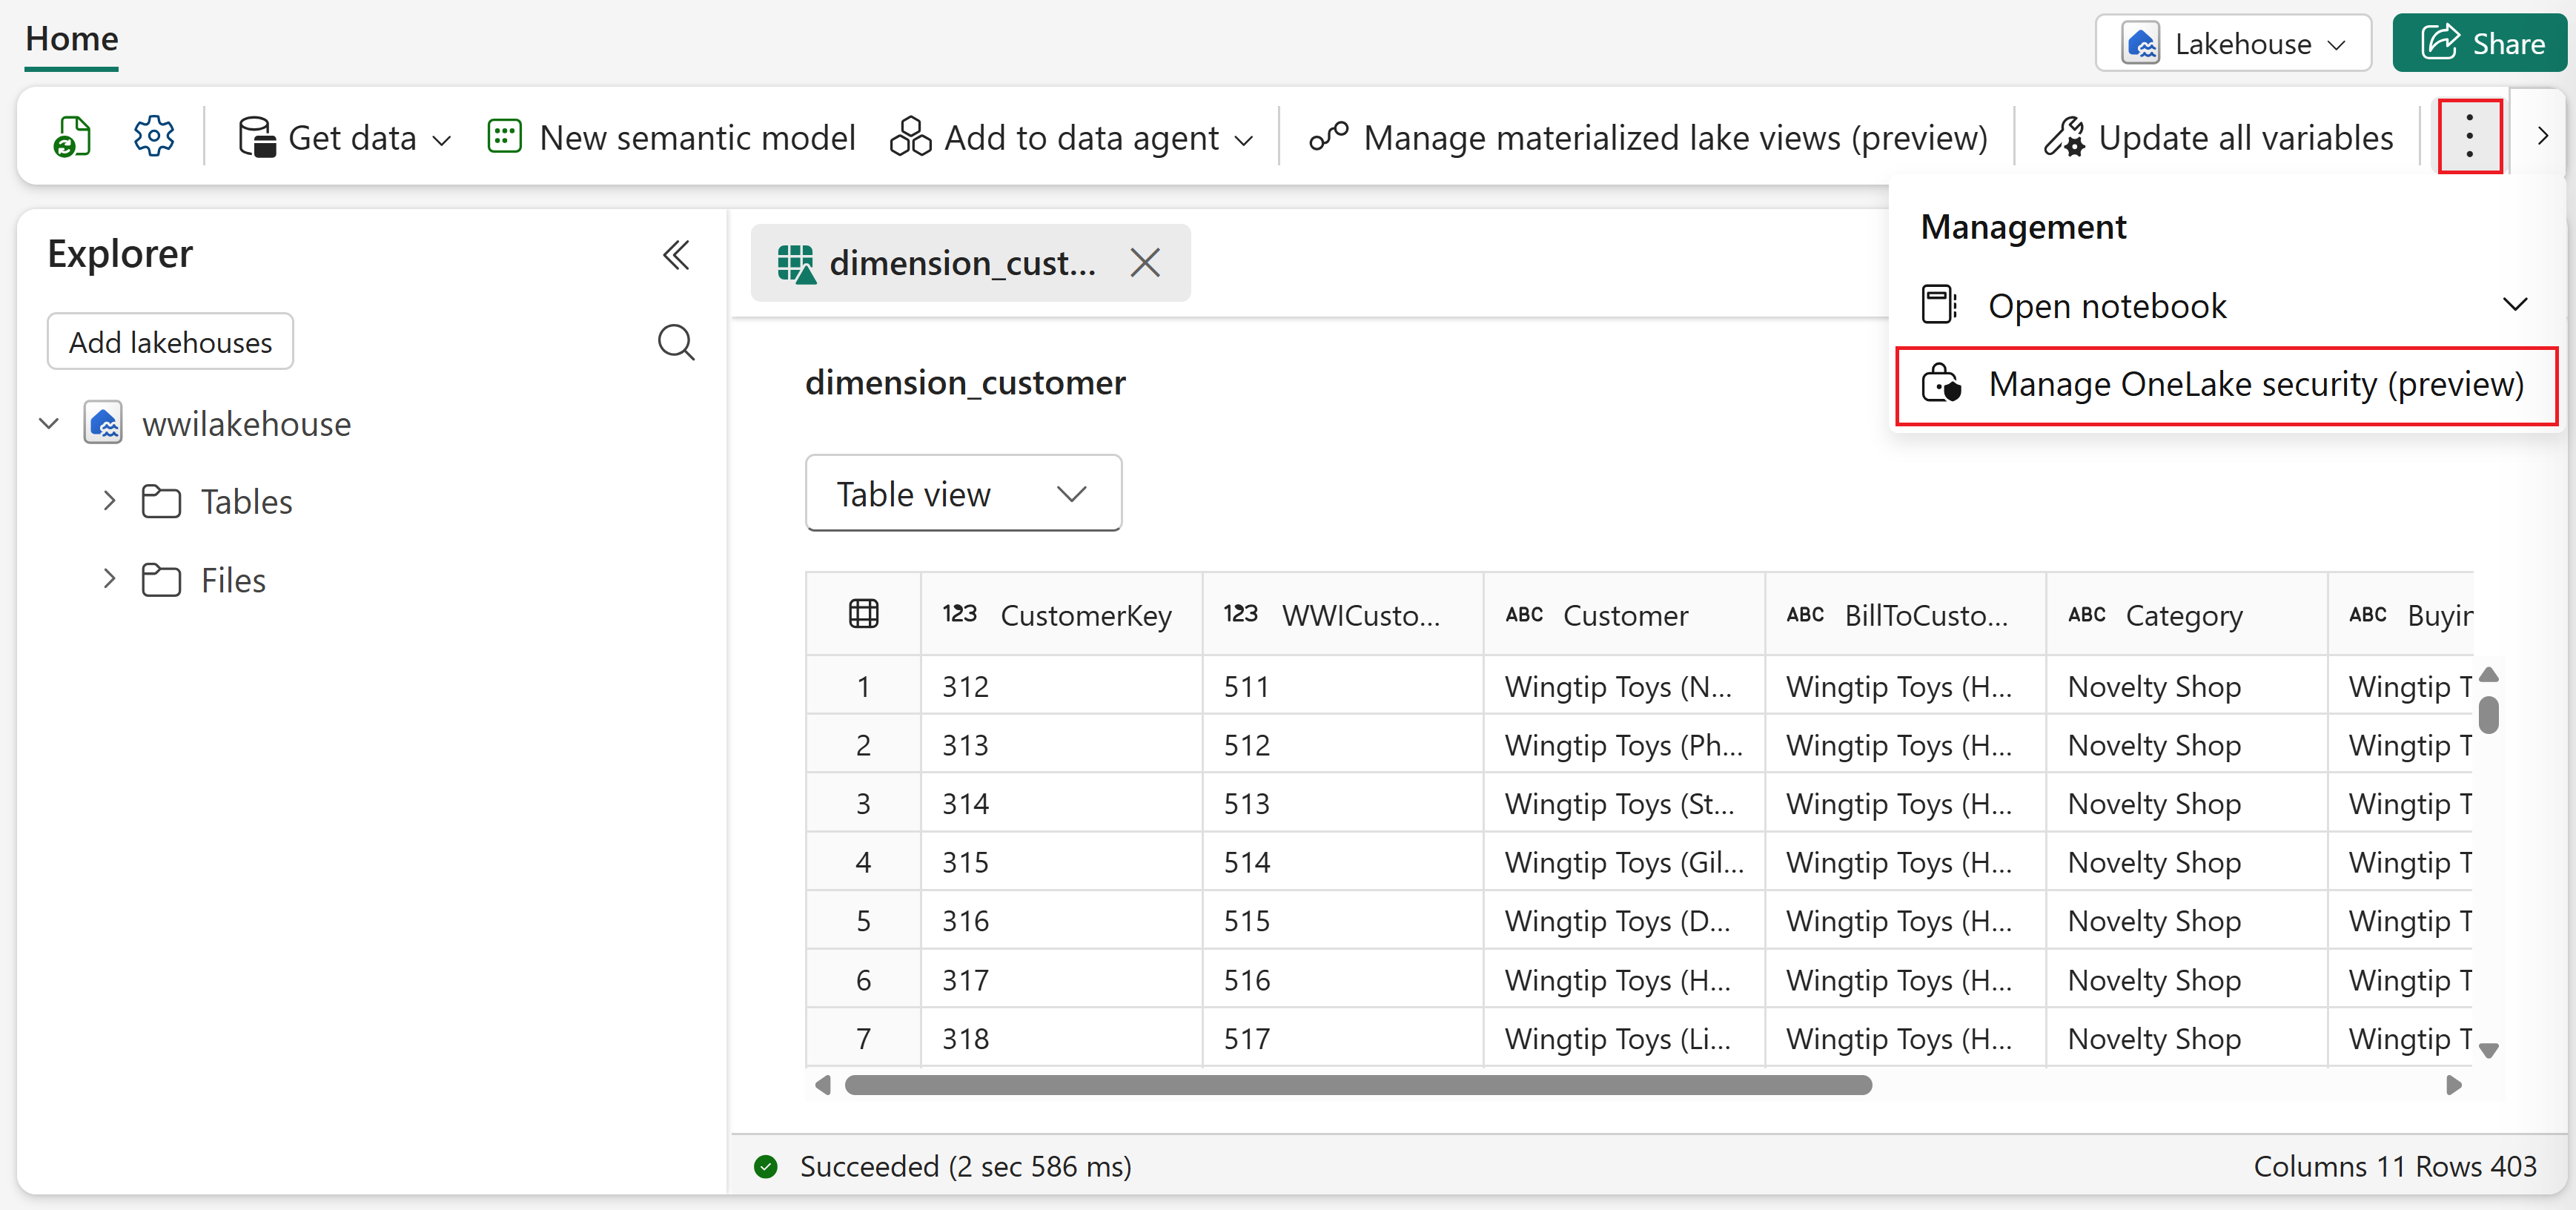
Select Manage OneLake security (preview) from the ribbon, and confirm that you want to enable data access roles (preview) for the lakehouse.
Select New role and enter a name for the role.
If you want the role to apply to all folders in the lakehouse, select All folders. If you want the role to only apply to selected folders, choose Selected folders and select the relevant folders.
Select Save. A notification appears that confirms the creation of the new role.
From the Edit <role name> pane, grant the new role Read permissions. To do so, select Assign role.
Choose the permissions you would like to assign, enter names or email addresses in the Add people or groups field and select Add.
Review the assignee list under Assigned people and groups, remove any that you don't want on the list, and select Save.

For more information, see Get started with OneLake security roles.
Troubleshoot common issues
Use the following checks when sharing or permission updates don't behave as expected.
- You can't select Share: Verify that you have share permission for the lakehouse (Admin or Member by default, or explicit Share permission). For role behavior, see Roles in workspaces.
- Users can open the item but can't query data: Verify that recipients have the required permission for their access path (Read all with SQL analytics endpoint for SQL endpoint access, Read all with Apache Spark for Spark and OneLake APIs). For permission definitions, see Share items in Microsoft Fabric.
- Users still have old access after changes: Permission updates can take up to two hours to propagate for signed-in users. Recheck the Direct access list and ask the recipient to refresh or sign in again. For platform behavior details, see Share items in Microsoft Fabric.
- Users with "Read all with SQL analytics endpoint" permission: Users can access data using the SQL Endpoint URL but cannot access the data using the Lakehouse URL. If users need access using the Lakehouse URL, grant the Read all with Apache Spark permission as well in addition to Read all with SQL analytics endpoint permission. For permission definitions, see Share items in Microsoft Fabric.
Known issues
The sharing dialog for lakehouse shows an option to subscribe to OneLake events. Permission to subscribe to this event is granted along with the Read All Apache Spark permission. This is a temporary limitation.