Note
Access to this page requires authorization. You can try signing in or changing directories.
Access to this page requires authorization. You can try changing directories.
This article outlines the steps to create a SQL Server database connection.
Supported authentication types
The SQL Server database connector supports the following authentication types for copy and Dataflow Gen2 respectively.
| Authentication type | Copy | Dataflow Gen2 |
|---|---|---|
| Basic (Username/Password) | √ | √ |
| Organizational account | √ | √ |
| Service principal | √ (Only for SQL Server on Azure VMs) | √ |
| Windows | √ (When use on-premises data gateway) | √ |
| Workspace identity | n/a | √ |
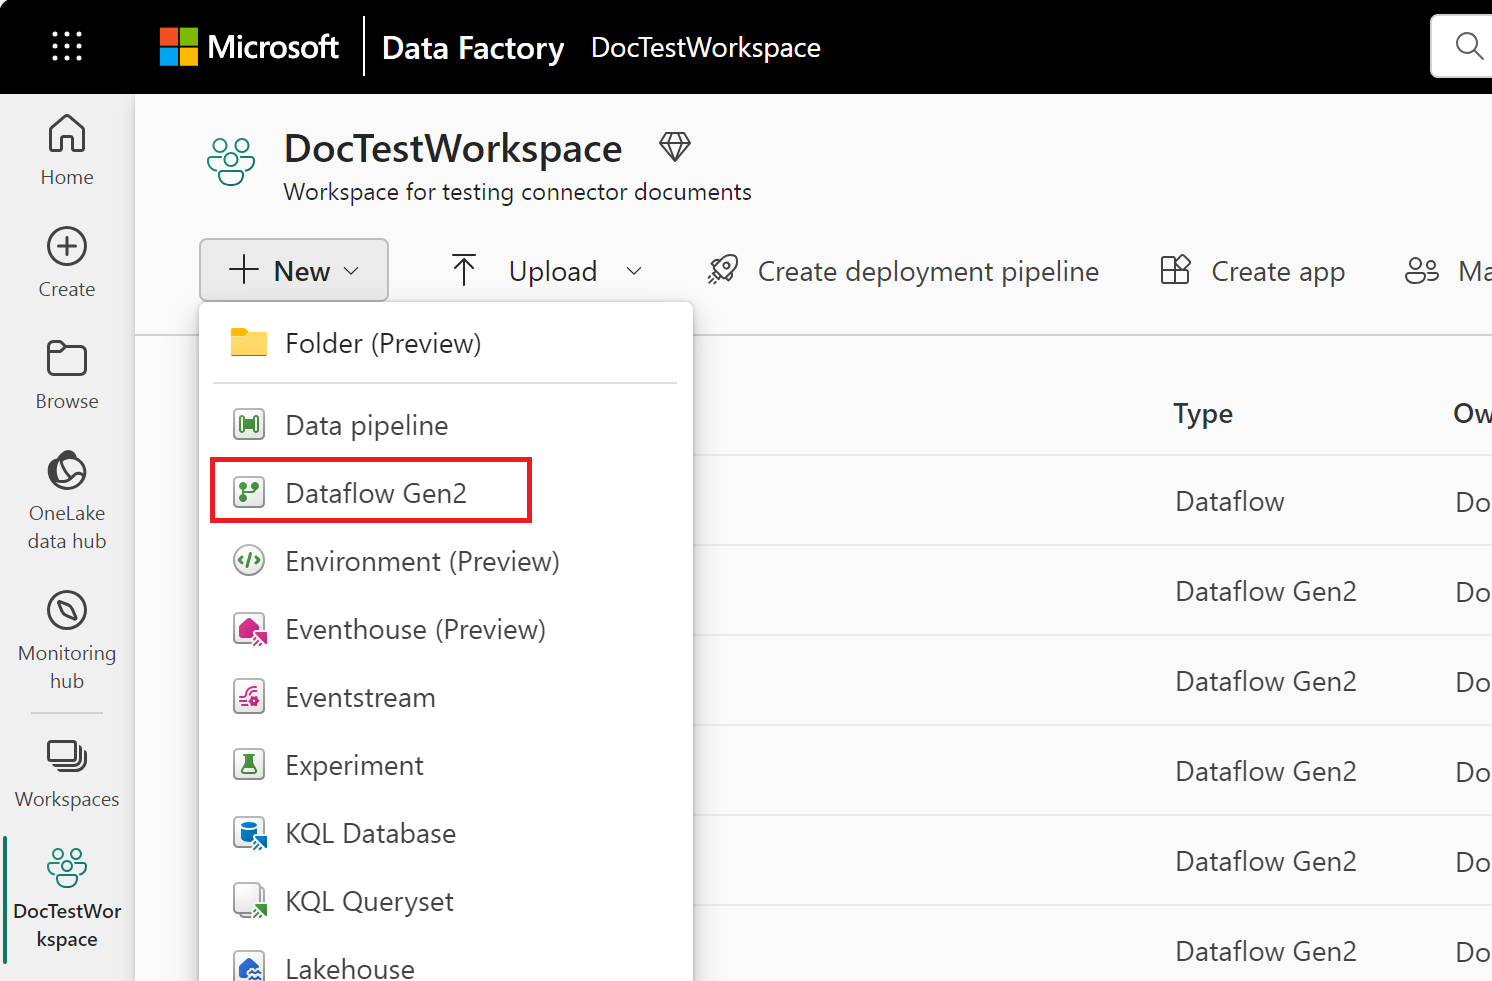
Set up your connection for Dataflow Gen2
You can connect Dataflow Gen2 in Microsoft Fabric to SQL Server database using Power Query connectors. Follow these steps to create your connection:
- Check capabilities, limitations, and considerations to make sure your scenario is supported.
- Get data in Fabric.
- Connect to SQL Server database.
Capabilities
- Import
- DirectQuery (Power BI semantic models)
- Advanced options
- Command timeout in minutes
- Native SQL statement
- Relationship columns
- Navigate using full hierarchy
- SQL Server failover support
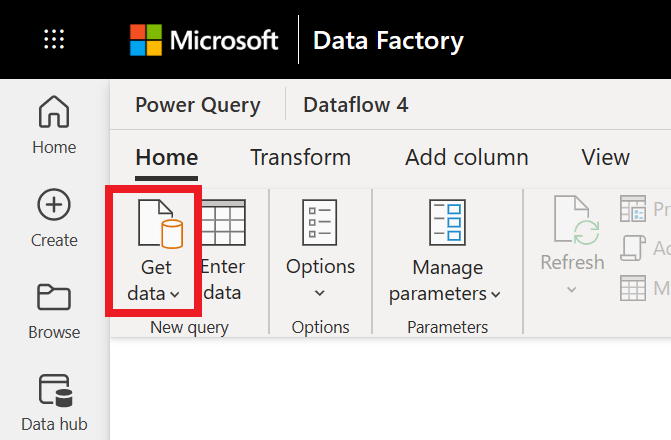
Get data
To get data in Data Factory:
On the left side of Data Factory, select Workspaces.
From your Data Factory workspace, select New > then select your data factory item: a dataflow, pipeline, copy job, or mirroring job.
In Power Query, either select Get data in the ribbon or select Get data from another source in the current view.
In the Choose data source page, use Search to search for the name of the connector, or select View more to the right of the connector list to see all the connectors available in Data Factory.

If you choose to view more connectors, you can still use Search to search for the name of the connector, or choose a category to see a list of connectors associated with that category.


Connect to SQL Server database
To make the connection, take the following steps:
Select the SQL Server database option in the connector selection. For more information, go to Where to get data.
In the SQL Server database dialog that appears, provide the name of the server and database (optional).
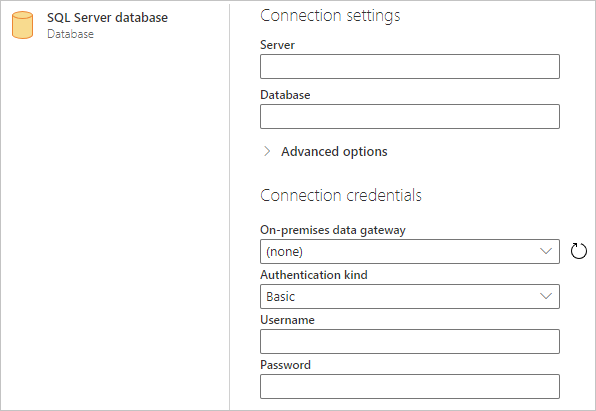
If the SQL server isn't online, select an on-premises data gateway. Additionally, if using the port with servername, use the value
servername*as the server name in the connection settings.If you're connecting to this database for the first time, select the authentication kind and input your credentials.
If the connection isn't encrypted, and the connection dialog contains a Use Encrypted Connection check box, clear the check box.
Select Next to continue.
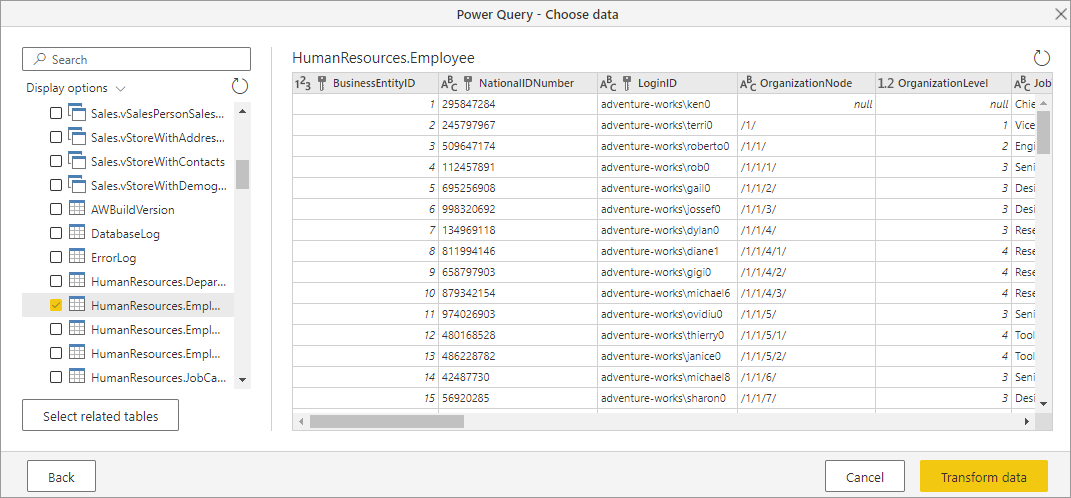
In Navigator, select the data you require, and then select Transform data.

Limitations and considerations
SQL Server certificate isn't trusted on the client (Power BI Desktop or on-premises data gateway)
When establishing a connection to an on-premises SQL Server using the on-premises data gateway or Power BI Desktop and the SQL Server utilizes a self-signed certificate, it's possible that the refresh operation for a Fabric semantic model or dataflow can fail with the following error message:
Microsoft SQL: A connection was successfully established with the server, but then an error occurred during the login process. (provider: SSL Provider, error: 0 - The certificate chain was issued by an authority that is not trusted.)
To troubleshoot this error when using on-premises data gateway, change the gateway configurations to update the SqlTrustedServers setting using the following steps:
On the local machine where the on-premises data gateway is installed, navigate to C:\Program Files\On-premises data gateway.
Make a backup of the configuration file named Microsoft.PowerBI.DataMovement.Pipeline.GatewayCore.dll.config.
Open the original Microsoft.PowerBI.DataMovement.Pipeline.GatewayCore.dll.config configuration file and locate the
SqlTrustedServersentry.Update the
SqlTrustedServersvalue with the names of the SQL servers to trust and connect to.The value contains a comma-delimited list of server names and supports * as a wild card. So for instance in the following example:
<setting name="SqlTrustedServers" serializeAs="String"> <value>contososql*,mysvr</value> </setting>the value
contososql*,mysvrmatchescontososql6,contososqlazure, andmysvr, but doesn't matchmysvr.microsoft.com.
To troubleshoot this error when using Power BI Desktop, modify the value of the environment variable PBI_SQL_TRUSTED_SERVERS to include the SQL Servers. The supported values are the same as outlined for gateway configuration (as described in step 4 above).
For connections to SQL Server from Power BI Desktop and on-premises data gateway versions starting with February 2025 or later, follow one of these options:
- Follow the solution mentioned previously to add the environment variable
PBI_SQL_TRUSTED_SERVERS. - Ask your SQL administrators to acquire a certificate from a well-known certificate authority.
- Change the setting
SqlTrustedServerson the gateway config file.
Always Encrypted columns
Power Query doesn't support 'Always Encrypted' columns.
Microsoft Entra ID authentication
Microsoft Entra ID (Organizational account) authentication is only supported in the SQL Server connector if the specified server also supports Microsoft Entra ID authentication. Otherwise, you might encounter a The OAuth authentication method isn't supported in this data source error.
In Power BI service, the Microsoft Entra ID authentication method shows up as OAuth2.