Note
Access to this page requires authorization. You can try signing in or changing directories.
Access to this page requires authorization. You can try changing directories.
Data Factory for Microsoft Fabric is a cloud service that helps you move, transform, and manage data from different sources. If your data lives on-premises, you can use the on-premises Data Gateway to connect your local environment to the cloud safely. This guide shows you how to set up and use the gateway so you can easily work with your on-premises data.
Available connection types
For a complete list of connectors supported for on-premises data types and details on how to connect to each type, see Data pipeline connectors in Microsoft Fabric and your source's specific connector page.
Some available connections include:
- Entra ID
- Adobe Analytics
- Analysis Services
- Azure Blob Storage
- Azure Data Lake Storage Gen2
- Azure Tables
- Essbase
- File
- Folder
- Google Analytics
- IBM Db2
- MySQL
- OData
- ODBC
- OLE DB
- Oracle
- PostgreSQL
- Salesforce
- SAP Business Warehouse Message Server
- SAP Business Warehouse Server
- SAP HANA
- SharePoint
- SQL Server
- Sybase
- Teradata
- Web
Create an on-premises data gateway
An on-premises data gateway is software that you install within your local network. It lets you connect directly from your local machine to the cloud.
Note
You need an on-premises data gateway version 3000.214.2 or higher to support Fabric pipelines.
To set up your gateway:
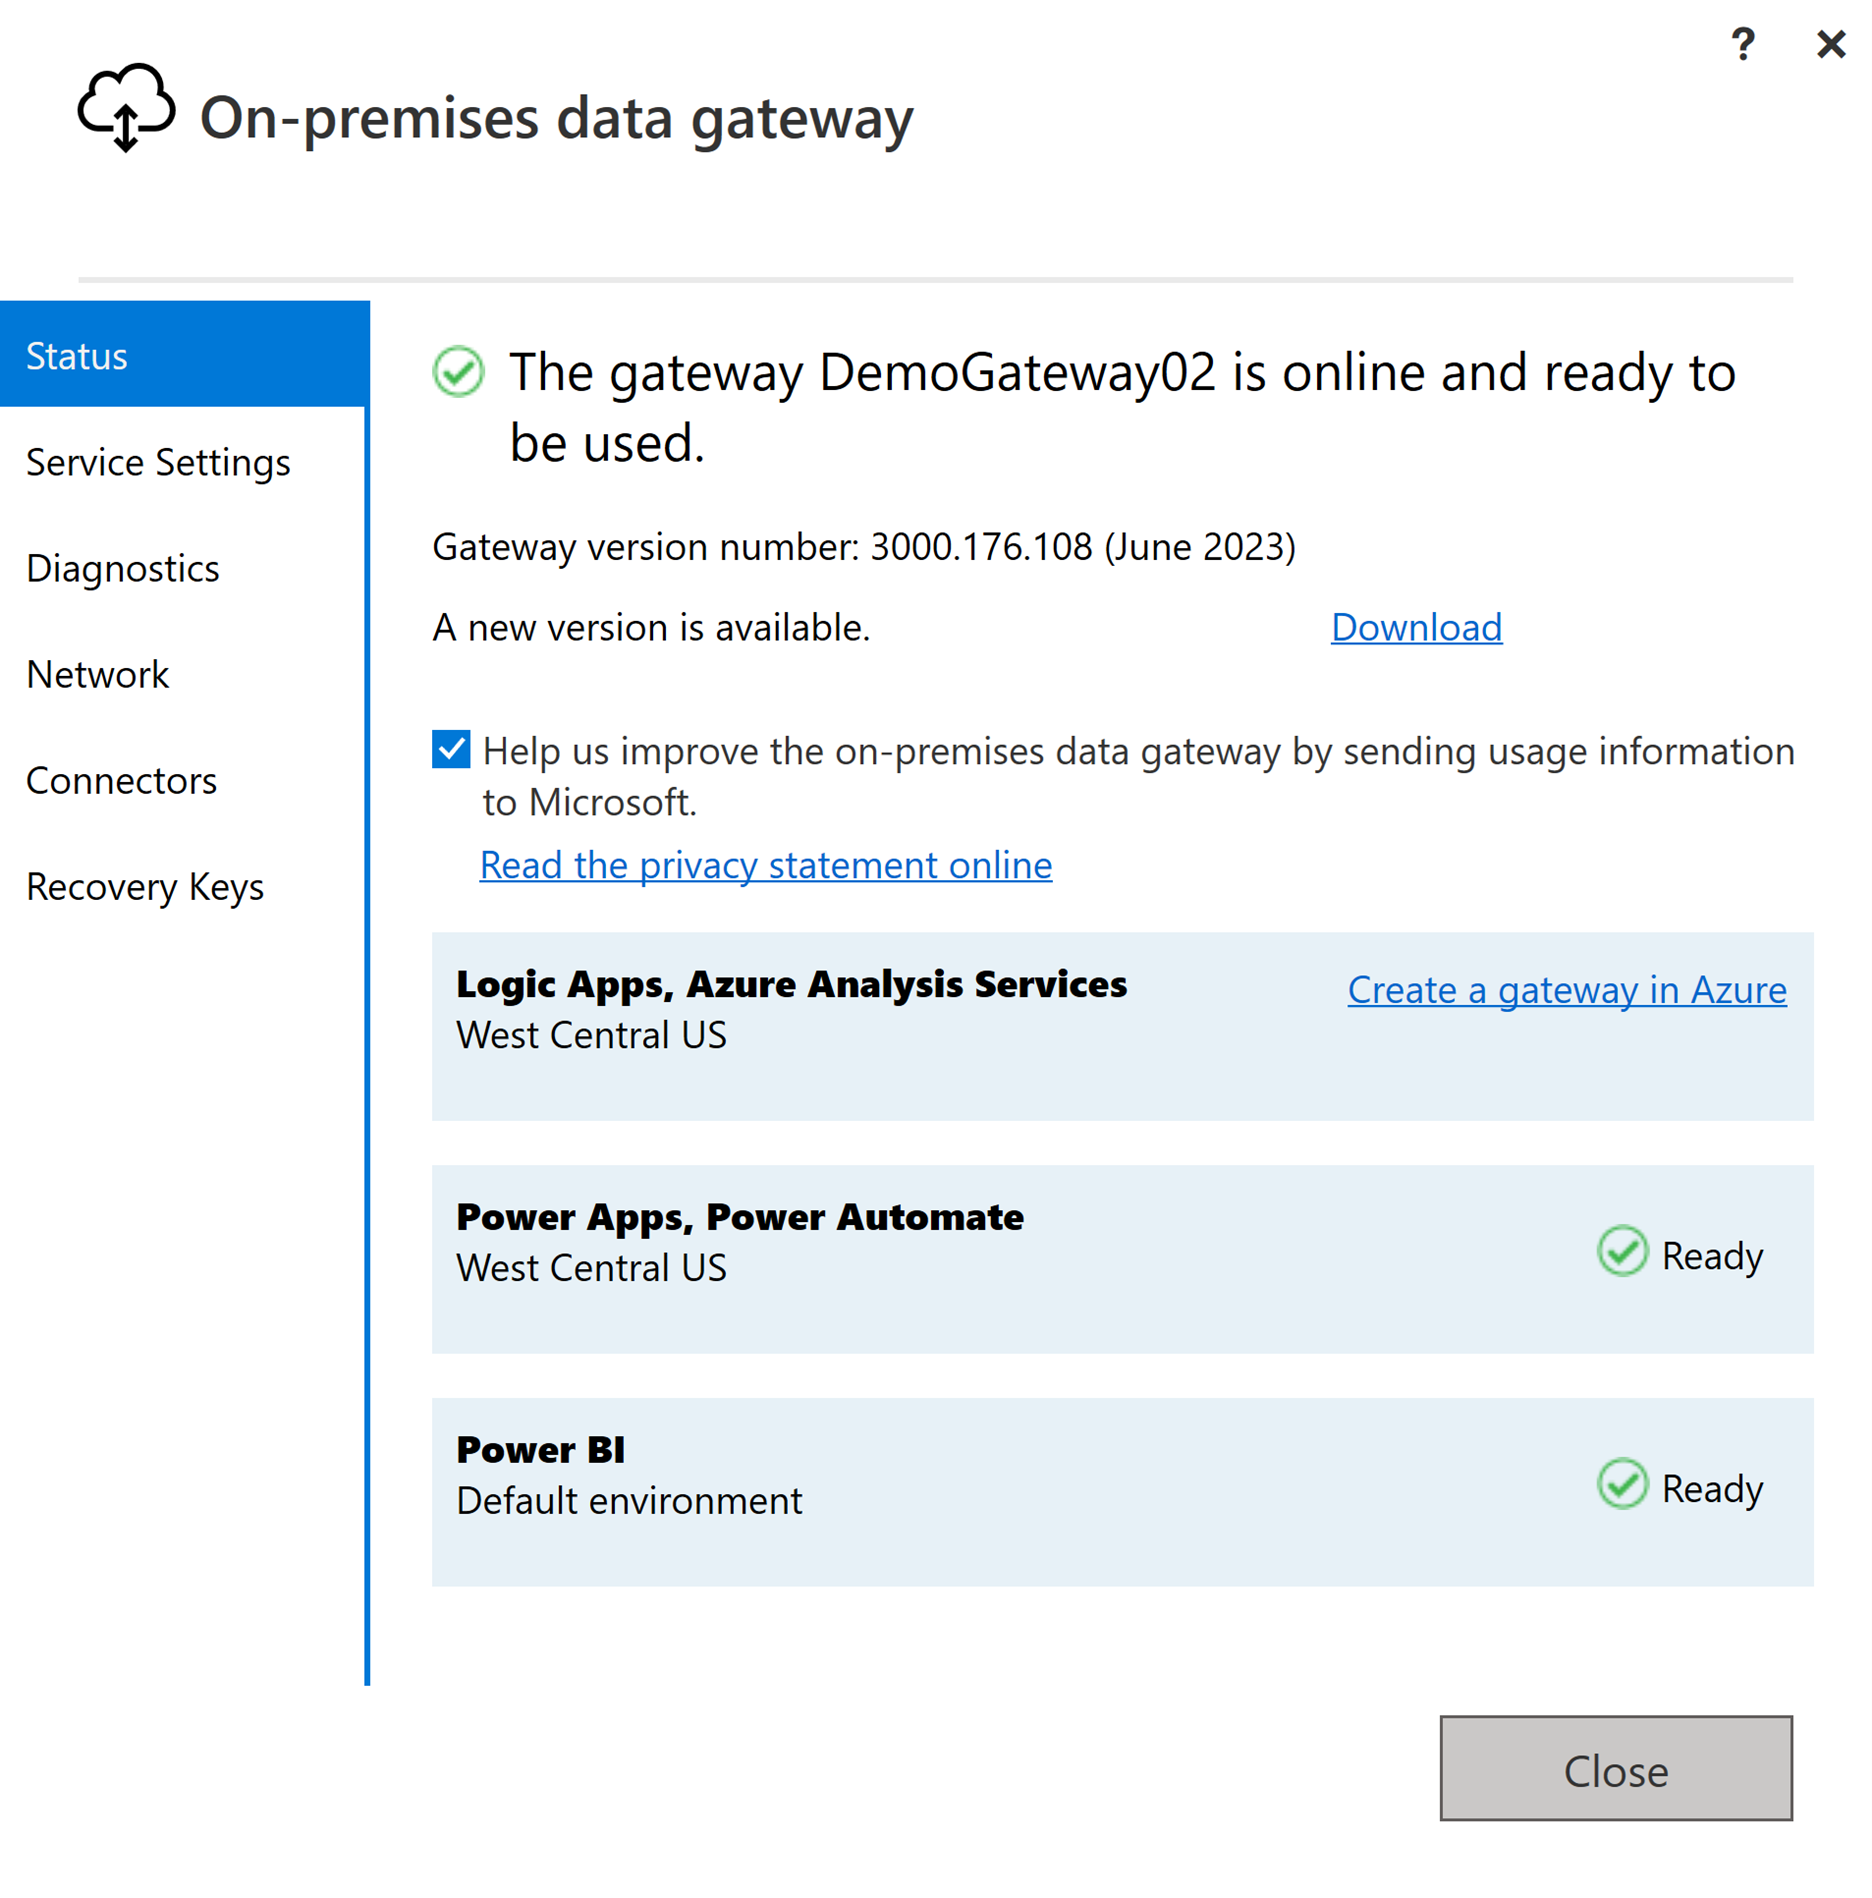
Download and install the on-premises data gateway. For the installation link and detailed instructions, see: Install an on-premises data gateway.
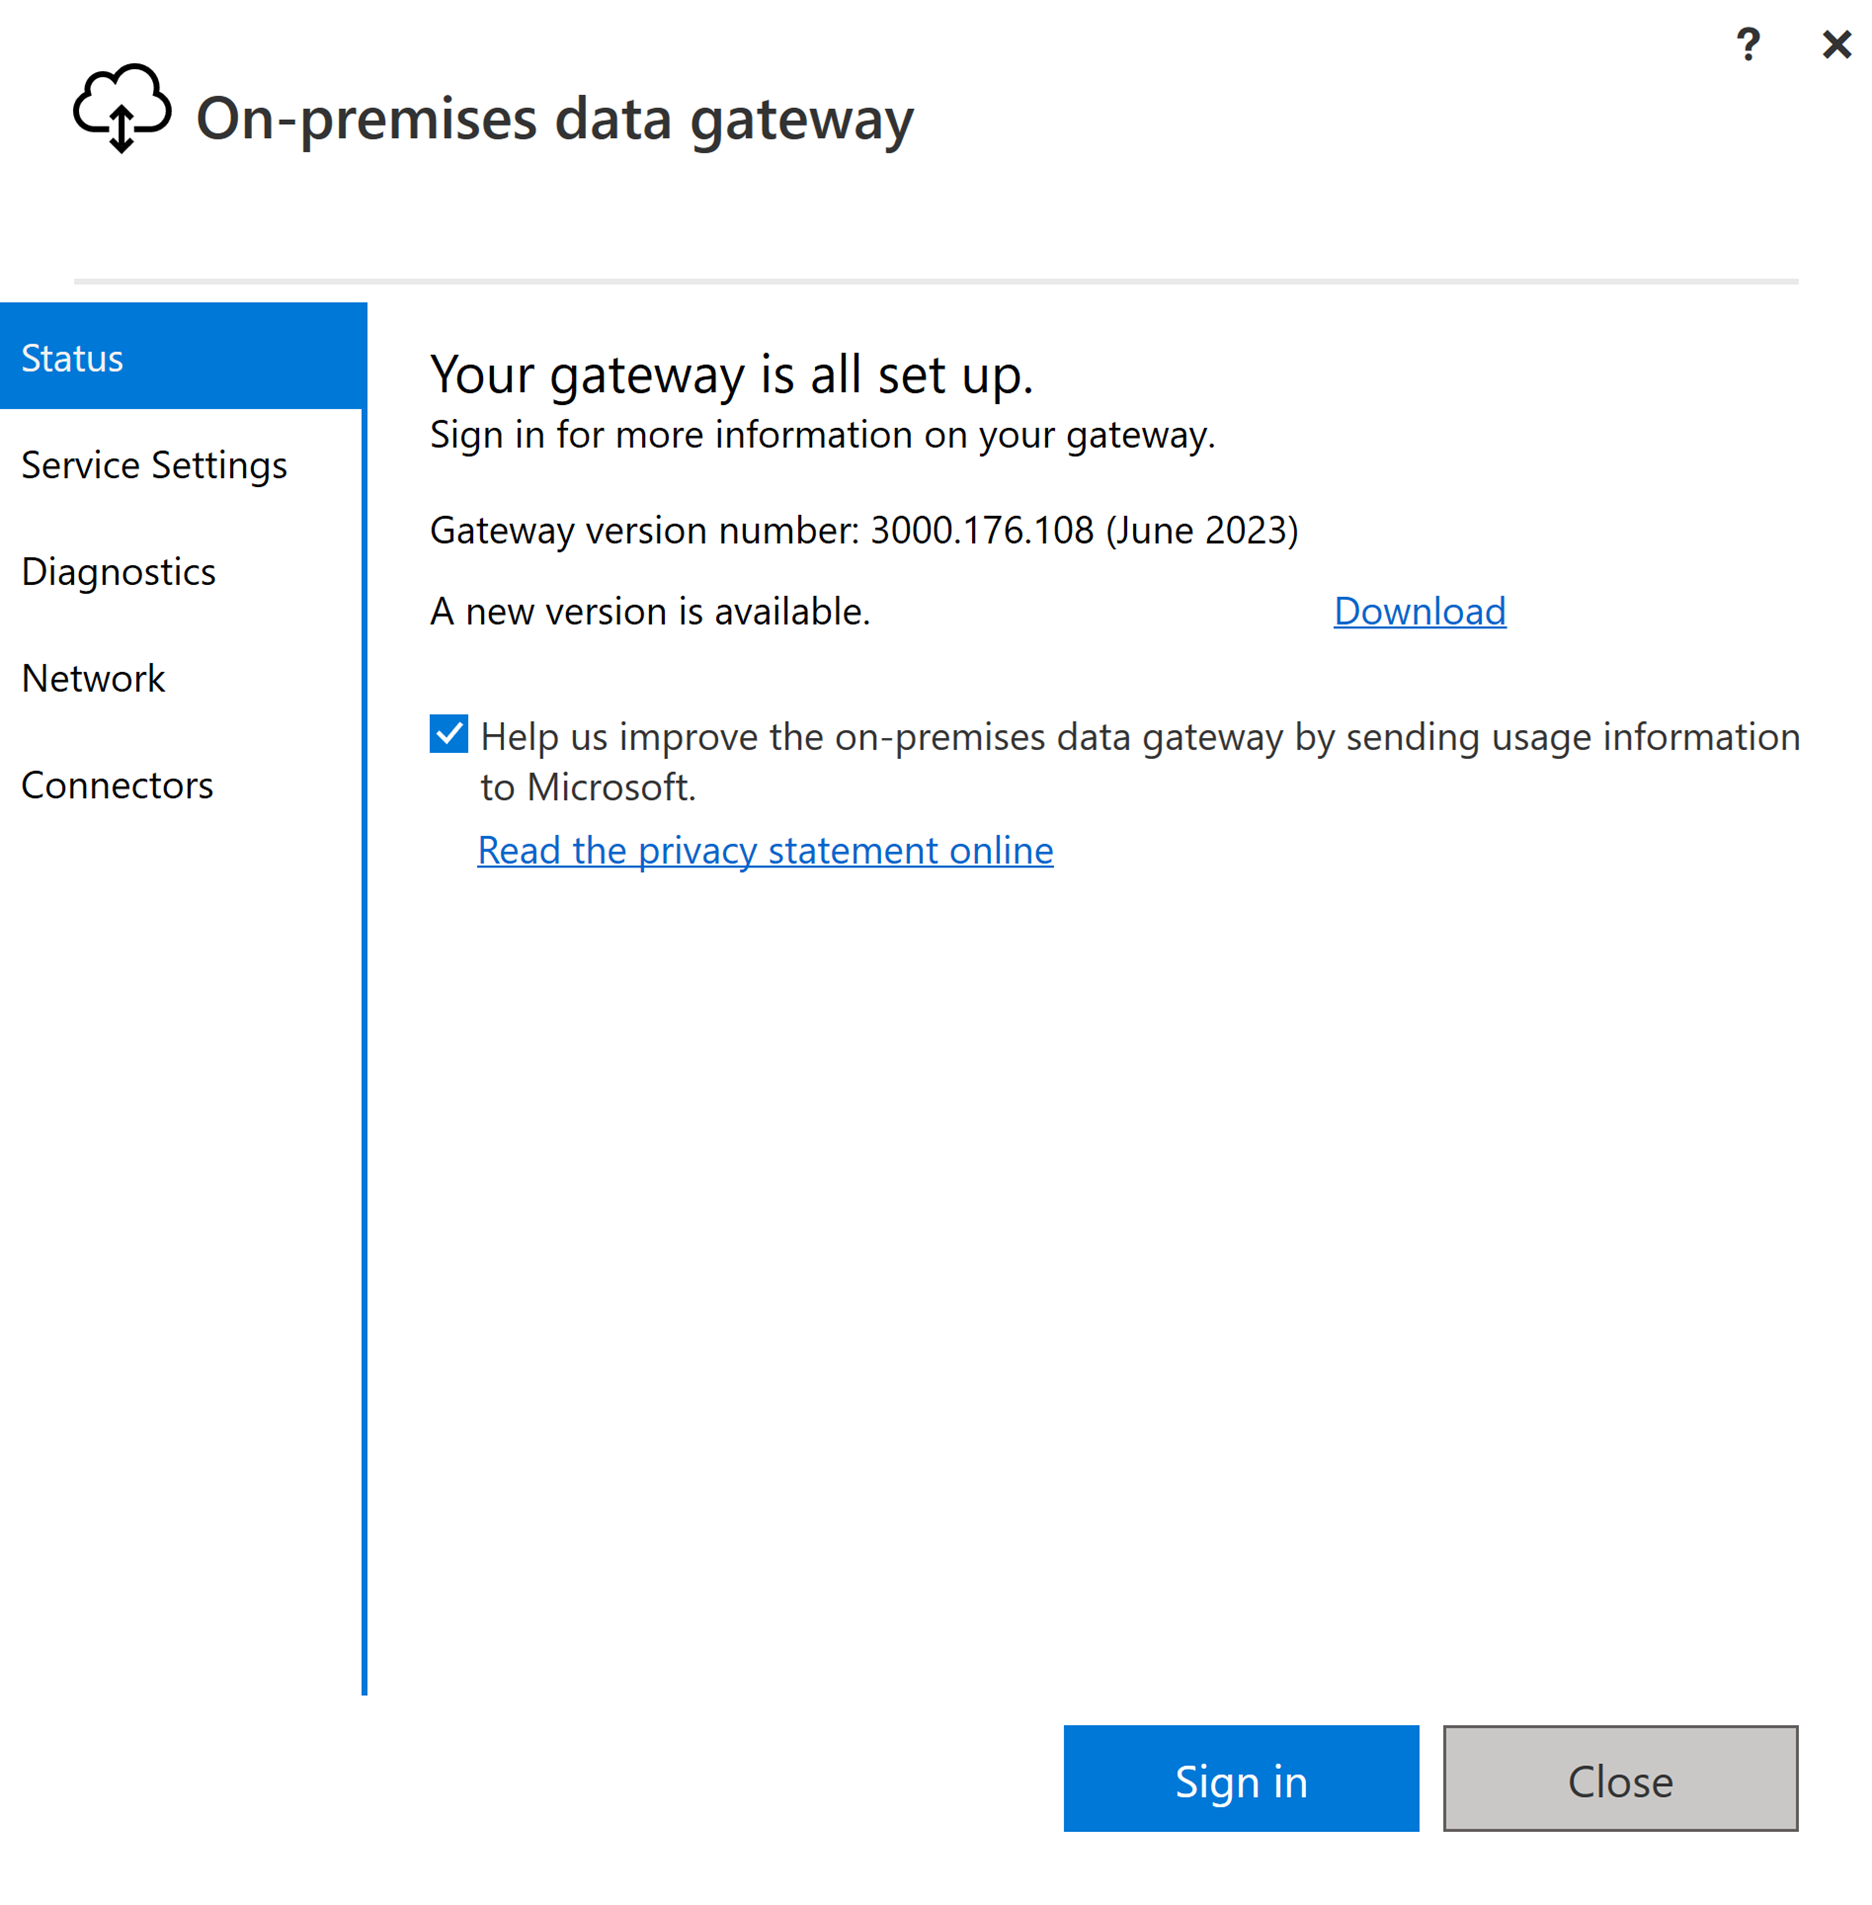
Sign in with your user account to access the on-premises data gateway. Once you're signed in, it's ready to use.
Create a connection for your on-premises data source
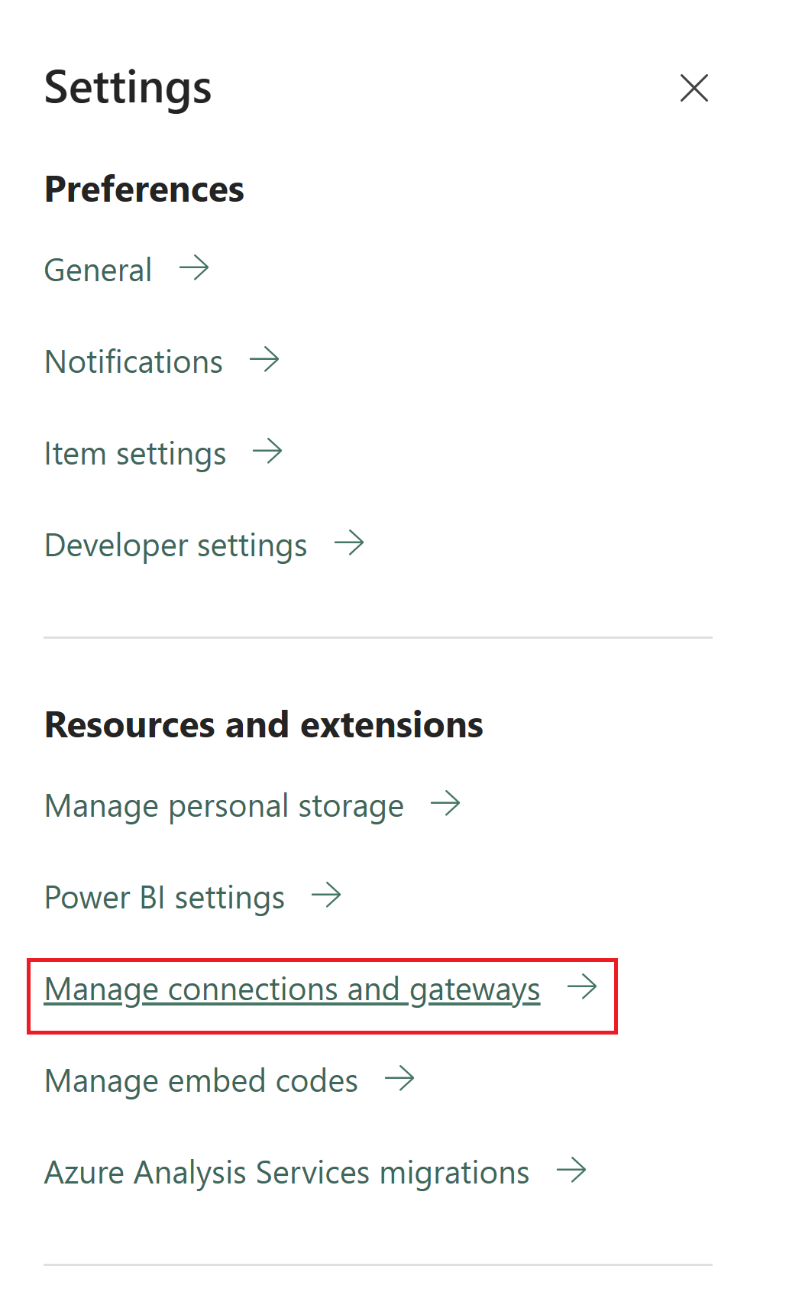
Go to the admin portal and select the settings button (the gear icon) at the top right of the page. Then choose Manage connections and gateways from the dropdown menu.
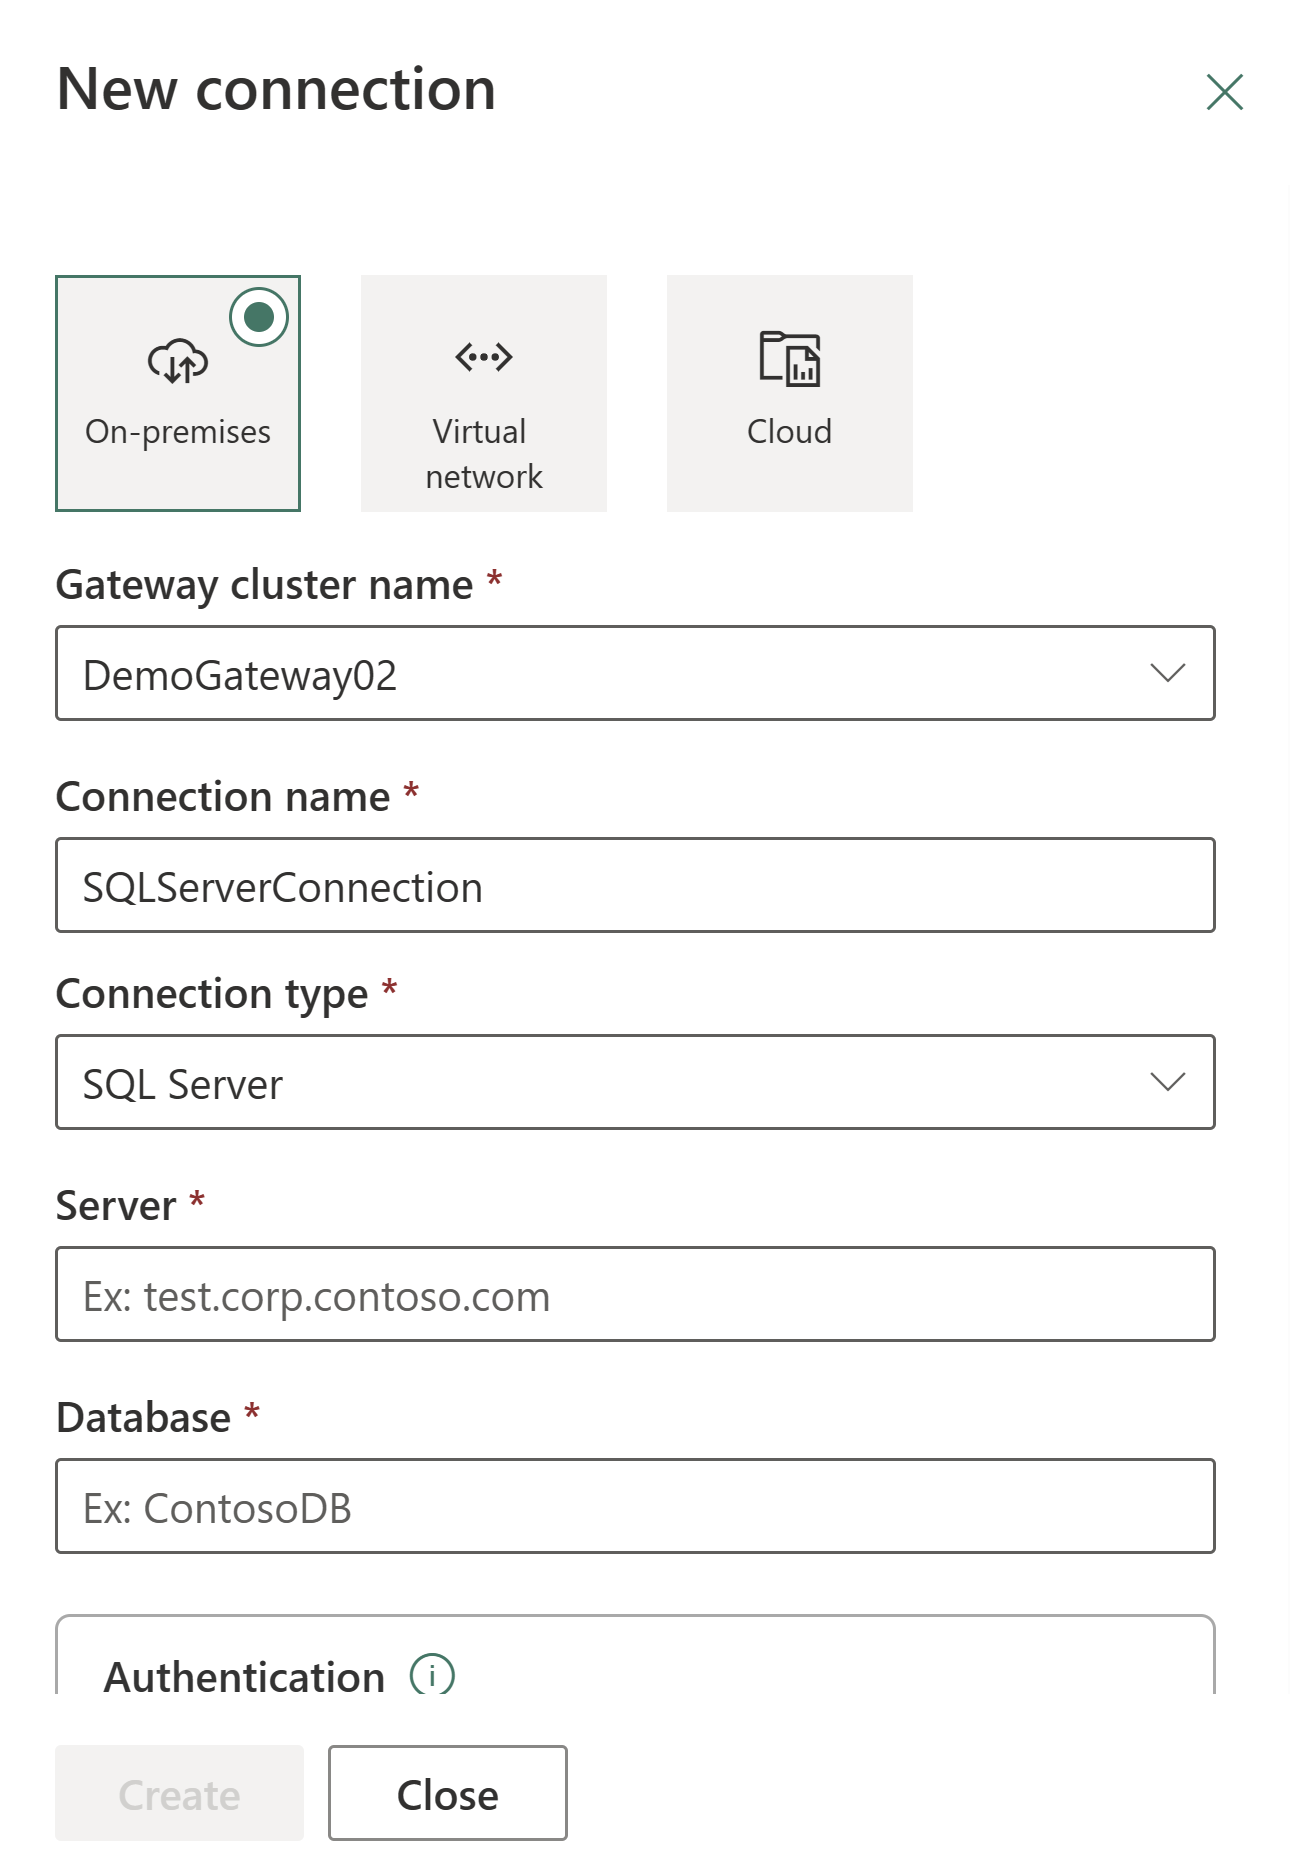
In the New connection dialog, select On-premises and then provide your gateway cluster, resource type, and other relevant information.
Tip
Check out the data pipeline connectors in Microsoft Fabric article and specific connector articles for details like supported authentication types for your source or troubleshooting information.
Connect your on-premises data source to a Dataflow Gen2 in Data Factory for Microsoft Fabric
In this example, you'll create a Dataflow Gen2 to load data from an on-premises data source to a cloud destination.
Create an on-premises data gateway to connect to your source.
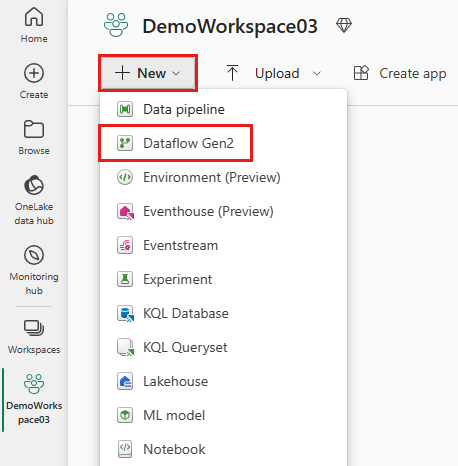
Go to your workspace and create a Dataflow Gen2.
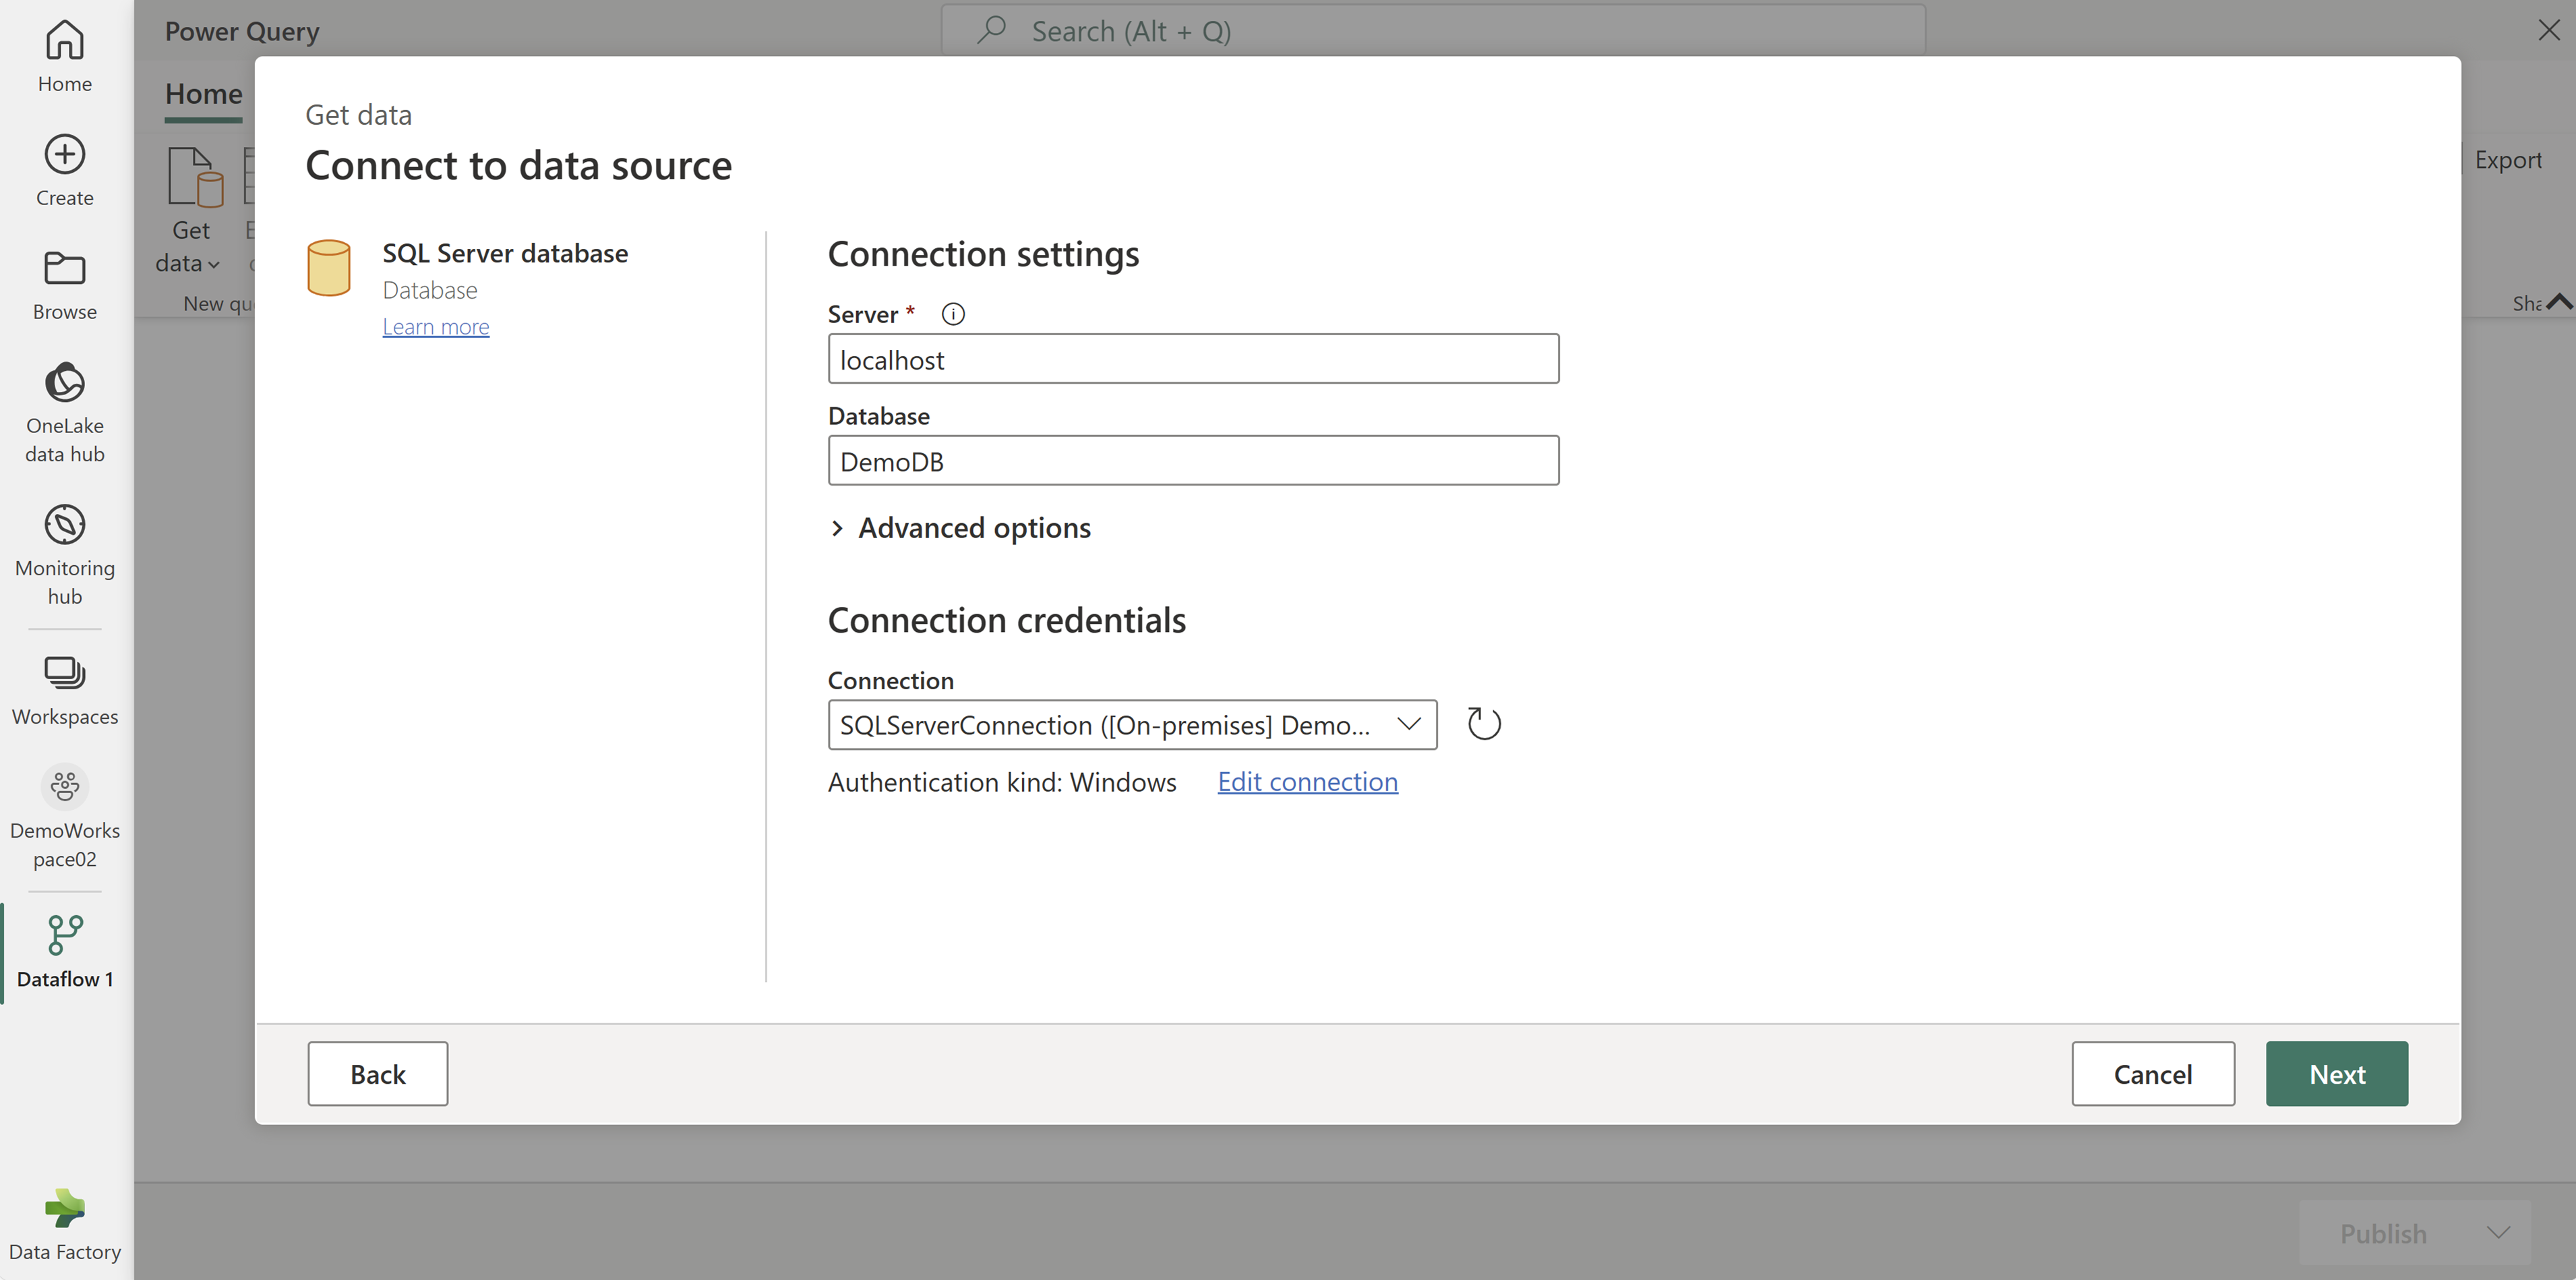
Add a new source to the dataflow and select the connection you created in the previous step.
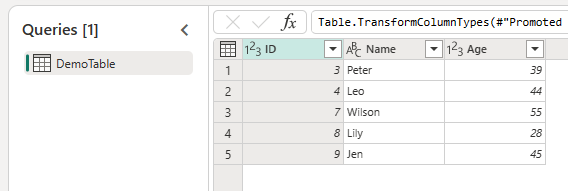
Use the Dataflow Gen2 to perform any data transformations you need.
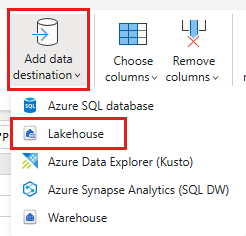
Use the Add data destination button on the Home tab of the Power Query editor to add a destination for your data from the on-premises source.
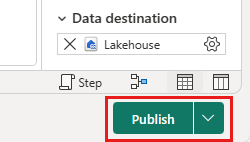
Publish the Dataflow Gen2.


Use on-premises data in a pipeline
In this example, you'll create and run a pipeline to load data from an on-premises data source into a cloud destination.
Create an on-premises data gateway to connect to your source.
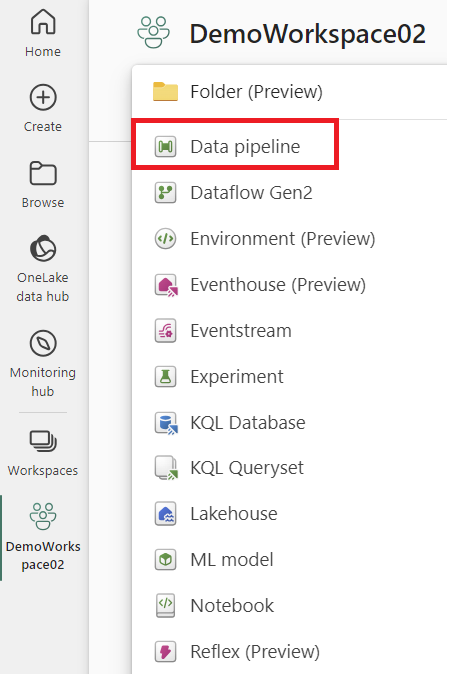
Go to your workspace and create a data pipeline.
Note
You need to configure your firewall to allow outbound connections to *.frontend.clouddatahub.net from the gateway for Fabric pipeline capabilities.
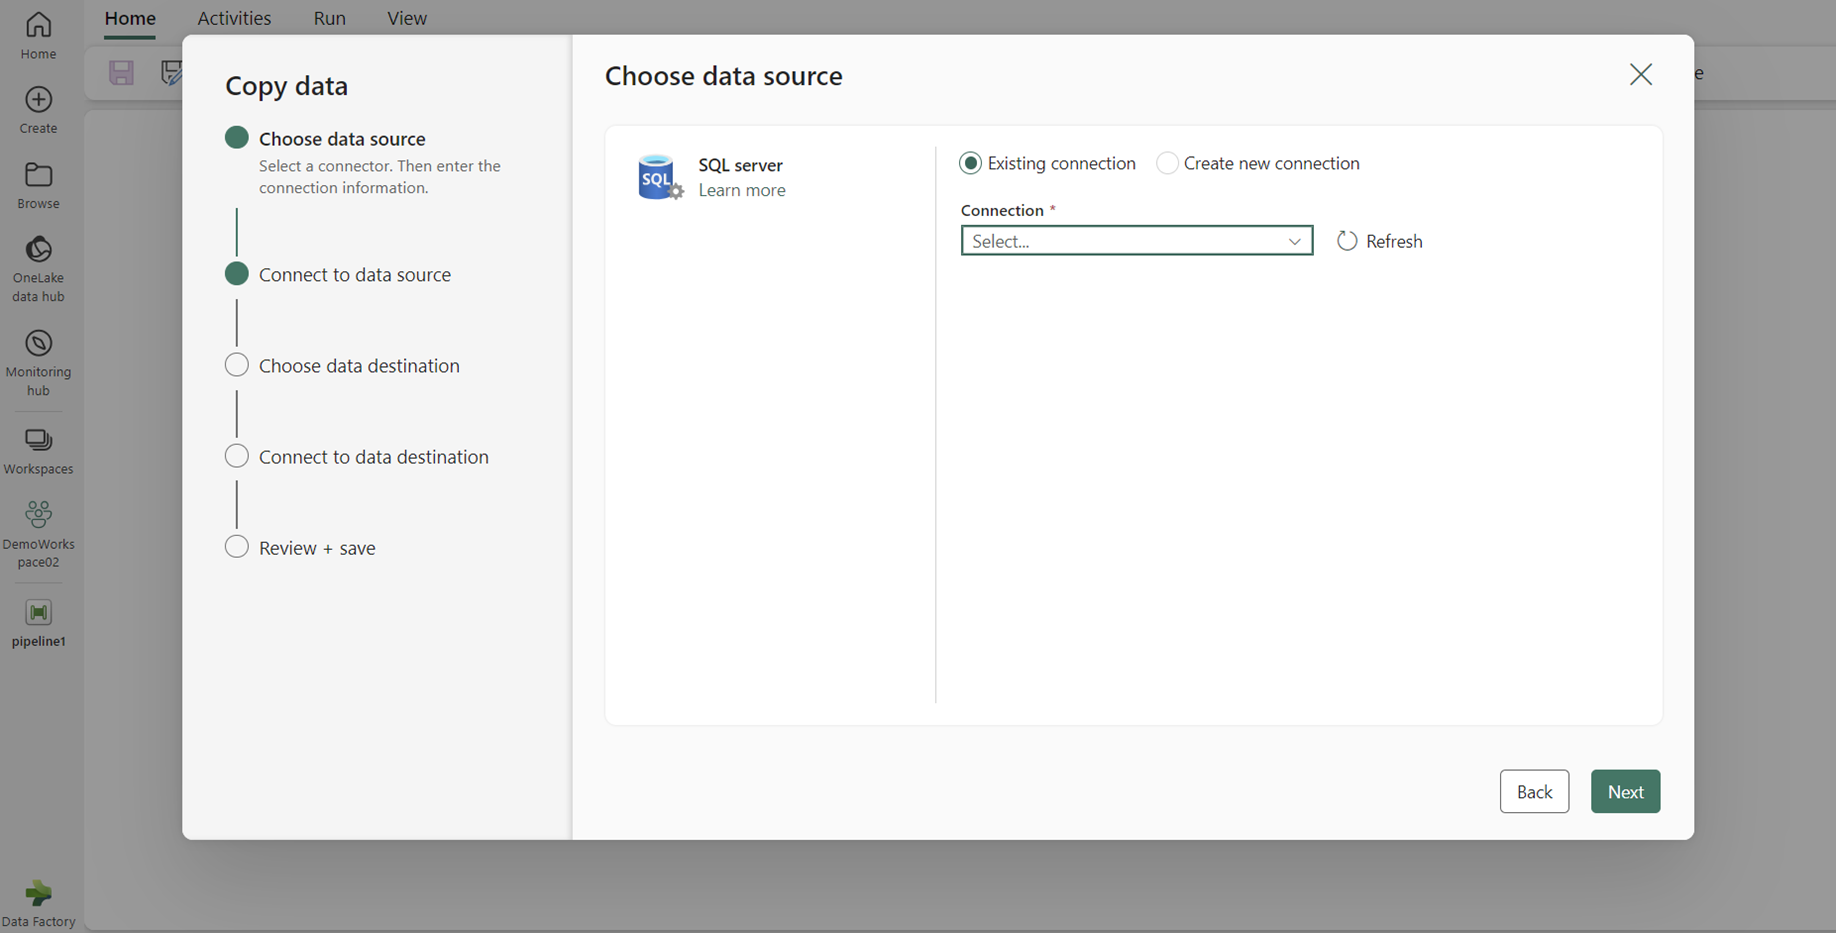
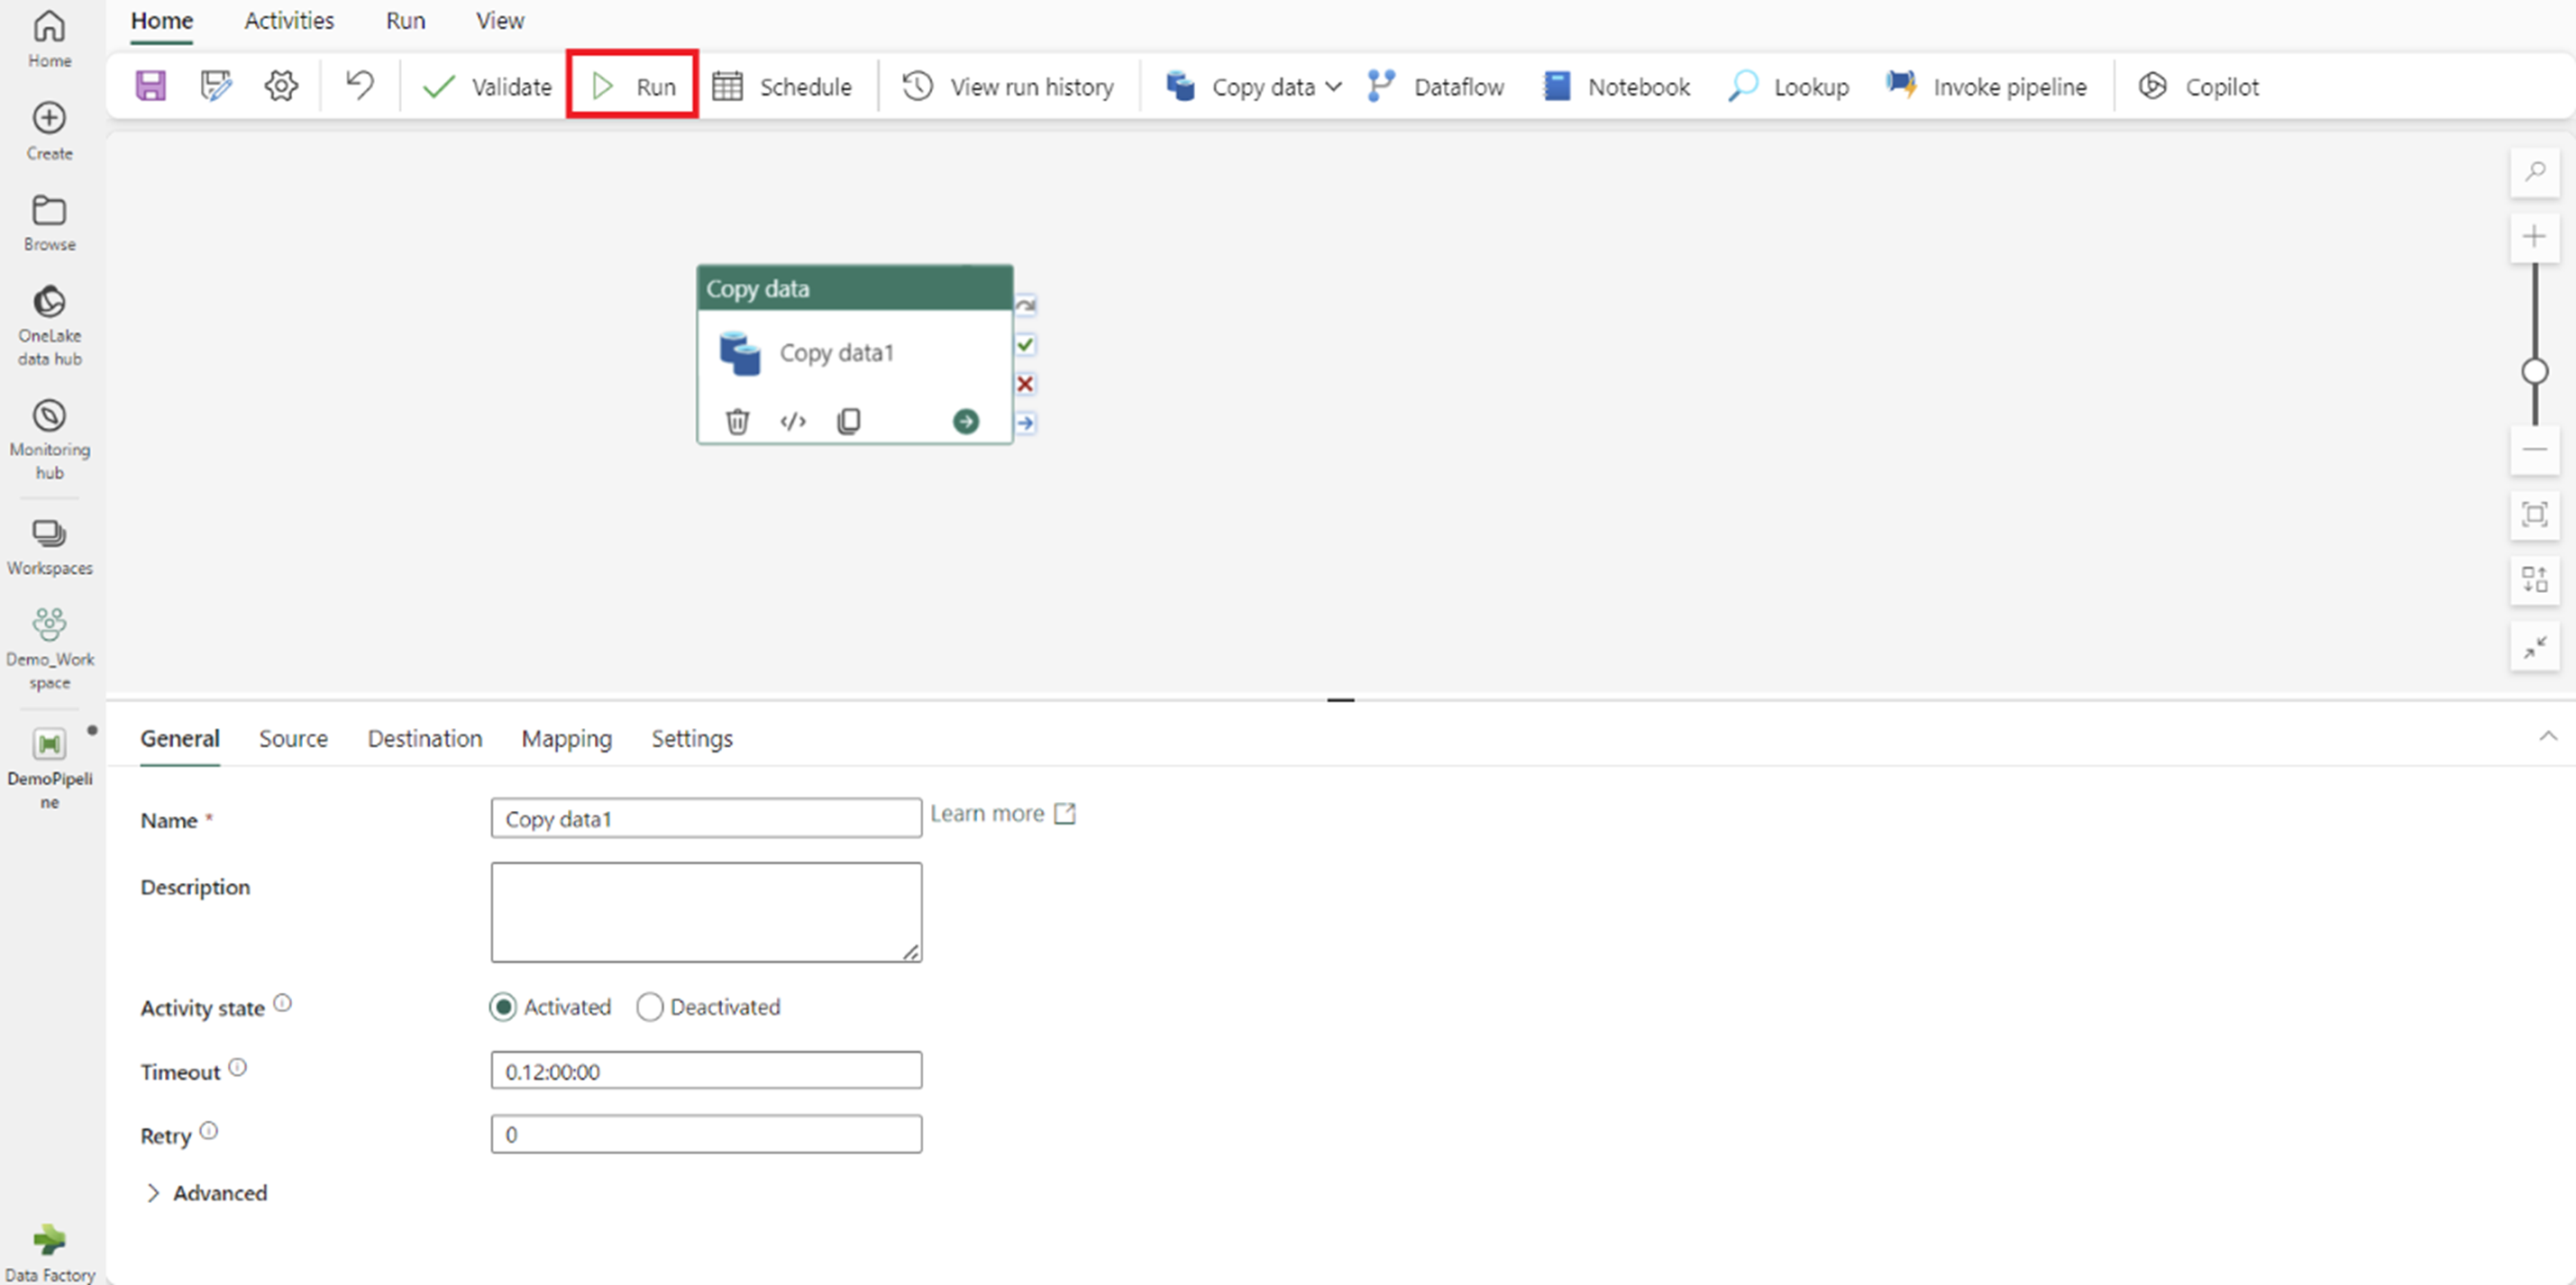
From the Home tab of the pipeline editor, select Copy data and then Use copy assistant. Add a new source to the activity in the assistant's Choose data source page, then select the connection you created in the previous step.
Select a destination for your data from the on-premises data source.

Run the pipeline.


Note
Local access to the machine with the on-premises data gateway installed isn't allowed in data pipelines.
Use on-premises data in a Copy job
In this example, we'll show you how to connect a Copy job to an on-premises data source.
Create an on-premises data gateway to connect to your source.
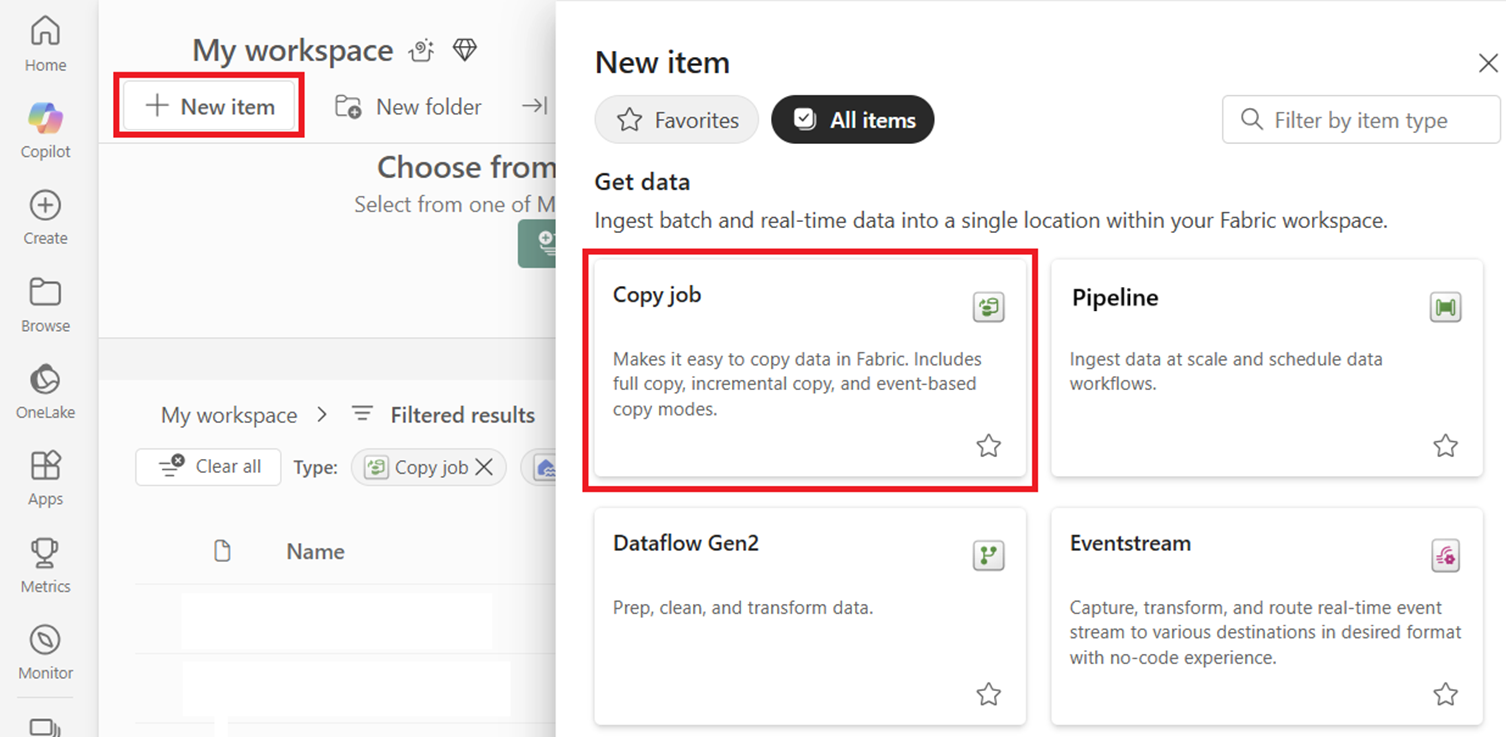
Go to your workspace and create a new Copy job.
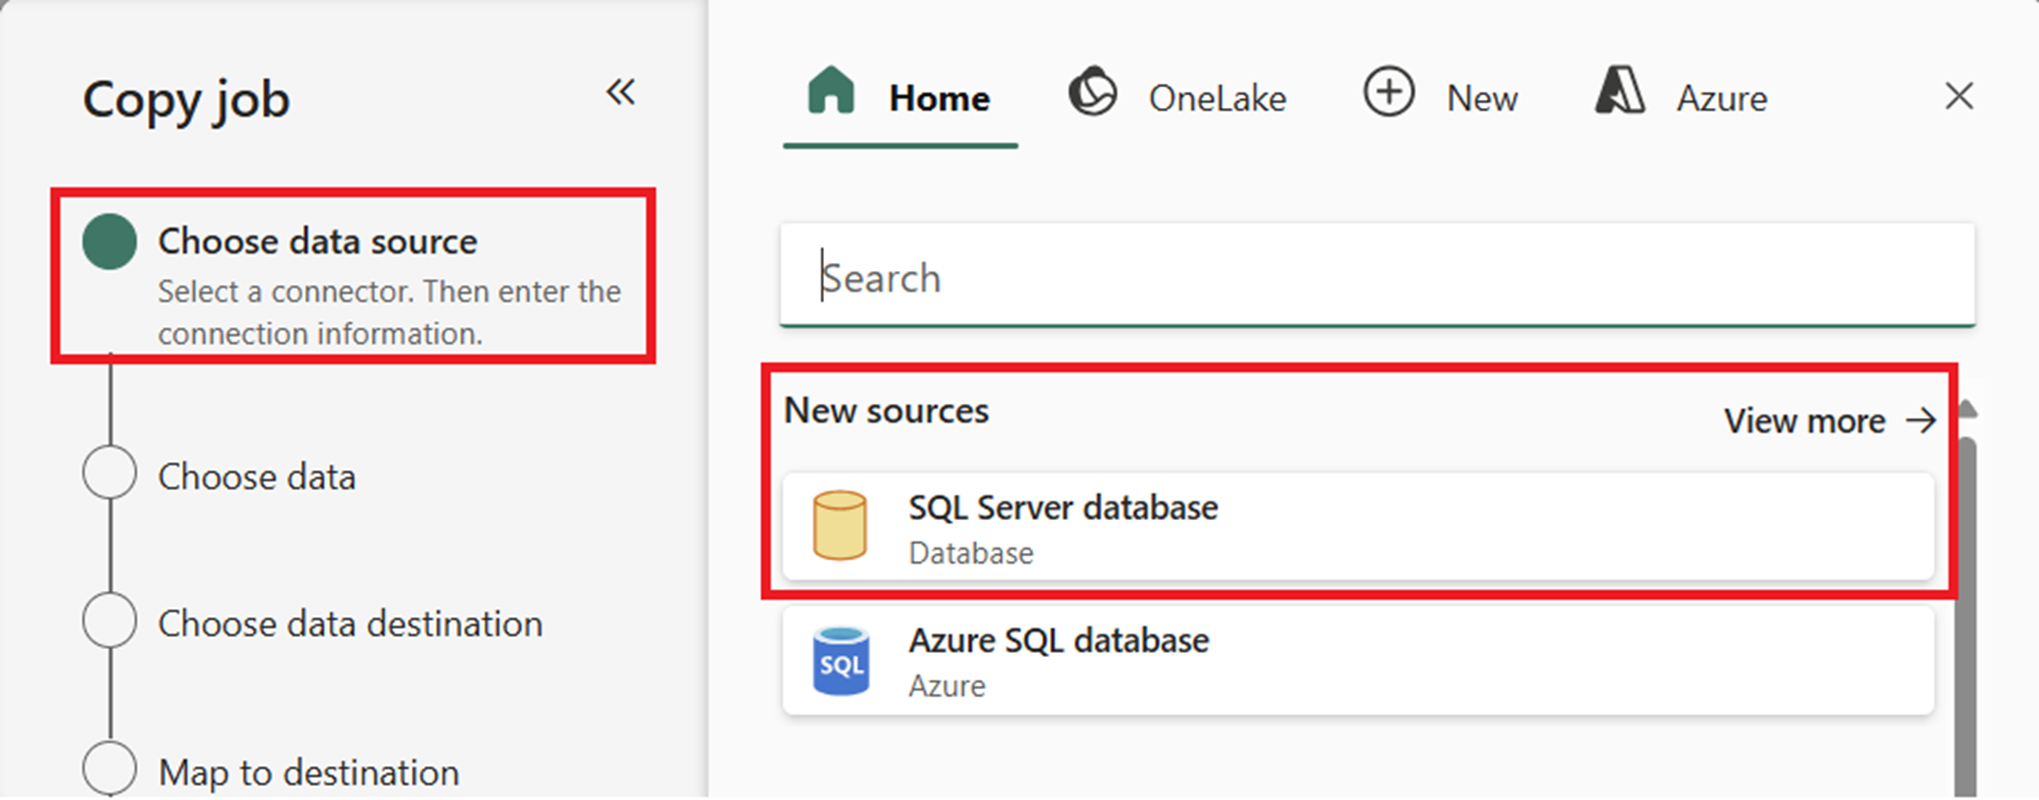
In the Copy job wizard, on the Choose data source page, go to New sources, and select your source. In this example, we're using SQL Server database.
In the Connect to data source section, enter your connection details. Once you provide them, the on-premises data gateway connection you created earlier is automatically populated based on your configuration.
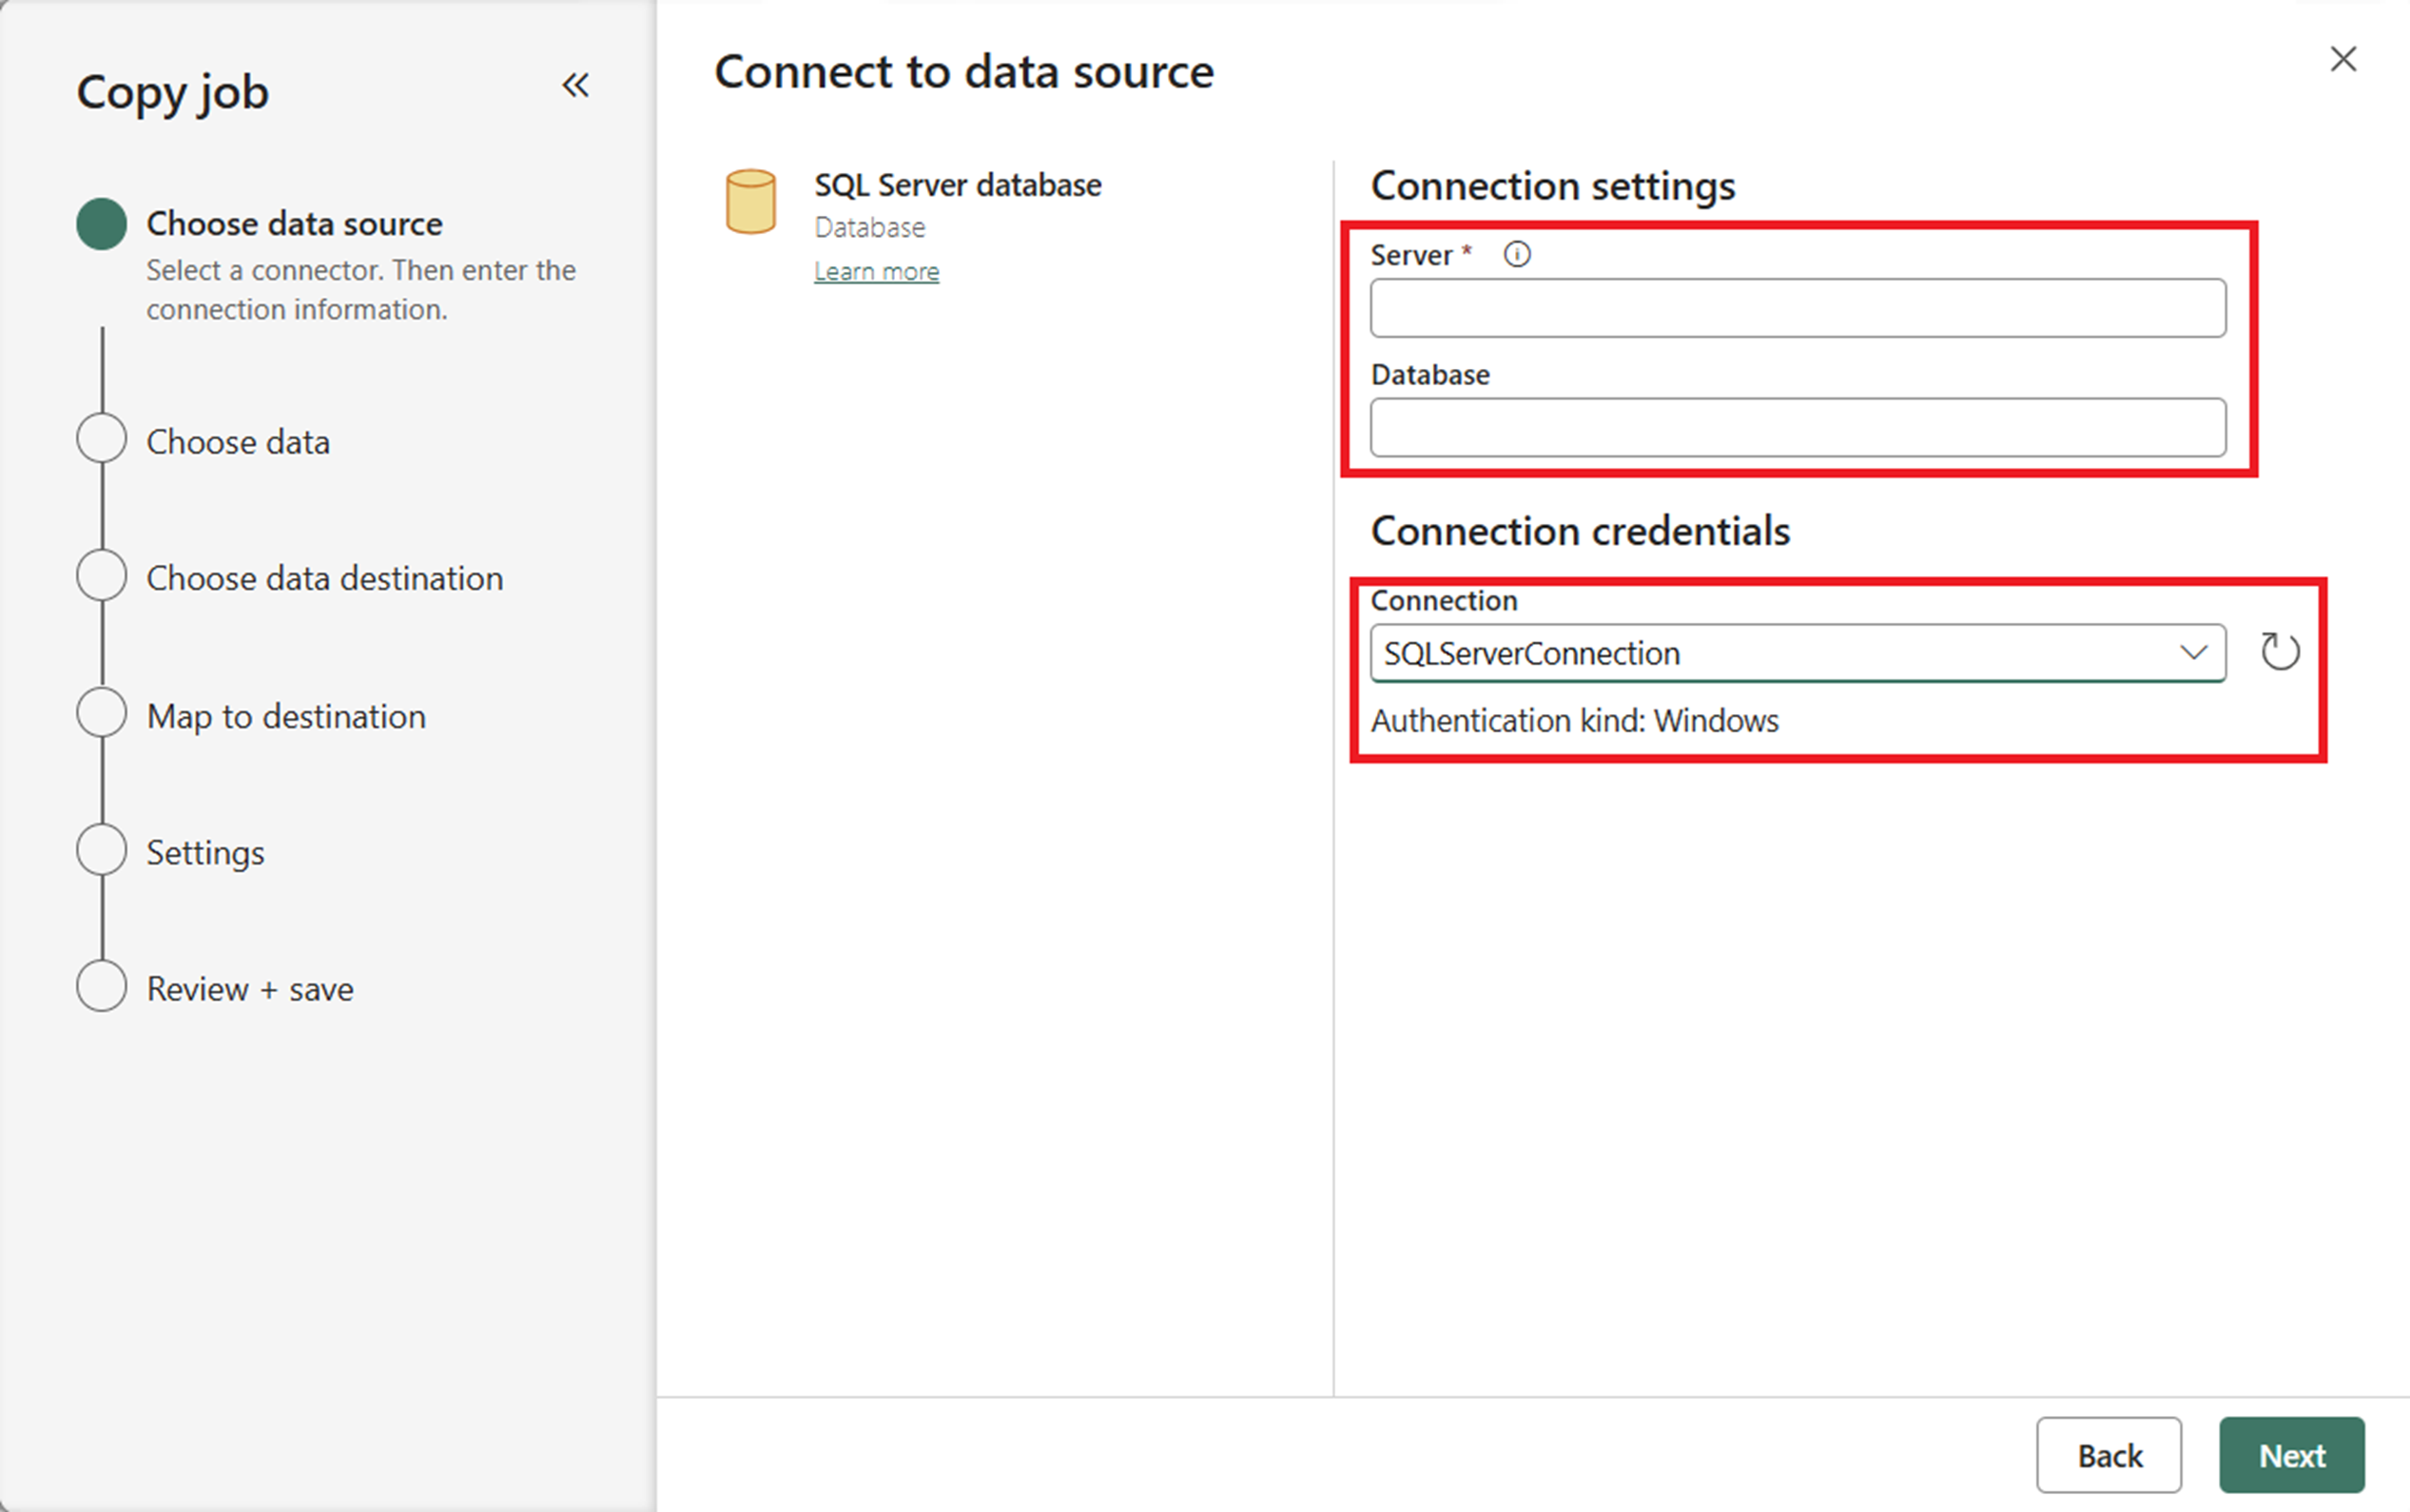
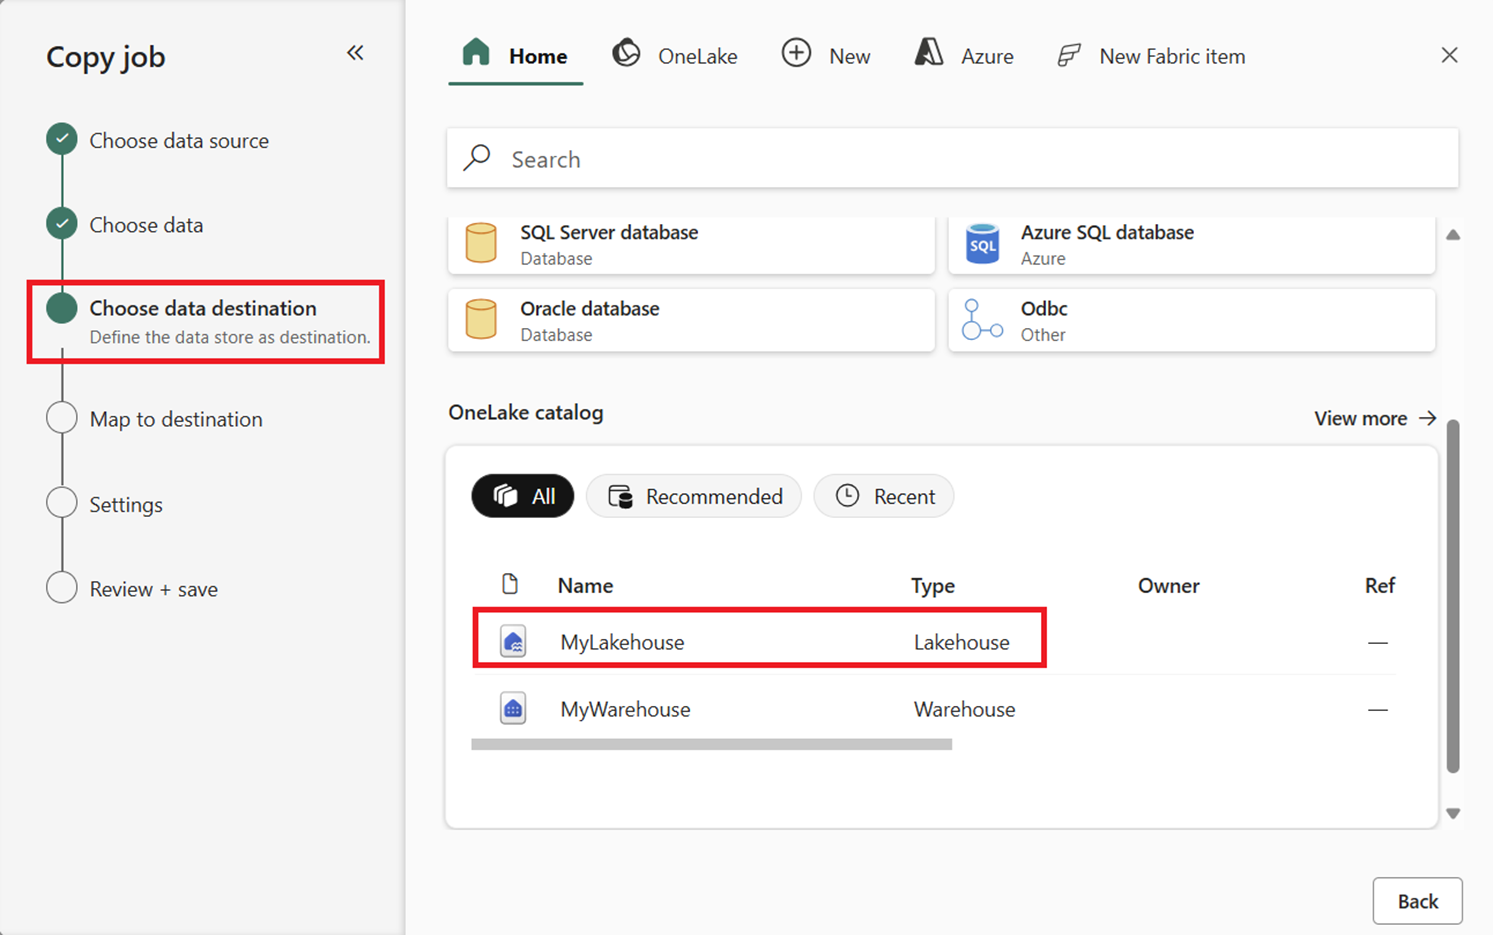
Choose the target destination where you want to load the data from your source.
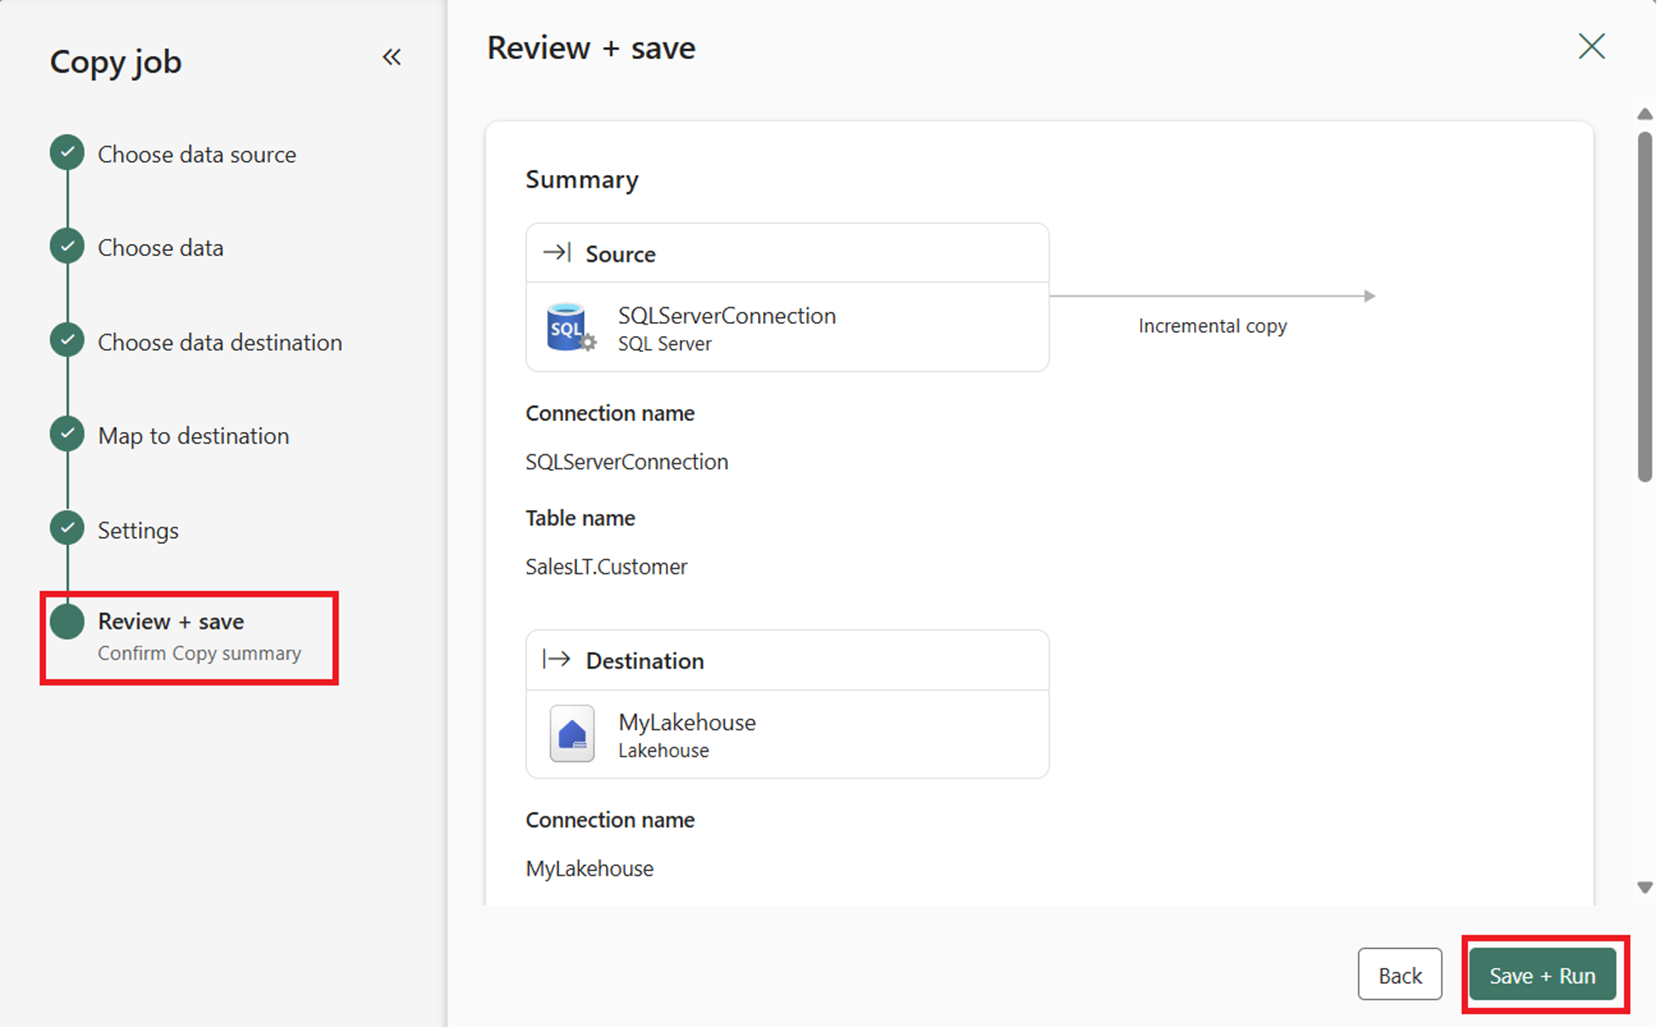
On the Map to destination and Settings pages, review and configure the data mapping and Copy job mode settings.
Then, on the Review + Save page, select Save + Run to execute the Copy job.