Note
Access to this page requires authorization. You can try signing in or changing directories.
Access to this page requires authorization. You can try changing directories.
In this tutorial, you build a pipeline to move data from an on-premises Oracle database to a Lakehouse destination.
Prerequisites
To start, you must complete the following prerequisites:
- Install an on-premises data gateway in your local environment. You can get more details about how to install and configure an on-premises data gateway here: Install an on-premises data gateway
Note
Fabric pipeline activities can only be executed by a version of the on-premises data gateway that is 3000.222.5 or higher.
- Install 64-bit Oracle Client for Microsoft Tools (OCMT) on the computer running on-premises data gateway. You can download OCMT from the Oracle Client for Microsoft Tools page.
Create a pipeline
Navigate to Power BI.
Select the Power BI icon in the bottom left of the screen, then select Fabric to open homepage of Data Factory.
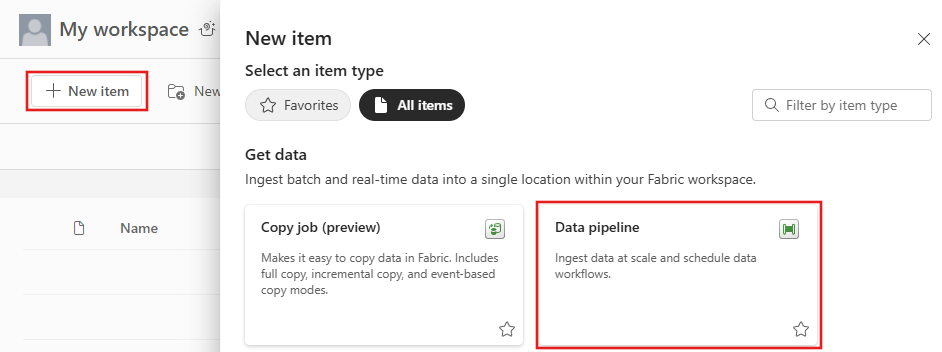
Select + New item.
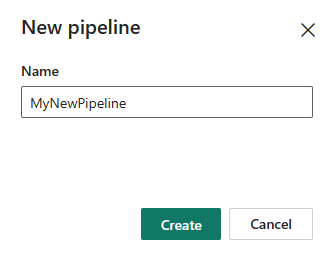
Search for and select Pipeline and then input a pipeline name to create a new pipeline. to create a new pipeline.
Copy data using pipeline
In this session, you start to build your pipeline by following below steps about copying data from on-premises Oracle database to Lakehouse.
Add a copy activity
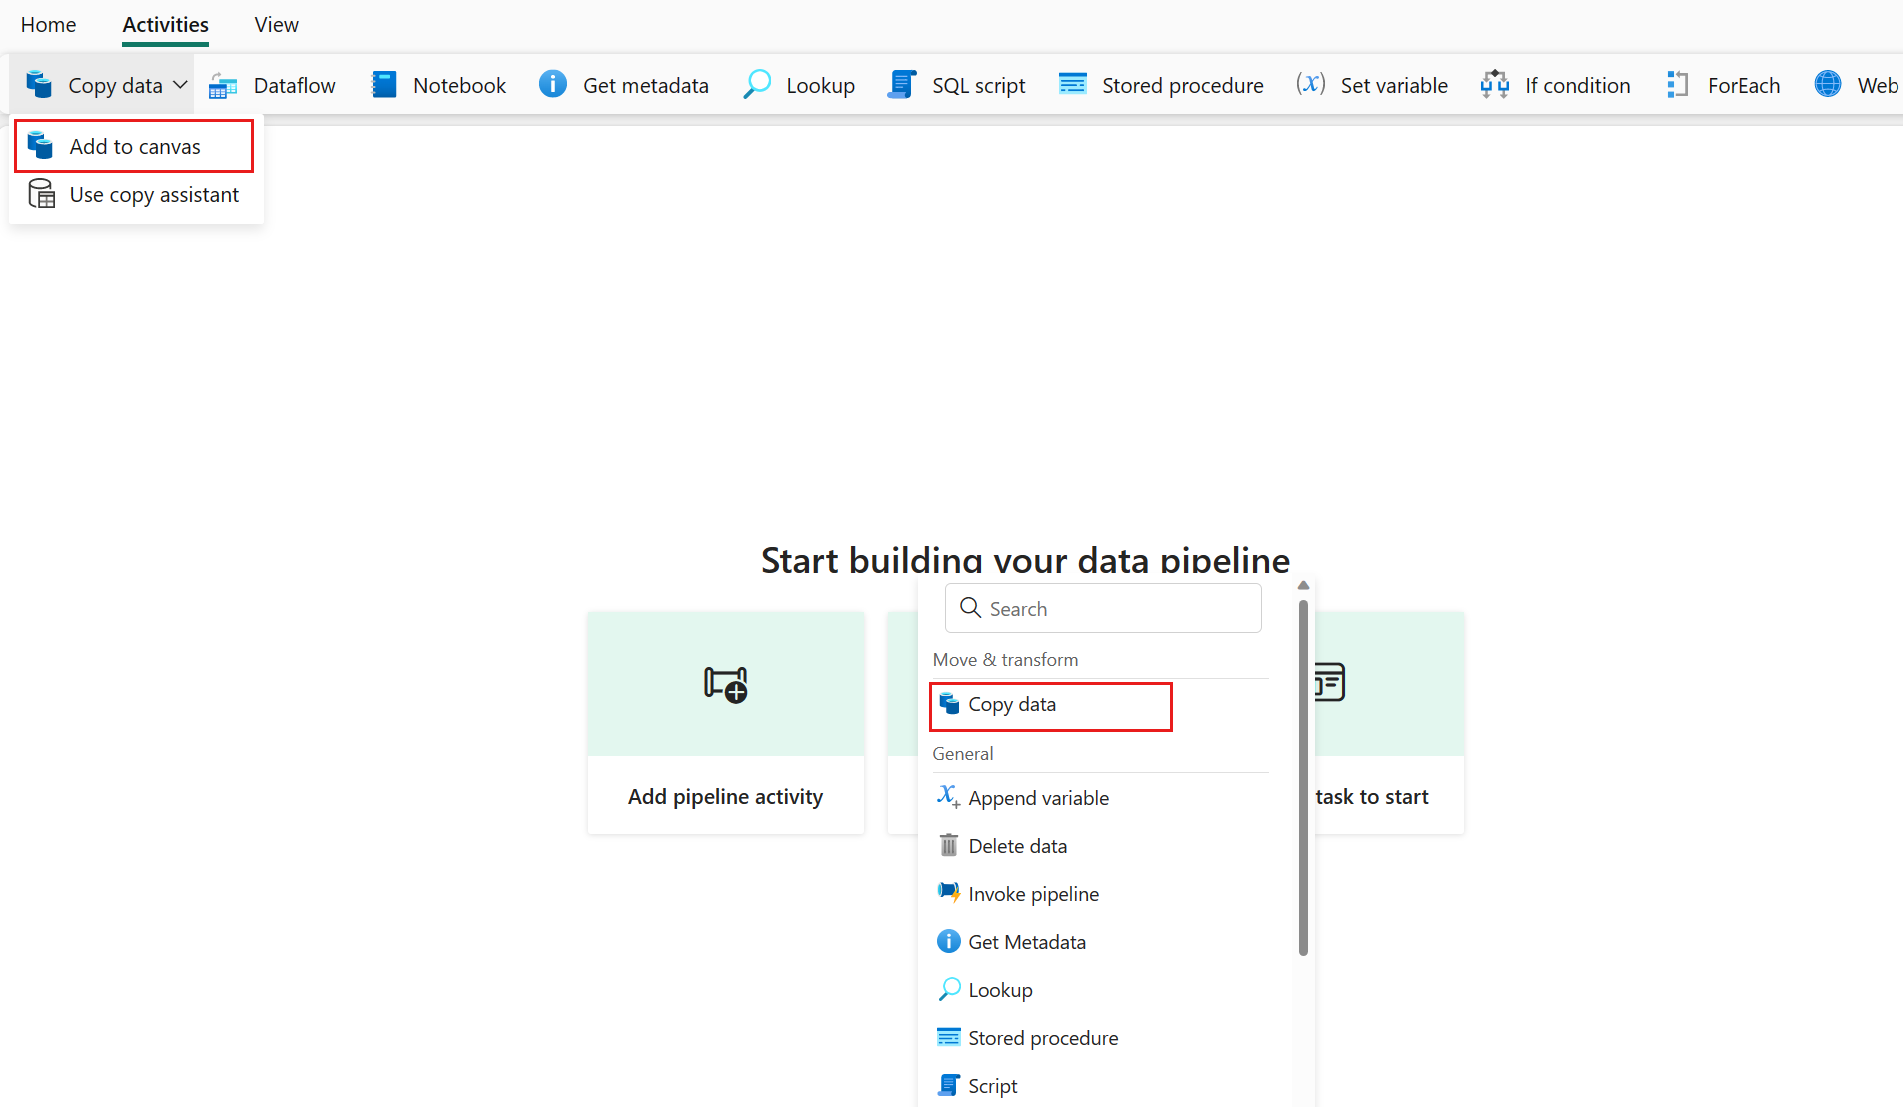
Open an existing pipeline or create a new pipeline.
Add a copy activity either by selecting Add pipeline activity > Copy activity or by selecting Copy data > Add to canvas under the Activities tab.

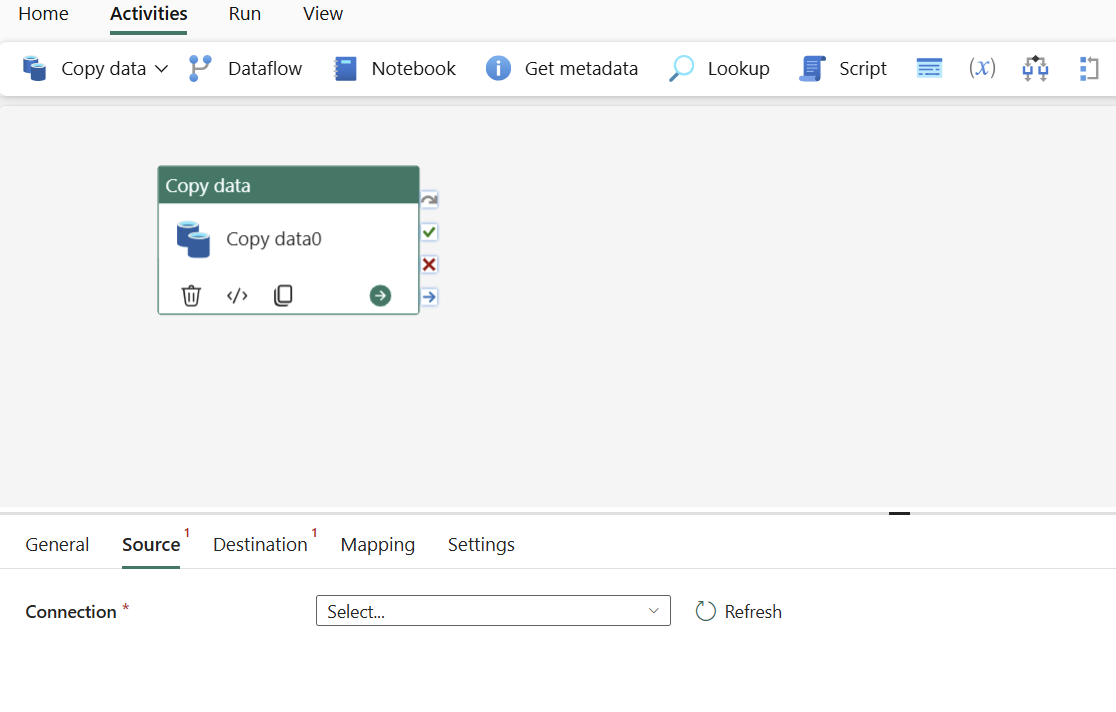
Configure your source under the source tab
Create a new connection to your data source.
a. Choose the data source type from the pop-up window. Select Oracle Database, and then select Continue.

b. It navigates to the connection creation page. Fill in the required connection information on the panel, and then select Create. For the details of connection creation for each type of data source, you can refer to each connector article.

c. Specify a table to be copied. Select Preview data to preview your source table. You can also use Query and Stored procedure to read data from your source.
Configure your destination under the destination tab
Choose your destination type. It could be either your internal first class data store from your workspace, such as Lakehouse, or your external data stores. You use Lakehouse as an example.
Choose to use Lakehouse in Workspace data store type. Select + New, and it navigates you to the Lakehouse creation page. Specify your Lakehouse name and then select Create.
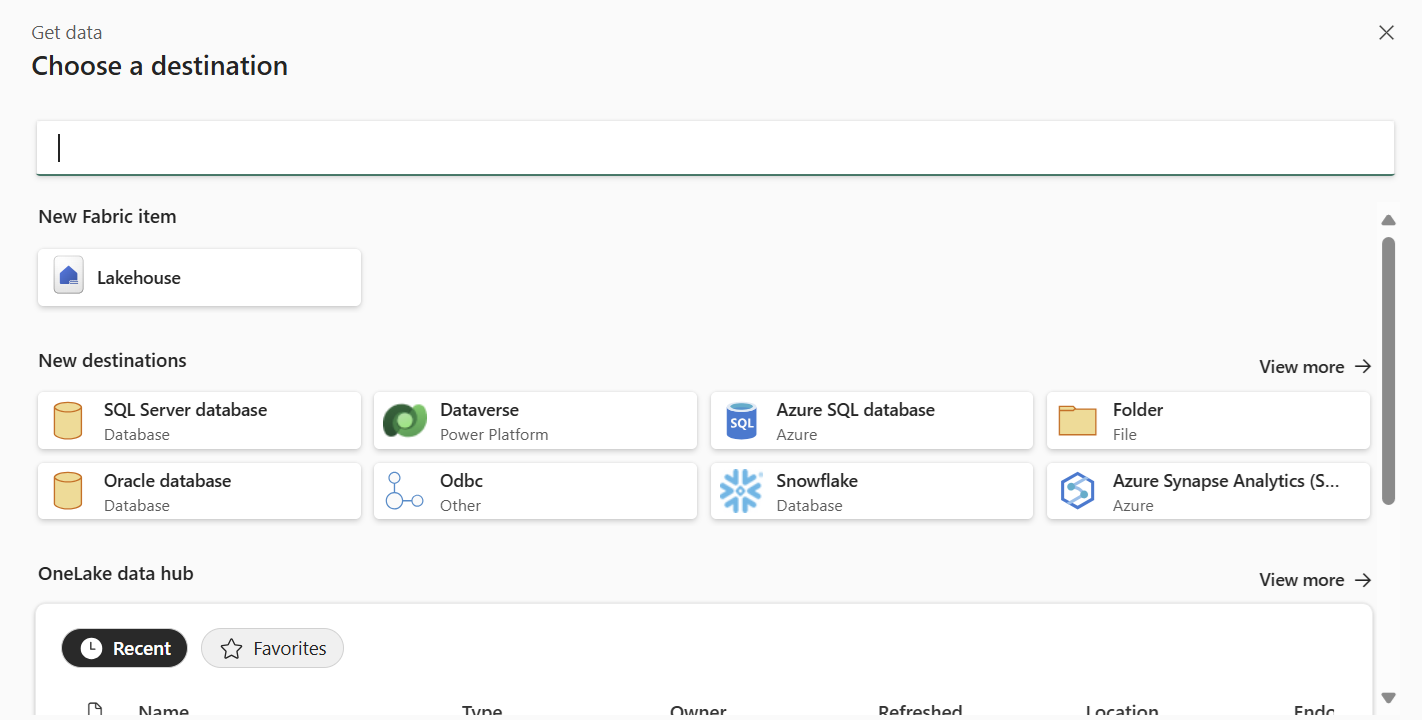
Specify a table or set up the file path to define the file or folder as the destination. Here select Tables and specify a table to write data.
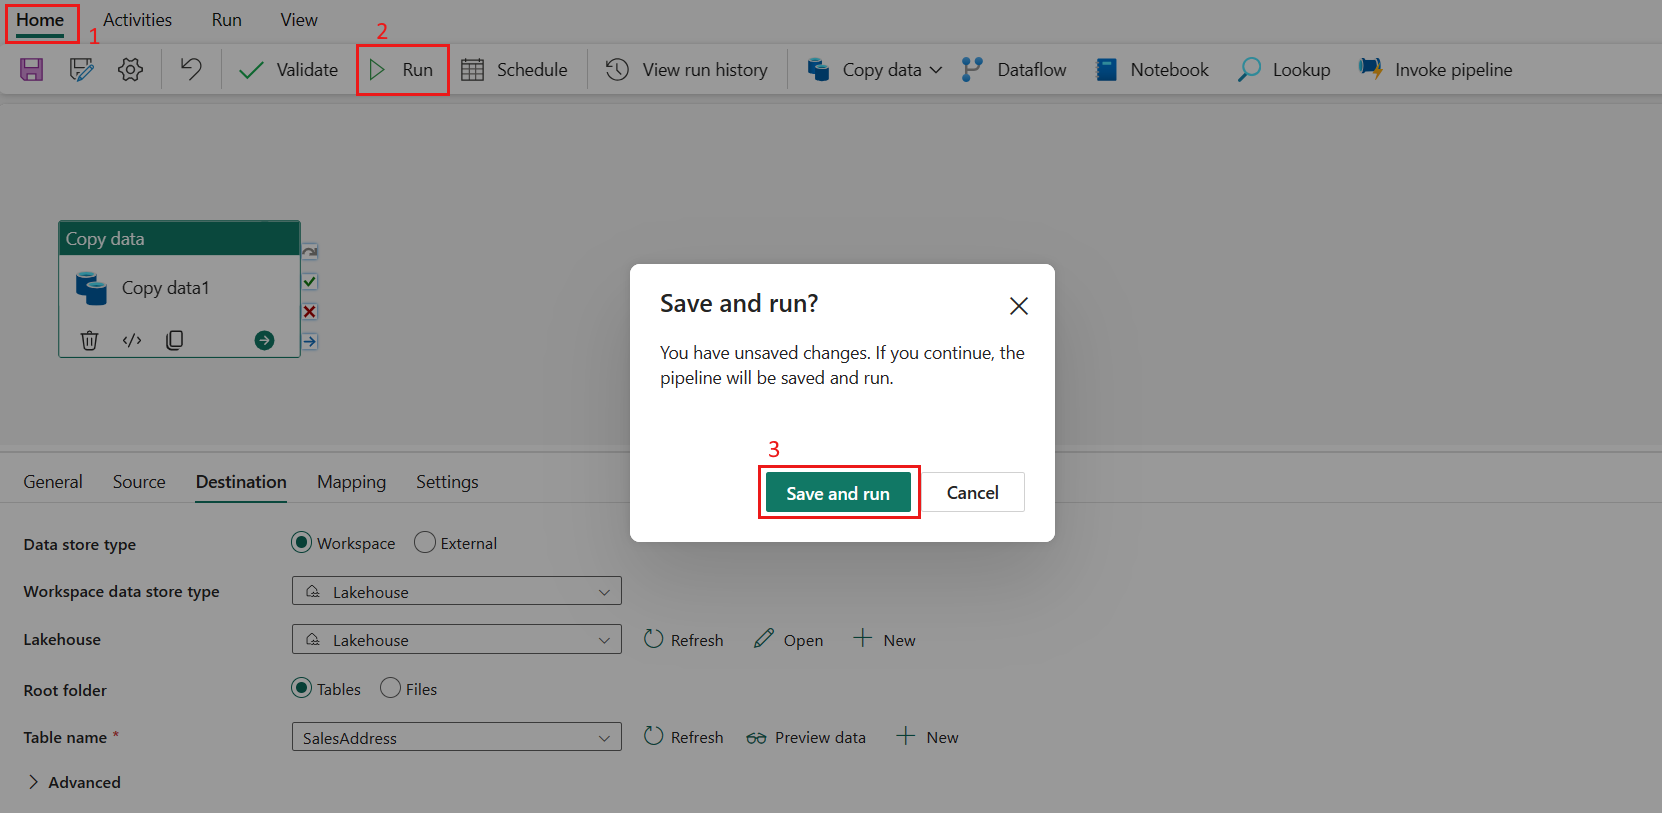
Run and schedule your pipeline
After completing the configuration of your pipeline, run the pipeline to trigger the copy activity. You can also schedule your pipeline run if needed.
Switch to the Home tab and select Run. A confirmation dialog is displayed. Then select Save and run to start the activity.
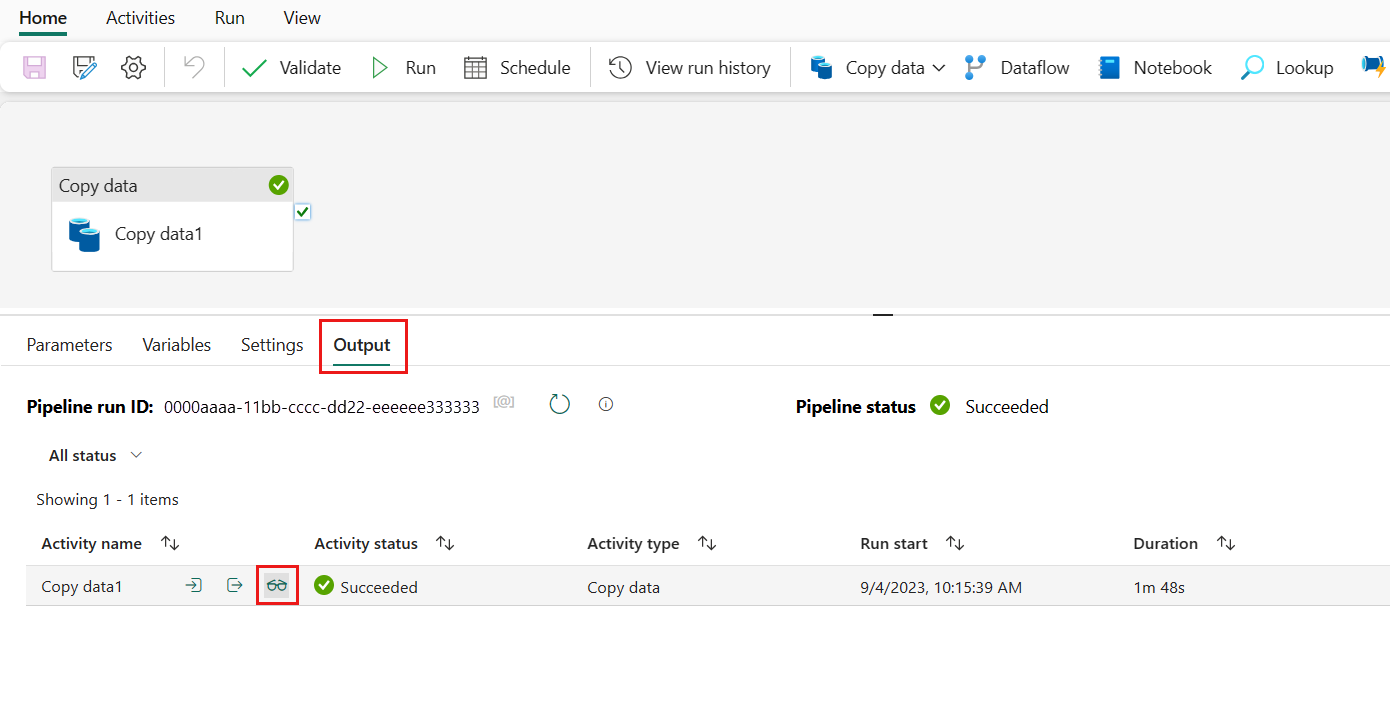
You can monitor the running process and check the results on the Output tab below the pipeline canvas. Select the run details button (with the glasses icon highlighted) to view the run details.
You can also schedule the pipeline to run with a specific frequency as required. Below is an example scheduling the pipeline to run every 15 minutes. You can also specify the Start time and End time for your schedule. If you don't specify a start time, the start time is the time your schedule applies. If you don't specify an end time, your pipeline run keeps recurring every 15 minutes.

