Note
Access to this page requires authorization. You can try signing in or changing directories.
Access to this page requires authorization. You can try changing directories.
This tutorial describes the steps to move data into Lakehouse.
Two approaches are provided using the copy assistant:
- The first approach moves source data into destination tables with delta format.
- The second approach moves source data into destination files.
Prerequisites
To get started, you must complete the following prerequisites:
- A tenant account with an active subscription. Create an account for free.
- A workspace is created.
- A Lakehouse is created in your workspace.
Move files into Lakehouse as tables in delta format via copy assistant
Follow these steps to set up your copy activity.
Step 1: Start with copy assistant
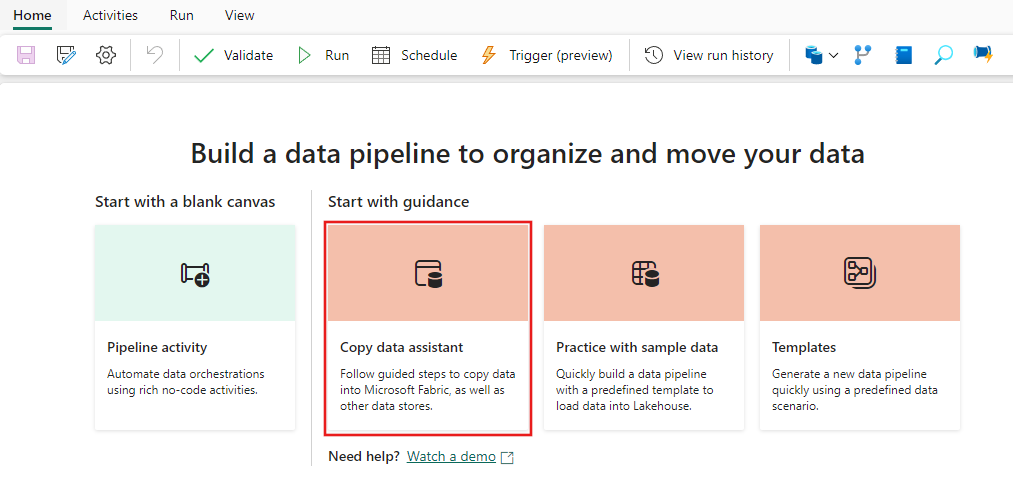
Open an existing data pipeline or create a new data pipeline.
Select Copy data assistant on the canvas to open the wizard and get started. Or select Use copy assistant from the Copy data drop down list under Activities tab on the ribbon.
Step 2: Configure your source
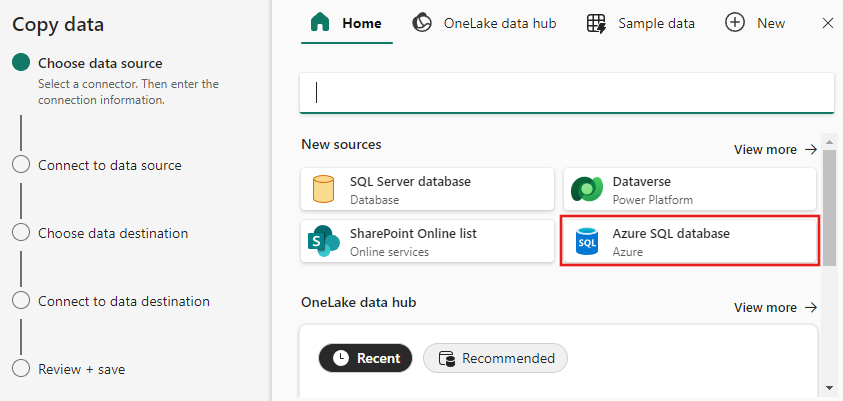
Choose your data source by choosing a data source type. In this tutorial, we'll use Azure SQL Database as an example. Search on the Choose data source screen to find and select Azure SQL Database.
Create a connection to your data source by filling in the required connection information on the panel.
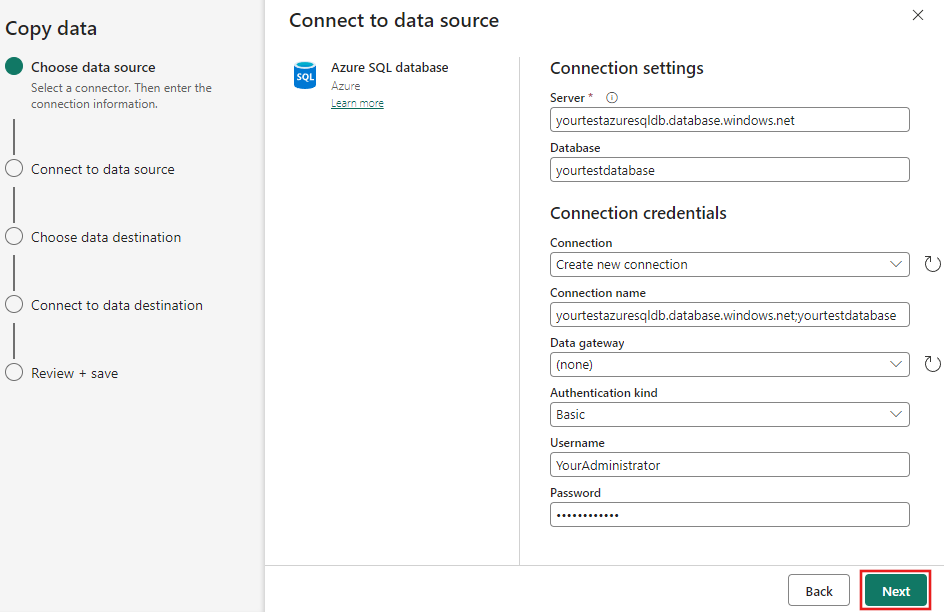
After you fill in the required connection information on the panel, select Next.
If you didn't already select a database initially, a list of databases is presented for you to select from.

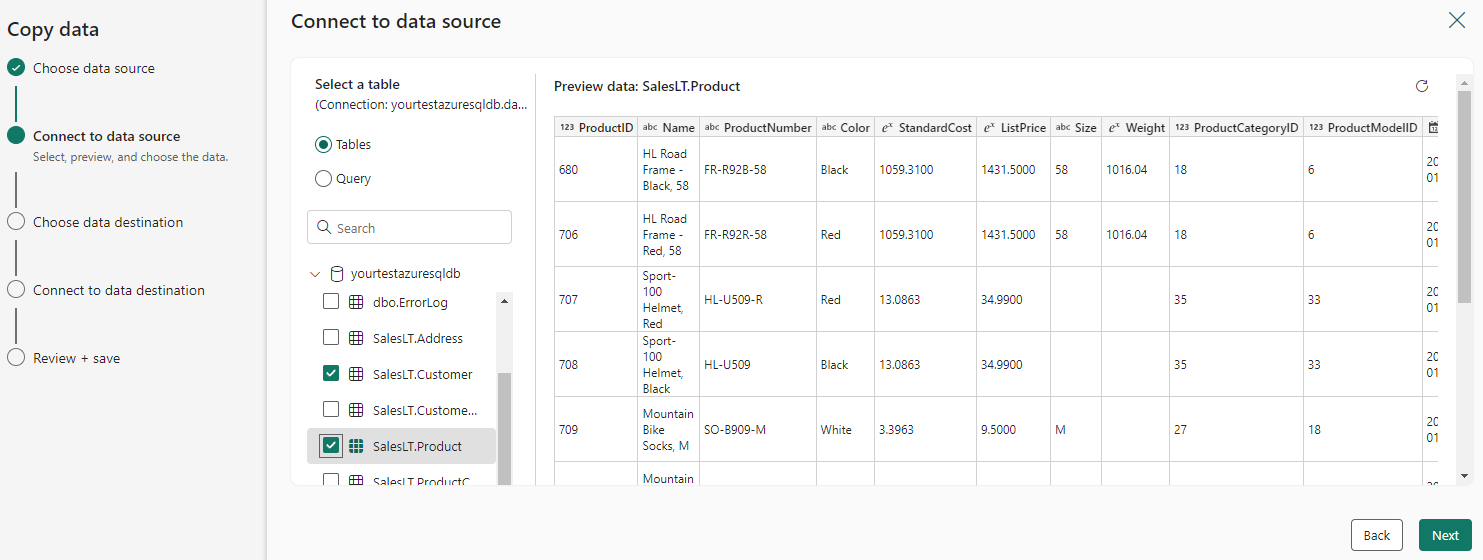
Select the table(s) that is to be moved. Then, select Next.

Step 3: Configure your destination
Choose Lakehouse as your destination and then select Next.

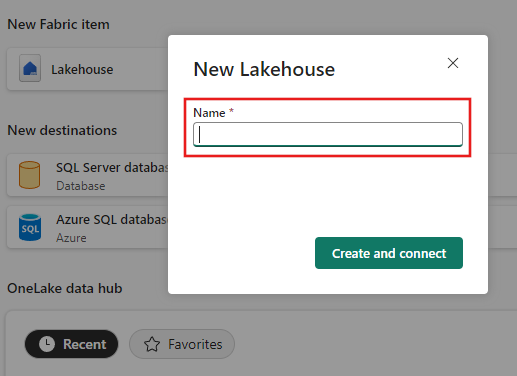
Enter a Lakehouse name, then select Create and connect.
Configure and map your source data to the destination Lakehouse table. Select Tables for the Root folder and Load to a new table for Load settings. Provide a Table name and select Next.

Review your configuration, and uncheck the Start data transfer immediately checkbox. Then select Next to finish the assistant experience.


Step 4: Save your data pipeline and run it to load data
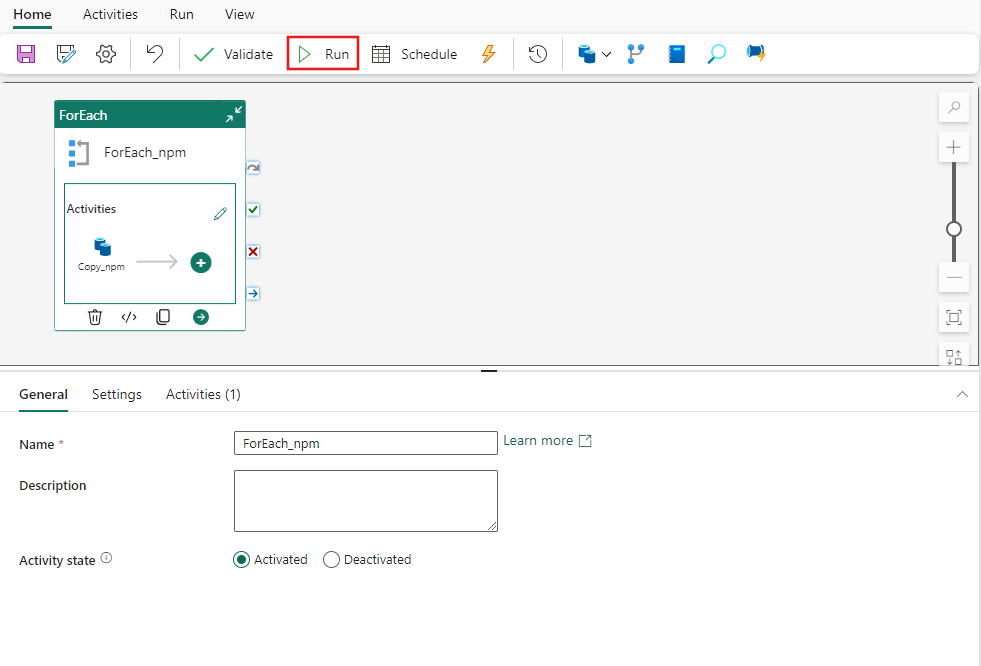
Select Run from the Home toolbar and then select Save and run when prompted.
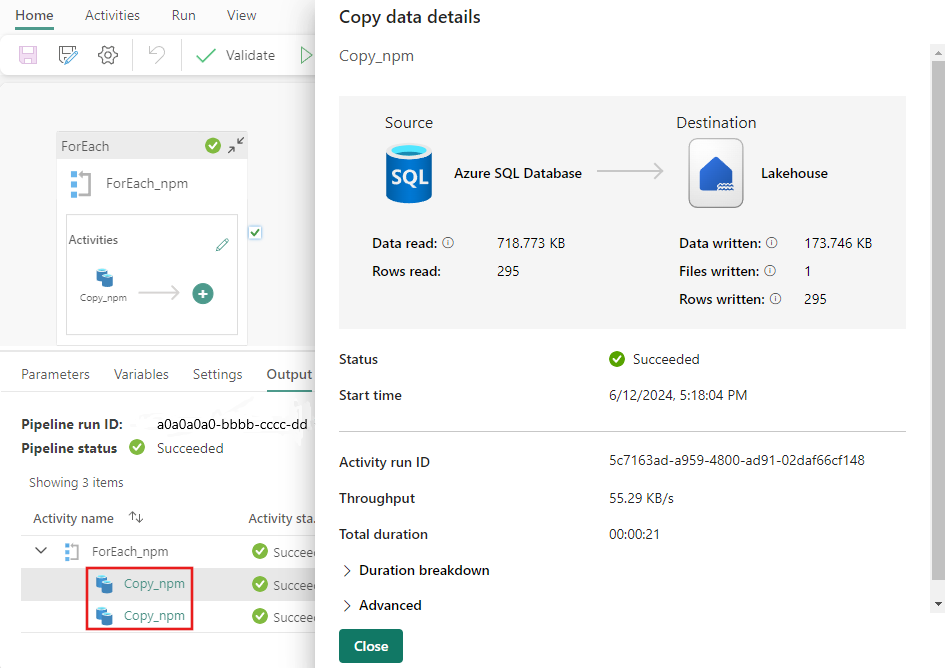
For each activity that was run, you can select the activity's corresponding link in the Output tab after the pipeline runs to view the details the activity. In this case we have 2 individual copy activities that ran - one for each table copied from SQL Azure to the Lakehouse. When you select the activity's details link, you can see how mmuch data was read and written and how much space the data consumed in the source and destination, as well as throughput speed and other details.
Step 5: View your tables from Lakehouse
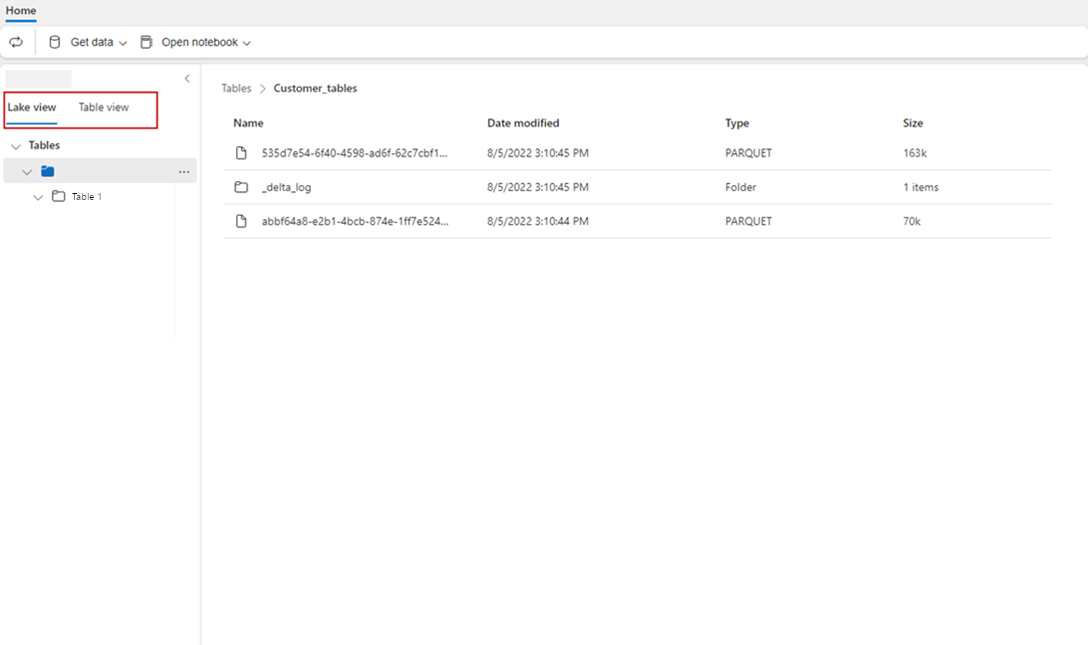
Go to your Lakehouse and refresh your Lake view to see the latest data ingested.
Switch to Table view to view the data in table.
Note
Currently data lands into Lakehouse Tables folders (a managed area) in Delta format only. Those files will be automatically registered as a table and be visible under Table view from Lakehouse portal. Only the first layer folders under Tables will be registered as delta table. Browsing or Previewing from Lakehouse Table isn't supported yet. Data that gets loaded into the same table will be appended. Delete or Update to tables isn't supported yet.
Related content
This sample shows you how to move data from Azure SQL DB into Lakehouse with the Copy Assistant in Data Factory for Microsoft Fabric. You learned how to:
- Move files into Lakehouse as tables in delta format with the Copy Assistant.
Next, advance to learn more about monitoring your pipeline runs.