Move data from Azure SQL DB to Lakehouse via data pipeline
In this tutorial, you build a data pipeline to move data in Azure SQL Database to Lakehouse. This experience shows you a quick demo about how to use data pipeline copy activity and how to load data into Lakehouse.
Prerequisites
To get started, you must complete the following prerequisites:
- A Microsoft Fabric tenant account with an active subscription. Create an account for free.
- Make sure you have a Microsoft Fabric enabled Workspace: Create a workspace.
Create a data pipeline
Navigate to Power BI.
Select the Power BI icon in the bottom left of the screen, then select Data factory to open homepage of Data Factory.

Navigate to your Microsoft Fabric workspace. If you created a new workspace in the prior Prerequisites section, use this one.

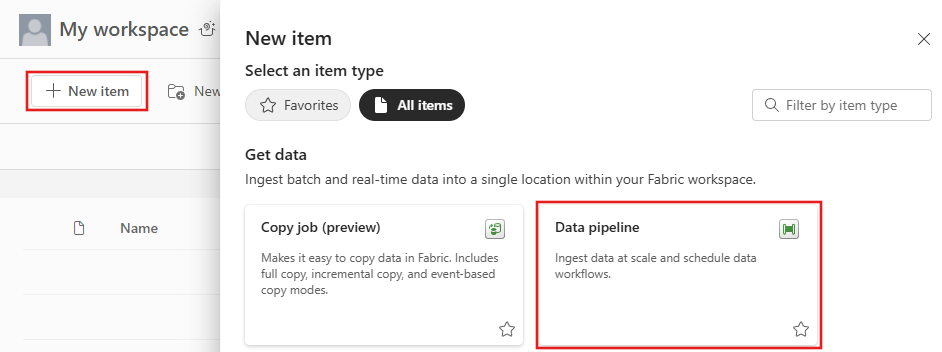
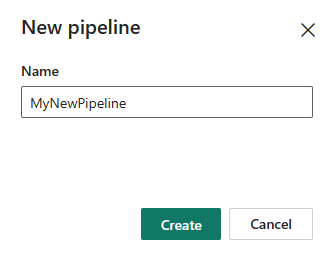
Select Data pipeline and then input a pipeline name to create a new pipeline.
Copy data using data pipeline
In this session, you start to build your data pipeline by following below steps about copying data from Azure SQL Database to Lakehouse.
Add a copy activity
Open an existing data pipeline or create a new data pipeline.
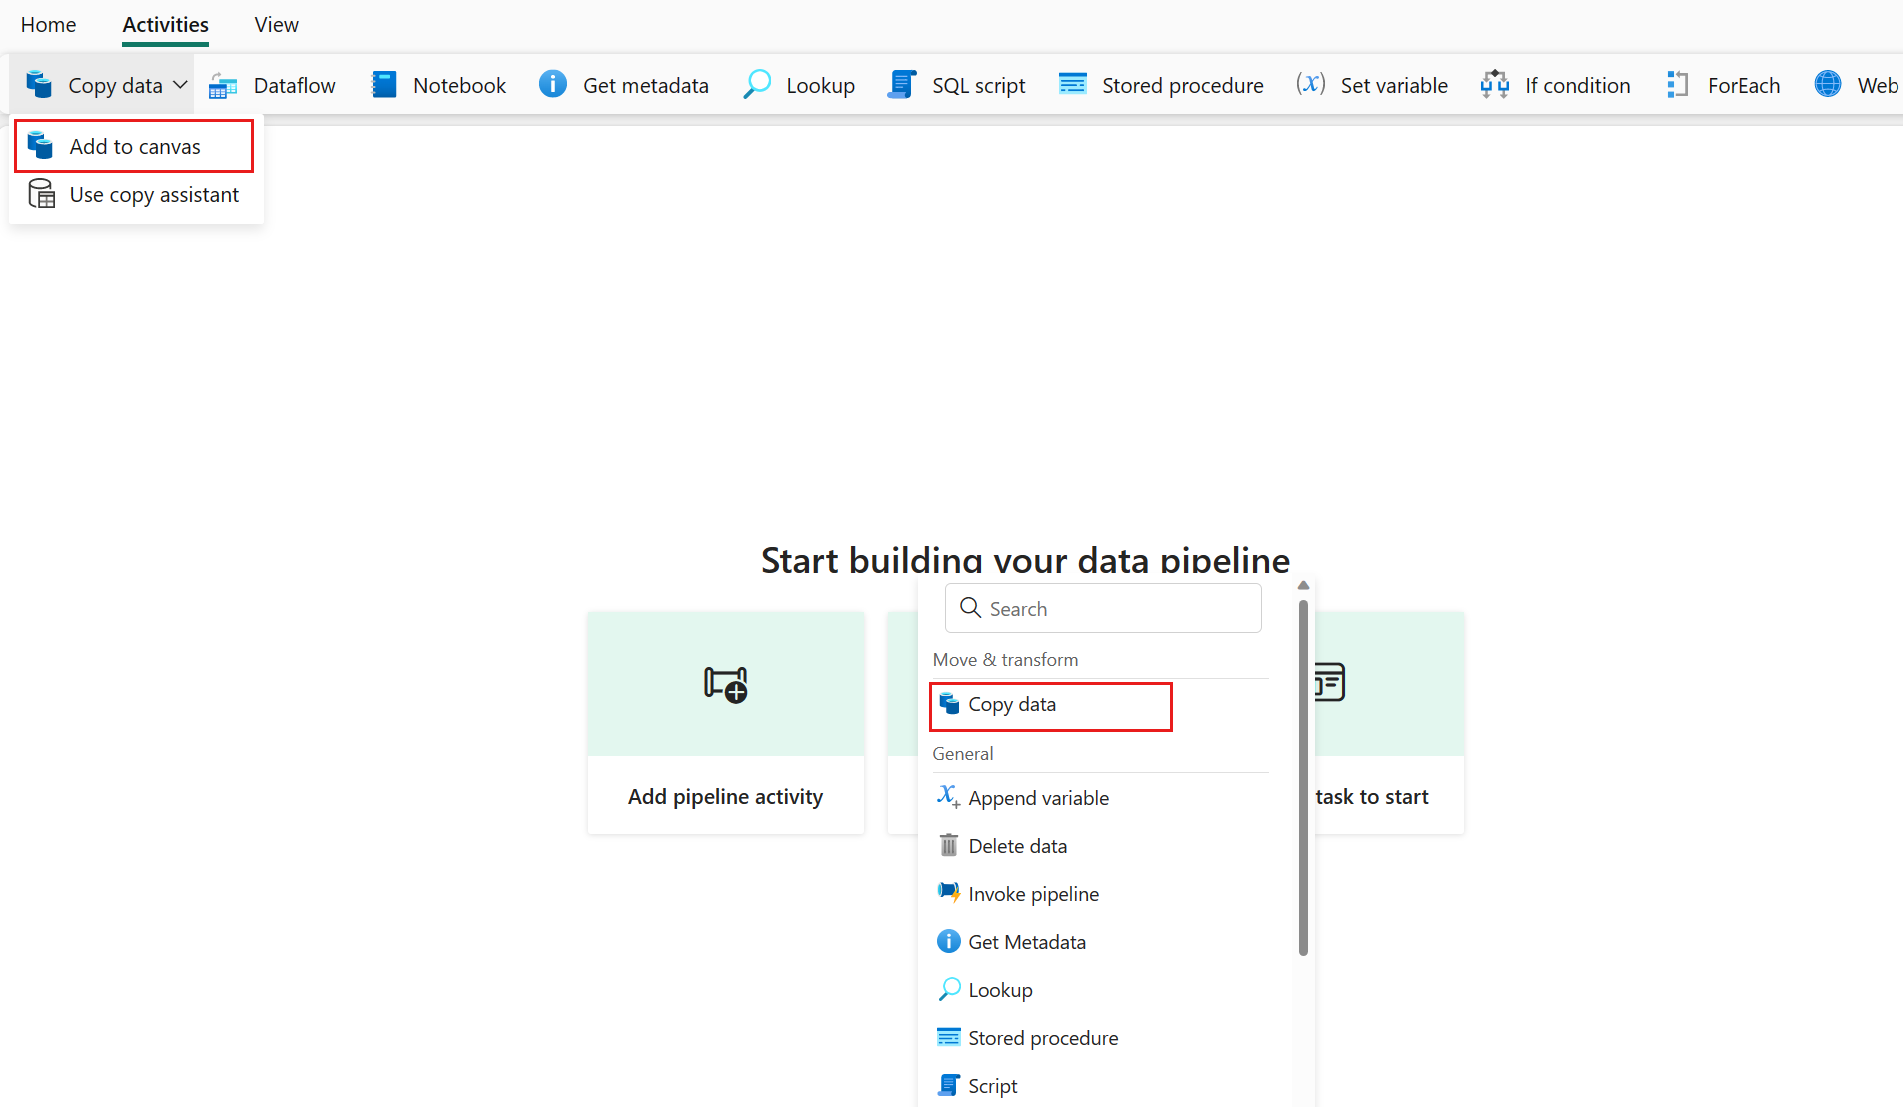
Add a copy activity either by selecting Add pipeline activity > Copy activity or by selecting Copy data > Add to canvas under the Activities tab.

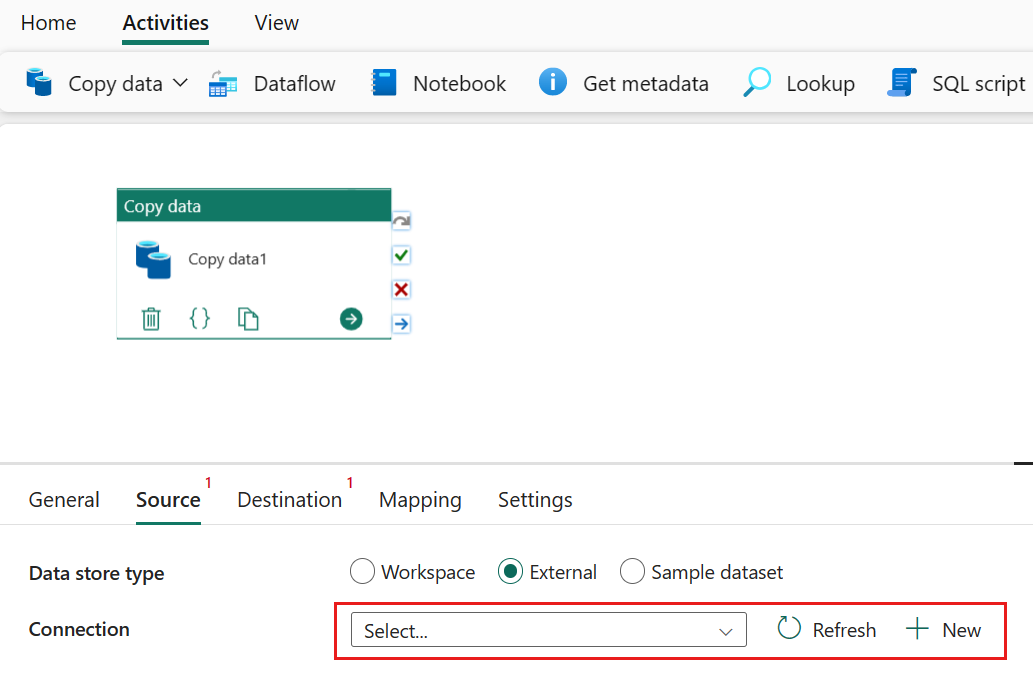
Configure your source under the source tab
Select + New beside the Connection to create a connection to your data source.
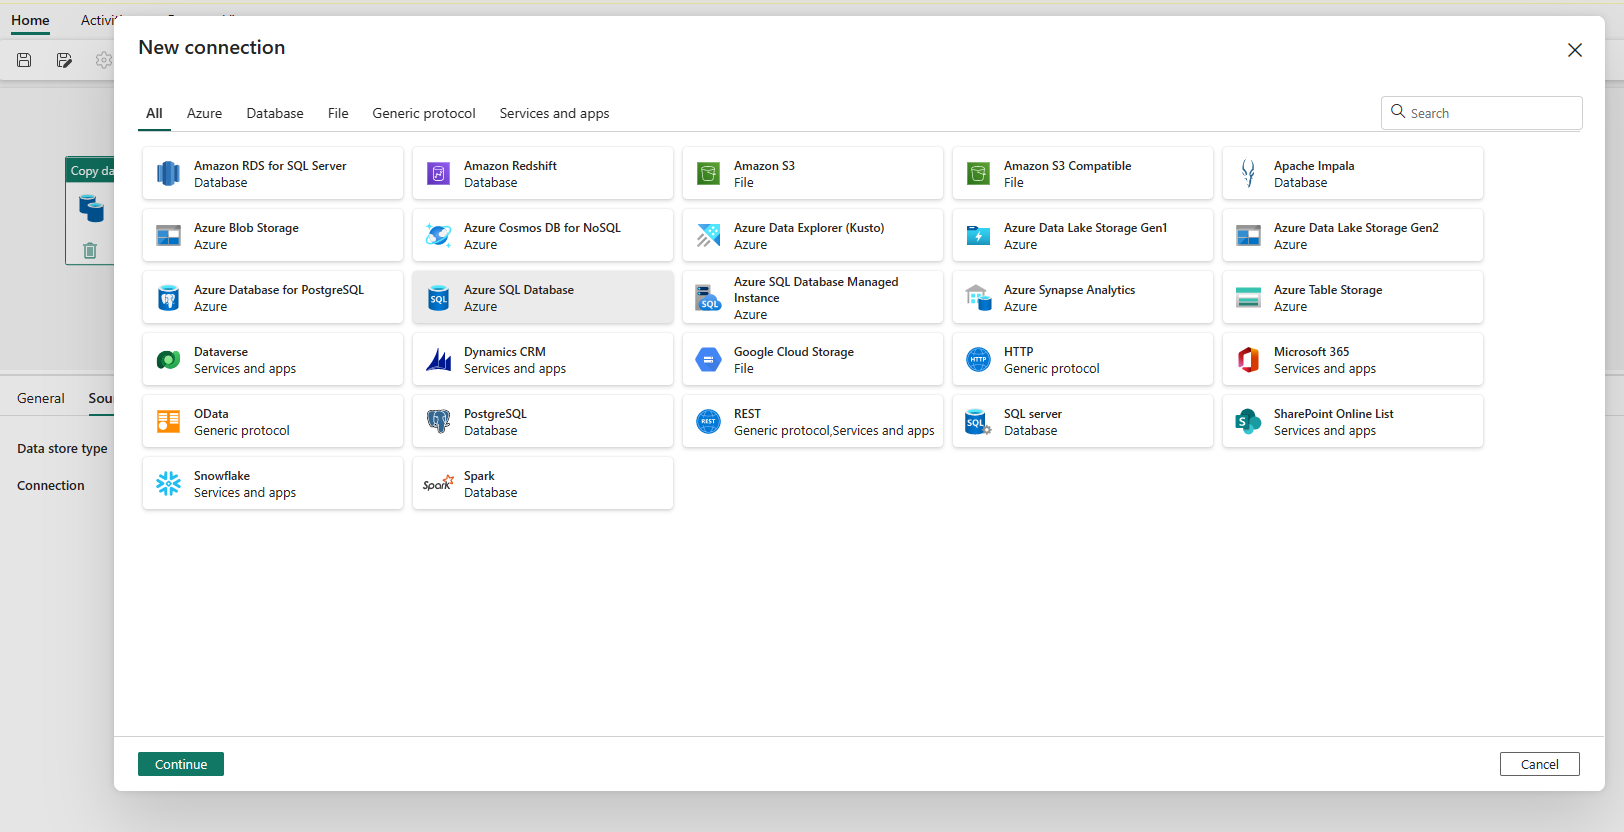
Choose the data source type from the pop-up window. You'll use Azure SQL Database as an example. Select Azure SQL Database, and then select Continue.
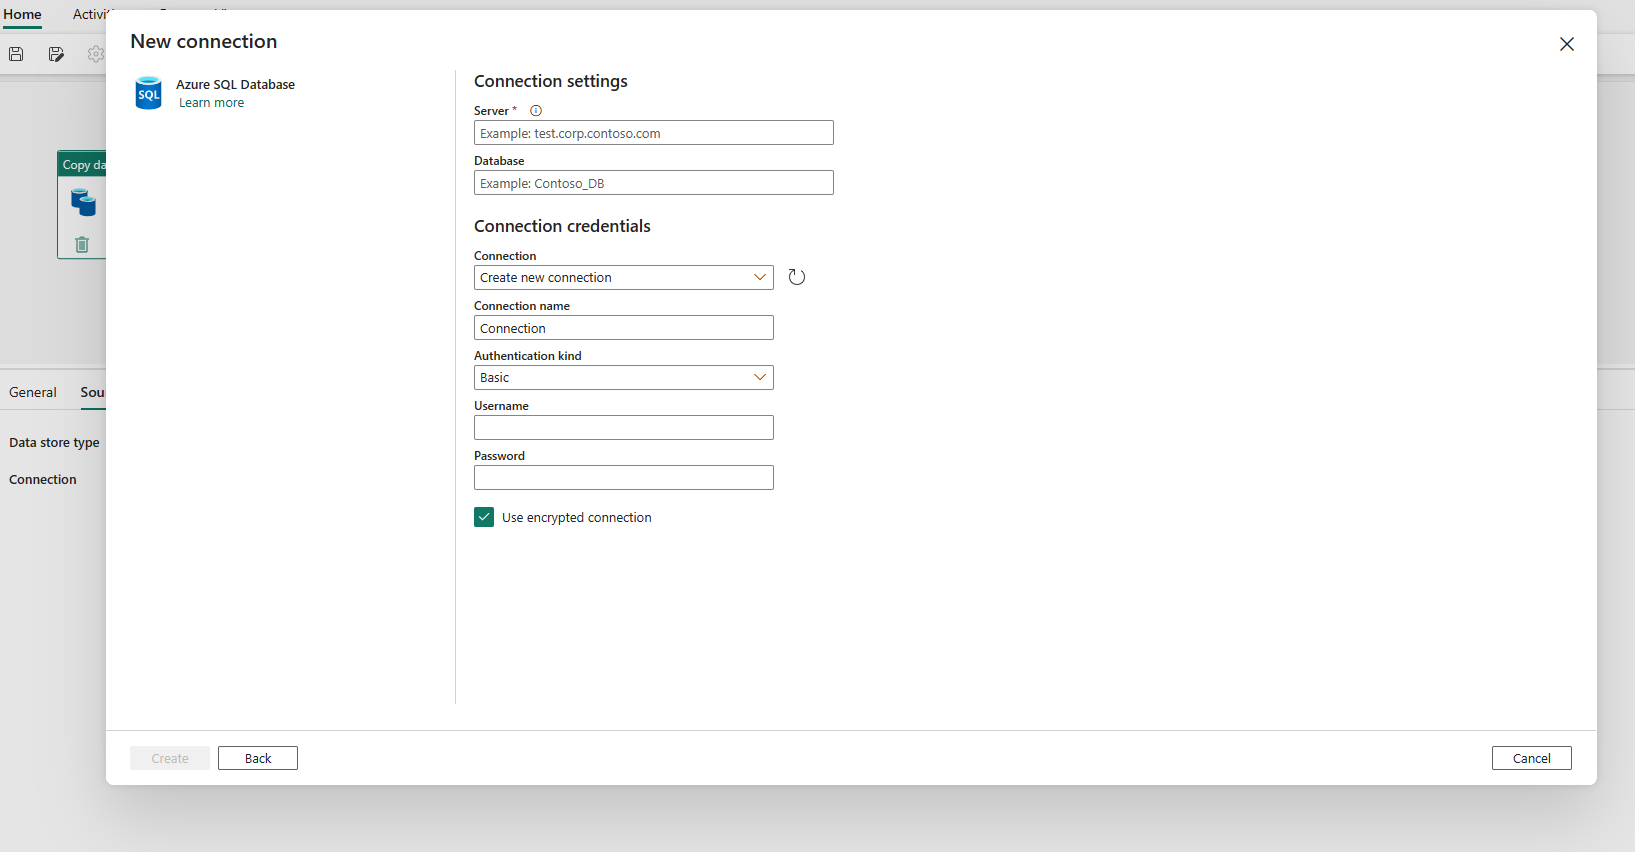
It navigates to the connection creation page. Fill in the required connection information on the panel, and then select Create. For the details of connection creation for each type of data source, you can refer to each connector article.
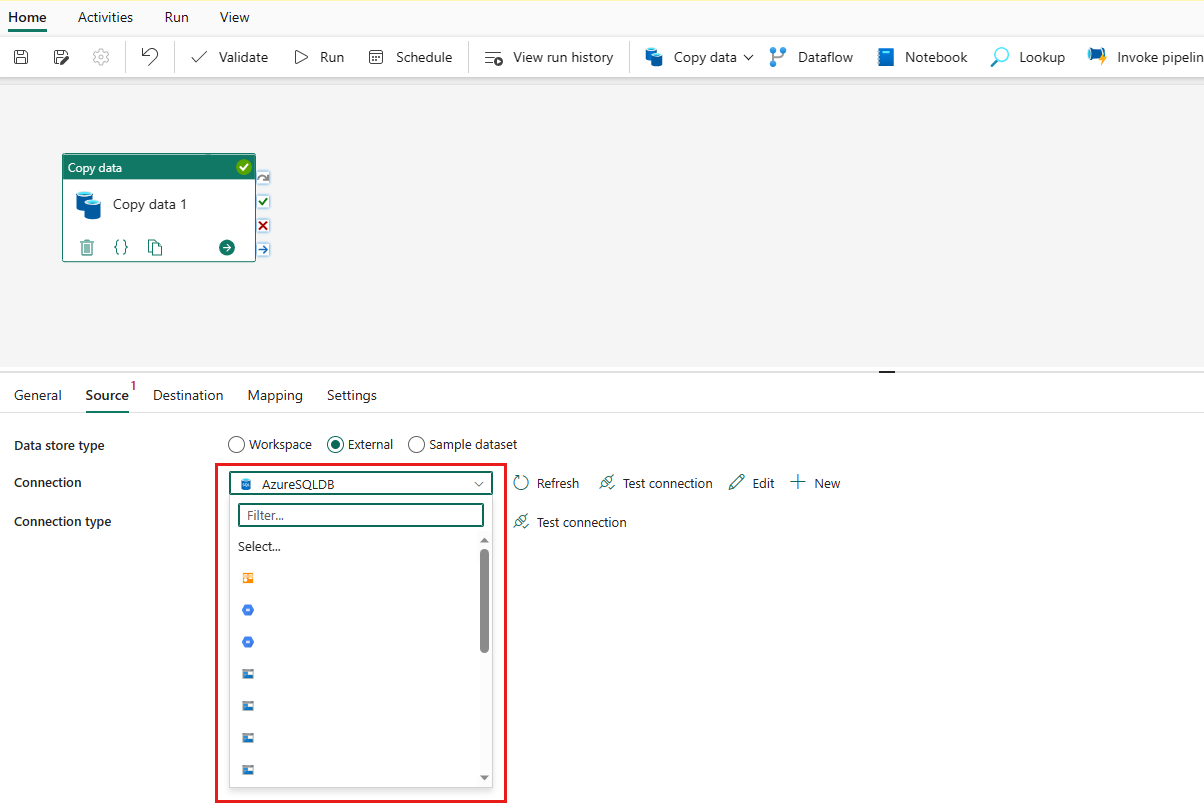
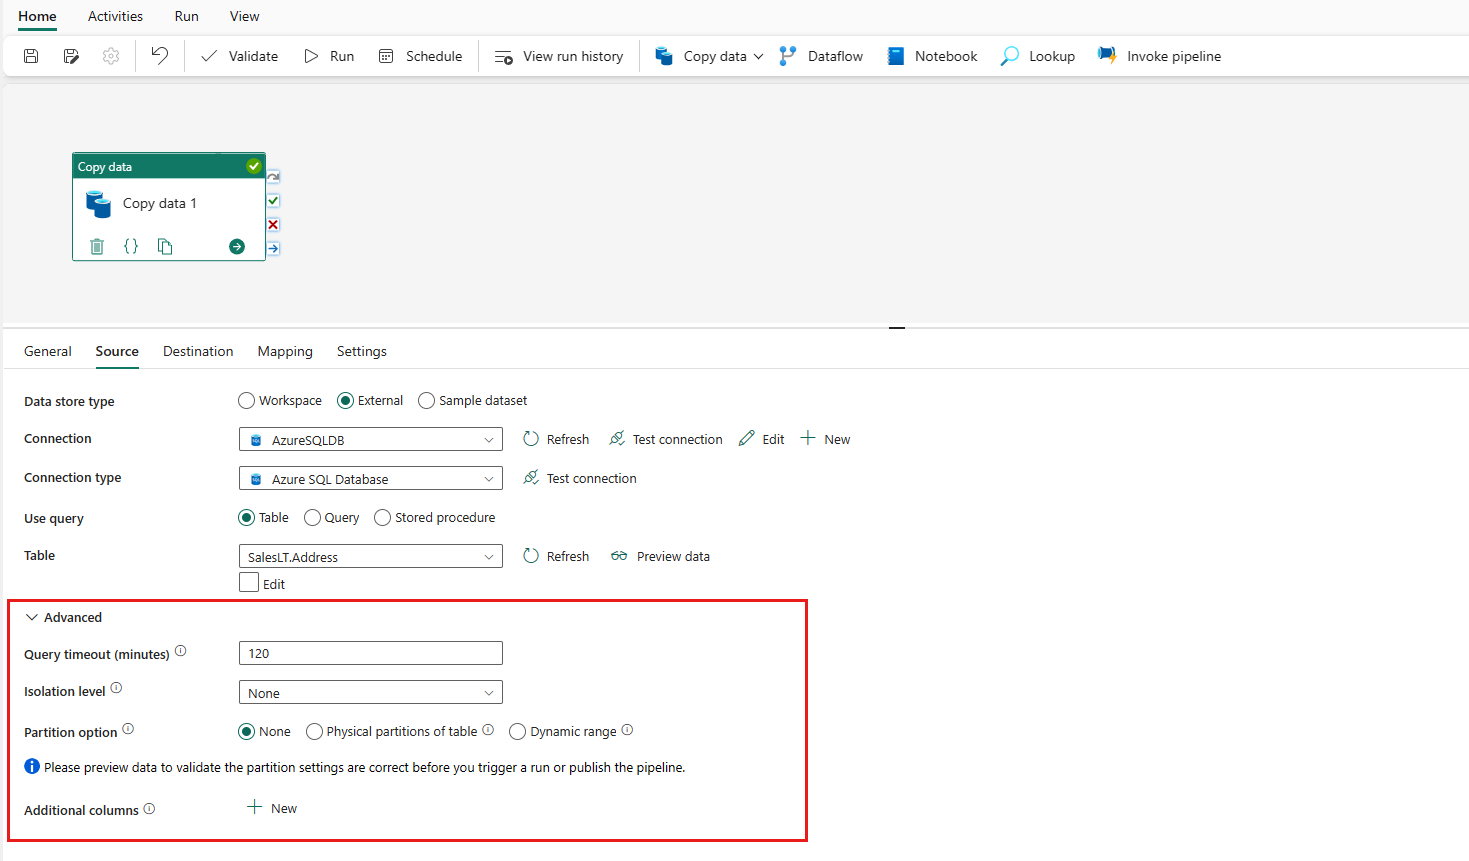
Once your connection is created successfully, it takes you back to the data pipeline page. Then select Refresh to fetch the connection that you created from the drop-down list. You could also choose an existing Azure SQL Database connection from the drop-down directly if you already created it before. The capabilities of Test connection and Edit are available to each selected connection. Then select Azure SQL Database in Connection type.
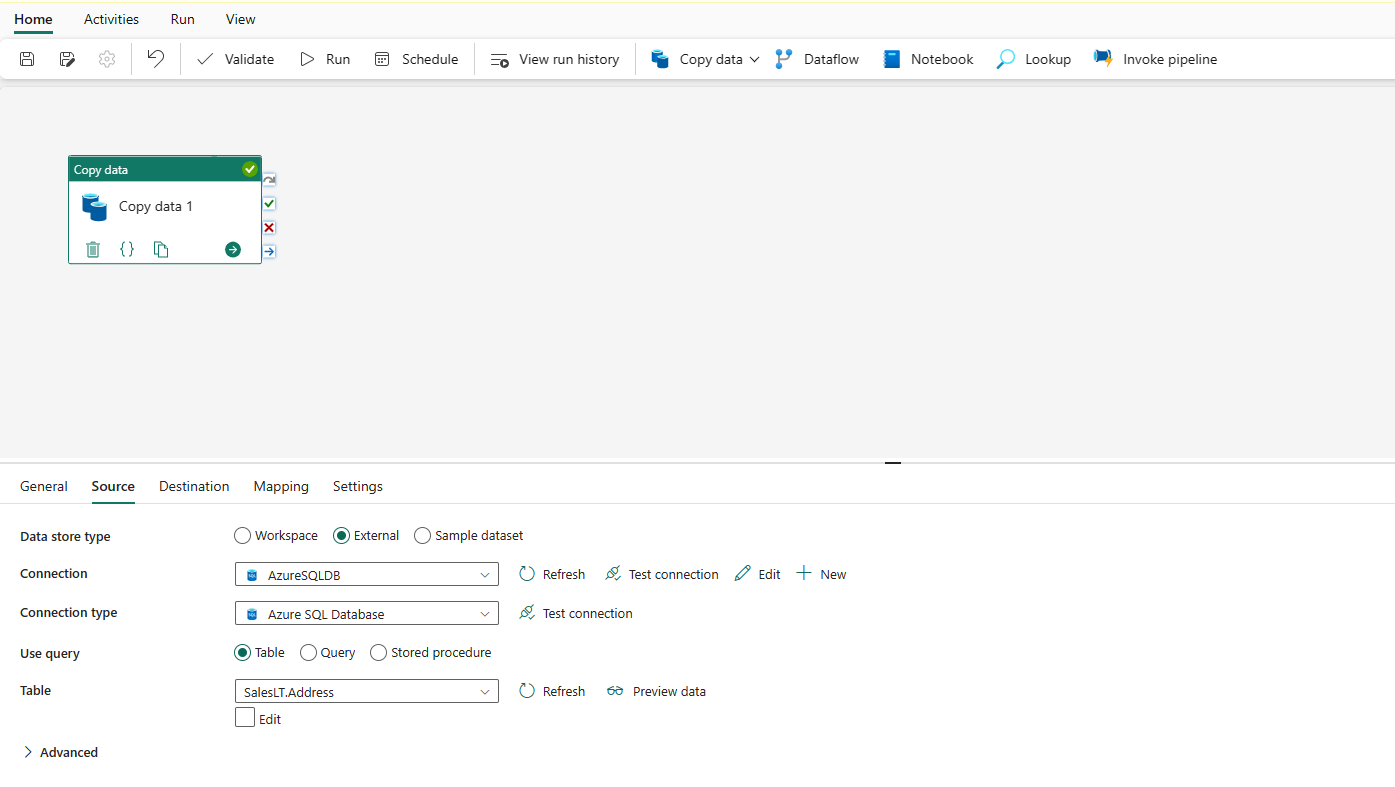
Specify a table to be copied. Select Preview data to preview your source table. You can also use Query and Stored procedure to read data from your source.
Expand Advanced for more advanced settings.


Configure your destination under the destination tab
Choose your destination type. It could be either your internal first class data store from your workspace, such as Lakehouse, or your external data stores. You'll use Lakehouse as an example.
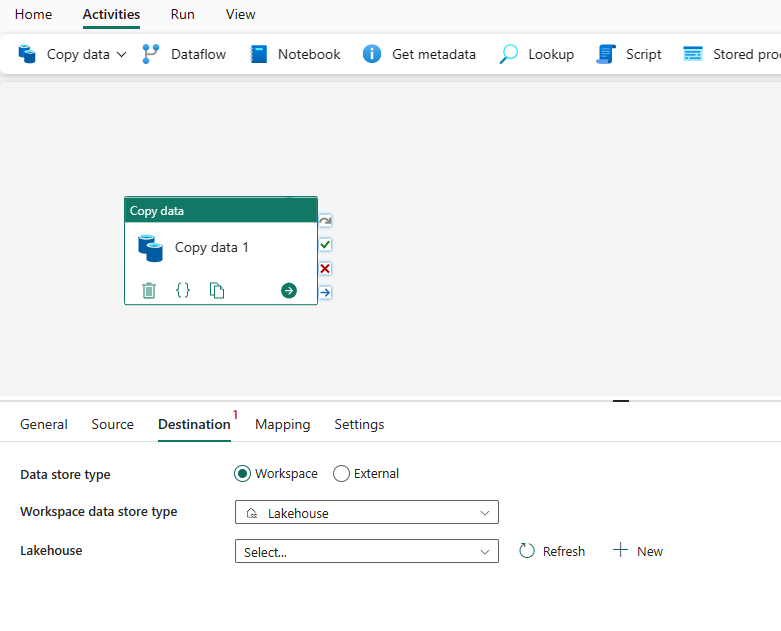
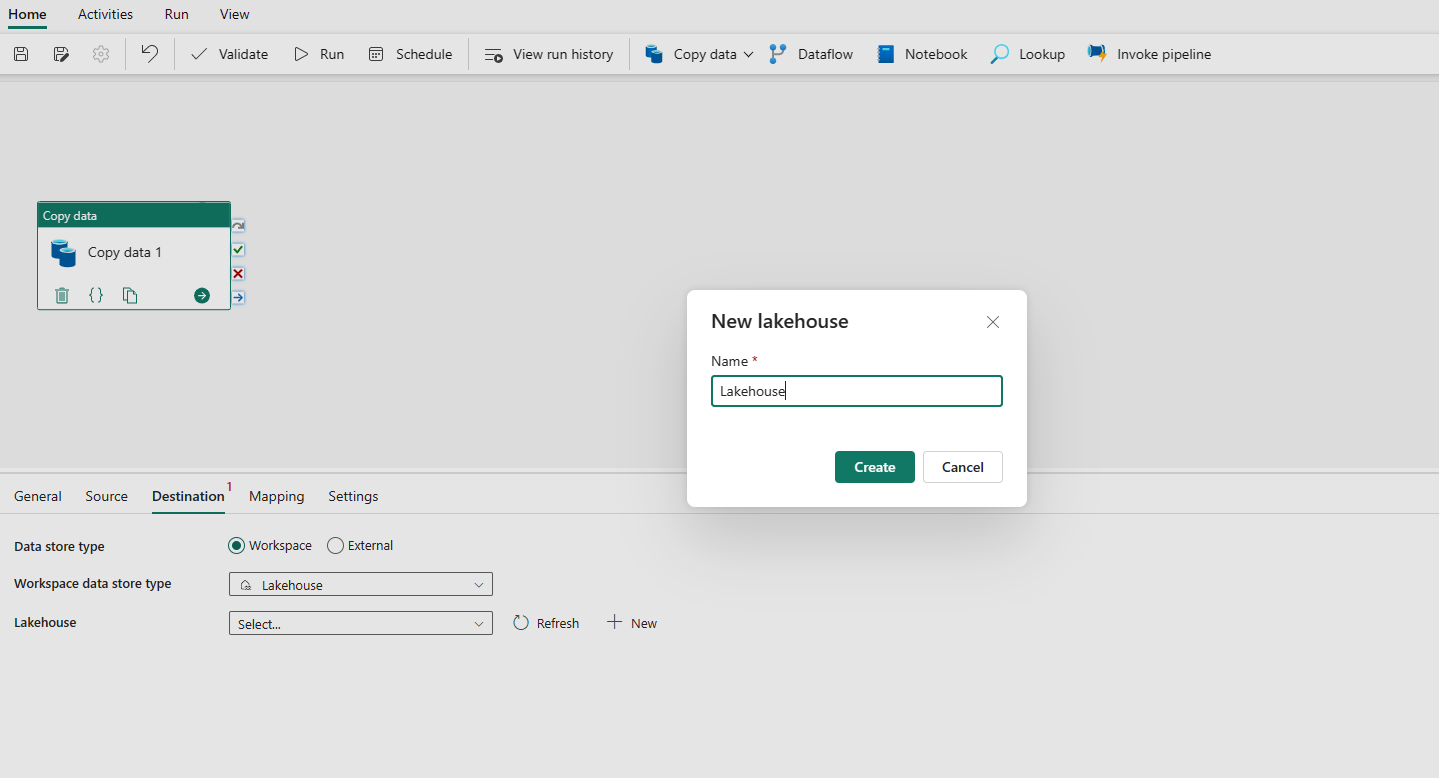
Choose to use Lakehouse in Workspace data store type. Select + New, and it navigates you to the Lakehouse creation page. Specify your Lakehouse name and then select Create.
Once your connection is created successfully, it takes you back to the data pipeline page. Then select Refresh to fetch the connection that you created from the drop-down list. You could also choose an existing Lakehouse connection from the drop-down directly if you already created it before.
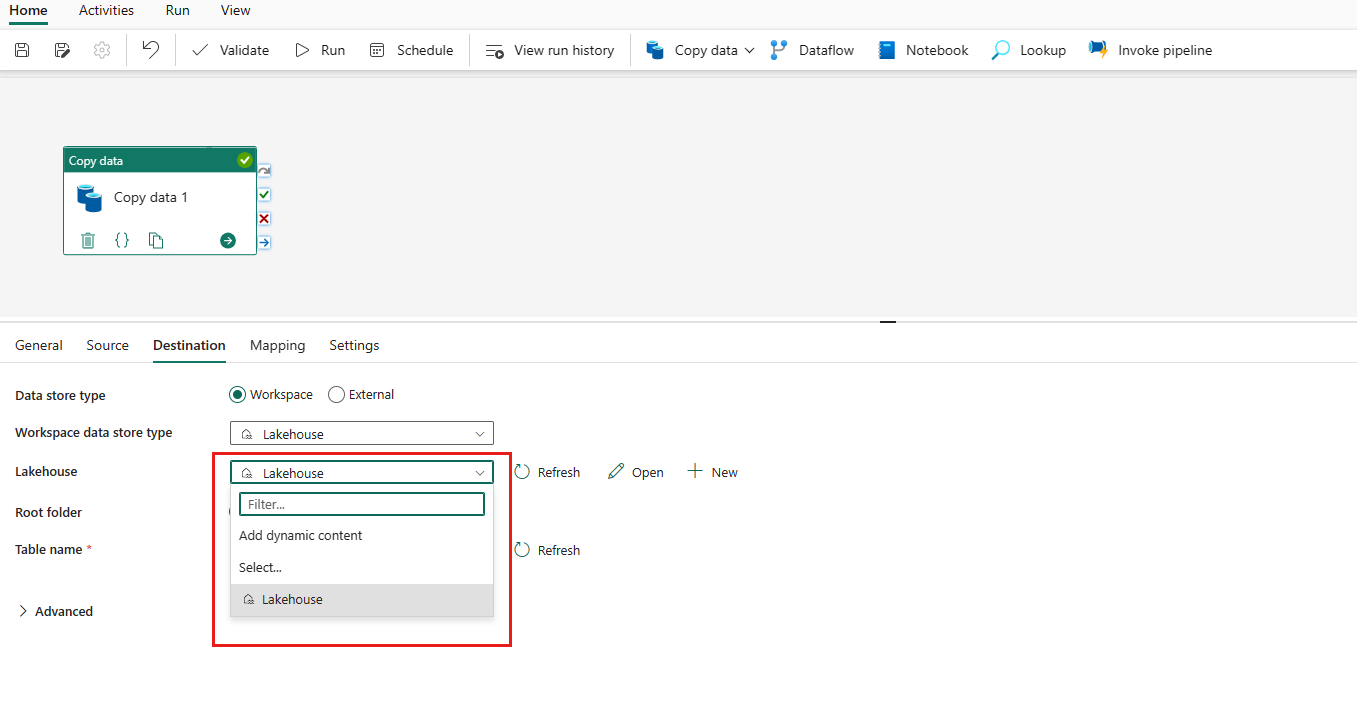
Specify a table or set up the file path to define the file or folder as the destination. Here select Tables and specify a table to write data.
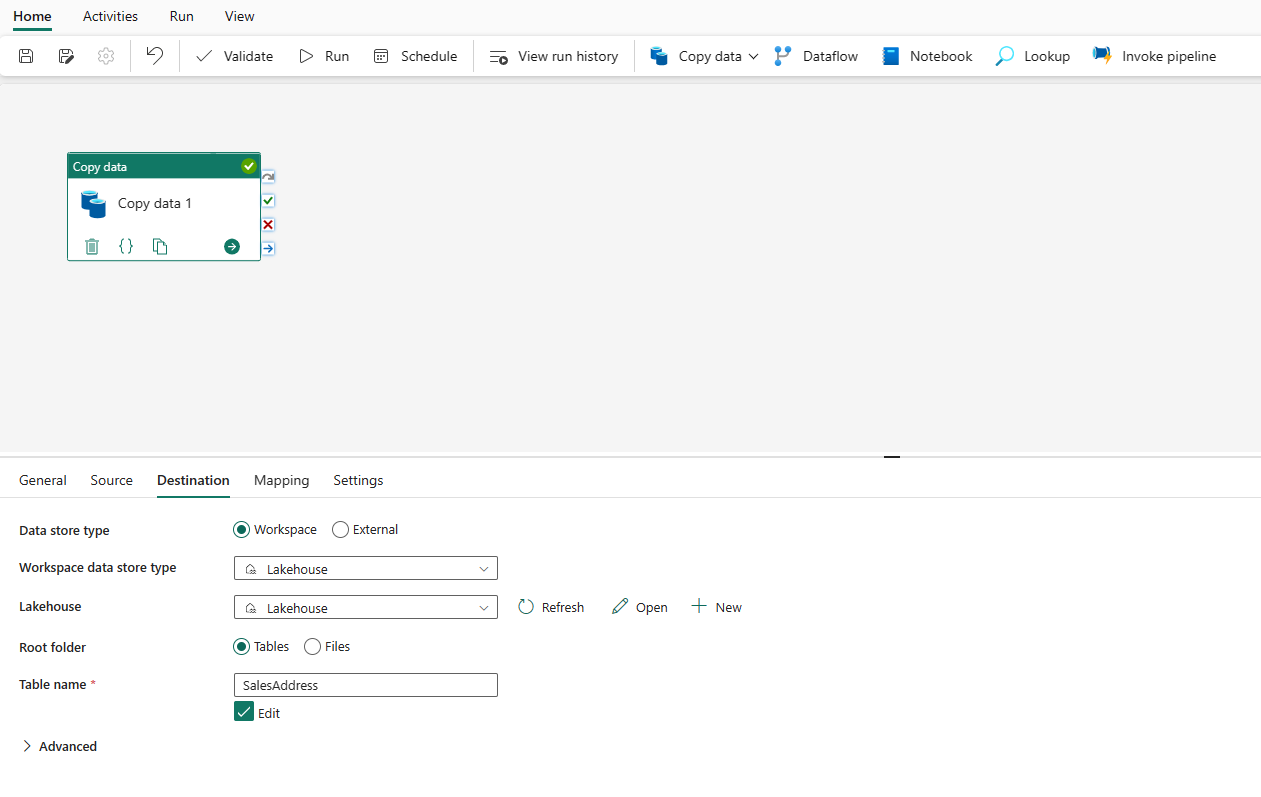
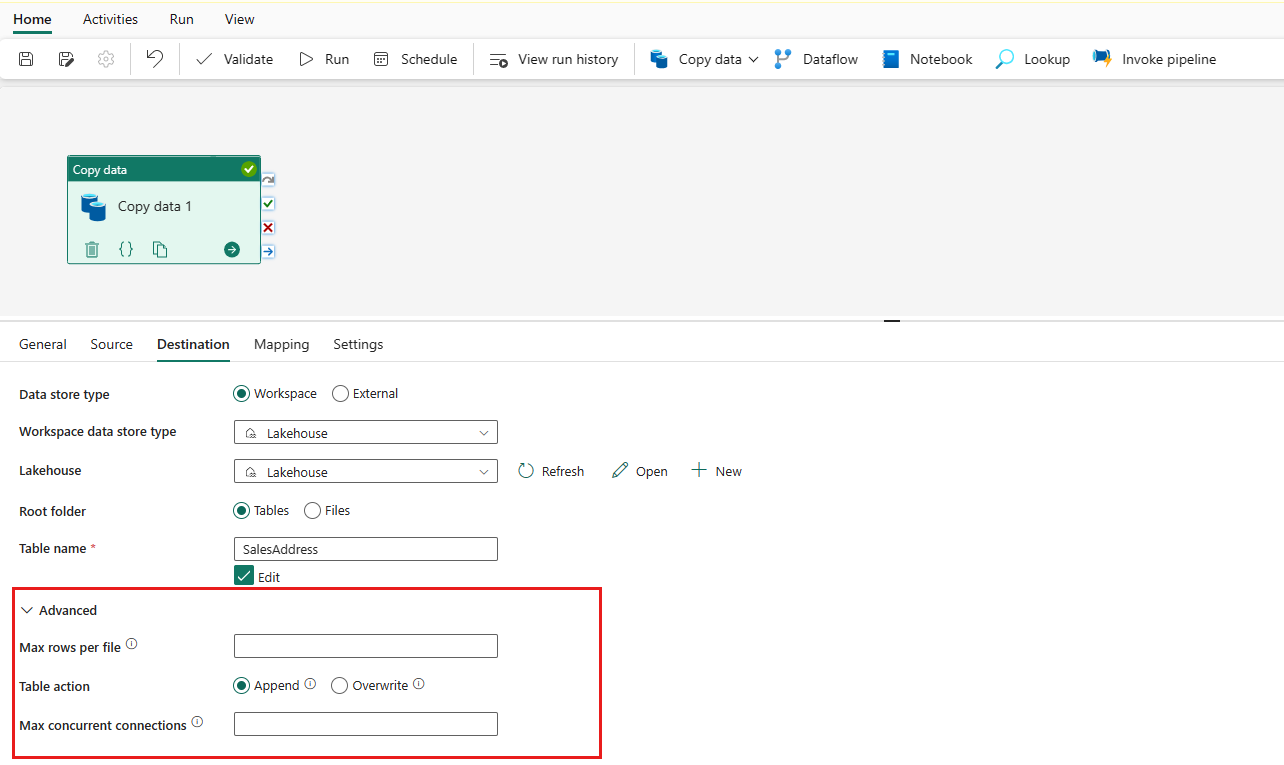
Expand Advanced for more advanced settings.


Now you can either save your data pipeline with this single copy activity or continue to design your data pipeline.
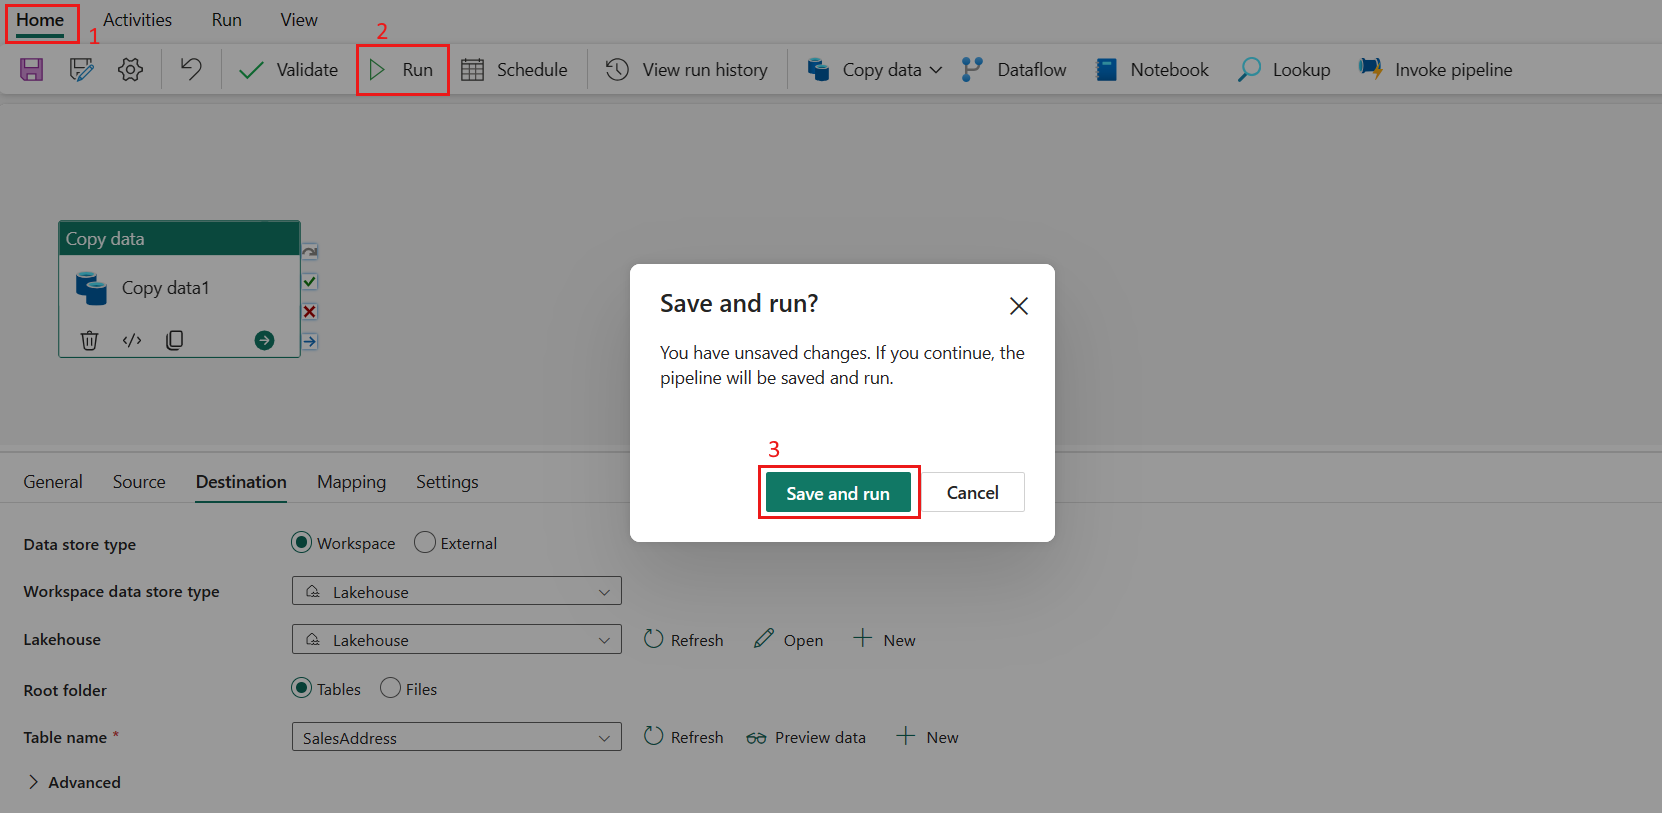
Run and schedule your data pipeline
After completing the configuration of your data pipeline, run the data pipeline to trigger the copy activity. You can also schedule your data pipeline run if needed.
Switch to the Home tab and select Run. A confirmation dialog is displayed. Then select Save and run to start the activity.
You can monitor the running process and check the results on the Output tab below the data pipeline canvas. Select the run details button (with the glasses icon highlighted) to view the run details.
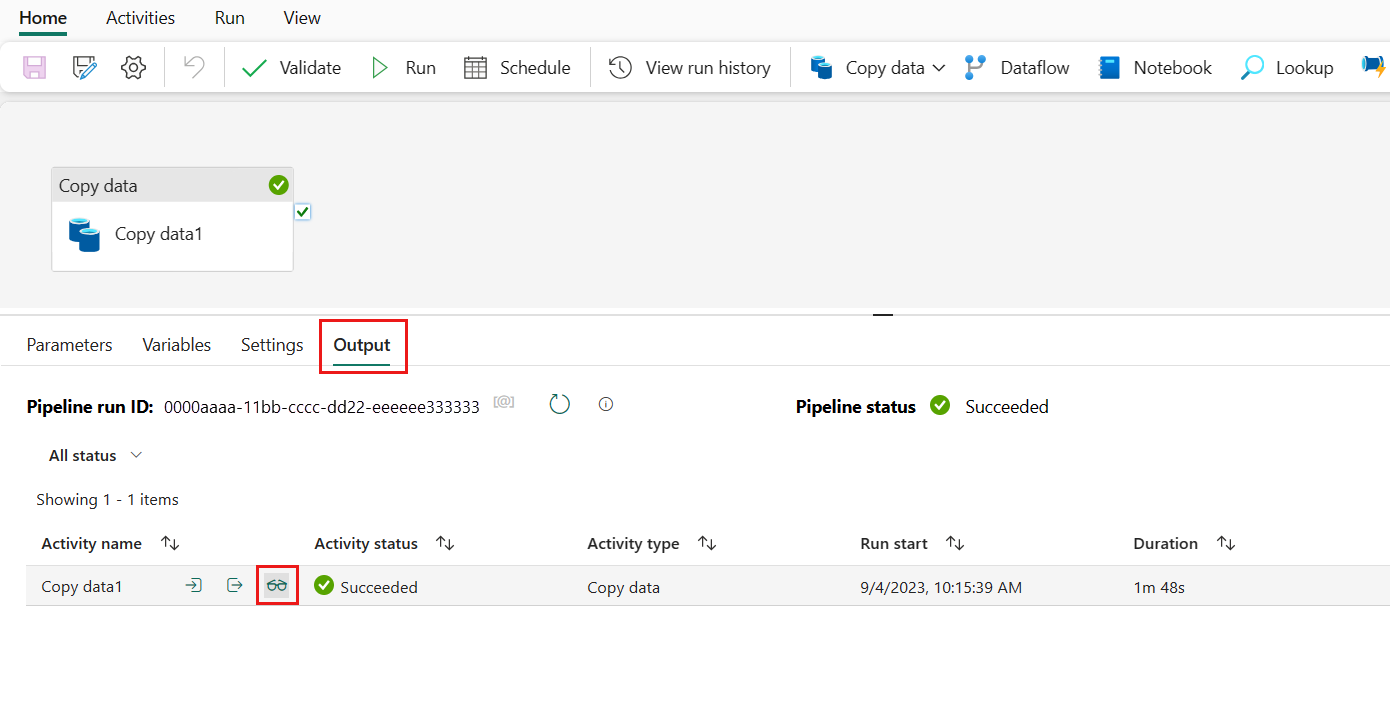
The run details show how much data was read and written and various other details about the run.

You can also schedule the data pipeline to run with a specific frequency as required. Below is an example scheduling the data pipeline to run every 15 minutes. You can also specify the Start time and End time for your schedule. If you don't specify a start time, the start time is the time your schedule applies. If you don't specify an end time, your data pipeline run will keep recurring every 15 minutes.
