Note
Access to this page requires authorization. You can try signing in or changing directories.
Access to this page requires authorization. You can try changing directories.
This article explains how to create items in workspaces in Microsoft Fabric. For more information about items and workspaces, see the Microsoft Fabric terminology and Workspaces article.
Create an item in a workspace
In a workspace, select New item
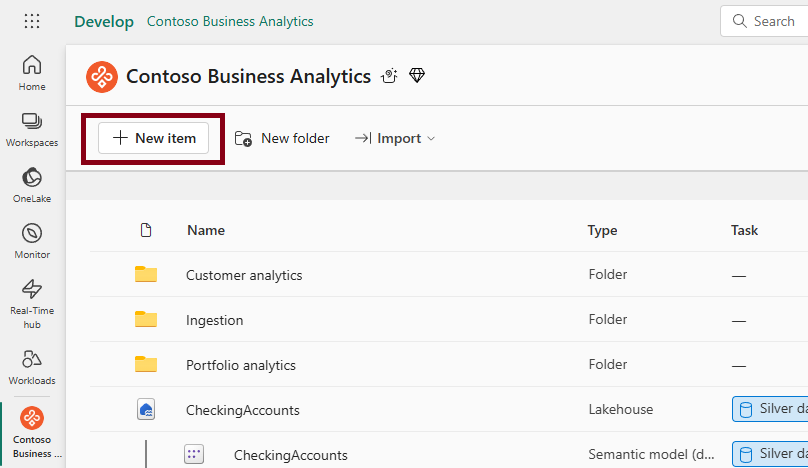
You can see all items are categorized by tasks. Each task represents daily job-to-be-done when you build a data solution: get data, store data, prepare data, analyze and train data, track data, visualize data, and develop data. Inside each category, item types are sorted alphabetically. You can scroll down and up to browse all item types which are available for you to create.
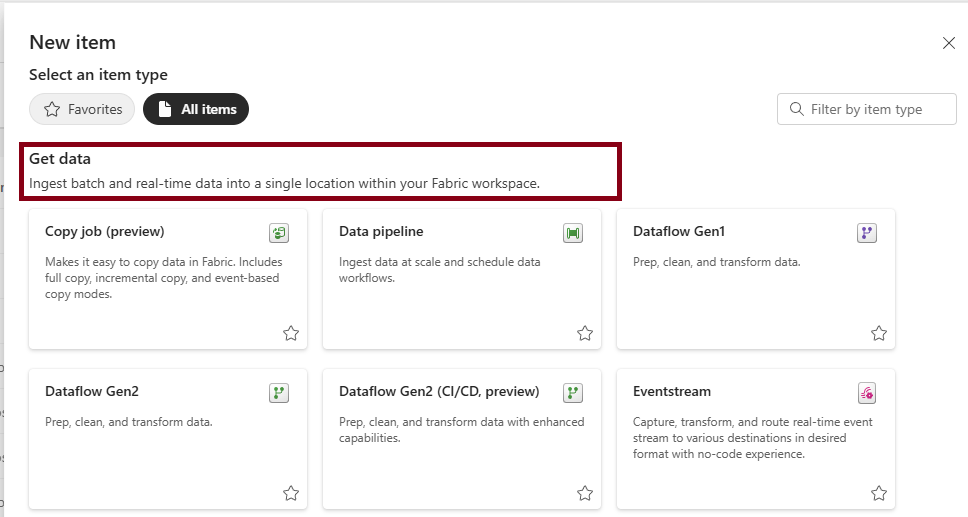
Select the card of item type you need to create, you can start the creation process of an item.
Search by item type
To find out the item type you need, enter the keyword of an item type, you can search in this panel.

Add items to Favorites
Select the star button on a card of an item type, you can add this item type to your 'Favorites'

Select 'Favorite' and you can see all item types you added to 'Favorites'
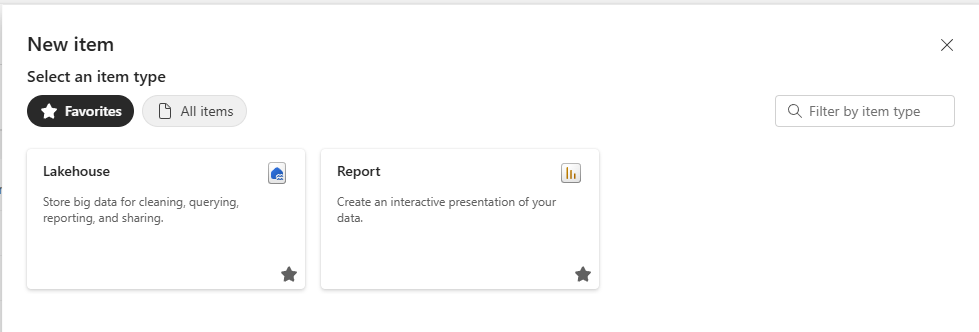
Next time, when you select 'New item' button, 'Favorites' is shown by default so that you can quickly access the items you need to create most frequently
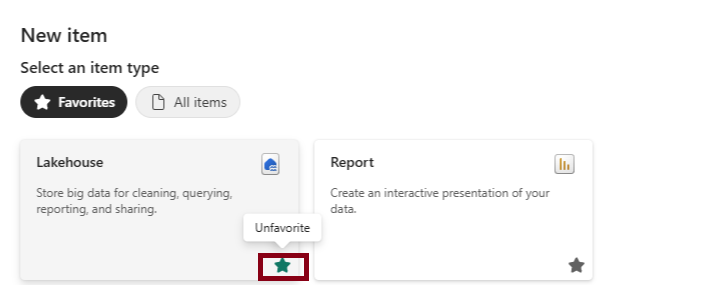
By clicking on the star button again, you can unfavorite the item types.
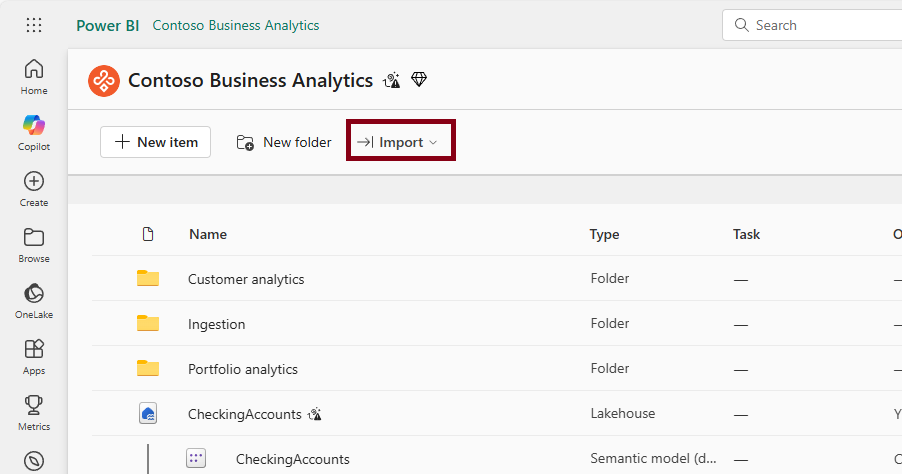
Import items
You can also import files from outside Fabric to create Fabric items in a workspace.
Select 'Import' in a workspace, you can see all item types you can create by importing the files from somewhere else.
Select the item type you want to import, and select the location where your files locate.
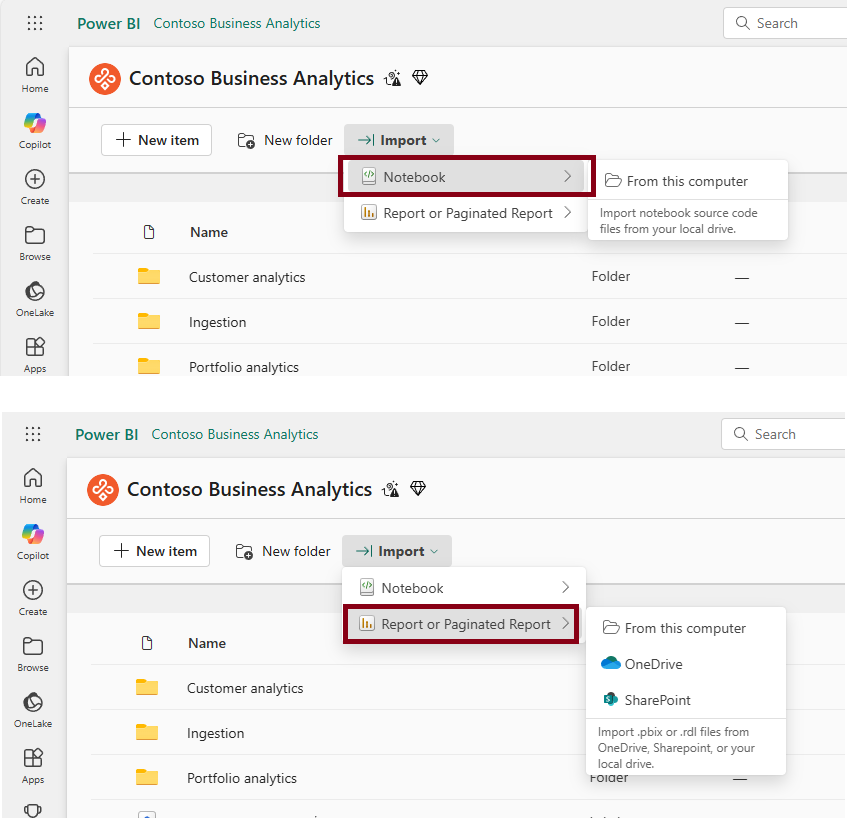
Select the file you want to import and confirm.
Check if new items are created in workspace and the import process is completed successfully.

Rename items
- In the workspace list, go to the item and click on 'More options'.
- Select 'Settings' and go to the 'About' tab.
- Change the name of the item. When renaming items, you can reuse the name of a previously deleted item of the same type within 30 seconds of deletion. You cannot reuse the name of an existing item of the same type in the workspace.