Note
Access to this page requires authorization. You can try signing in or changing directories.
Access to this page requires authorization. You can try changing directories.
When you make changes to a Fabric item, or are considering making changes, it's important to be able to assess the potential impact of those changes on downstream items that depend on that item. Impact analysis provides you with information that can help you make this assessment.
- It shows you the workspaces and Fabric items that might be affected by your change. You can choose to see only direct children, or all affected downstream items and workspaces. For data sources, you can only see direct children. To see further downstream items for data sources, use impact analysis on the direct children of the data source.
- It allows you to view potentially affected items either by type or by workspace.
- It provides an easy way to notify the relevant people about a change you made or are thinking about making.
- For data sources, it shows you the connection string used to connect to the data source.
Open impact analysis for an item
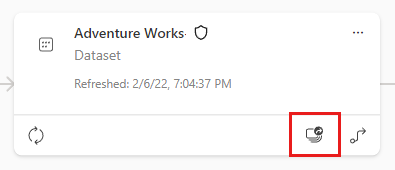
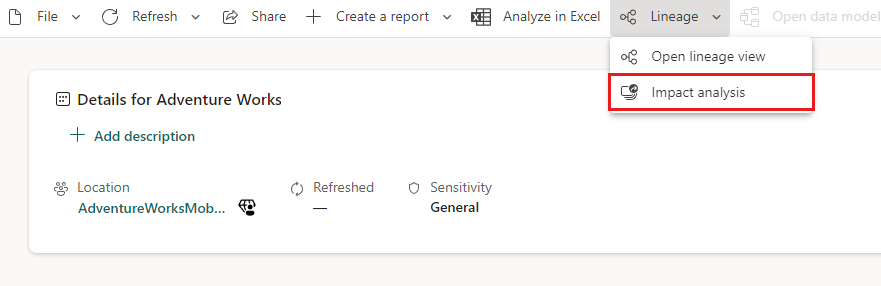
You can open an item's impact analysis from its card in lineage view, or from the Lineage option on the items detail's page.
From a card in lineage view:
From an item's details page
Impact analysis pane
The following images show an example of the impact analysis pane. The image on the left shows the pane when viewing impacted items by type. The image on the right shows the pane when viewing impacted items by workspace.
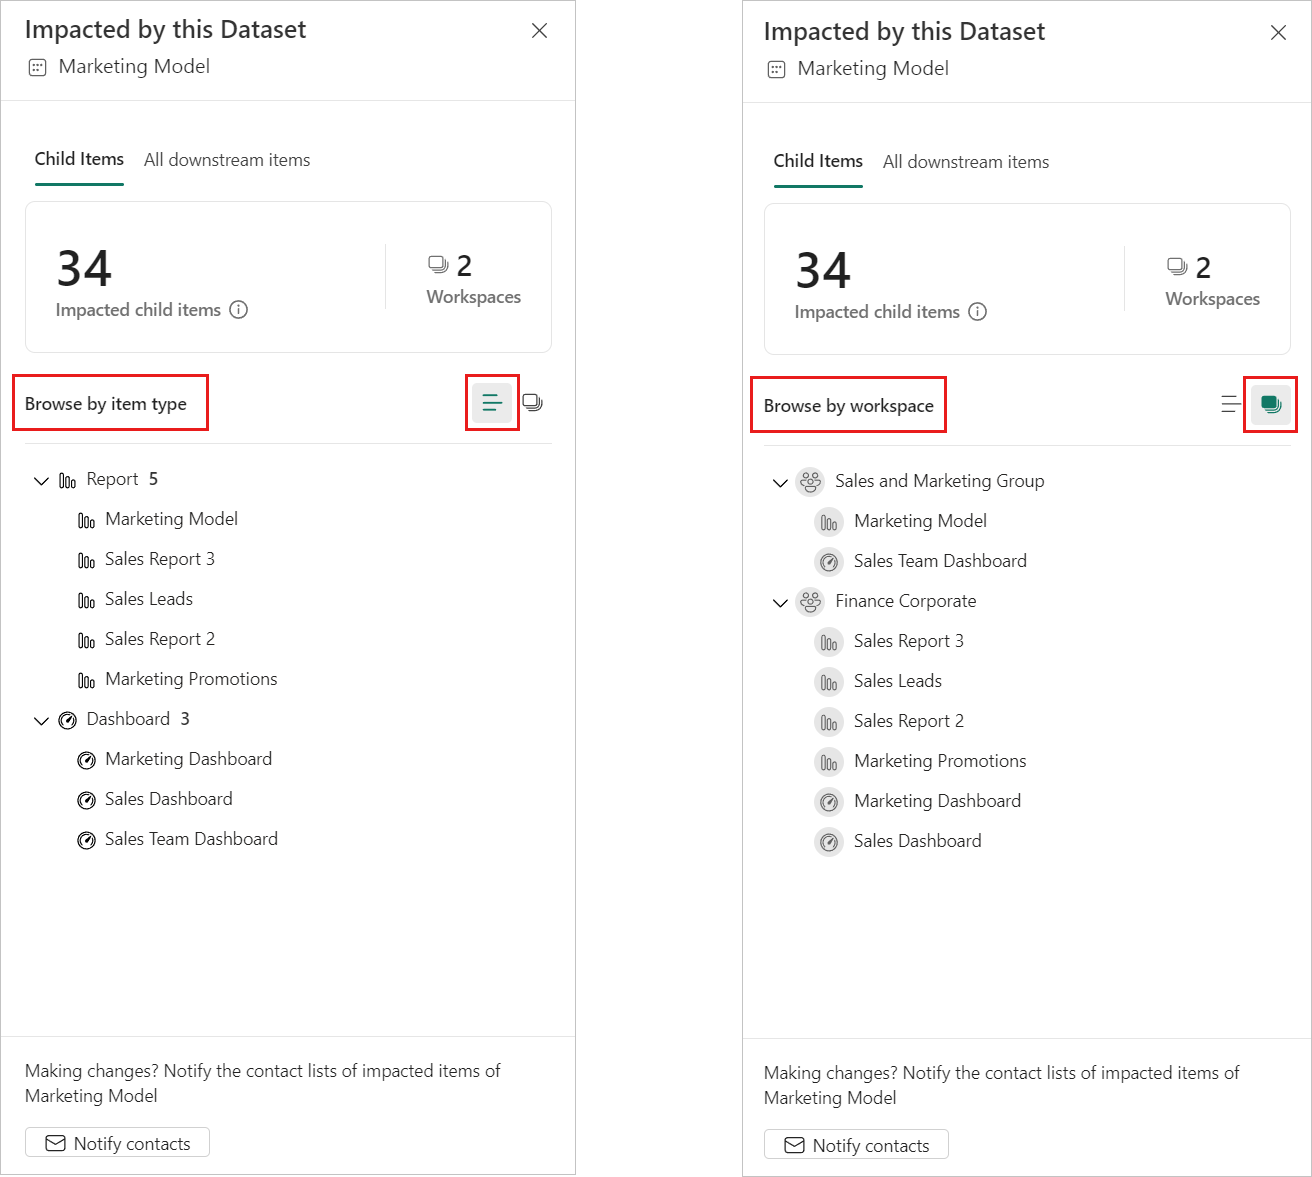
- The Child items/All downstream items tabs enable you to switch between seeing only direct children of the item, one-step downstream, or all the affected dependent items downstream. When you select a tab, you see the number of items and workspaces affected in each case. Data sources show direct child items only.
- The Browse by item type/Browse by workspace icons enable you to see affected items grouped either by type or by the workspace they're in.
- The Notify contacts button opens a dialog where you can create a message about any changes you make to an item, and send it to the contact lists of the affected workspaces.
The pane may say that there are more items with limited access. This occurs when there are affected items that you don't have access permissions for. Such items aren't listed by name because of privacy concerns. See Privacy for detail.
Notify contacts
If you've made a change to an item or are thinking about making a change, you might want to contact the relevant users to tell them about it. When you notify contacts, an email is sent to the contact lists of all the impacted workspaces. Your name appears on the email so the contacts can find you and reply back in a new email thread.
Select Notify contacts in the impact analysis side pane. The notify contacts dialog appears.
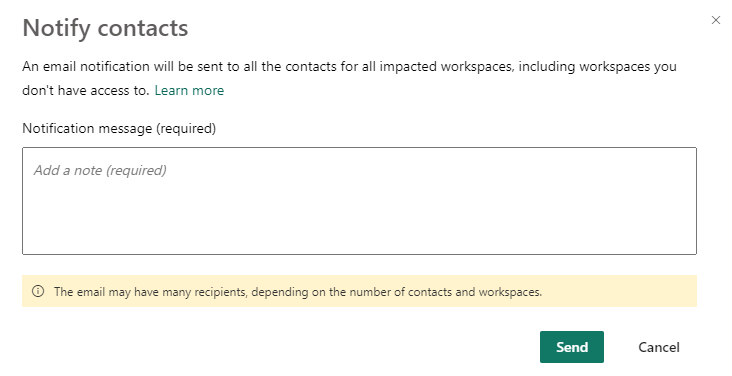
In the text box, provide some detail about the change.
When the message is ready, select Send.
Privacy
In order to perform impact analysis on an item, you must have write permissions to it. In the impact analysis side pane, you only see real names for workspaces and items that you have access to. Items that you don't have access to are listed as Limited access. This is because some item names may contain personal information.
Even if you don't have access to some workspaces, your notify contacts messages will still reach the contact lists of those workspaces.