Note
Access to this page requires authorization. You can try signing in or changing directories.
Access to this page requires authorization. You can try changing directories.
Cubes support allocating plans, budgets, forecasts, and other data input measures across multiple dimensions. Allocate values across dimensions based on the weights of a driver measure. Allocations can even be extended to dimensions and driver measures that aren't included in the current report. This approach enables complex, multi‑dimensional planning with minimal effort.
Important
This feature is in preview.
Prerequisites
- The column dimension is a standard date hierarchy (for example, year > quarter > month).
- A numeric data input measure is created. The data cube will be configured for this measure.
Configure a cube
Create cube measures by adding breakdowns in data input measures.
Go to Data Input > Enable Multi-Dimension Allocation. Select Add Breakdown.
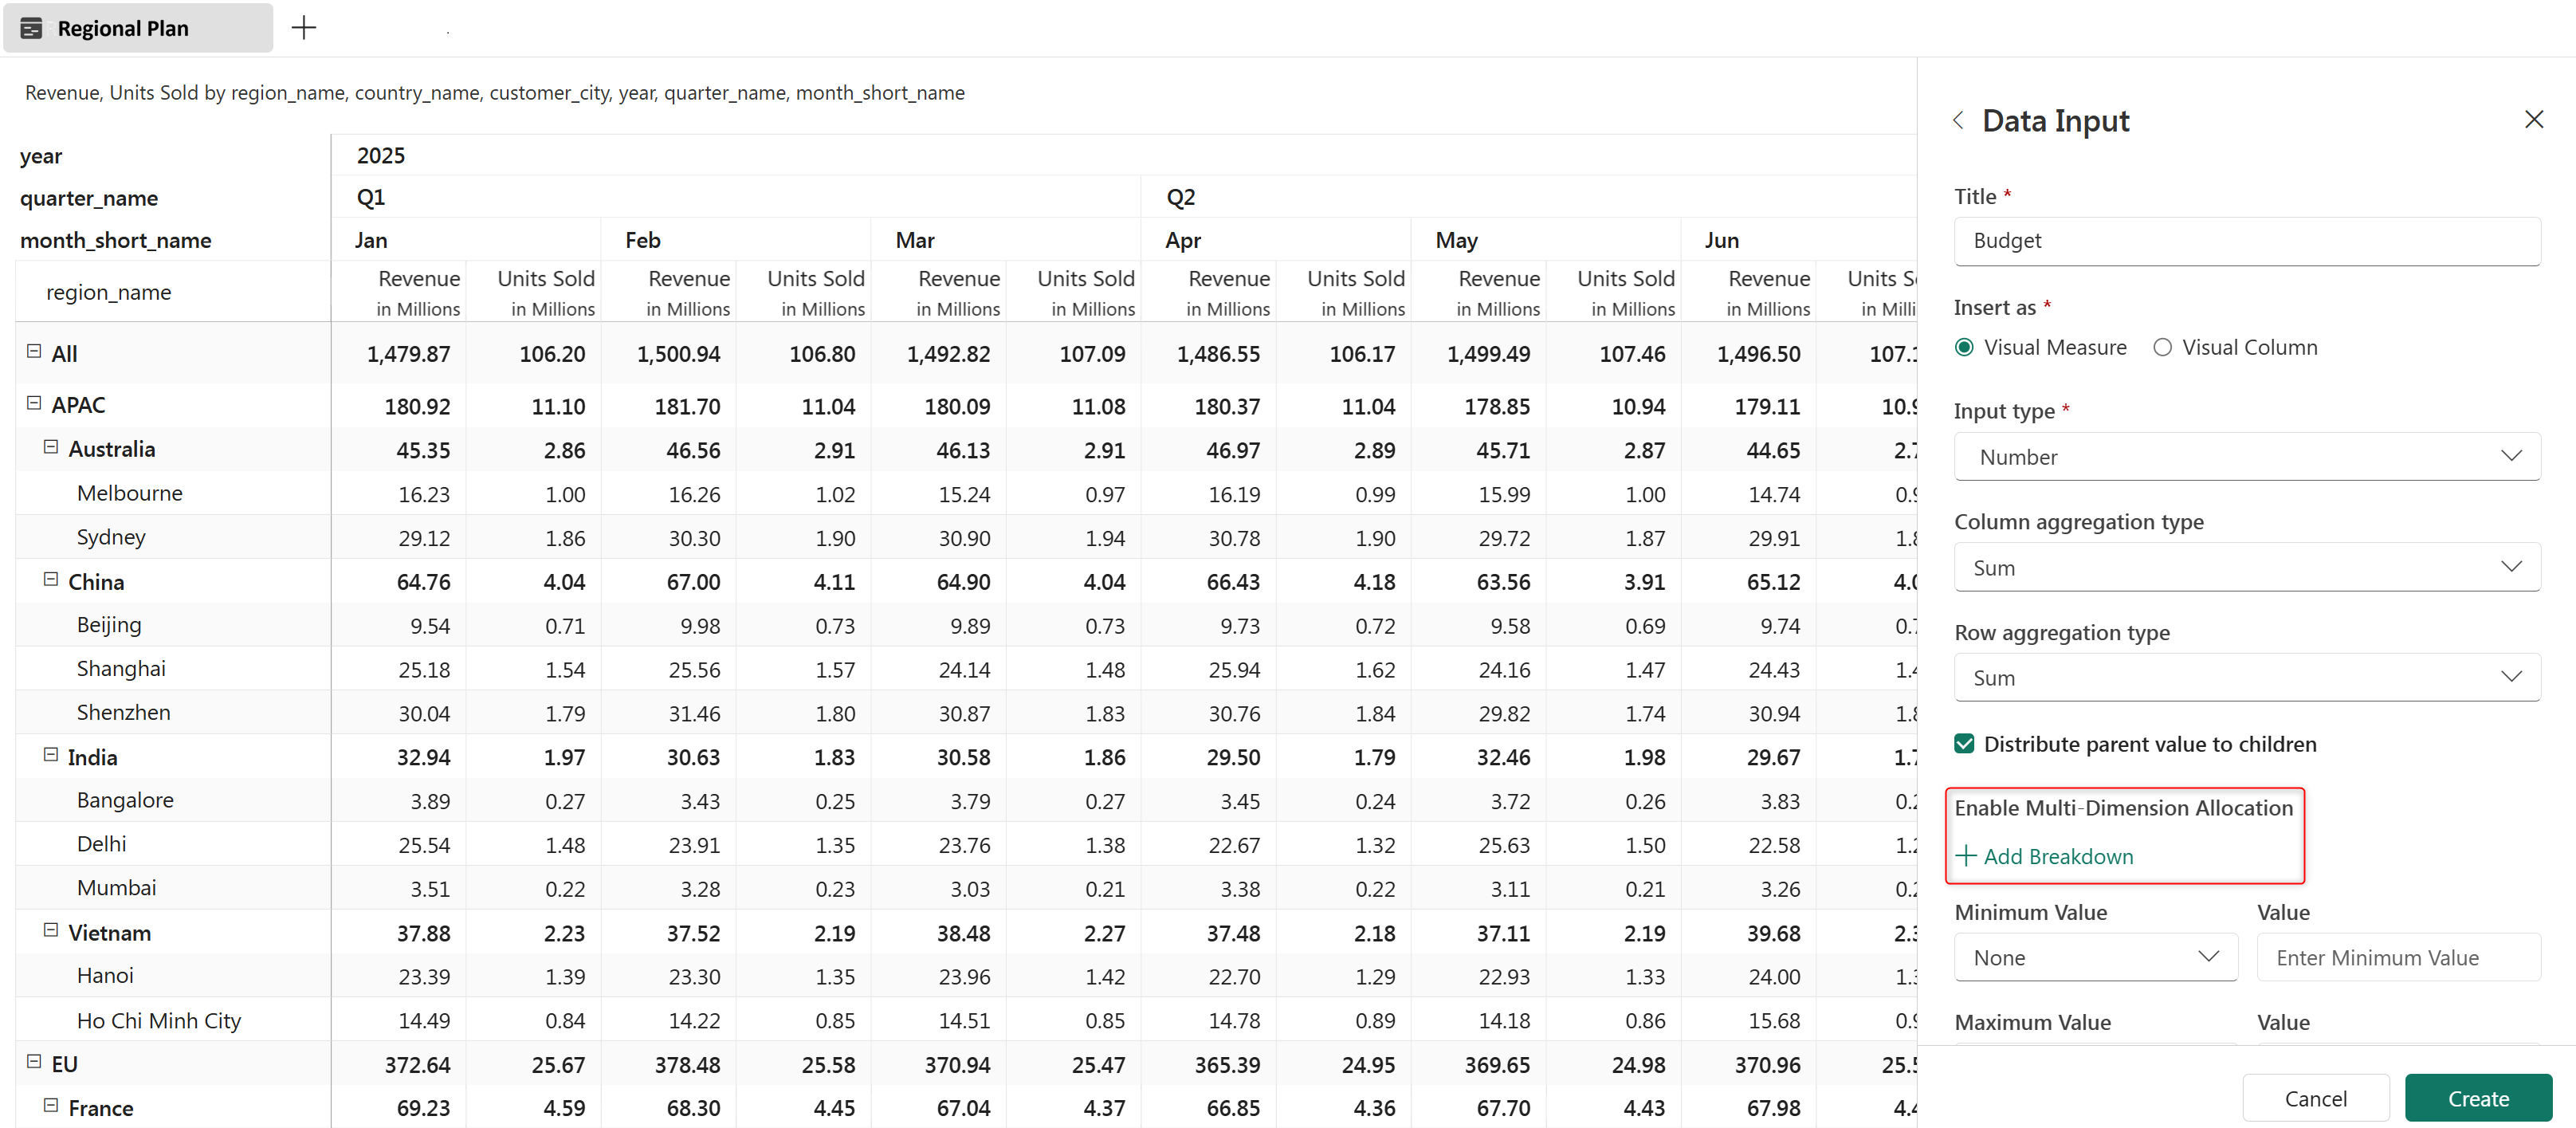
To allocate values based on the weights of a driver measure, select the required measure from Reference measures in Add Breakdown.
The row dimensions in the current planning sheet are automatically added in the first breakdown.
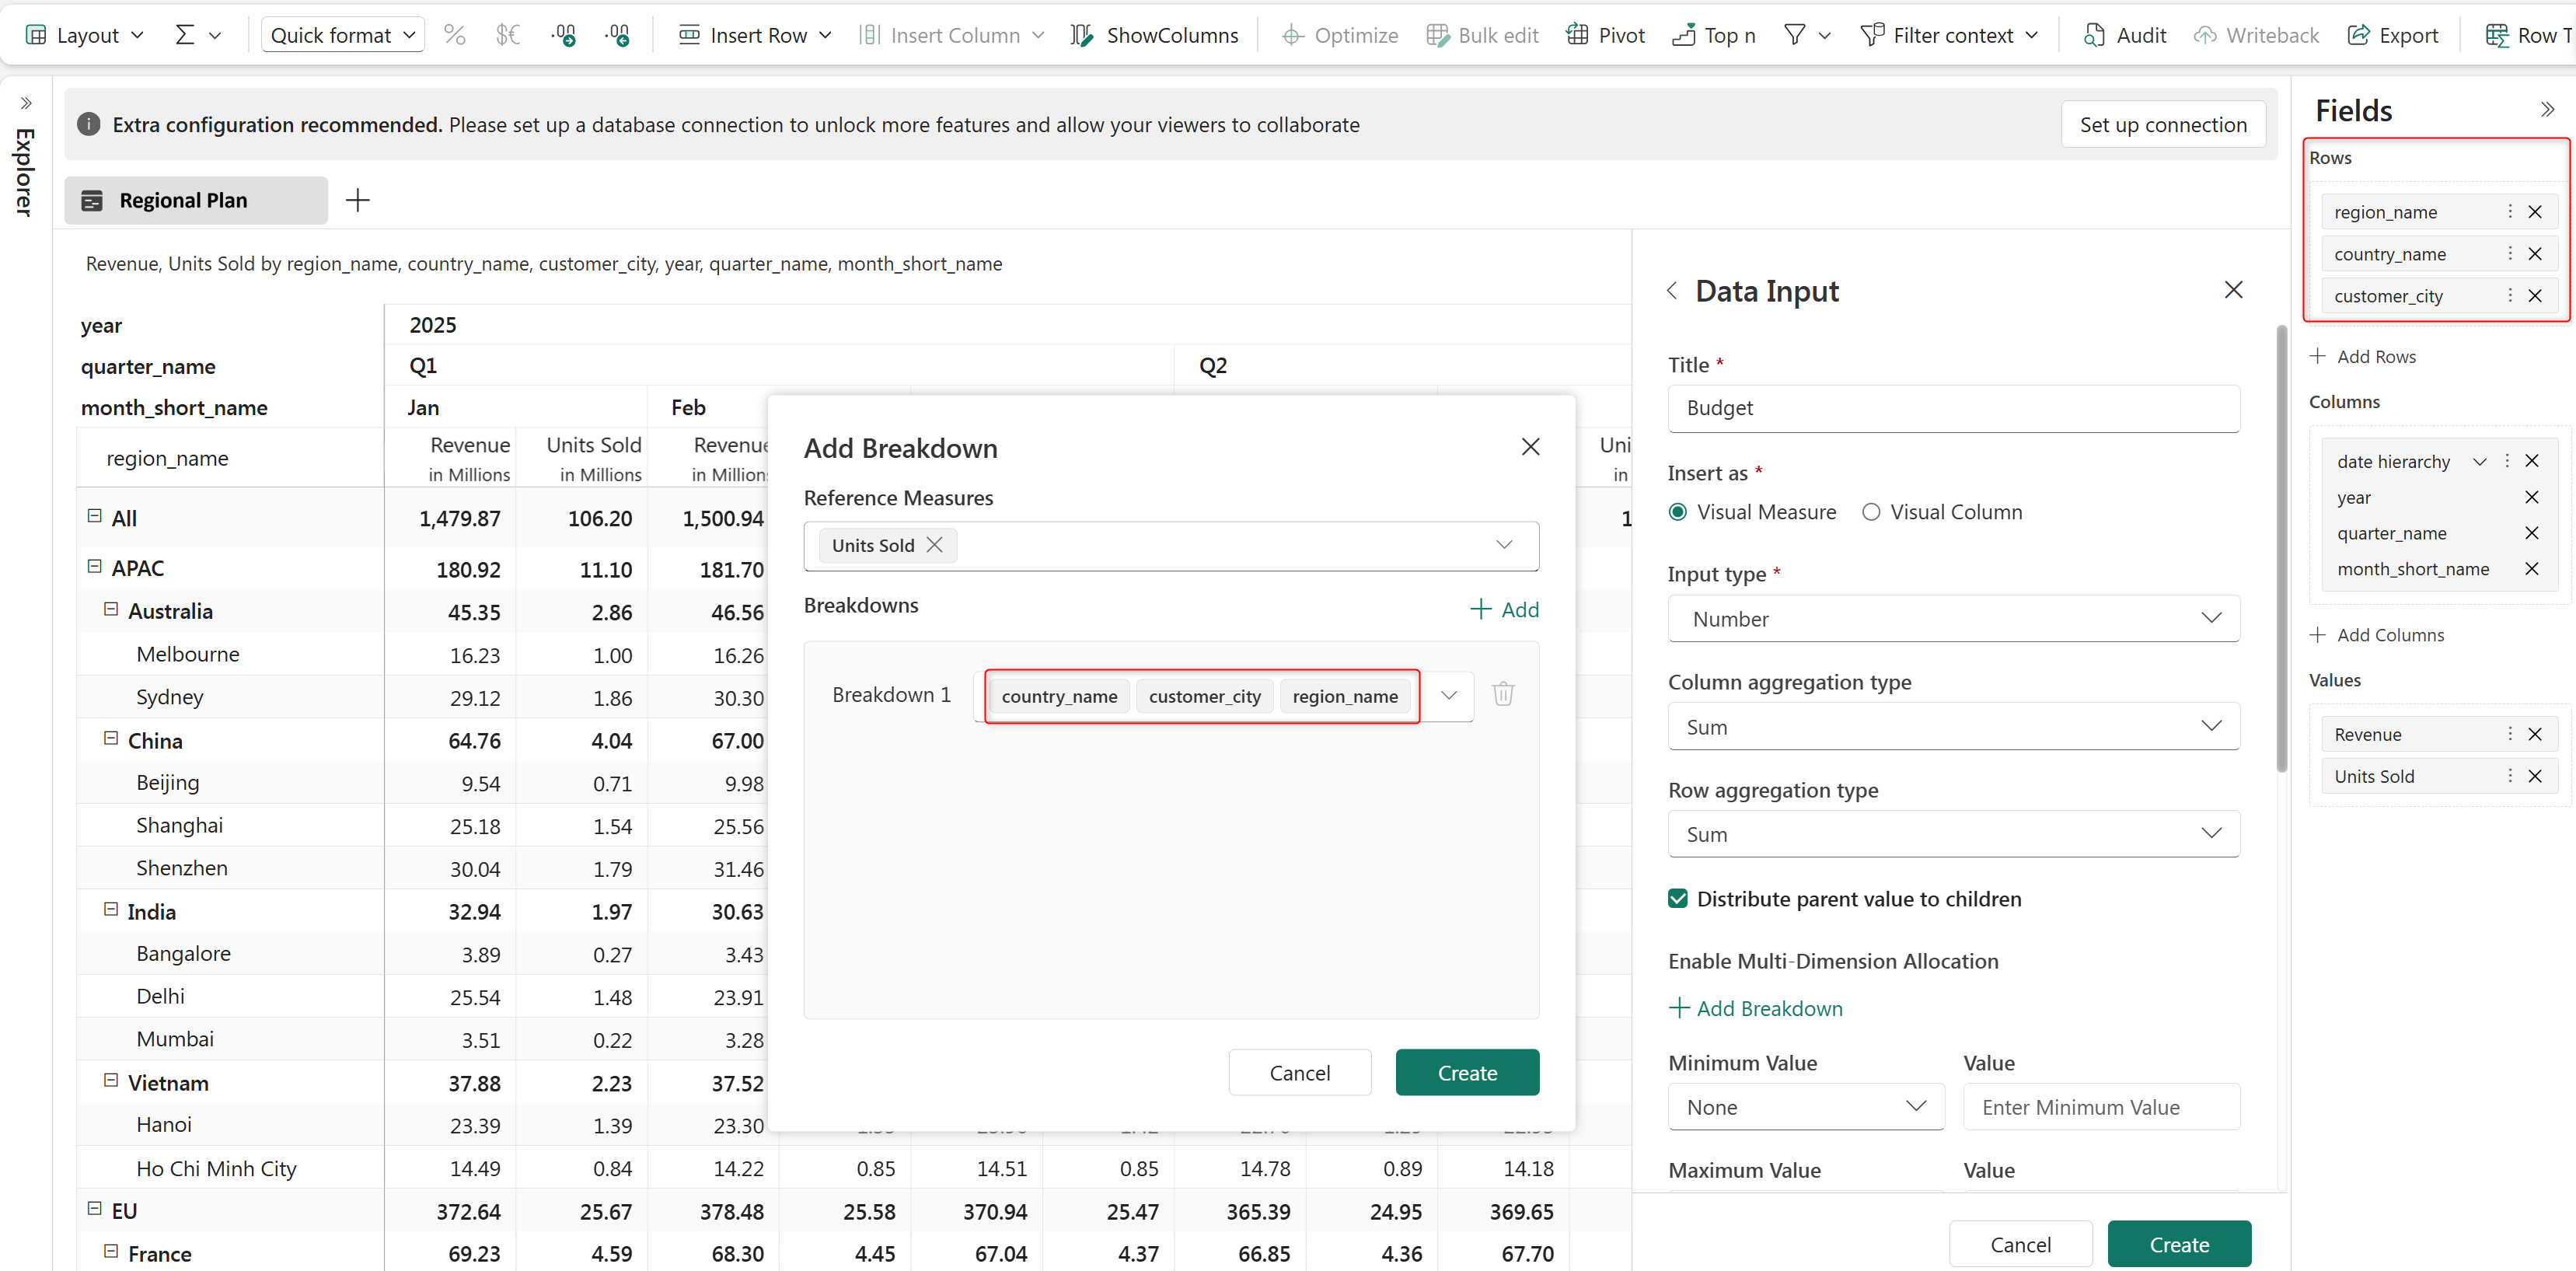
Select Add to create new dimension breakdowns.
Note
At least one row dimension from the current planning sheet is required to create breakdowns based on dimensions that aren't part of the sheet.
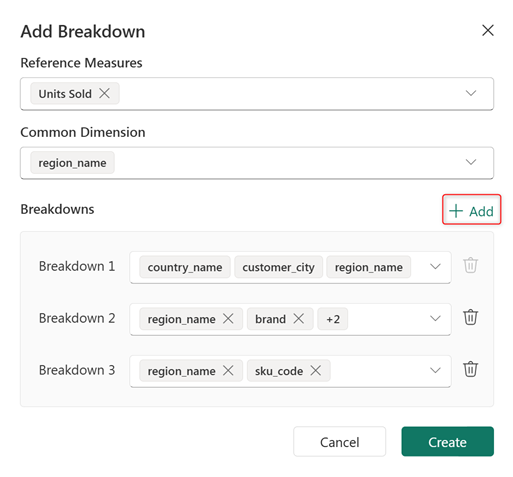
Create the breakdown and create the measure.
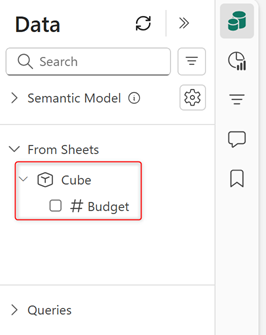
After a cube measure is created, it is added under Data > From Sheets > Cube.
Import a cube measure into another plan
After a cube measure is configured, it can be used in other plans with different granularities based on the configured breakdowns. For instance, a cube created in a region-level plan can be imported into a product-level plan.
Note
When importing a cube, the row dimensions in the planning sheet must be a subset of the dimensions configured in the cube breakdowns. The dimensions can be in any order. For example, the cube breakdown is configured with the dimensions Region, Country, Province, and City. The planning sheet can include any subset of these dimensions, such as Country > City or Province, regardless of the order.
Go to Data > From Sheets > Cube. Select the measure to import. From More options (...), select Insert as measure.
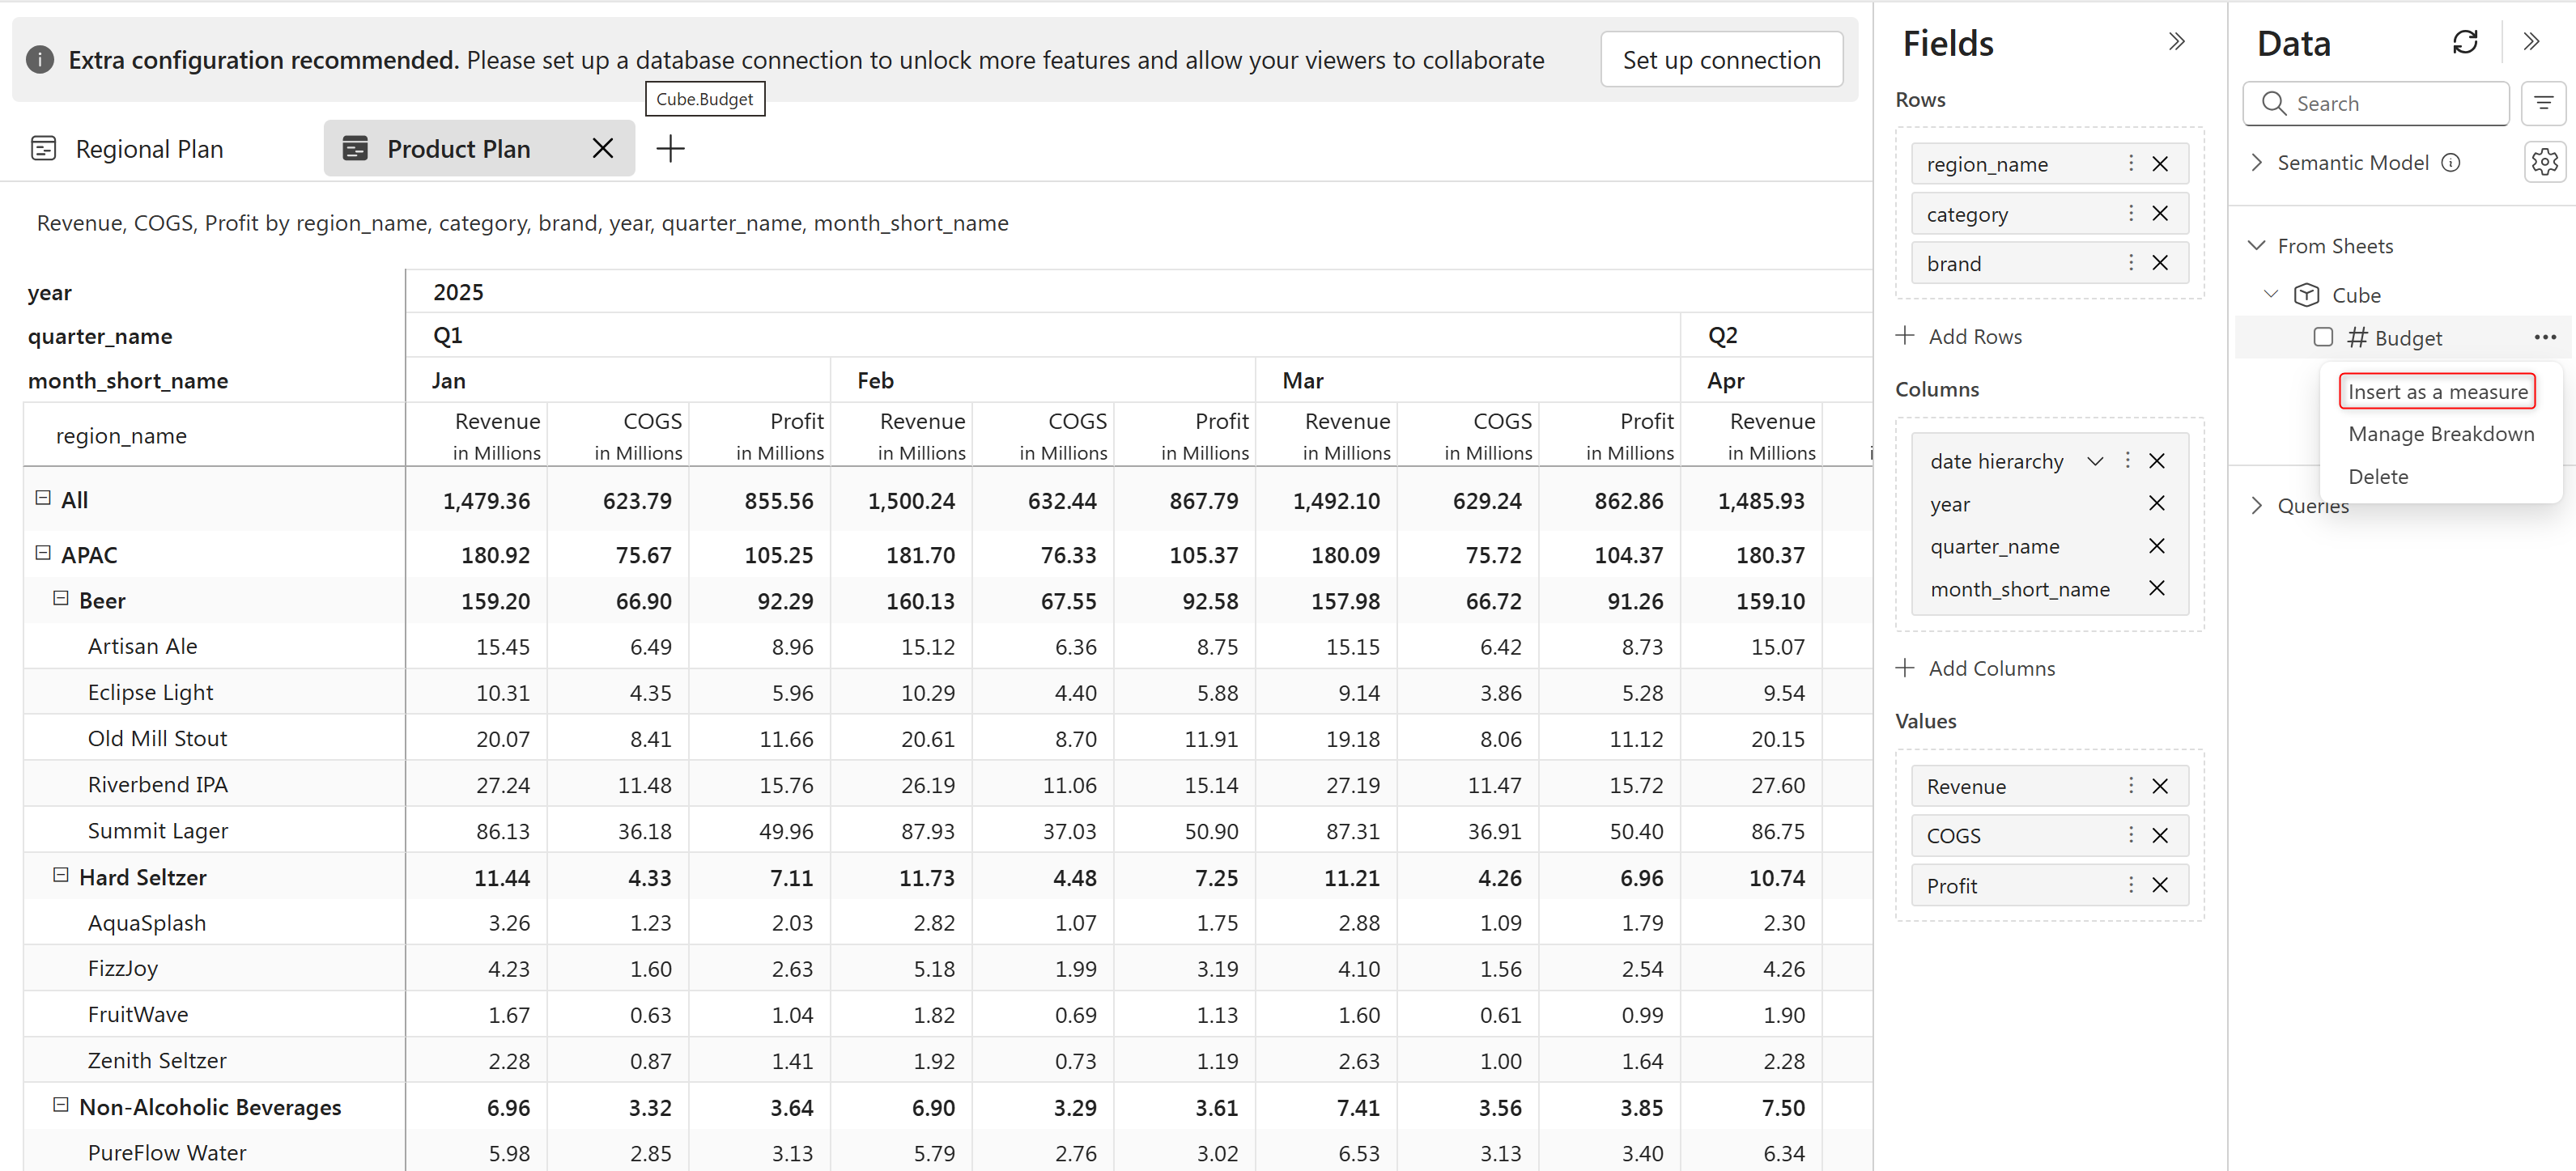
The cube measure is imported into the planning sheet, and allocations are based on the configured breakdowns.
Any updates made to the Budget cube measure in Product Plan are automatically cascaded back to Regional Plan and vice versa. This ensures that related plans are consistent while allowing planning and adjustments to occur at the appropriate level of detail.
Best practices while setting up a cube
Use a valid allocation driver: Always configure a single, clearly defined allocation driver (reference measure) such as prior year actuals, revenue, or units. Ensure the driver reflects real-world business weighting logic.
Allocate only across nonblank driver cells: Allocation only occurs where the selected driver measure has valid (nonblank) values. Avoid allocations across intersections where the driver is null, as it can cause allocation errors or unintended distributions.
Restrict input using Allow Input – Based on Formula: To prevent users from entering or allocating values on invalid intersections, configure an input rule such as
[Driver Measure]!==BLANK.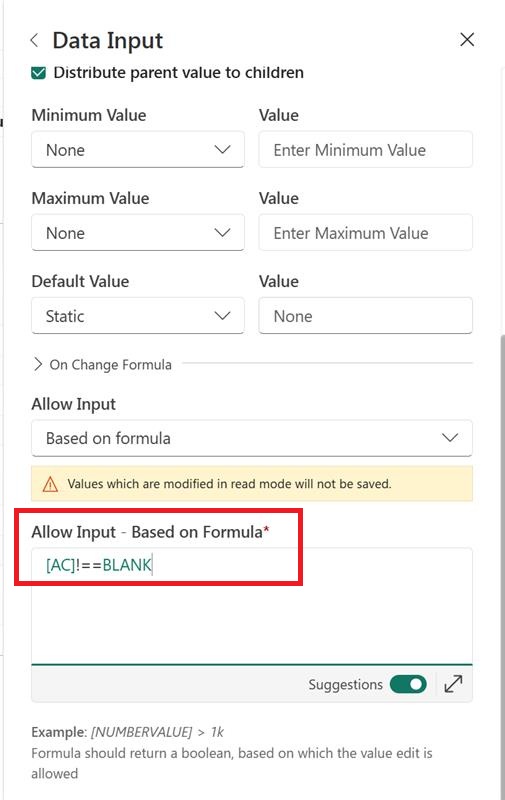
By configuring Allow Input – Based on Formula, cells that don't satisfy the specified condition are automatically locked. This ensures that users can only allocate across dimension intersections that meet the defined driver criteria (for example, where the reference measure is nonblank).