Note
Access to this page requires authorization. You can try signing in or changing directories.
Access to this page requires authorization. You can try changing directories.
Connect your existing database tables to PowerTable to manage both transactional and master data in one place. After establishing the connection, you can edit data, insert rows and columns, set up workflows, and write back changes directly to the connected database.
The following steps explain the process.
Important
This feature is in preview.
Prerequisites
Before you begin, make sure that you have the following prerequisites in place:
- Connections established to the Fabric SQL database and the semantic model that contain the data for your PowerTable.
- A plan item created in your Fabric workspace.
Create a PowerTable sheet
In your plan, select New PowerTable Sheet or select the PowerTable icon on the landing page. Enter a name for the sheet and select Create.
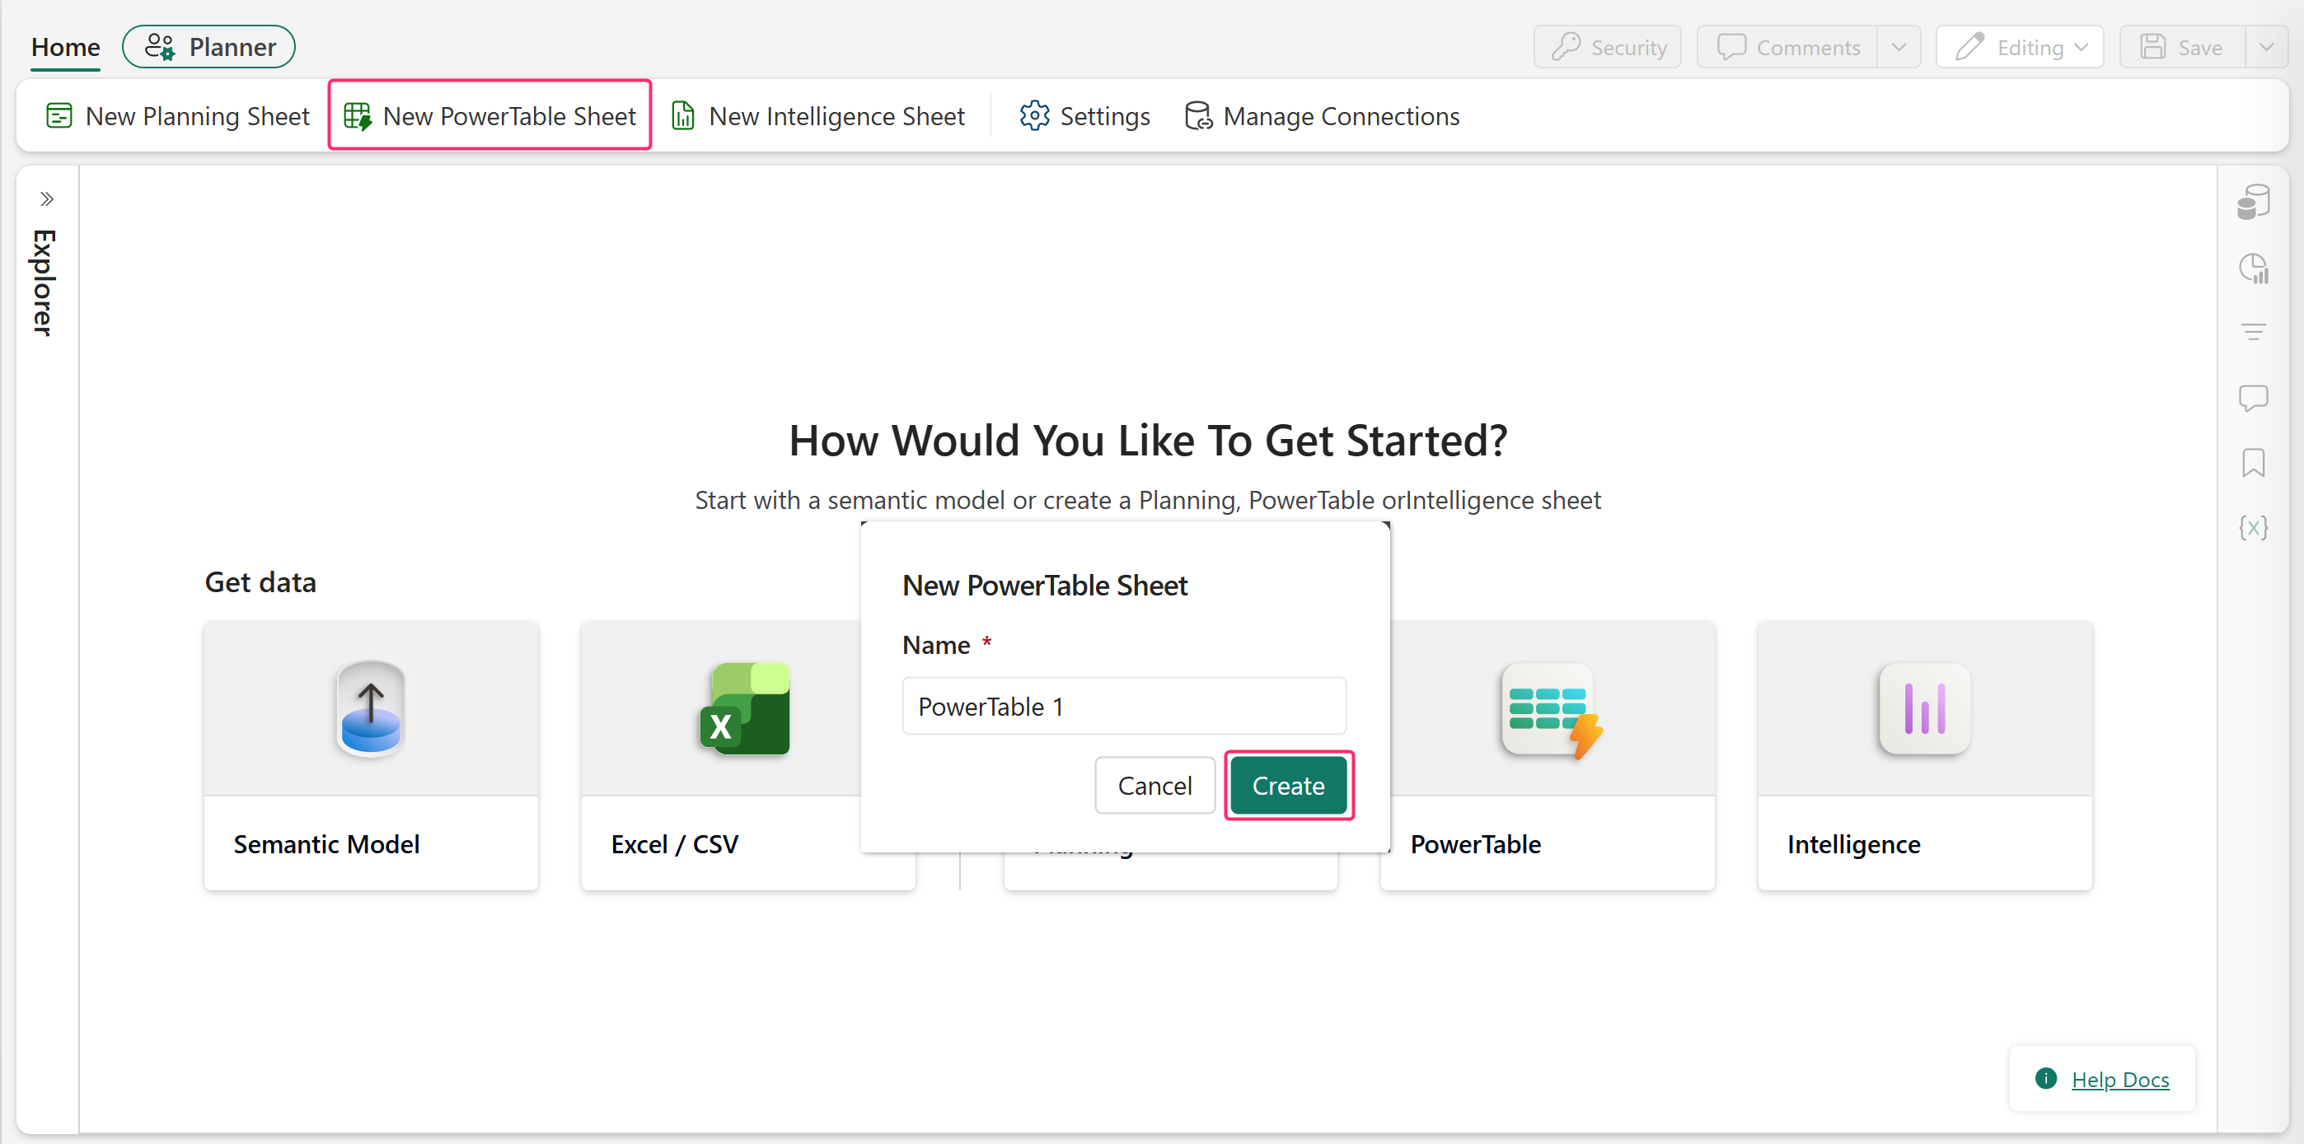
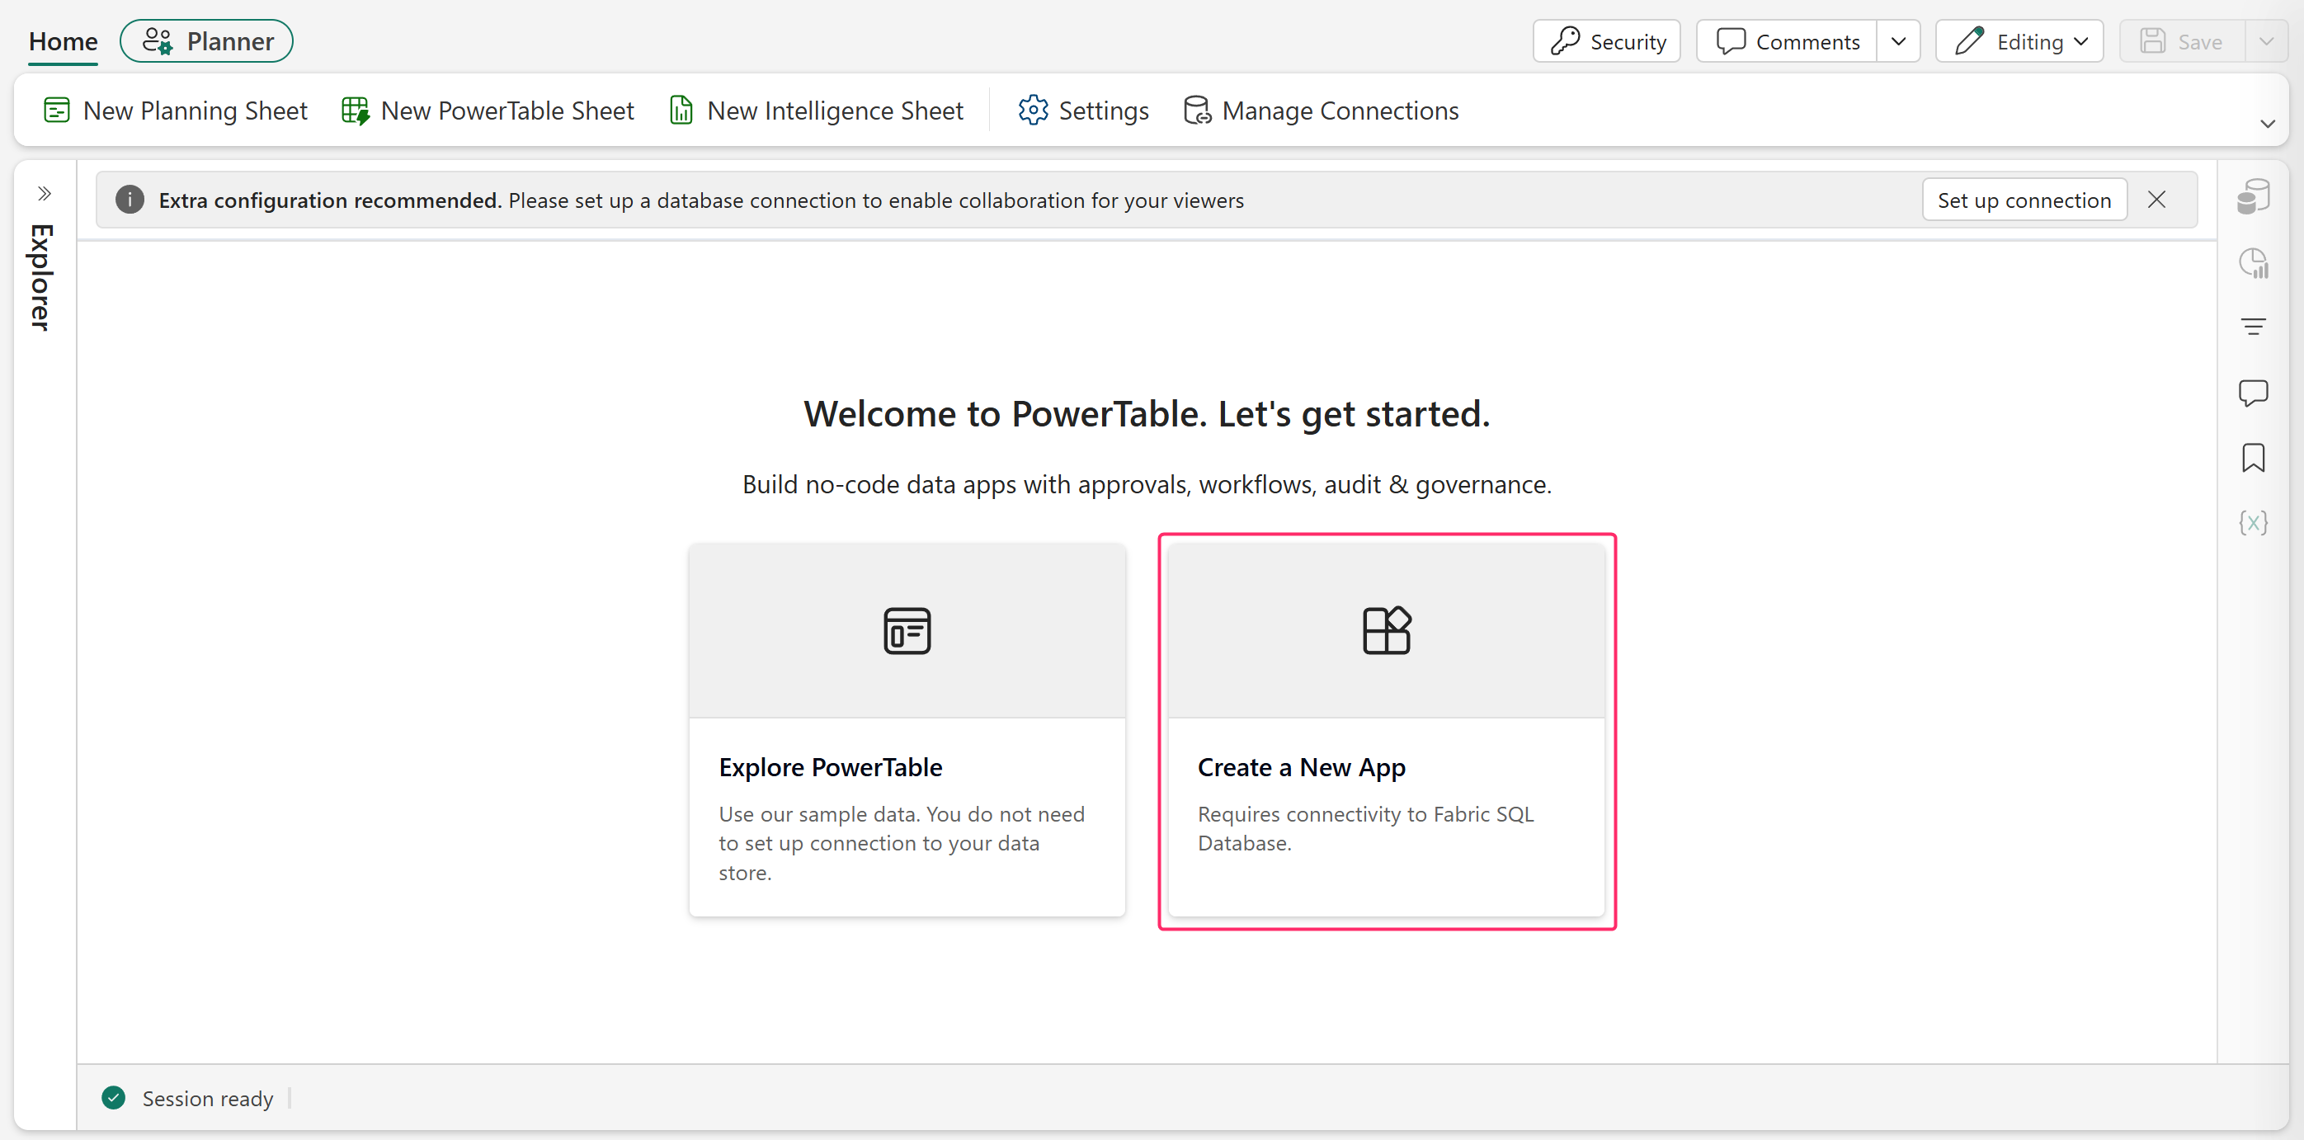
Select Create a New App to create your app. You can also select Explore PowerTable to experience a sample PowerTable app.
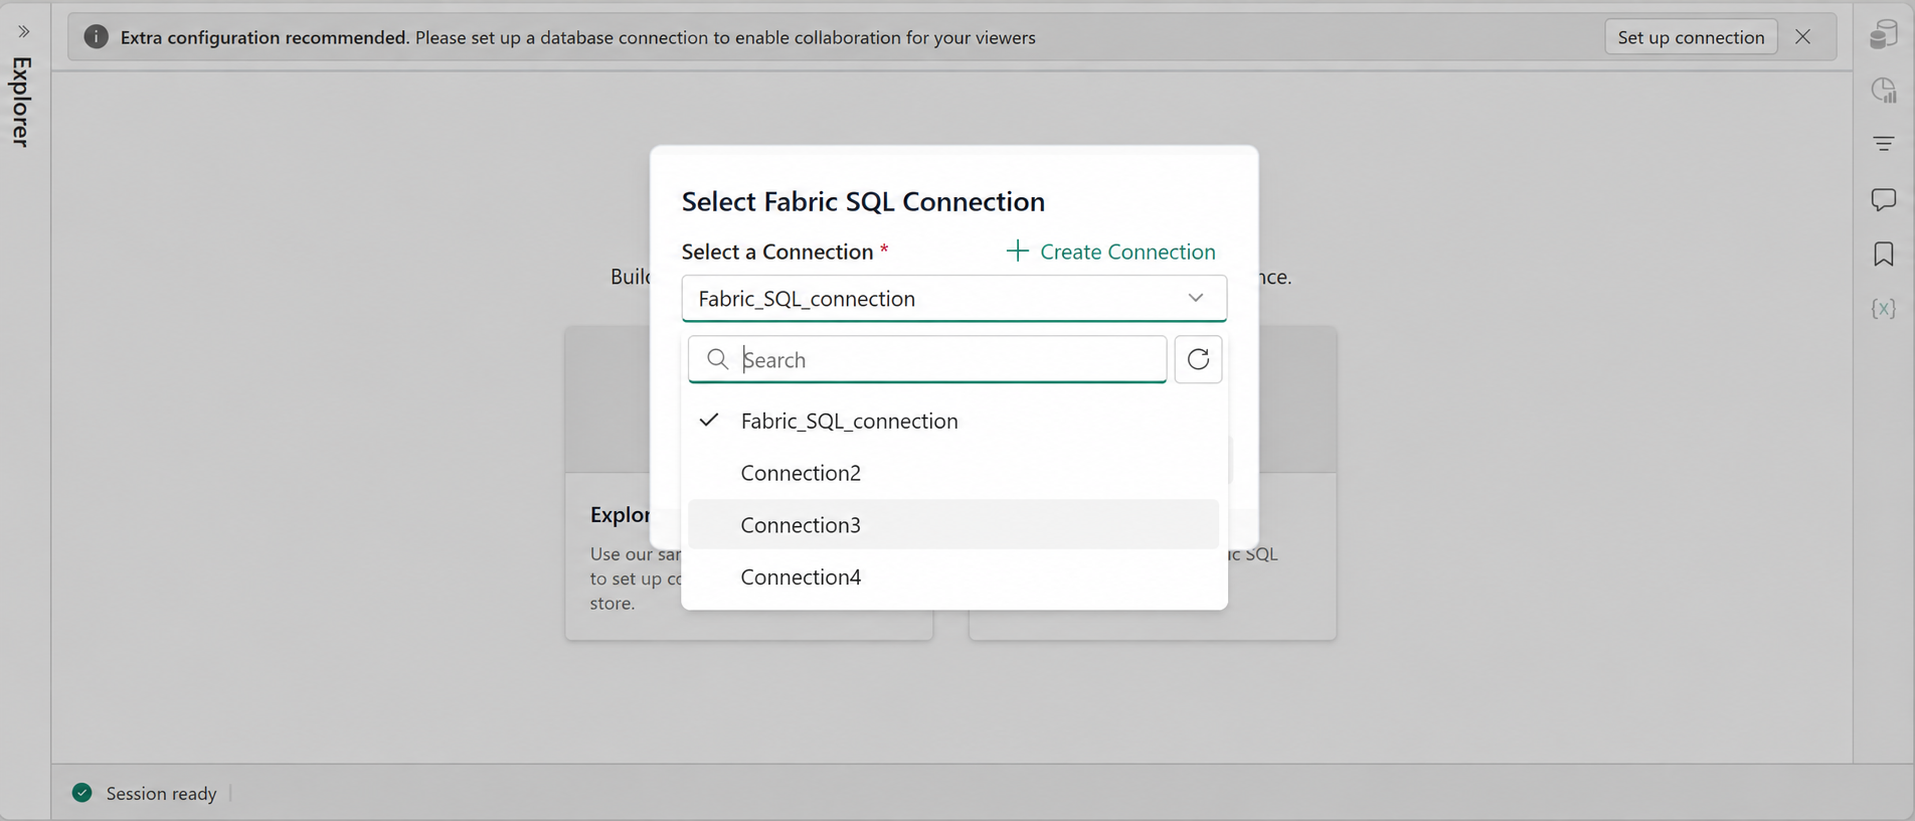
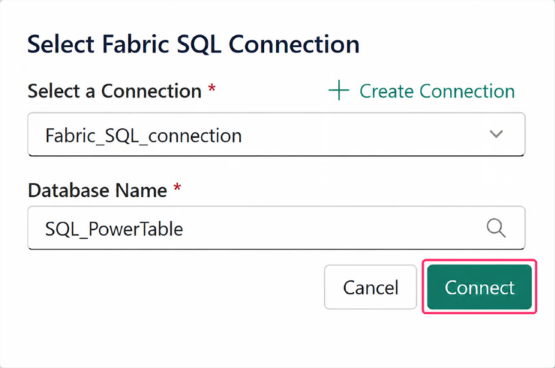
Select a Connection: Choose a Fabric SQL connection if available. If there are no connections, create one by selecting Create Connection.
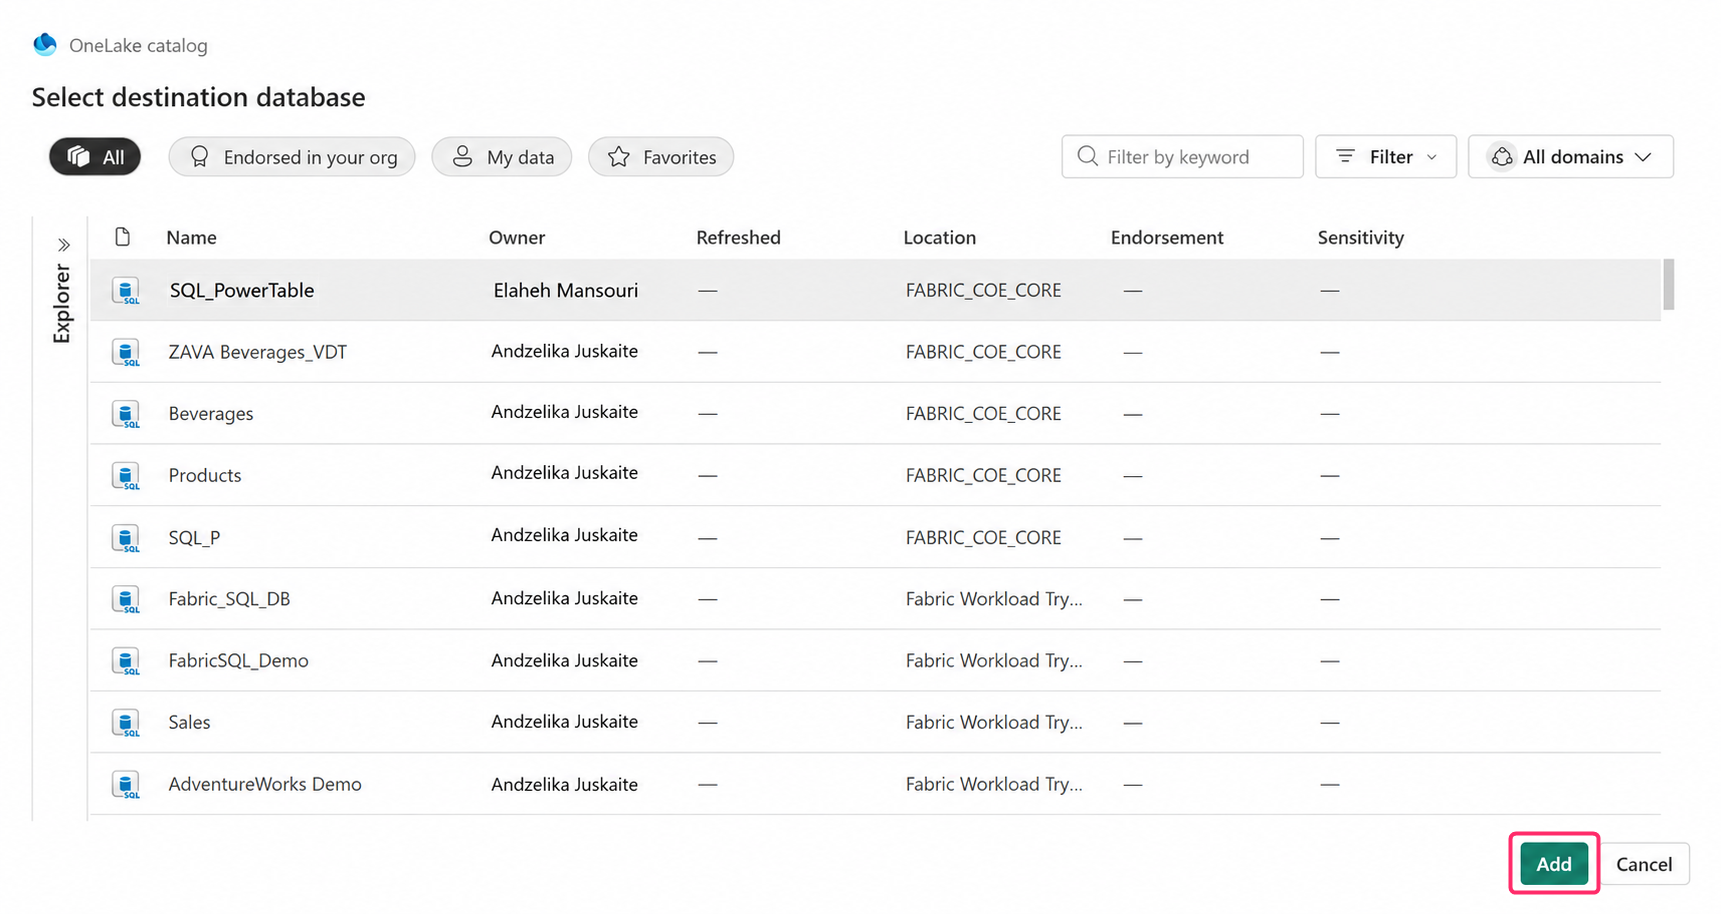
Database Name: Select the destination Fabric SQL database to store the table data. Select Add.
Select Connect.
Create a table
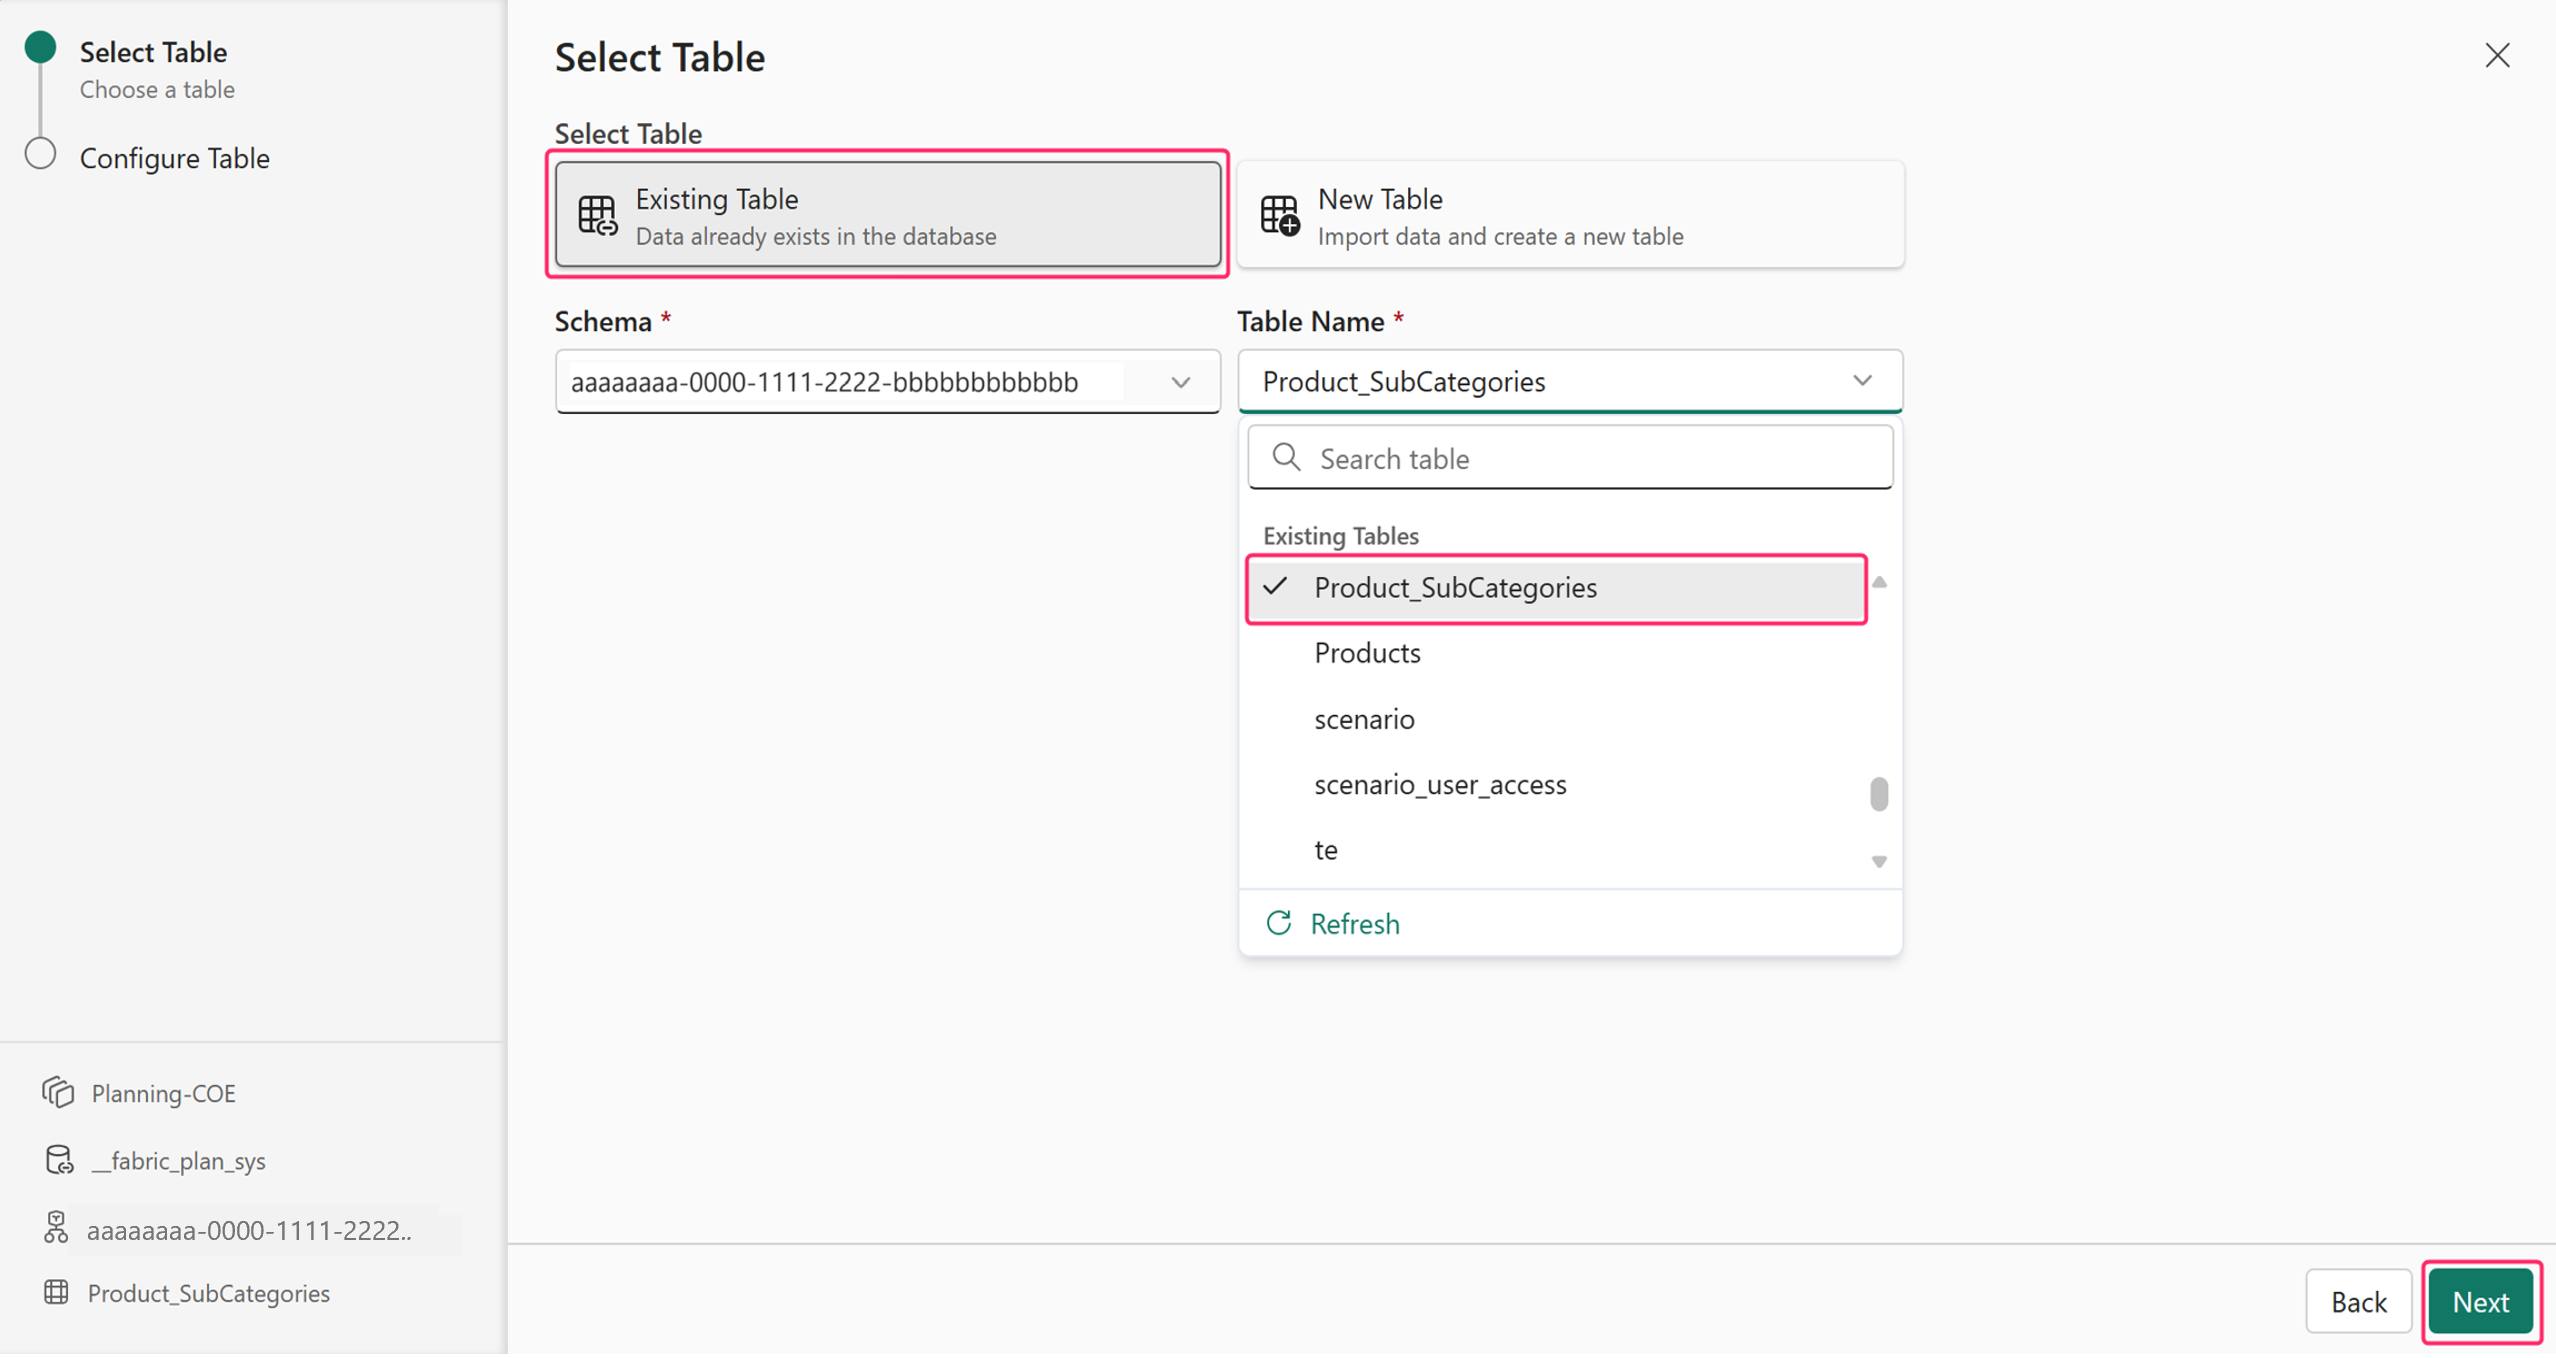
Select Existing Table to connect to an existing Fabric SQL database.
Choose the database schema and the table name to connect to.
Select Next.
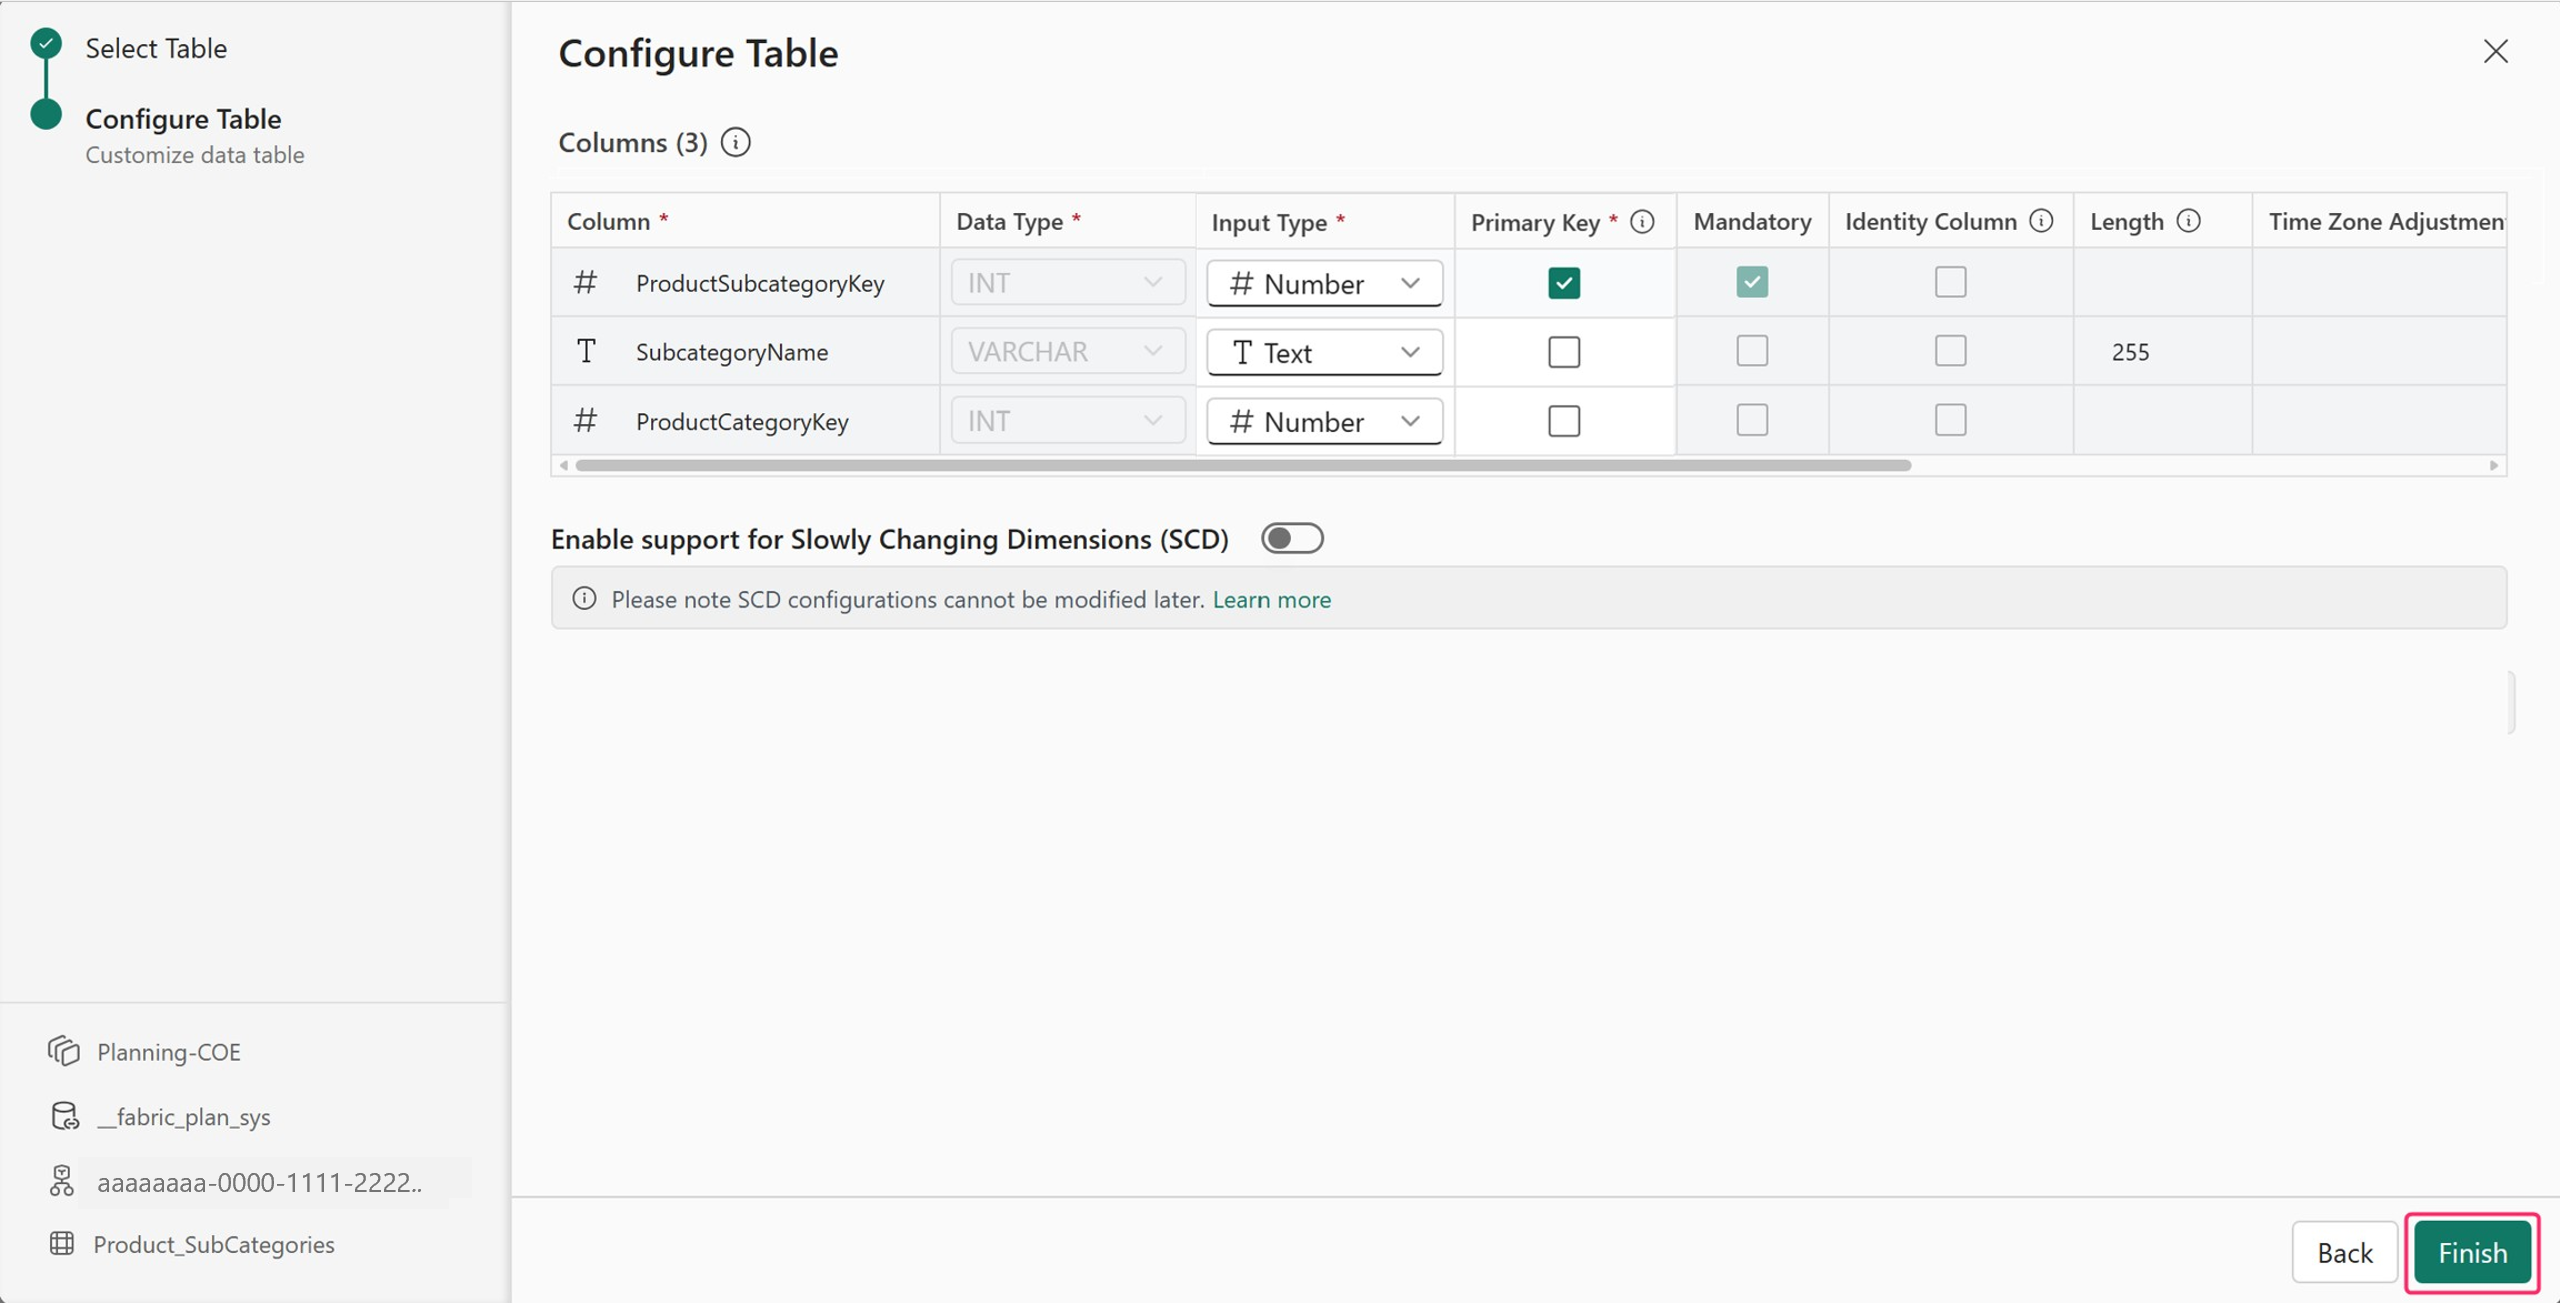
PowerTable sheets automatically detect column properties. Review the table configuration. You can modify the input type and the primary key if required.
Select Finish.
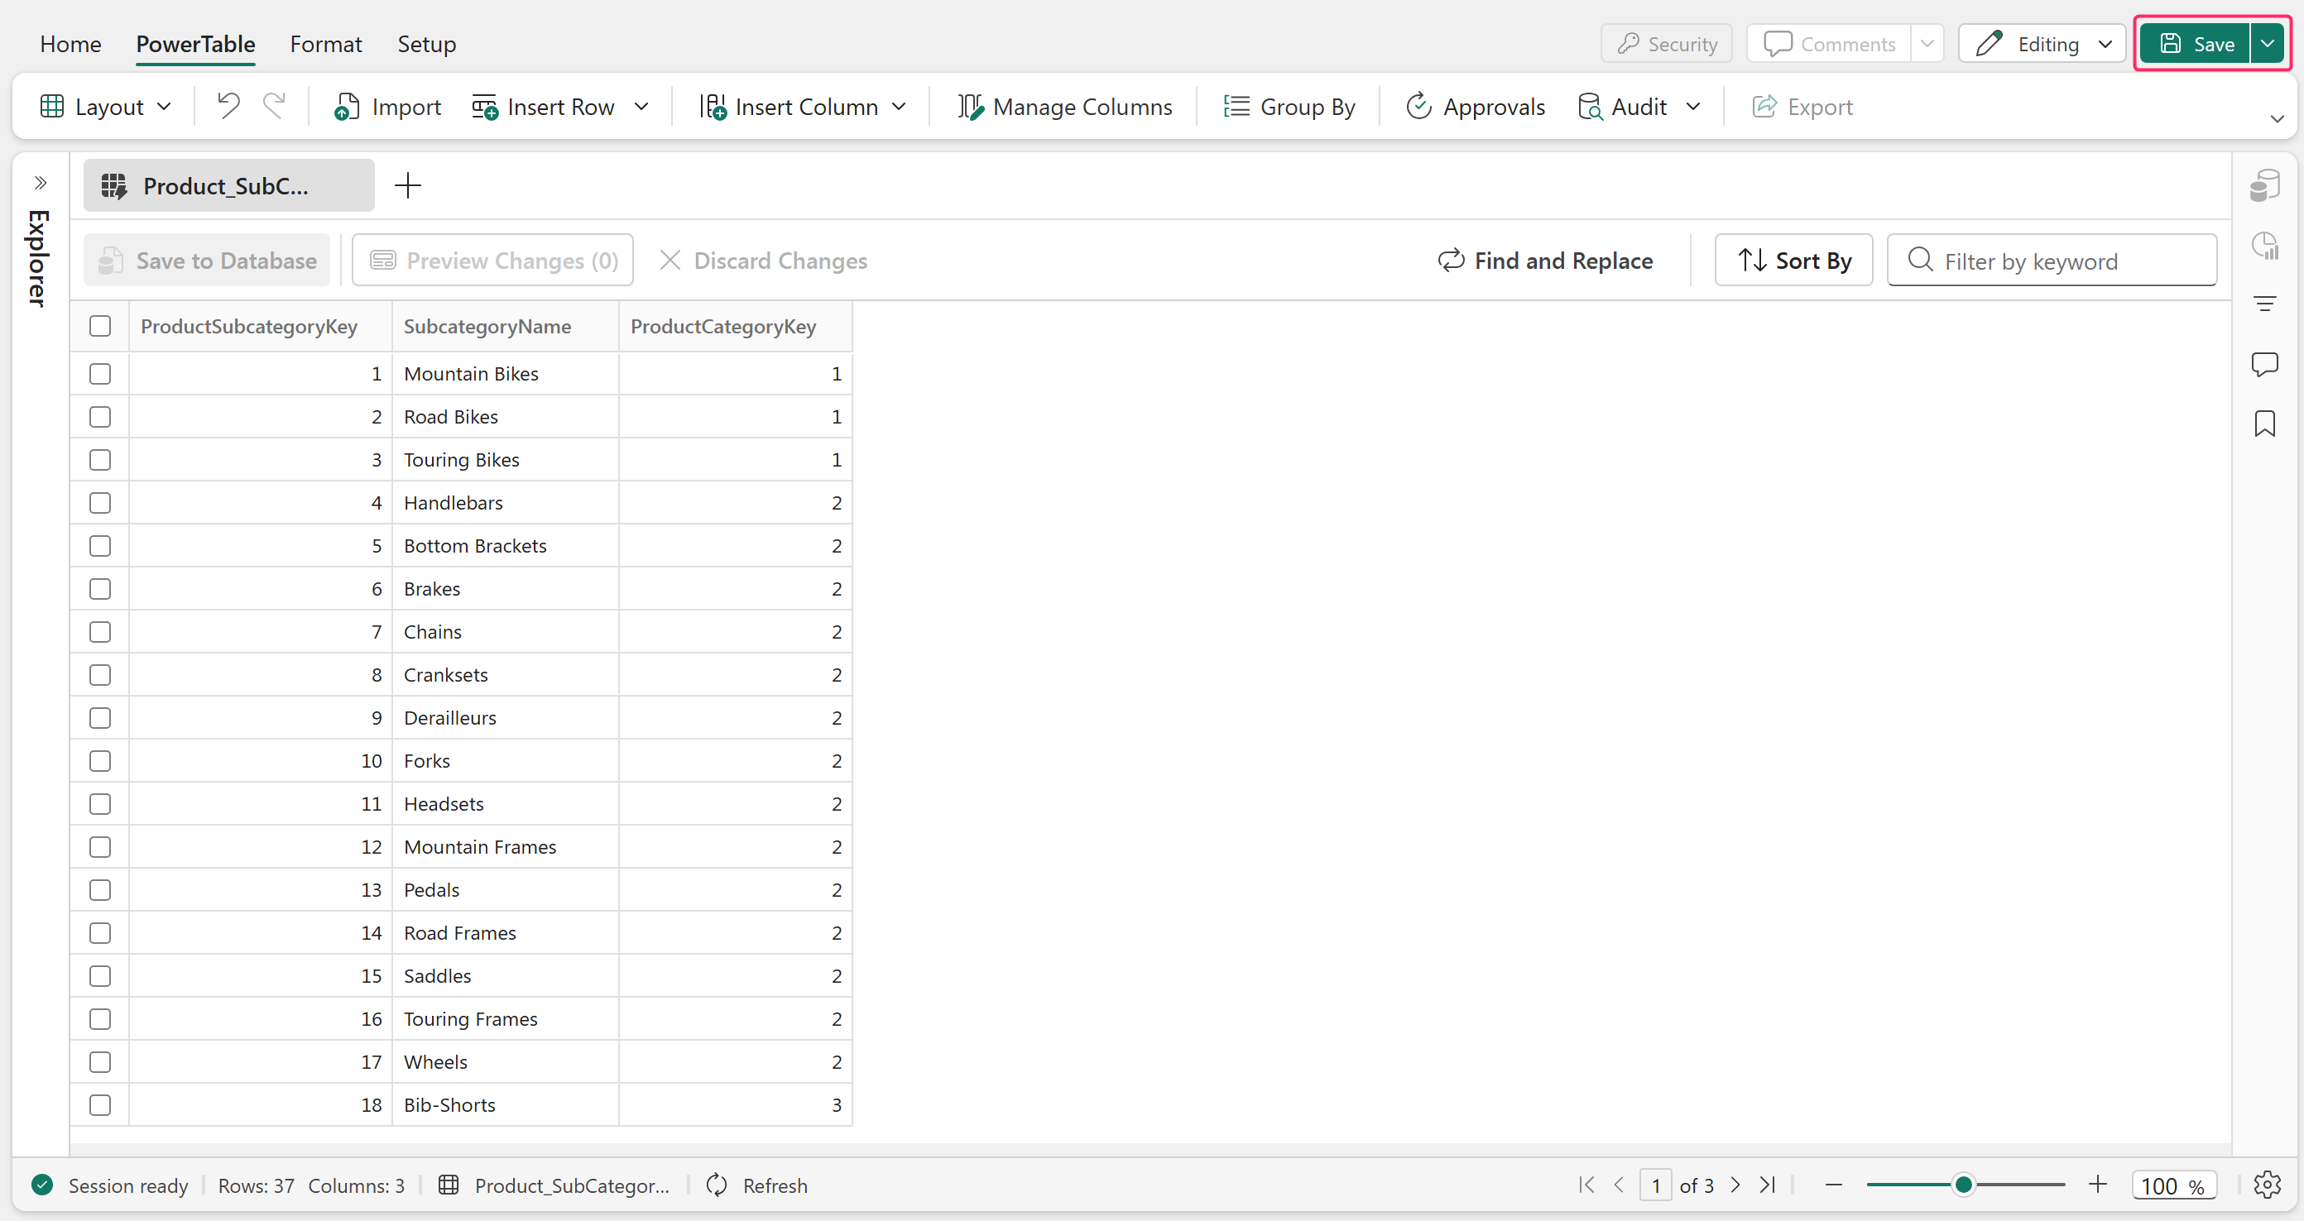
You have now successfully connected to a database and created a table app using PowerTable. Select Save to save your table.
Next steps
Configure access control and automated workflows and approvals for your new app.