Connect to ADLS and transform the data with Azure Databricks
In this guide, you will:
Create a Delta table in your Azure Data Lake Storage (ADLS) Gen2 account using Azure Databricks.
Create a OneLake shortcut to a Delta table in ADLS.
Use Power BI to analyze data via the ADLS shortcut.
Prerequisites
Before you start, you must have:
A workspace with a Lakehouse item
An Azure Databricks workspace
An ADLS Gen2 account to store Delta tables
Create a Delta table, create a shortcut, and analyze the data
Using an Azure Databricks notebook, create a Delta table in your ADLS Gen2 account.
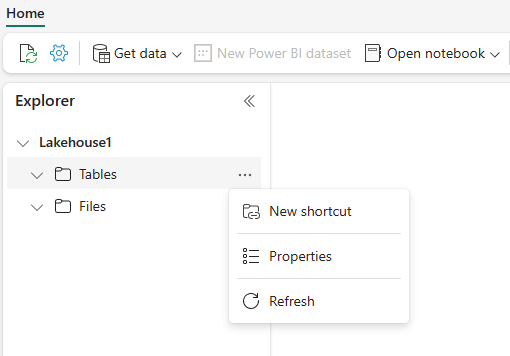
 # Replace the path below to refer to your sample parquet data with this syntax "abfss://<storage name>@<container name>.dfs.core.windows.net/<filepath>"

 # Read Parquet files from an ADLS account
 df = spark.read.format('Parquet').load("abfss://datasetsv1@olsdemo.dfs.core.windows.net/demo/full/dimension_city/")

 # Write Delta tables to ADLS account
 df.write.mode("overwrite").format("delta").save("abfss://datasetsv1@olsdemo.dfs.core.windows.net/demo/adb_dim_city_delta/")
In your lakehouse, select the ellipses (…) next to Tables and then select New shortcut.
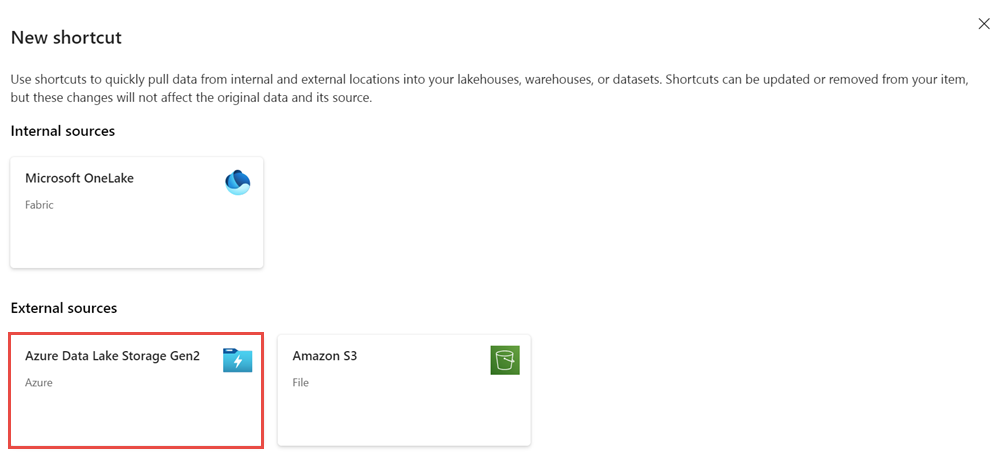
In the New shortcut screen, select the Azure Data Lake Storage Gen2 tile.
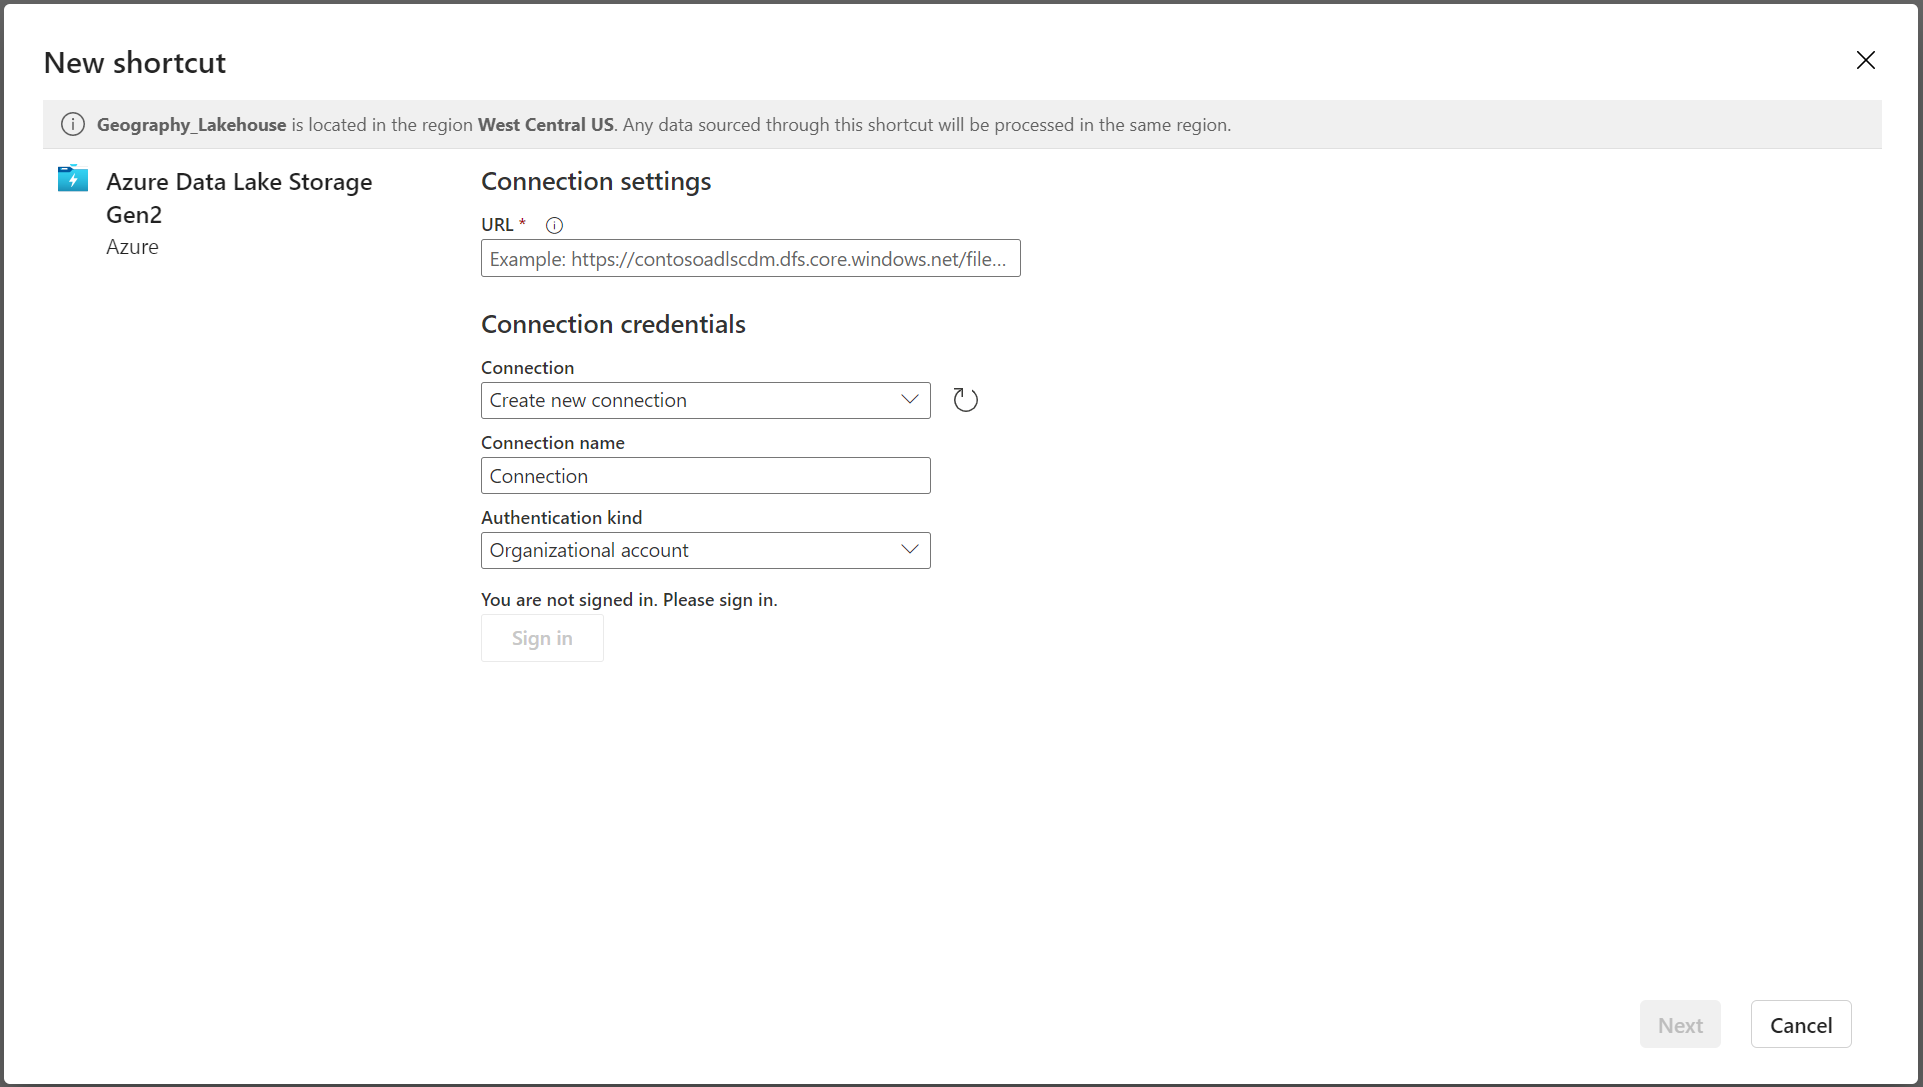
Specify the connection details for the shortcut and select Next.
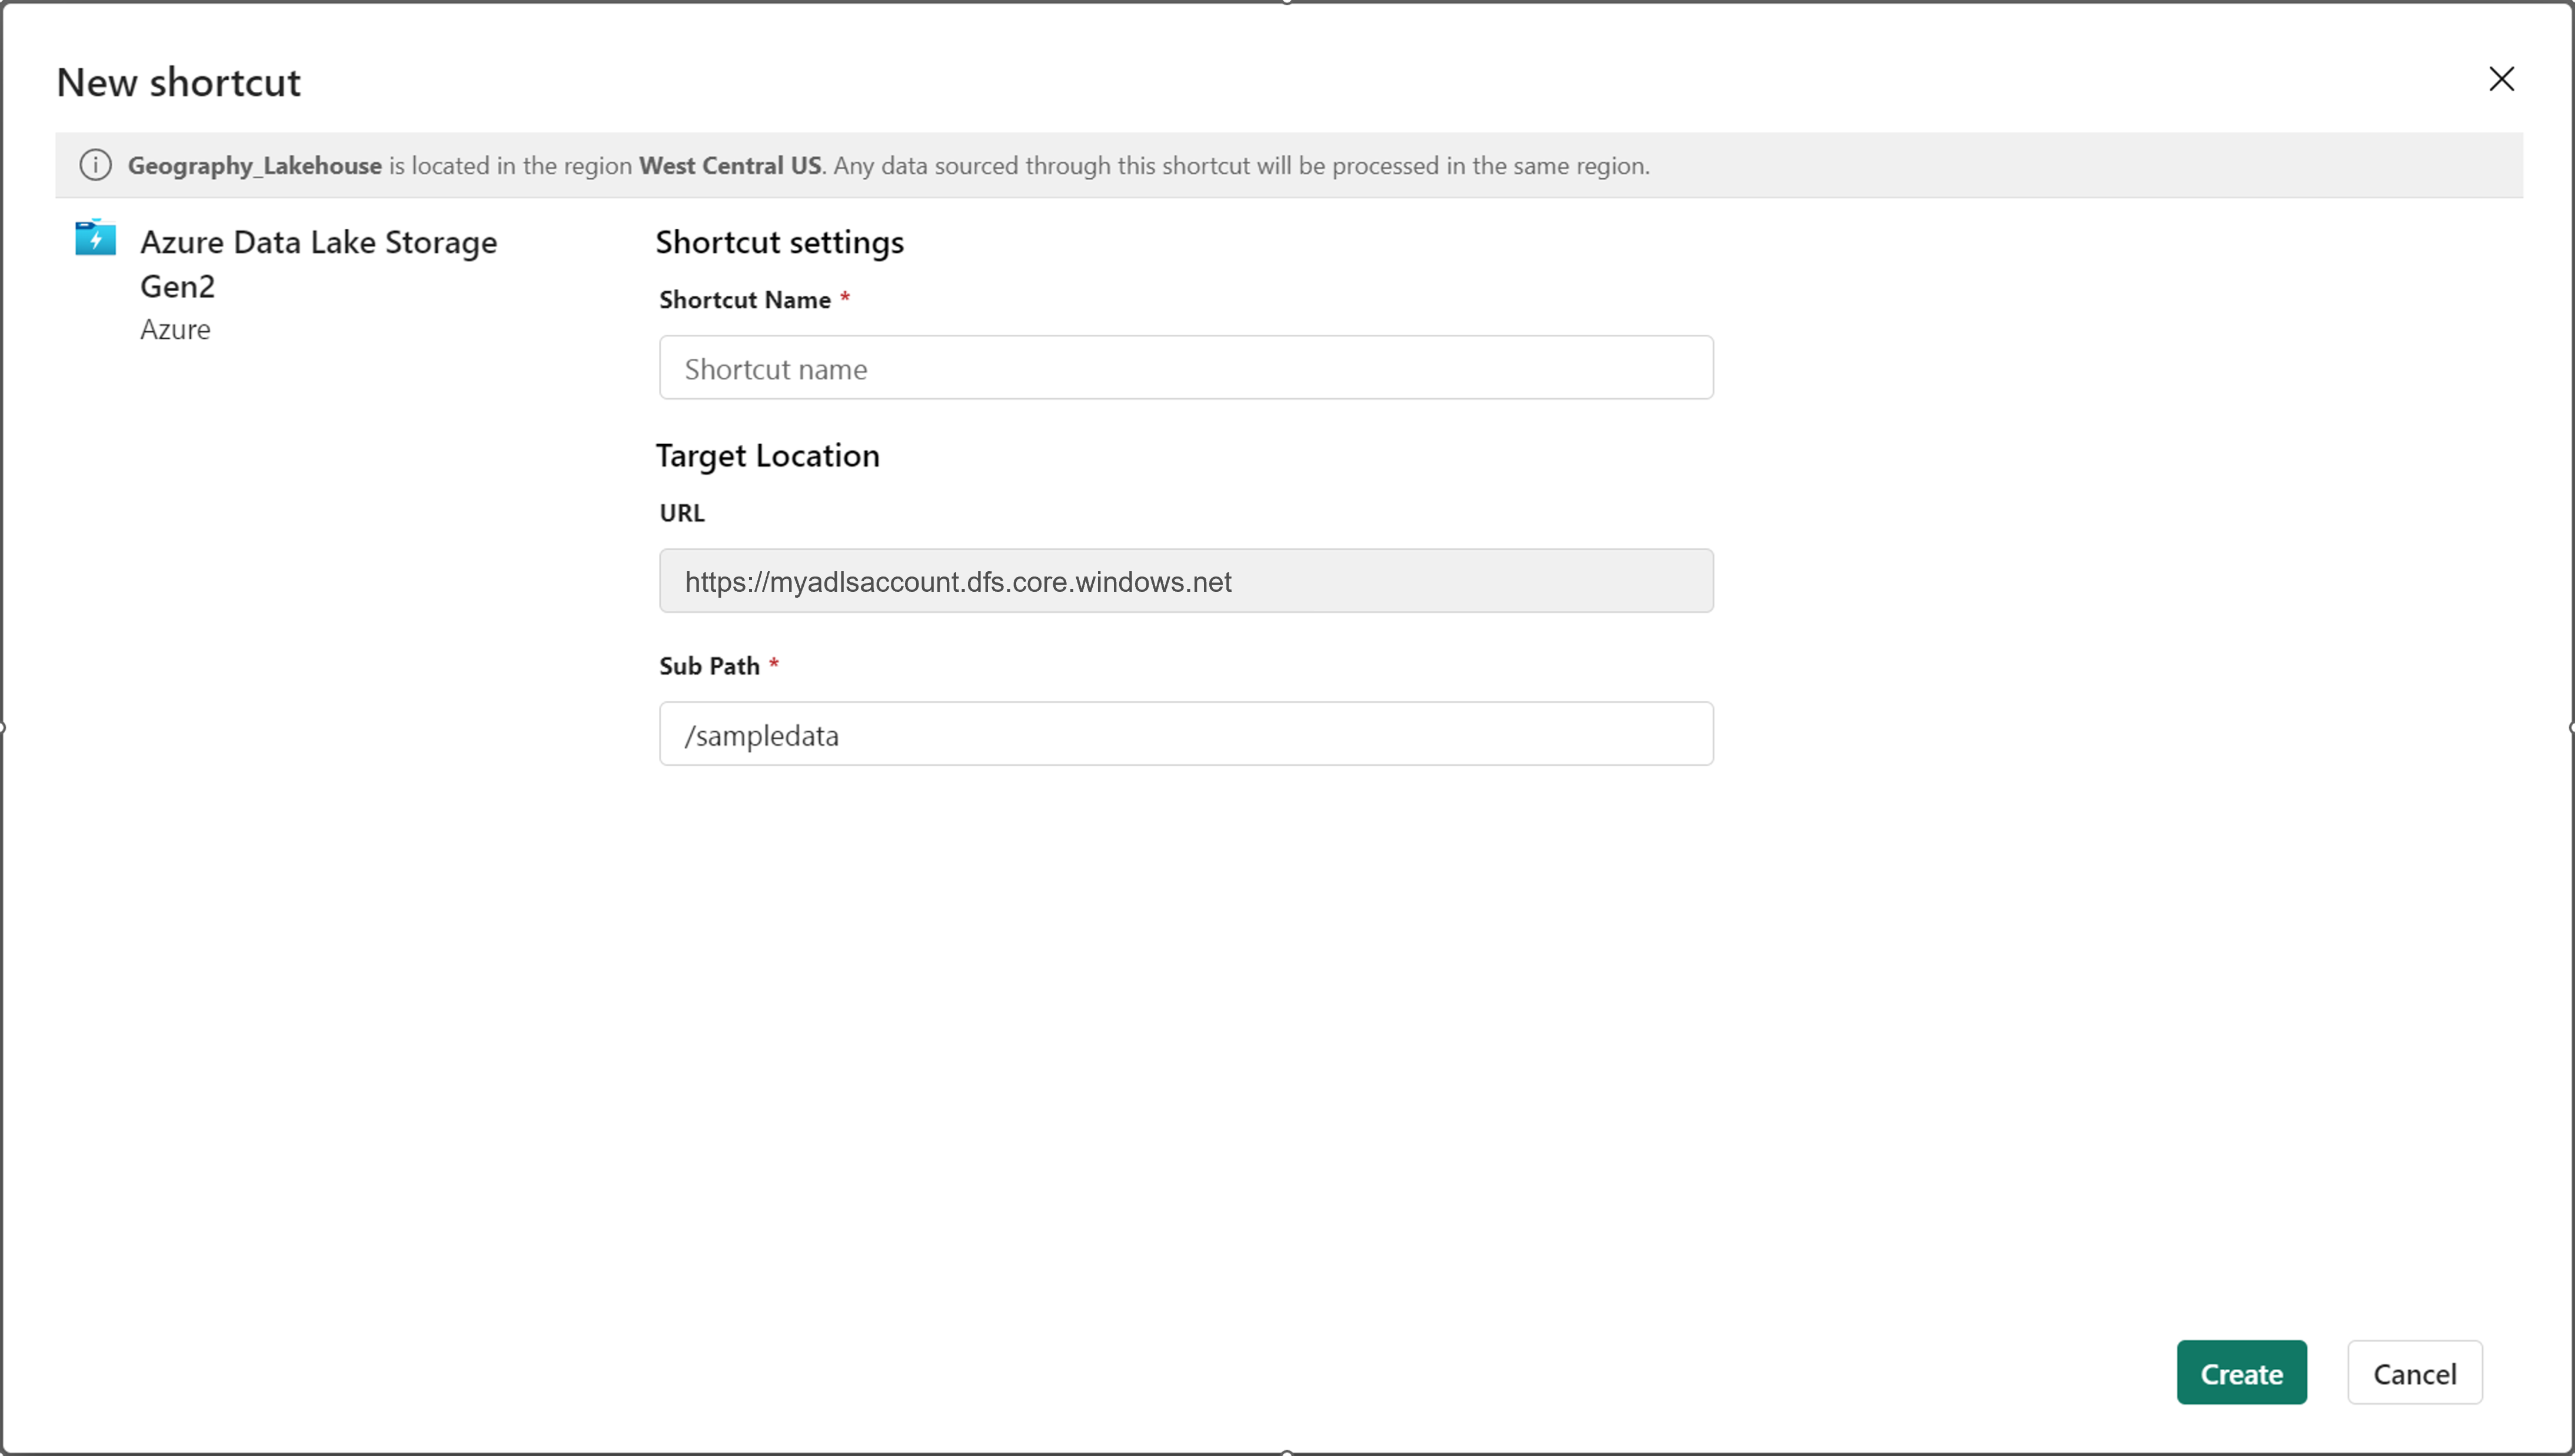
Specify the shortcut details. Provide a Shortcut Name and Sub path details and then select Create. The sub path should point to the directory where the Delta table resides.
The shortcut appears as a Delta table under Tables.

You can now query this data directly from a notebook.
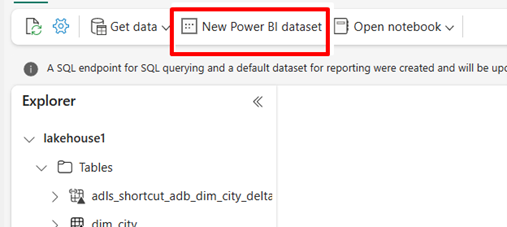
df = spark.sql("SELECT * FROM lakehouse1.adls_shortcut_adb_dim_city_delta LIMIT 1000")
display(df)
To access and analyze this Delta table via Power BI, select New Power BI semantic model.
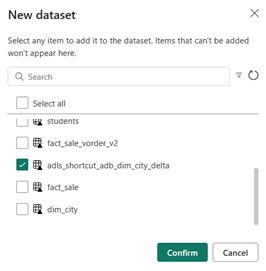
Select the shortcut and then select Confirm.
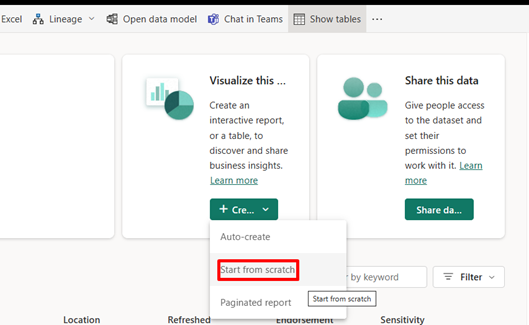
When the data is published, select Start from scratch.
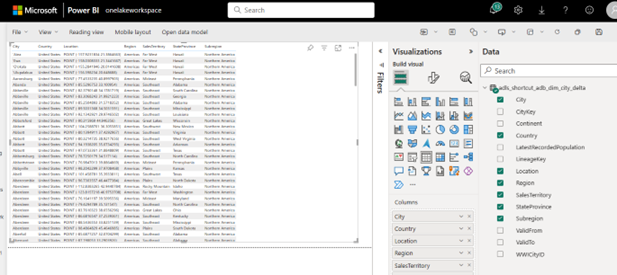
In the report authoring experience, the shortcut data appears as a table along with all its attributes.
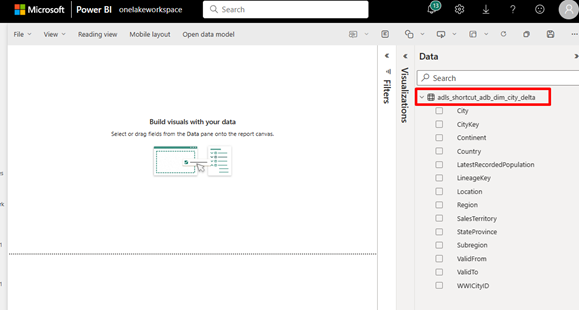
To build a Power BI report, drag the attributes to the pane on the left-hand side.


Related content
Feedback
Coming soon: Throughout 2024 we will be phasing out GitHub Issues as the feedback mechanism for content and replacing it with a new feedback system. For more information see: https://aka.ms/ContentUserFeedback.
Submit and view feedback for