Note
Access to this page requires authorization. You can try signing in or changing directories.
Access to this page requires authorization. You can try changing directories.
Create a cross-tenant OneLake shortcut to access data in another Microsoft Fabric tenant through a delegated identity. Cross-tenant shortcuts always use delegated authentication. The shortcut uses an organizational account or service principal in the source tenant instead of passing through each downstream user's identity.
In this article, we refer to the data producer who owns and manages the source data in the producer's tenant and the data consumer who creates the cross-tenant delegated shortcut and uses the shared data in the consumer's tenant.
Cross-tenant shortcuts are useful when the data consumer already has an identity in the producer's tenant. For example, if you want to share data between your organization's test and production tenants. However, if the data consumer has no identity in the producer's tenant, and the data producer doesn't want to create an share one, use external data sharing instead. External data sharing is useful for sharing data across organization boundaries with a partner or customer.
Prerequisites
Before the data consumer creates the shortcut, have the following prerequisites:
- A lakehouse or KQL database in the consumer tenant where you want to create the shortcut.
- Write permission on the Fabric item in the consumer tenant where you want to create the shortcut. For more information, see OneLake shortcut security.
- The workspace ID and item ID in the producer's tenant. The data producer can get this information from the item's URL, for example:
/workspaces/{Workspace_ID}/lakehouses/{Lakehouse_ID}. - Access credentials in the producer tenant.
- The data consumer needs either an organizational account or a service principal. For a service principal, get the producer's tenant ID, application (client) ID, and client secret.
- Workspace role in the producer tenant.
- The data producer grants the organizational account or service principal the Viewer workspace role in the workspace that contains the source data.
- OneLake security role in the producer tenant.
- The data producer assigns the organizational account or service principal to a OneLake security role that grants Read permission to the shared tables or folders. For more information, see OneLake security.
Create a cross-tenant shortcut
Use the following steps to create a shortcut to a OneLake item in a different tenant.
Open the lakehouse or KQL database in the consumer's tenant where you want to create the shortcut.
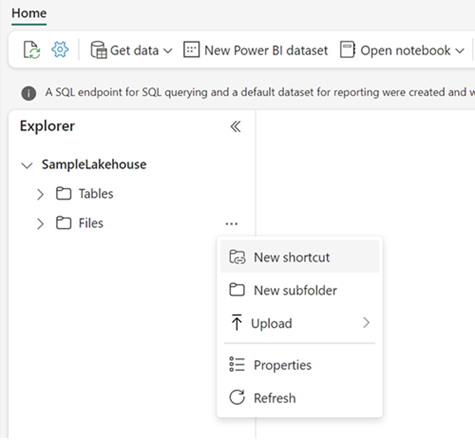
Right-click a directory in the Explorer pane.
Create a shortcut from the menu:
- In a lakehouse, select New shortcut, New table shortcut, or New schema shortcut, depending on your lakehouse settings.
- In a KQL database, select + > New > OneLake shortcut.
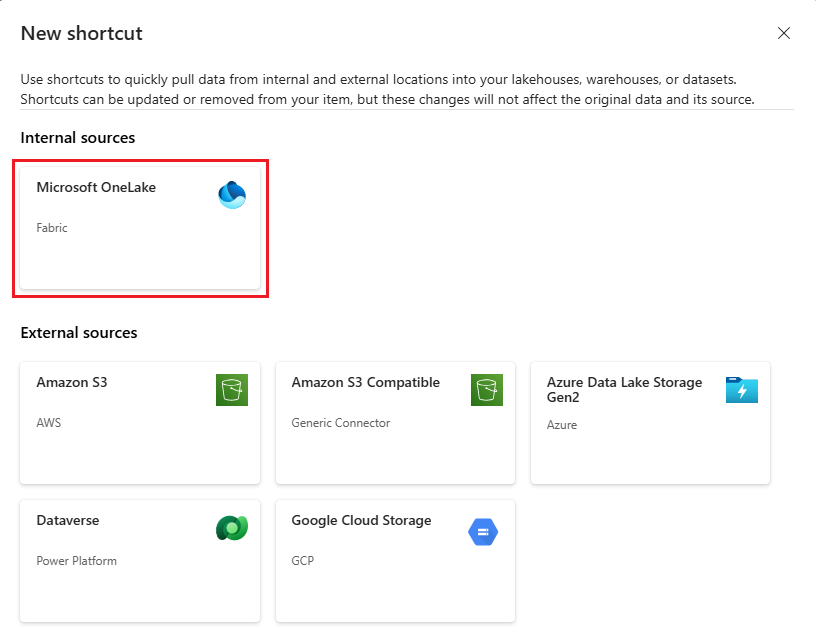
Under Internal sources, select Microsoft OneLake.
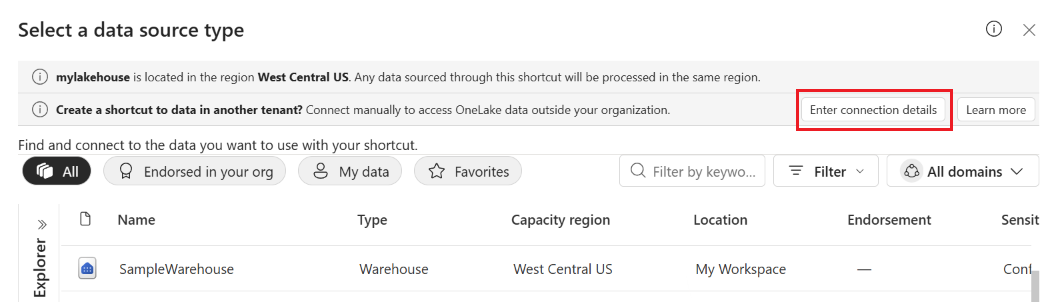
On the Create a shortcut to data in another tenant? banner, select Enter connection details.
Select Existing connection and choose a connection from the list, or select New connection to create one.
For a new connection, enter the connection details:
- Path: Enter the source item path that you collected from the data producer in the format
/{Workspace_ID}/{Item_ID}. - Connection: Select Create new connection.
- Connection name: Enter a recognizable name.
- Authentication kind: Select Organizational account or Service principal.
- For Organizational account, select Sign in and complete authentication with an account that has access to the producer's tenant data.
- For Service principal, enter the producer's tenant ID, application (client) ID, and client secret.
- Path: Enter the source item path that you collected from the data producer in the format
Select Next.
On the Microsoft OneLake (Cross-tenant) page, browse the source item.
Select the folders or tables to include, and then select Next.
Review the selected shortcut locations. Change the default shortcut names or remove selections as needed, and then select Create.
The shortcut appears under the selected directory in the Explorer pane.