Note
Access to this page requires authorization. You can try signing in or changing directories.
Access to this page requires authorization. You can try changing directories.
This article shows you how to add an HTTP source as an event source in Fabric Real-Time hub.
The HTTP connector provides a no-code, configurable way to stream data from any REST API directly into Eventstream for real-time processing. It allows you to continuously pull data from SaaS platforms and public data feeds and automatically parse JSON responses into structured events. It also offers example public feeds to help you get started quickly, select an example API, enter your API key, and let Eventstream prefill the required headers and parameters.
Prerequisites
- A workspace with Fabric capacity or Fabric Trial workspace type.
- Access to the workspace with Contributor or higher workspace roles.
- An HTTP endpoint that is publicly accessible. If it resides in a protected network, connect to it by using Eventstream connector virtual network injection.
Launch Add data source experience
Sign in to Microsoft Fabric.
If you see Power BI at the bottom-left of the page, switch to the Fabric workload by selecting Power BI and then by selecting Fabric.
Select Real-Time on the left navigation bar.
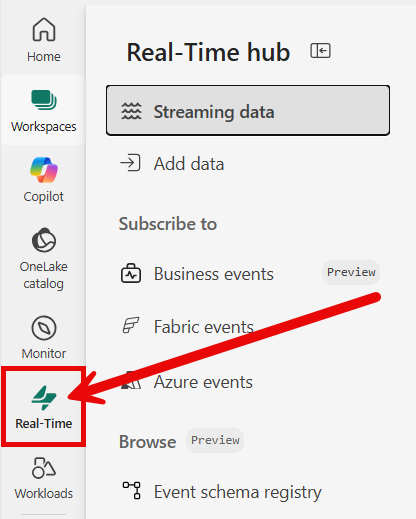
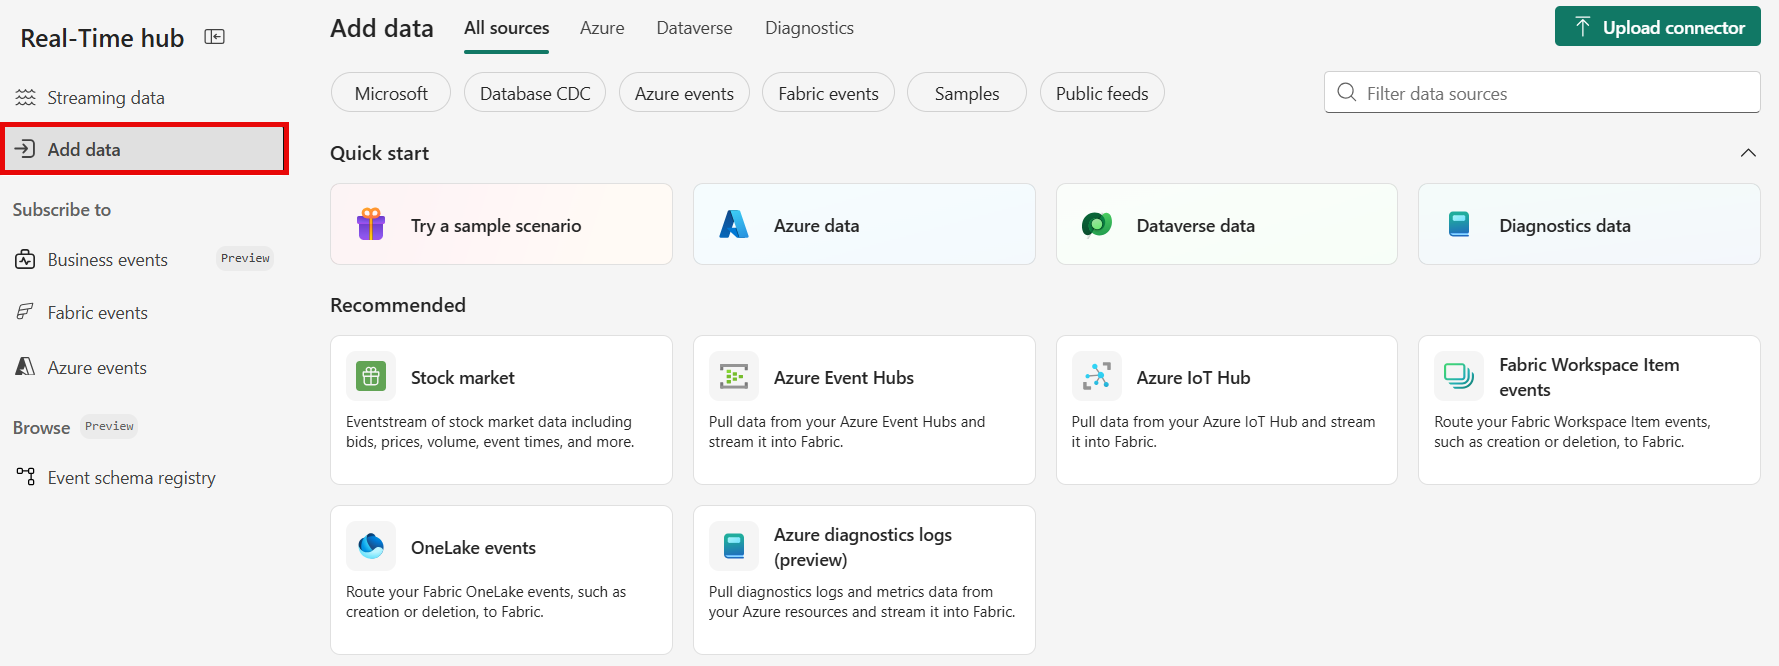
The Streaming data page opens by default. Click on the Add data button to get to the Data sources page.

You can also get to the Data sources page directly by selecting the Add data option in the left navigation bar.


Select HTTP as a source
On the Data sources page, search for HTTP, and then select HTTP.

Configure and connect to HTTP
You can select one of the Example public APIs to get started quickly with predefined headers and parameters, or select Exit to configure your own custom HTTP connector.
Use example public APIs
Select an example public API to quickly set up the HTTP connector:
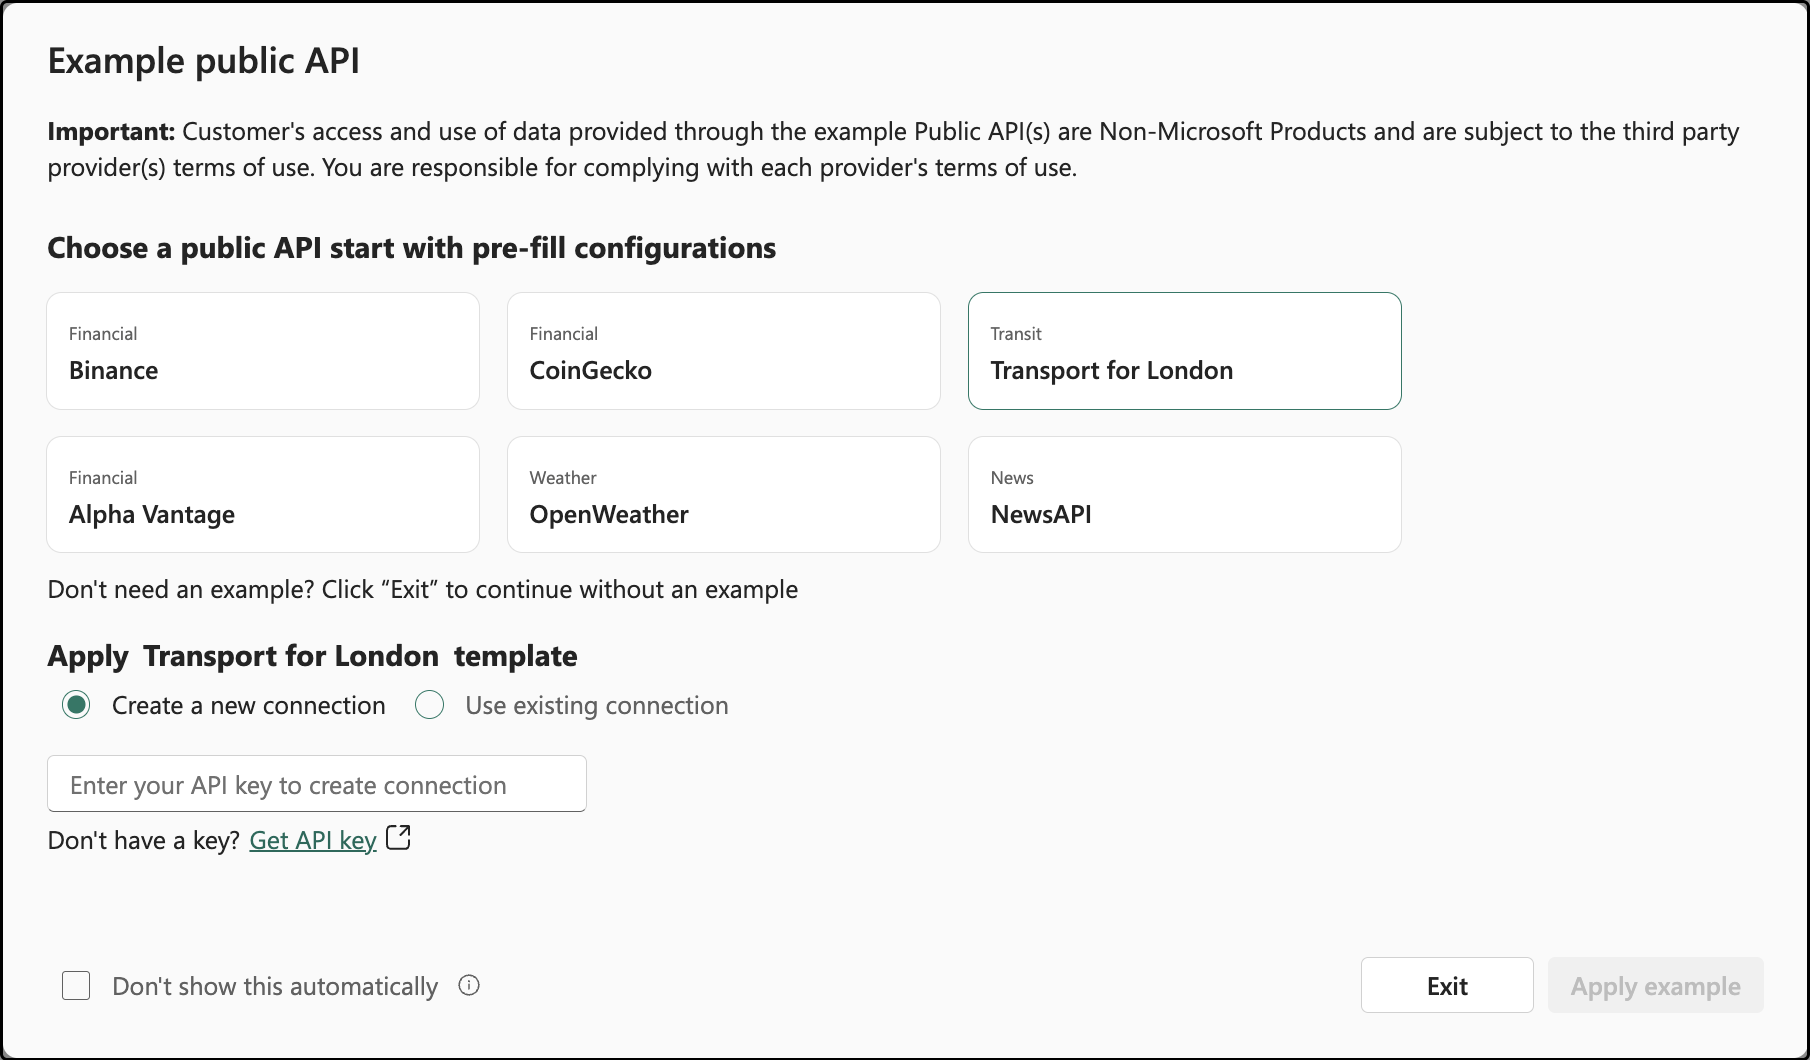
- Binance. Get the latest Bitcoin price
- CoinGecko. Get the current Bitcoin price in USD
- Transport for London. Get live arrival predictions for a London station
- Alpha Vantage. Get the real-time Microsoft (MSFT) stock price
- OpenWeather. Get the weather forecast for a location
- NewsAPI. Get the latest business headlines in the US
For APIs that require an API key, use the provided link to apply for the API key and enter it in the input box. The connector then automatically creates the Fabric cloud connection and prefills the required HTTP headers and parameters.
Important
The Binance example API doesn't require an API key, but you're responsible for complying with its Terms of Use.
If you choose Use existing connection, select Apply example to prefill the required headers and parameters for the example API without entering an API key.
Alternatively, select Exit to close the window and configure your own HTTP source from scratch.

Configure your own HTTP source
Follow the steps to configure your own HTTP source without an example API.
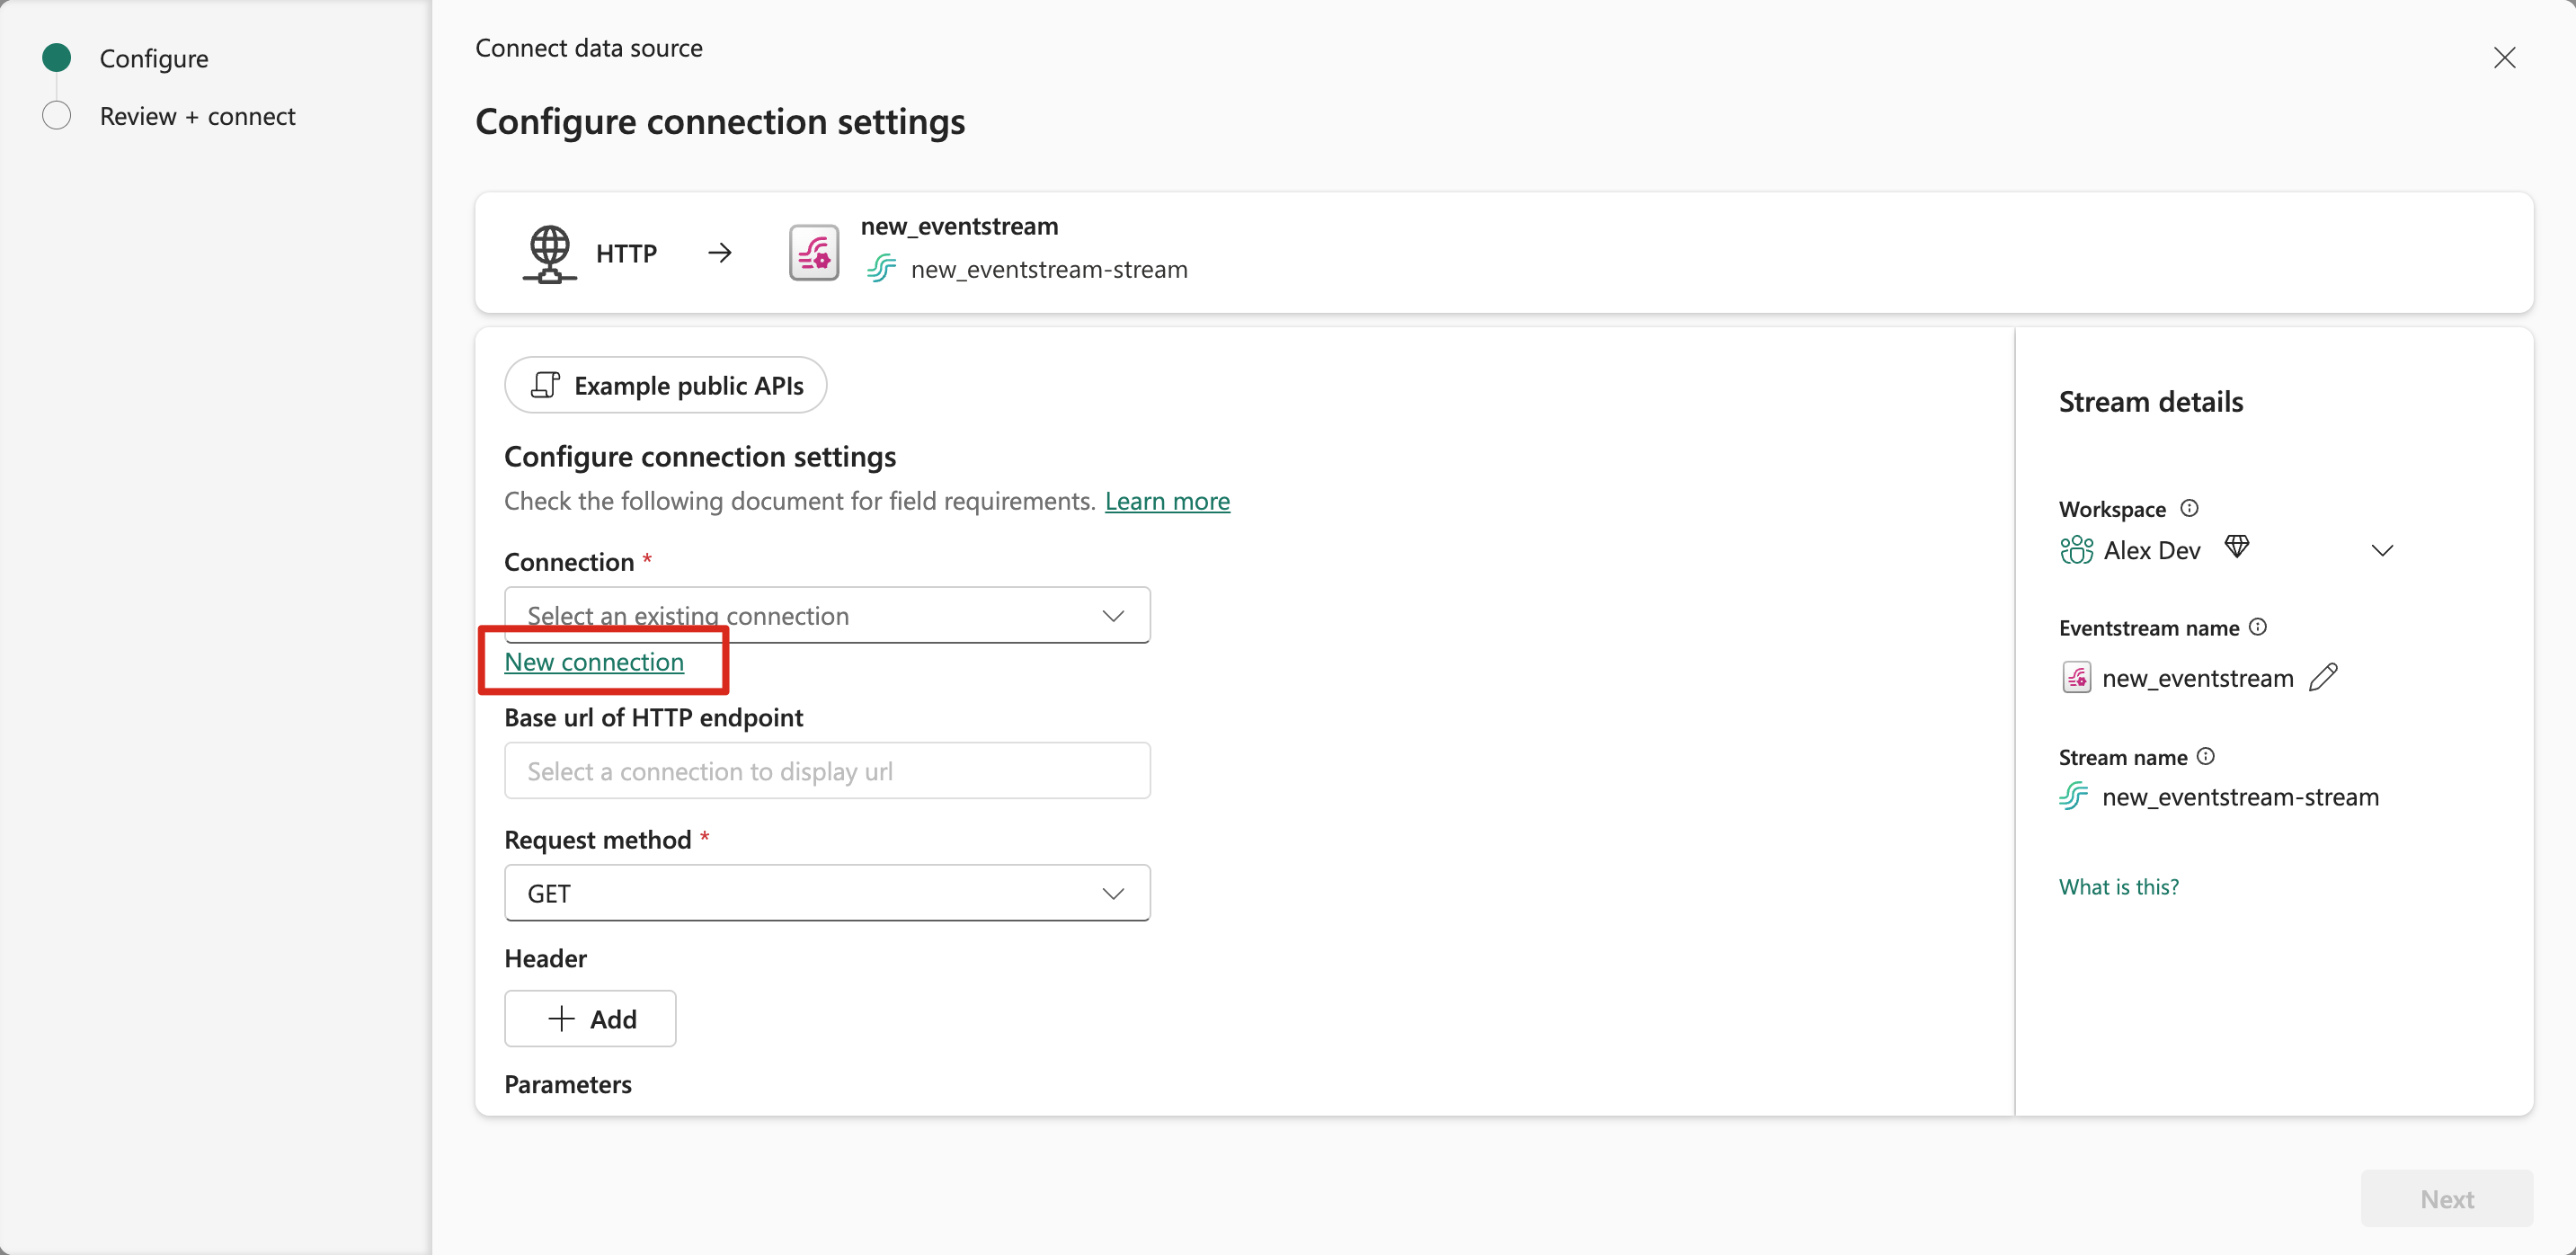
Create a new connection. Select New connection and enter the required properties for your HTTP source:
- Base Url: The base URL of the HTTP endpoint.
- Token Audience Uri (optional): The resource that the token is intended for.
- Connection name: Enter a name for the connection.
- Authentication kind: Currently, the HTTP connector only supports
Anonymous,Basic, andAPI Keyauthentication.

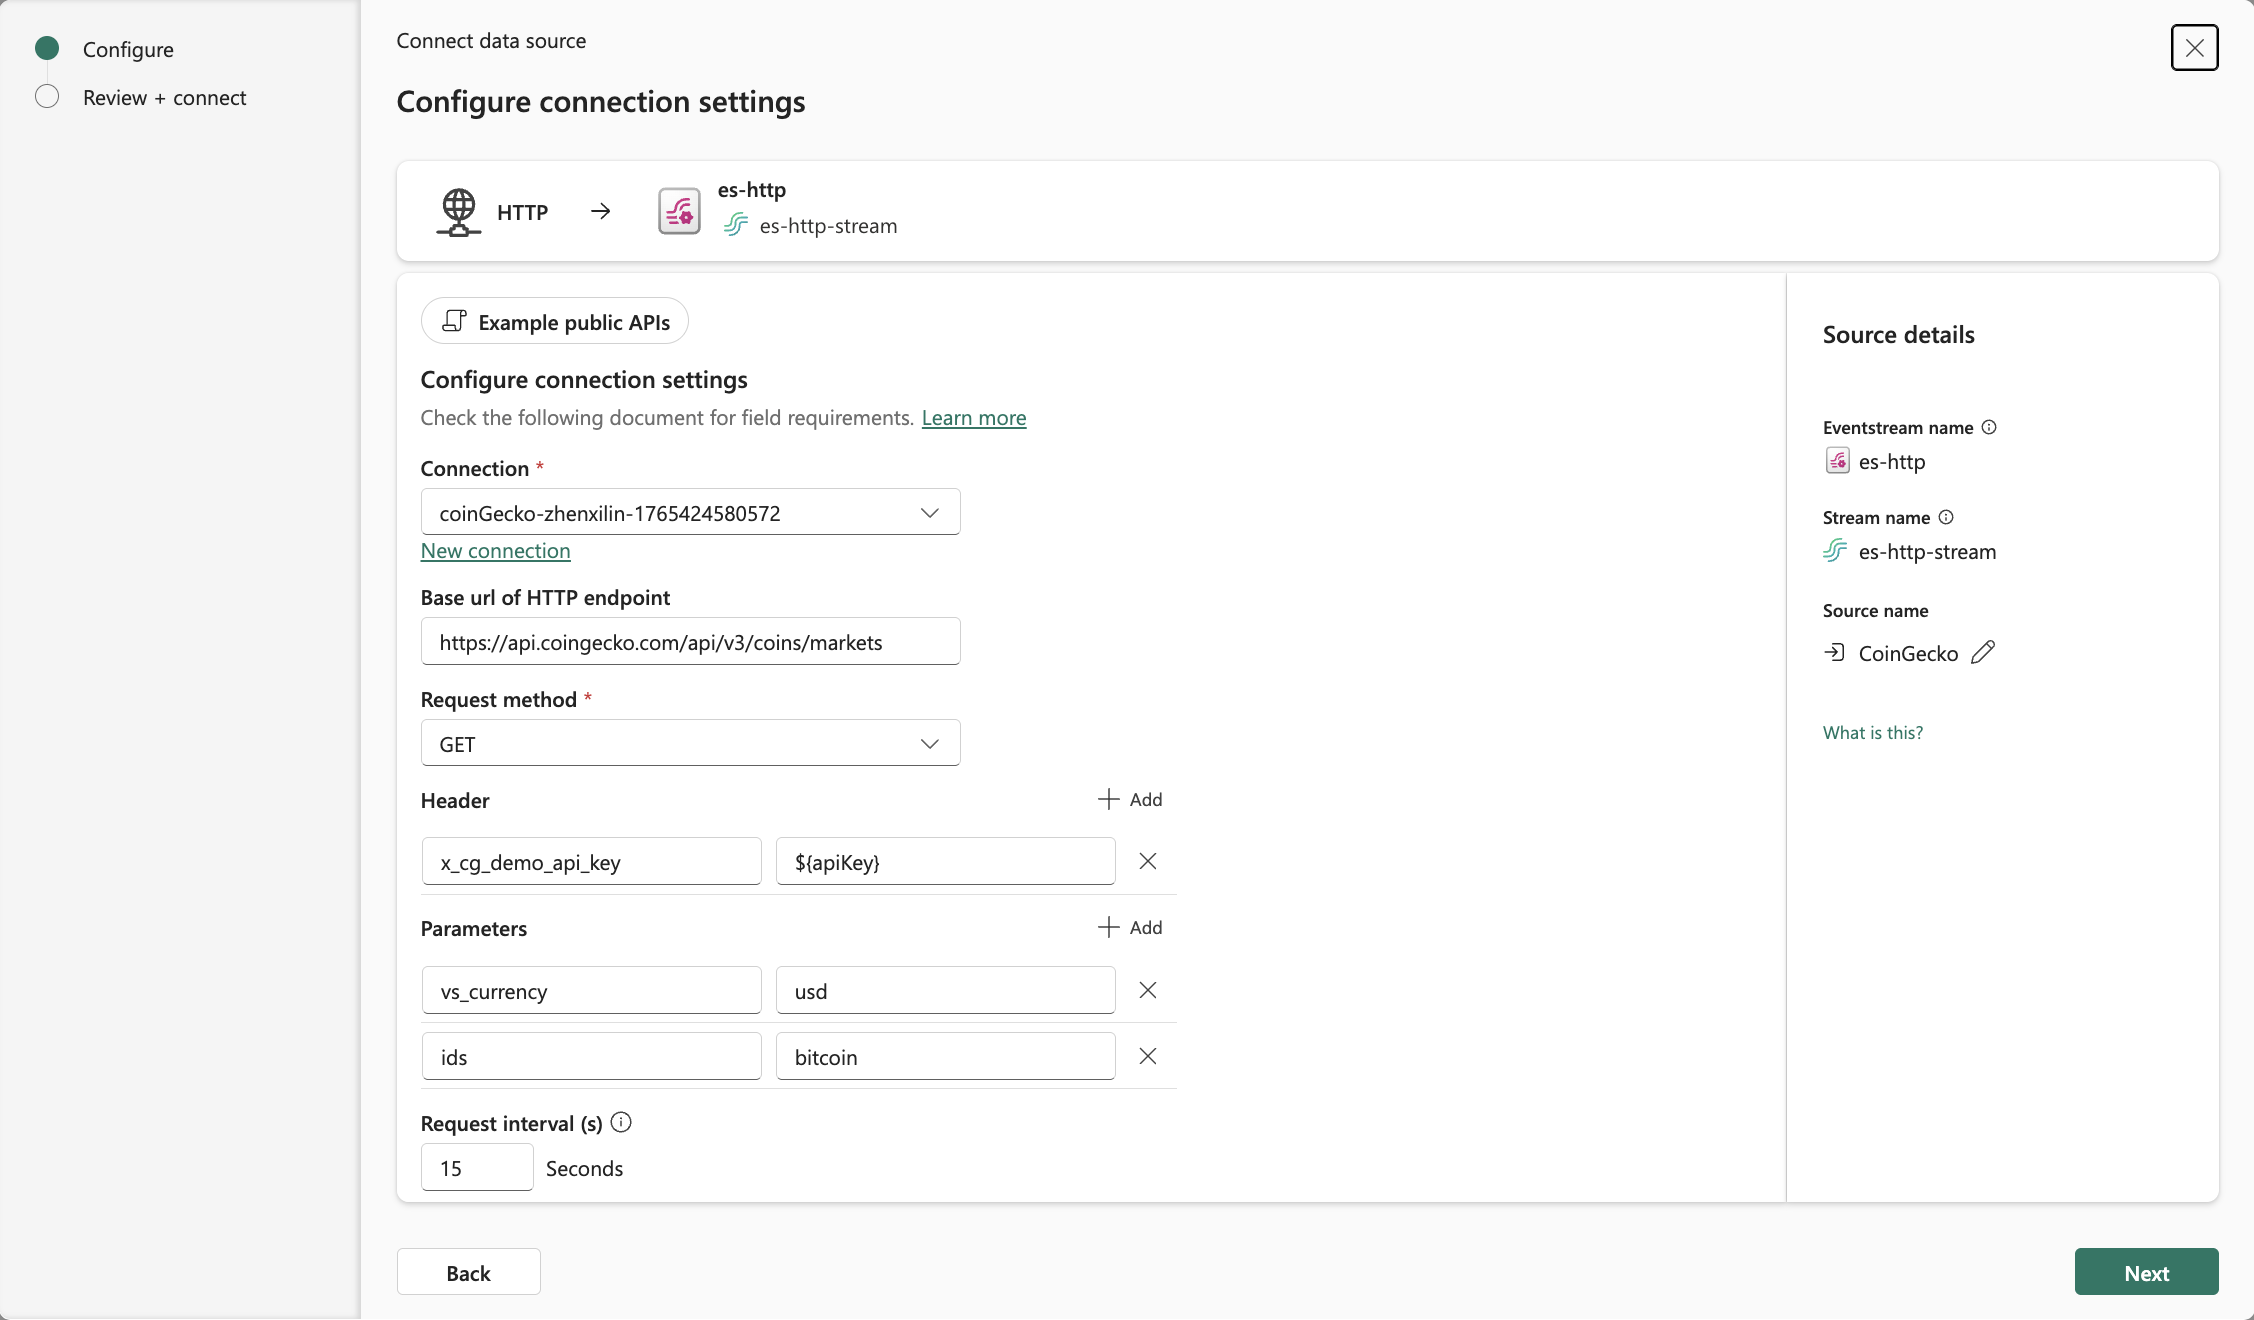
Request method: Select
GETorPOST.Headers and parameters: If you selected API Key authentication when you created the cloud connection, use the dynamic parameter ${apiKey} in your headers or parameters to reference the API Key.
For example, to connect to CoinGecko, use the header:
x_cg_demo_api_key=${apiKey}.Important
Do NOT enter your API key or other credentials in the headers or parameters.
Request interval (s): Specifies the time in seconds to wait between consecutive requests; valid range is [1, 3600].
Maximum retries: The maximum number of times the connector retries a request when an error occurs; valid range is [10, 100].
Retry backoff (s): The time in seconds to wait following an error before the connector retries; valid range is [1, 3600].
Retry status code: The HTTP error codes returned that prompt the connector to retry the request. Enter a comma-separated list of codes or range of codes. Ranges are specified with a start and optional end code. For example:
400-includes all codes greater than or equal to 400.400-500includes codes from 400 to 500, including 500.404,408,500-prompts the connector to retry on 404 NOT FOUND, 408 REQUEST TIMEOUT, and all 5xx error codes.
Some status codes are always retried, such as unauthorized, timeouts, and too many requests.


Stream or source details
On the Connect page, follow one of these steps based on whether you're using Eventstream or Real-Time hub.
Eventstream:
In the Source details pane to the right, follow these steps:
For Source name, select the Pencil button to change the name.
Notice that Eventstream name and Stream name are read-only.
Real-Time hub:
In the Stream details section to the right, follow these steps:
Select the Fabric workspace where you want to create the eventstream.
For Eventstream name, select the Pencil button, and enter a name for the eventstream.
The Stream name value is automatically generated for you by appending -stream to the name of the eventstream. This stream appears on the real-time hub's All data streams page when the wizard finishes.
Select Next at the bottom of the Configure page.
Review and connect
On the Review + connect screen, review the summary, and select Add (Eventstream) or Connect (Real-Time hub).
View data stream details
On the Review + connect page, if you select Open eventstream, the wizard opens the eventstream that it created for you. To close the wizard, select Finish at the bottom of the page.
You see the stream in the Recent streaming data section of the Streaming data home page. For detailed steps, see View details of data streams in Fabric Real-Time hub.
Limitations
- The HTTP connector currently supports only JSON API responses.
- OAuth authentication isn't supported.
- The HTTP source doesn't support CI/CD features, including Git Integration and Deployment Pipeline. Exporting or importing an Eventstream item that includes this source through Git might result in errors.
Related content
To learn about consuming data streams, see the following articles: