Note
Access to this page requires authorization. You can try signing in or changing directories.
Access to this page requires authorization. You can try changing directories.
This article describes how to add Oracle Database Change Data Capture (CDC) as an event source in Fabric Real-Time hub.
Prerequisites
- Access to a workspace in the Fabric capacity license mode or the Trial license mode with Contributor or higher permissions.
- A running Oracle database server (on-premises or cloud-hosted).
- Your Oracle database should be publicly accessible and not behind a firewall or secured in a virtual network. If it resides in a protected network, connect to it by using Eventstream connector virtual network injection.
- Oracle LogMiner enabled on your database for CDC capture.
- A database user with the required permissions for CDC operations.
Data sources page
Sign in to Microsoft Fabric.
If you see Power BI at the bottom-left of the page, switch to the Fabric workload by selecting Power BI and then by selecting Fabric.
Select Real-Time on the left navigation bar.
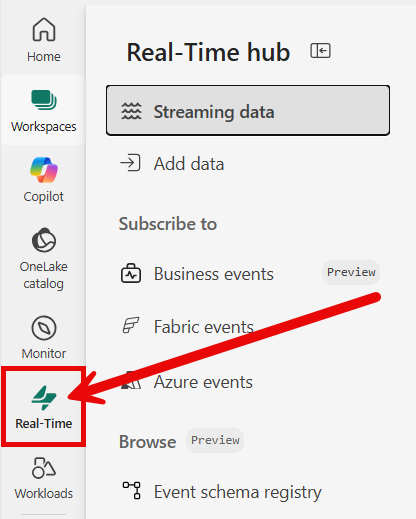
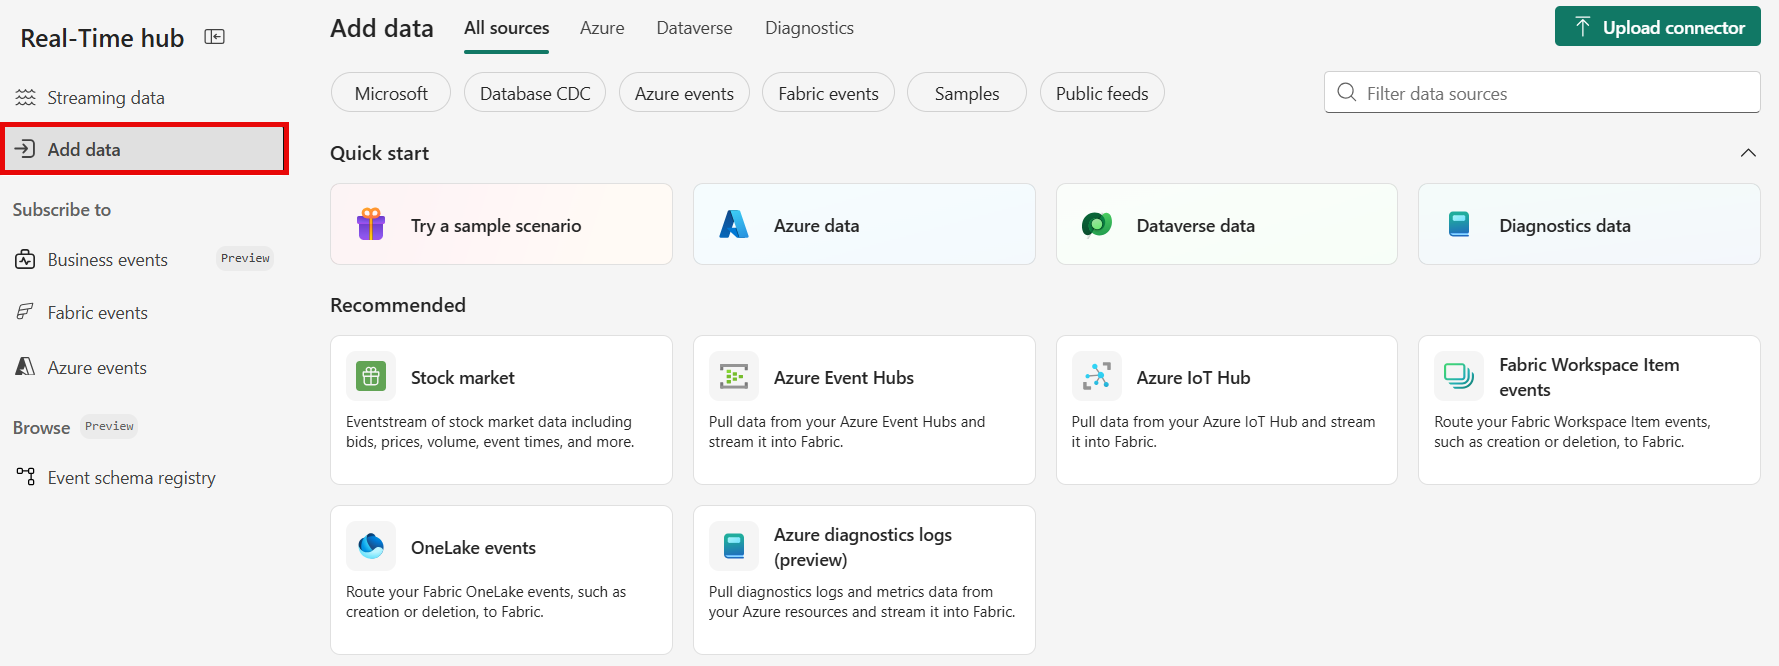
The Streaming data page opens by default. Click on the Add data button to get to the Add data page.

You can also get to the Add data page directly by selecting the Add data option in the left navigation bar.


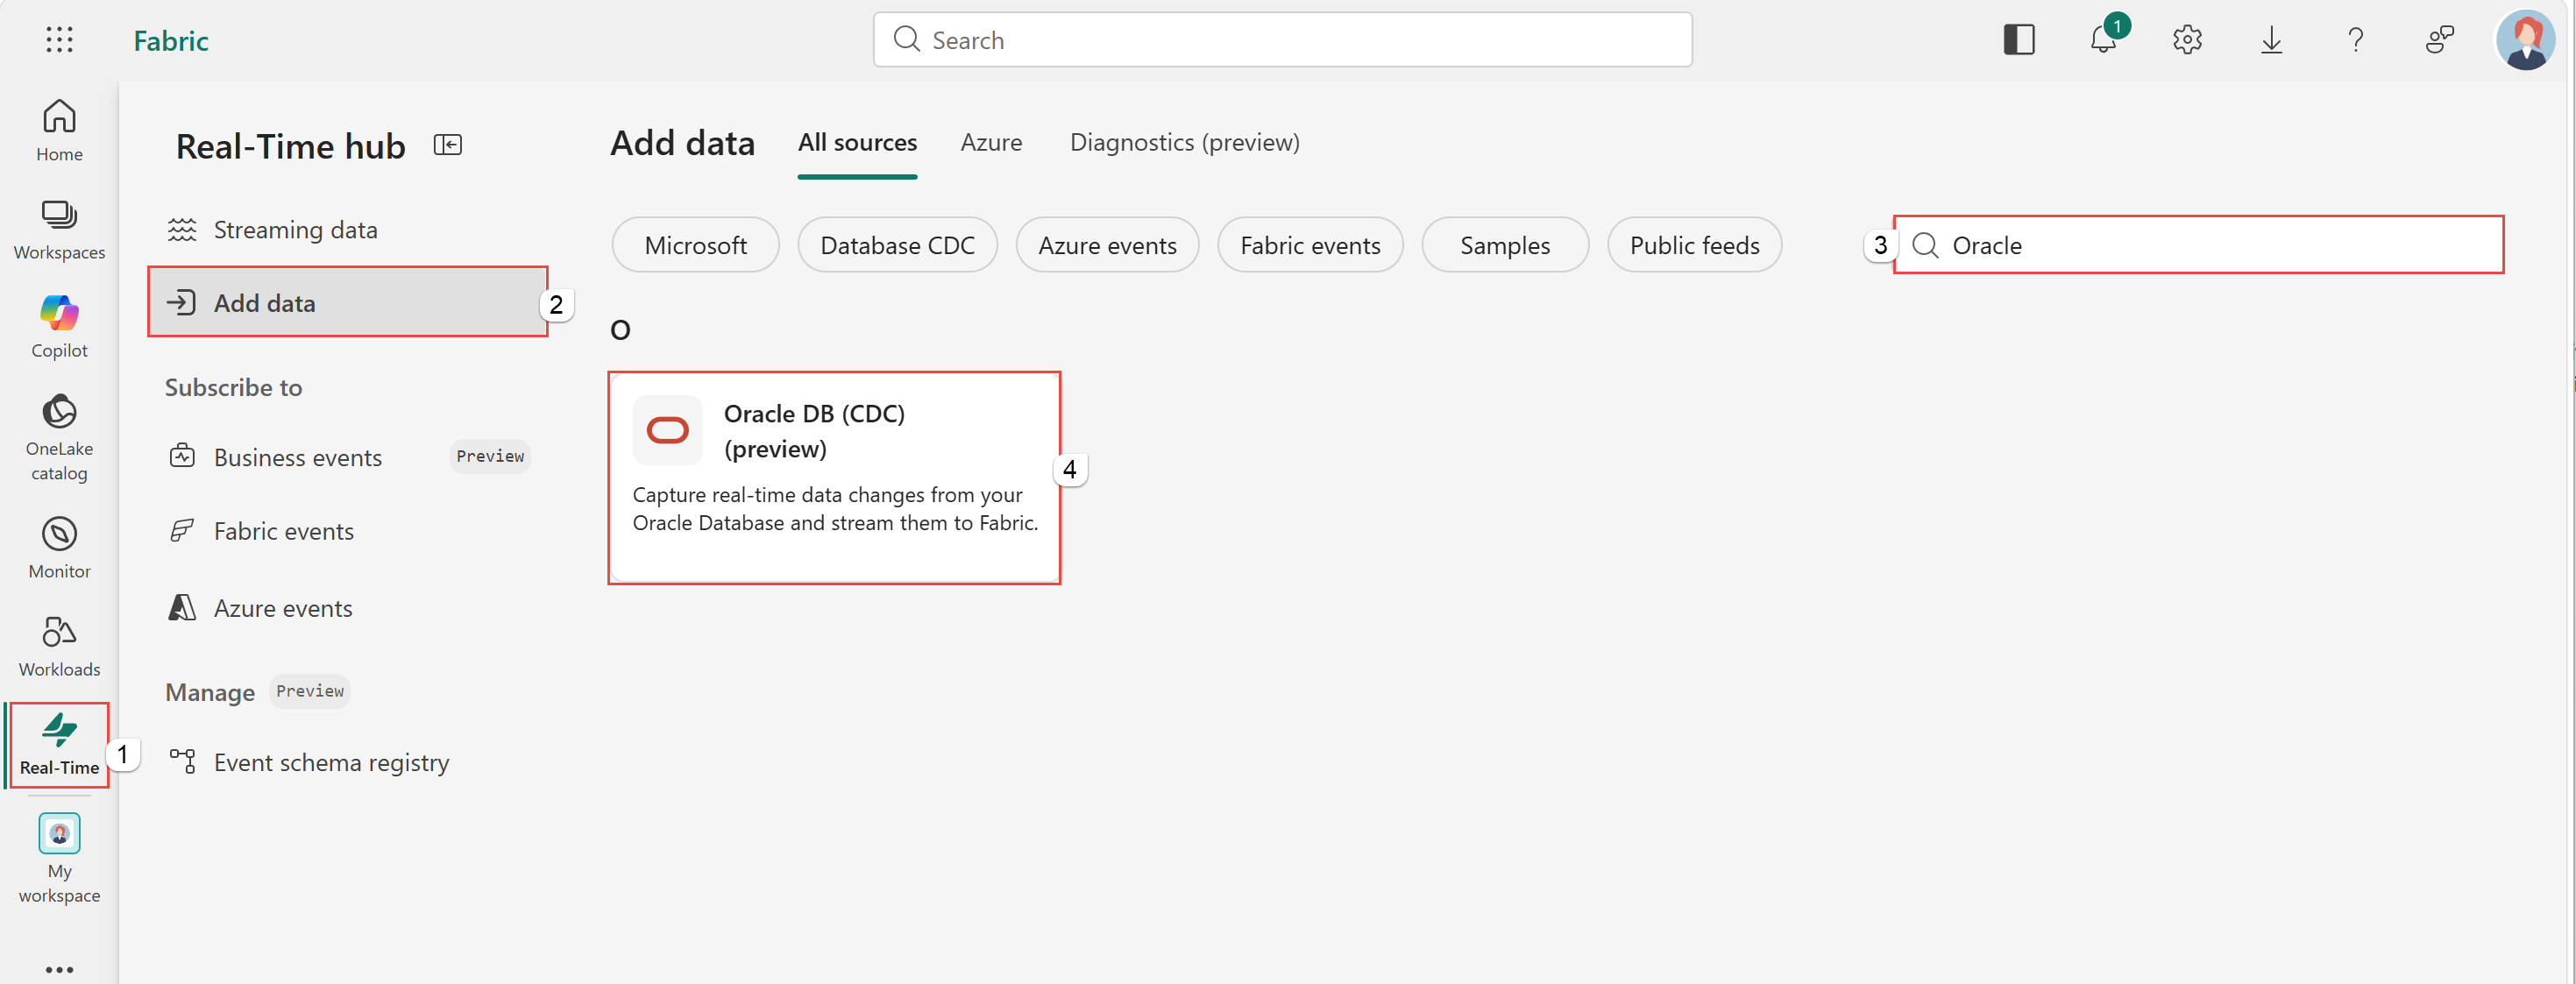
On the Data sources page, select Database CDC category at the top, and then select Connect on the Oracle DB (CDC) tile.
Use instructions from the Add Oracle Database CDC as a source section.

Add Oracle Database CDC as a source
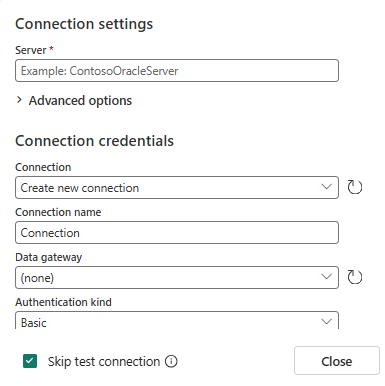
On the Connect page, in Server, enter your Oracle endpoint.
You can provide only the host name, or include host, port, and service/SID in a single value. For example:
your-oracle-host.example.com:1521/ORCL.Under Connection credentials, select an existing connection or create a new one:
- To create a new connection, select New connection and enter:
- Connection name: A name for this connection.
- Username: The Oracle database user with CDC permissions.
- Password: The password for the database user.
- To create a new connection, select New connection and enter:
Select Connect.
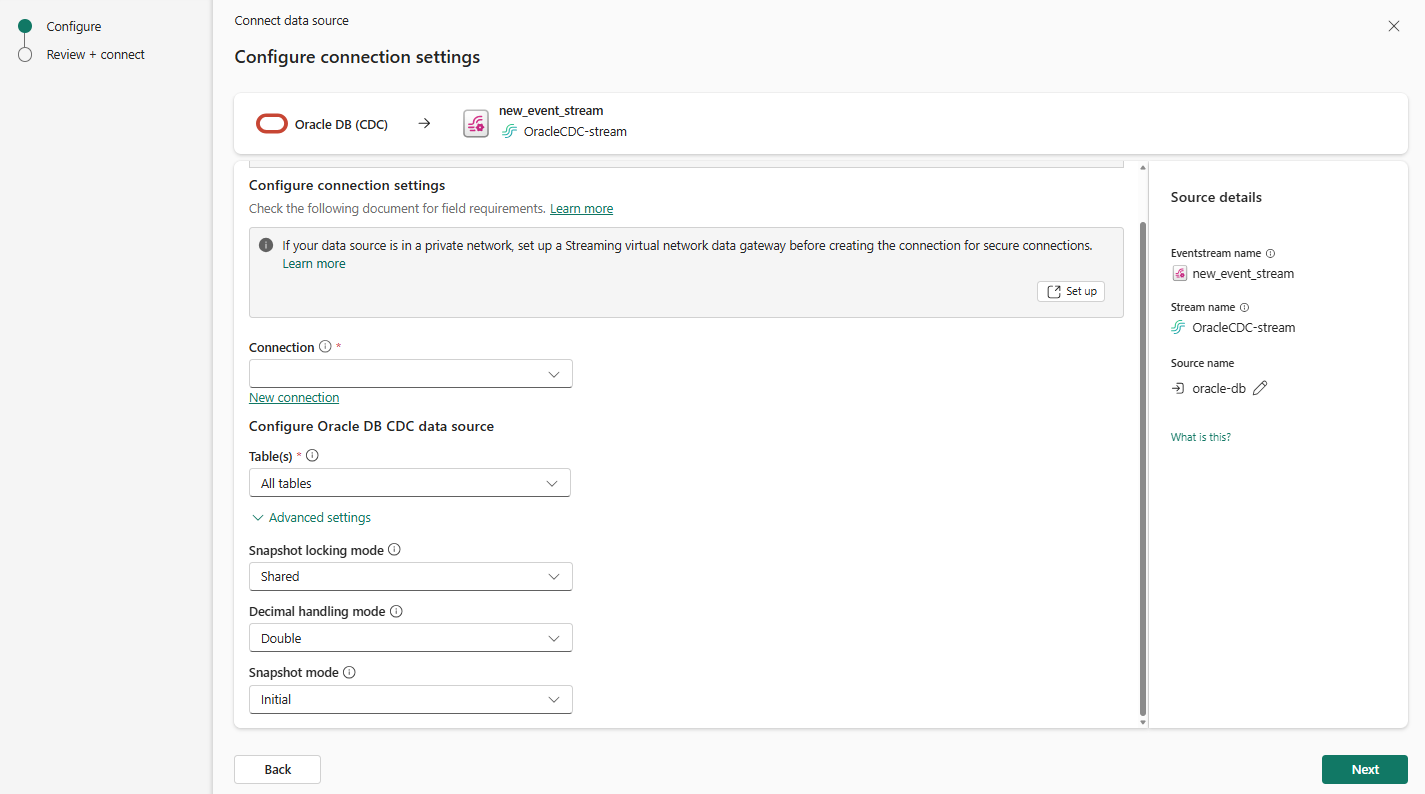
After the connection is established, choose the tables to capture by selecting All tables or Enter table name(s). If you choose Enter table name(s), enter an optional comma-separated list of full table identifiers (
schemaName.tableName) for the Oracle database tables to monitor.You can expand Advanced settings to access more configuration options for the Oracle Database CDC source:
- Snapshot locking mode: Controls whether and for how long the connector holds a table lock. Table locks prevent certain types of table operations from occurring while the connector performs a snapshot.
Shared(default): Enables concurrent access to the table, but prevents any session from acquiring an exclusive table lock. The connector acquires a ROW SHARE level lock while it captures table schema.None: Prevents the connector from acquiring any table locks during the snapshot. Use this setting only if no schema changes might occur during snapshot creation.
- Decimal handling mode: Specifies how the connector should handle floating-point values for
NUMBER,DECIMAL, andNUMERICcolumns. You can set one of the following options:Precise(default): Represents values precisely by usingjava.math.BigDecimalvalues represented in change events in binary form.Double: Represents values by using double values. Using double values is easier, but can result in a loss of precision.String: Encodes values as formatted strings. Using theStringoption is easier to consume, but results in a loss of semantic information about the real type.
- Snapshot mode: Specifies the mode that the connector uses to take snapshots of a captured table.
Initial(default): The snapshot includes the structure and data of the captured tables. Specify this value to populate topics with a complete representation of the data from the captured tables. If the snapshot completes successfully, the connector doesn't run the snapshot again at the next start.InitialOnly: The snapshot includes the structure and data of the captured tables. The connector performs an initial snapshot and then stops, without processing any subsequent changes.NoData: The snapshot includes only the structure of captured tables. Specify this value if you want the connector to capture data only for changes that occur after the snapshot.
- Snapshot locking mode: Controls whether and for how long the connector holds a table lock. Table locks prevent certain types of table operations from occurring while the connector performs a snapshot.
Select Next to continue.
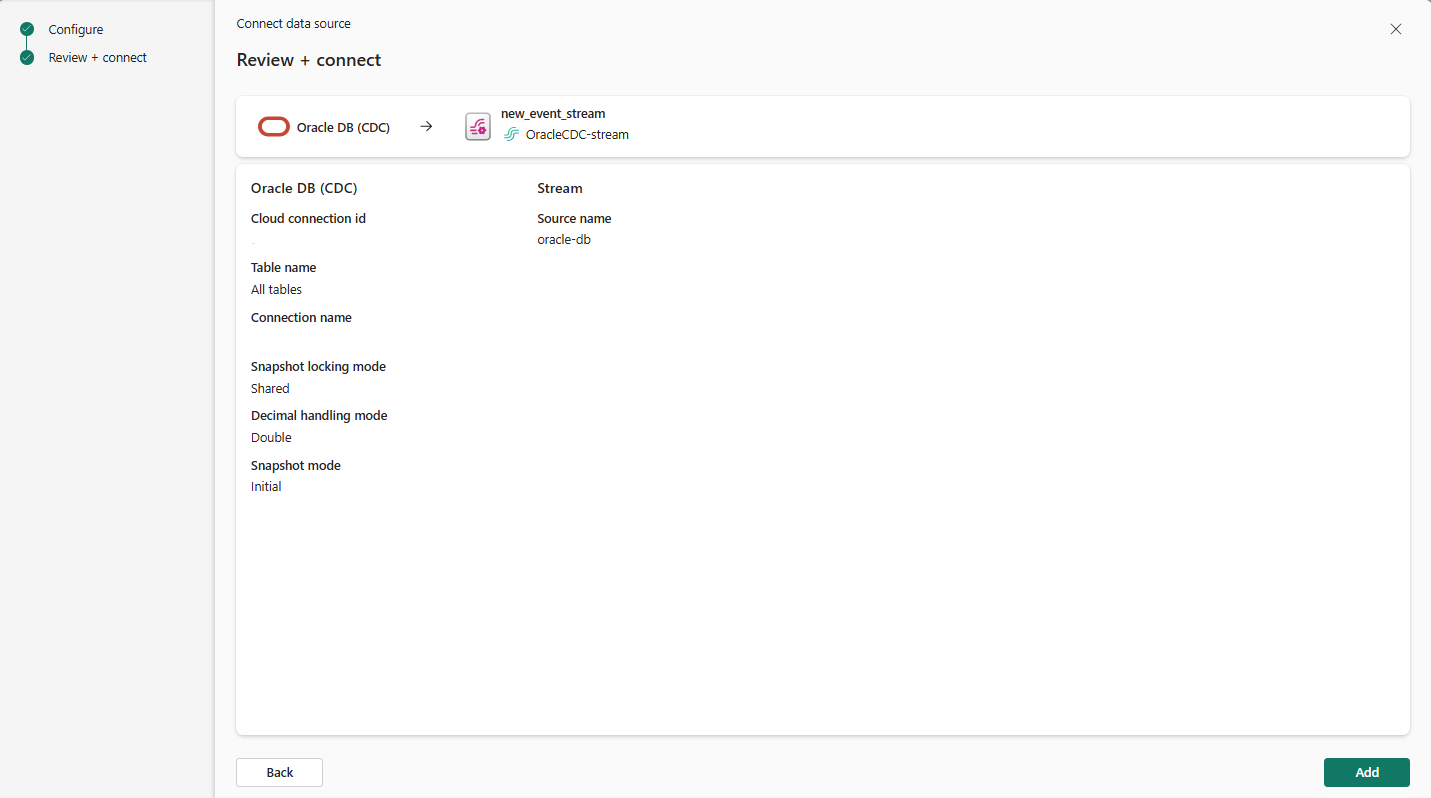
On Review + connect, review your settings.
Select Add (Eventstream) or Connect (Real-Time hub).


View data stream details
On the Review + connect page, if you select Open eventstream, the wizard opens the eventstream that it created for you with the selected Oracle Database CDC as a source. To close the wizard, select Finish at the bottom of the page.
You should see the stream in the Recent streaming data section of the Real-Time hub home page. For detailed steps, see View details of data streams in Fabric Real-Time hub.
Related content
To learn about consuming data streams, see the following articles: