Note
Access to this page requires authorization. You can try signing in or changing directories.
Access to this page requires authorization. You can try changing directories.
This article describes how to upload and manage a workload to Microsoft Fabric. Workloads enhance the usability of your service within a familiar workspace, eliminating the need to leave the Fabric environment. Fabric workloads increase user engagement and improve your application’s discoverability in the Fabric marketplace. The Fabric workspace includes various components, known as Fabric items, which handle storage, analysis, and presentation of your data.
Prerequisites
To deploy a workload, you must have the following prerequisites:
- A Fabric account with admin permissions.
- The NuGet package workload solution that you want to deploy. For information about creating a workload solution, see QuickStart: Run a workload sample.
Note
When DevGateway is connected to the Fabric backend, the developer workload takes precedence over the workload that's activated in the tenant. If you try to create an item in a workspace that's registered in the DevGateway configuration,, the Fabric backend calls your local workload instead of the activated workload.
Upload a workload
To upload a workload to Microsoft Fabric:
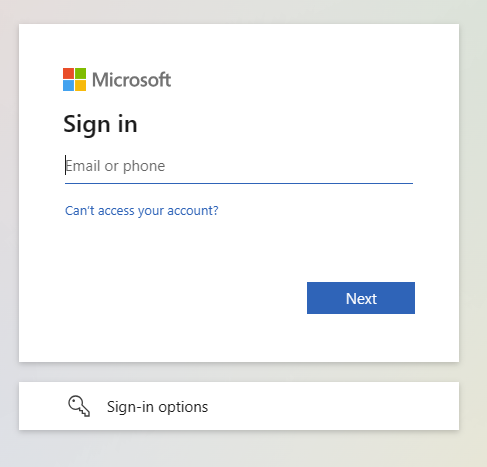
Sign in to Fabric with an admin account.
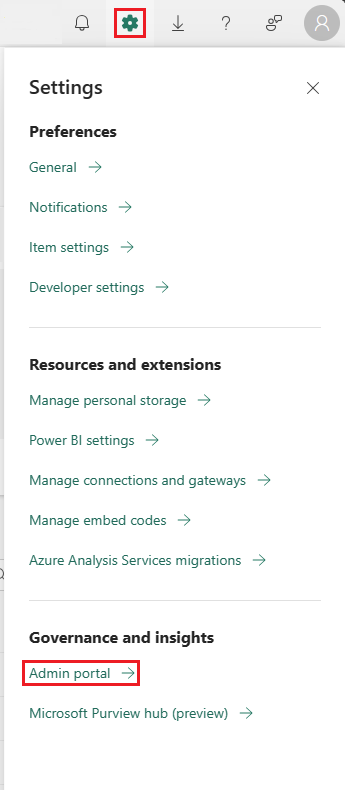
In Settings, go to Admin portal.
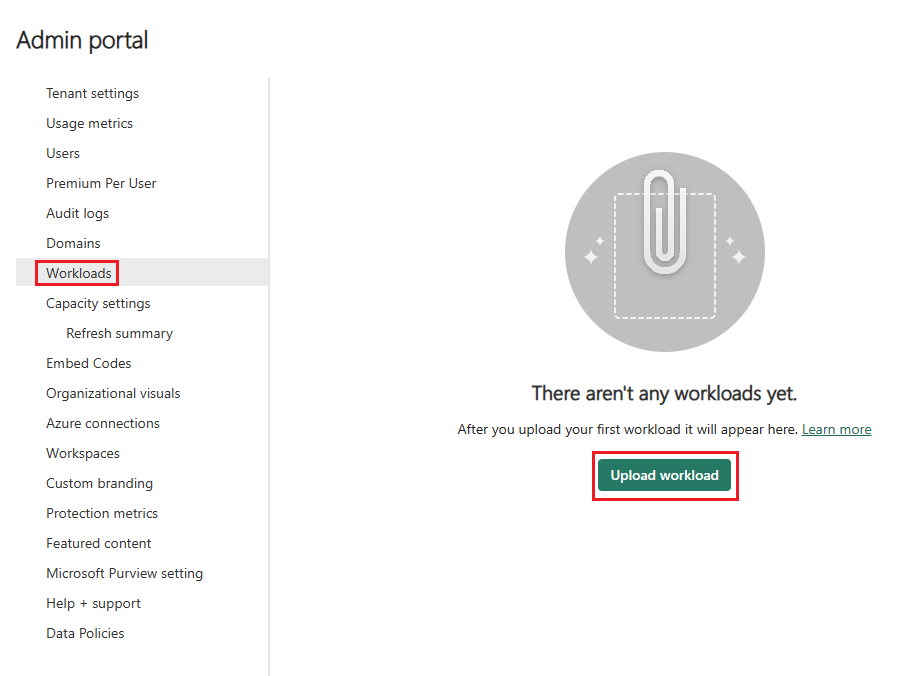
On Workloads, select Upload workload.
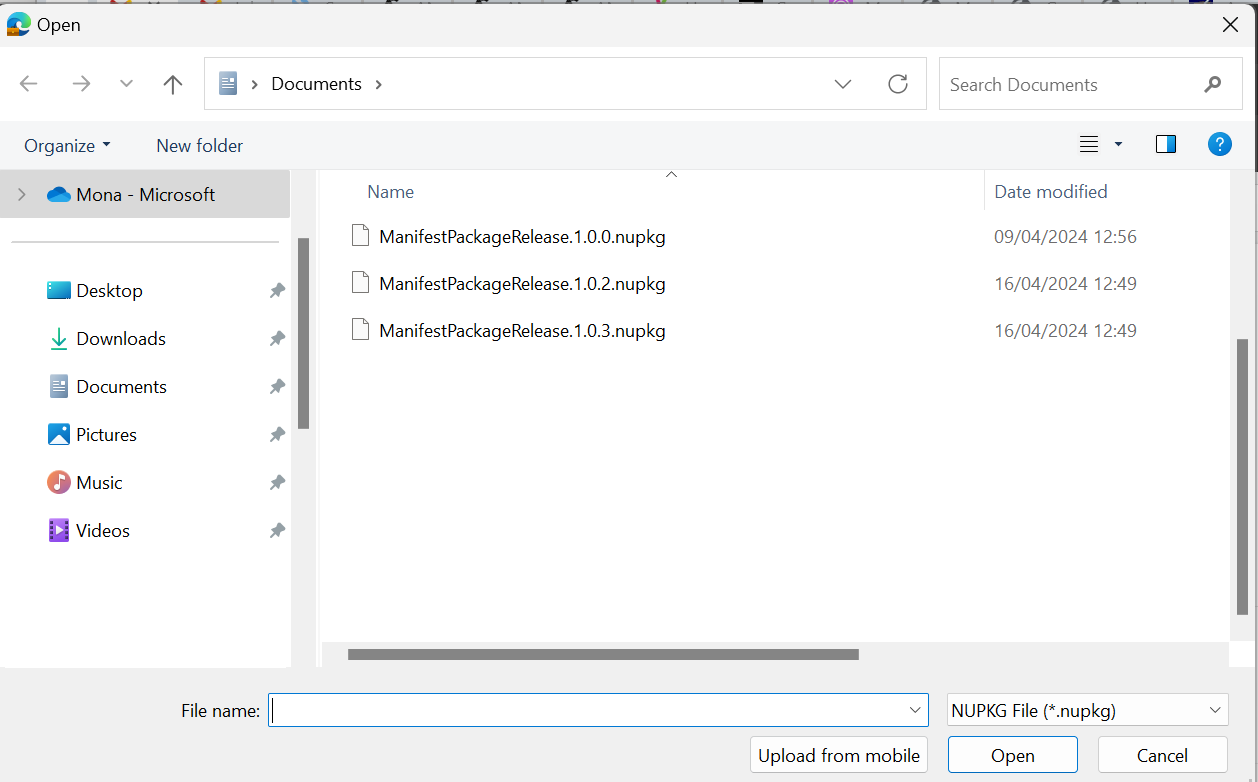
Go to the NuGet package you want to upload and select Open.
Select the workload.
Select the uploaded version.
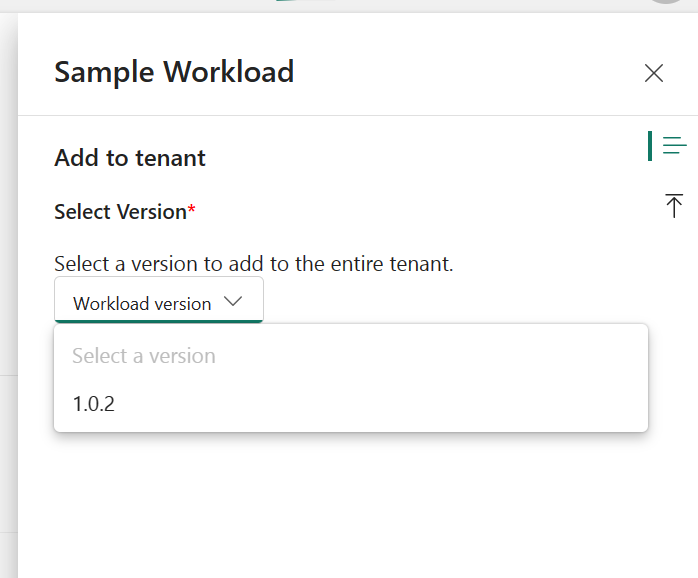
Select Add.
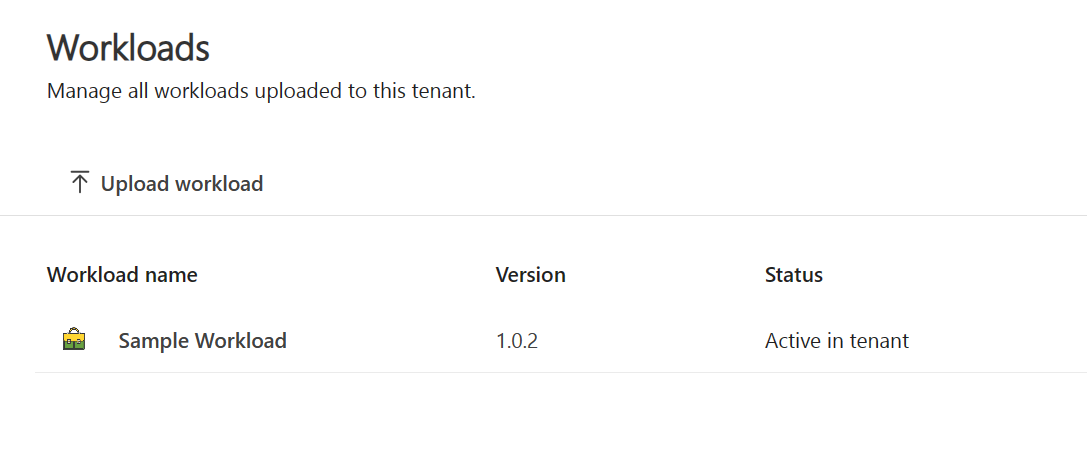
The version number is now listed, and Status is Active in tenant.
Manage a workload
After a workload is added, you can update, delete, or deactivate the workload.
Update a workload
To change to a different active version of a workload:
In the Admin portal, on the Workloads pane, select a workload to activate.
On the Add tab, select Edit.
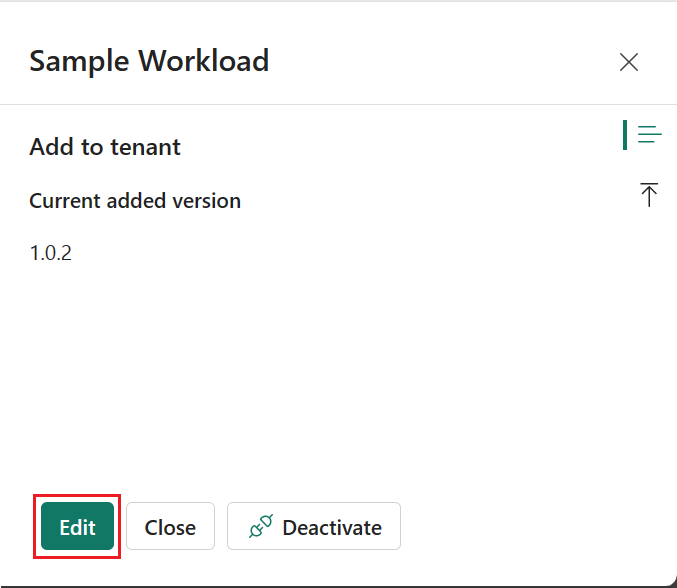
Select the version you want to activate and select Add.
Select Add again to confirm the change.
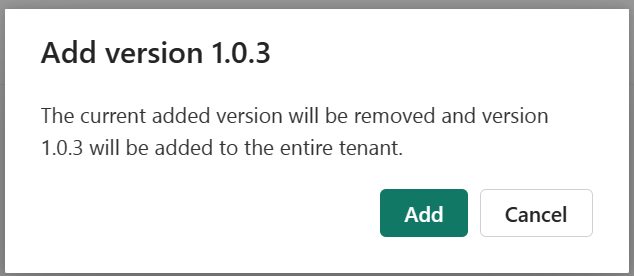
The new version number is now listed, and Status is Active in tenant.
Delete a workload
To delete a workload:
In the Admin portal, on the Workloads pane, select the workload to delete.
On the Uploads tab, next to the version you want to delete, select the Delete icon.
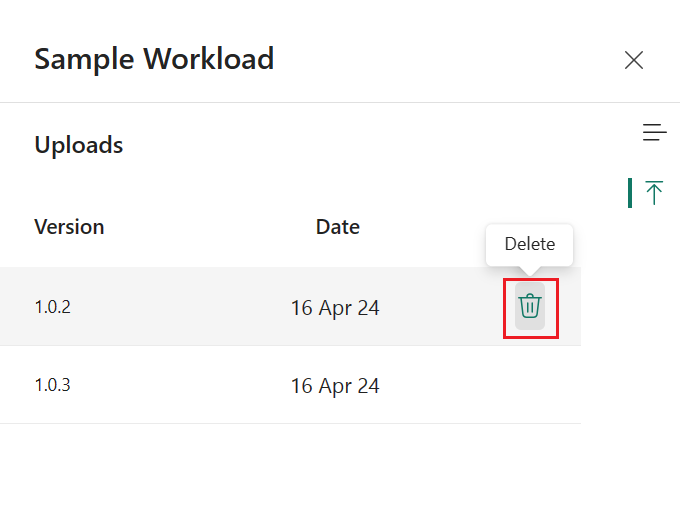
You can't delete the active version of a workload. To delete an active version of a workload, first deactivate the workload.
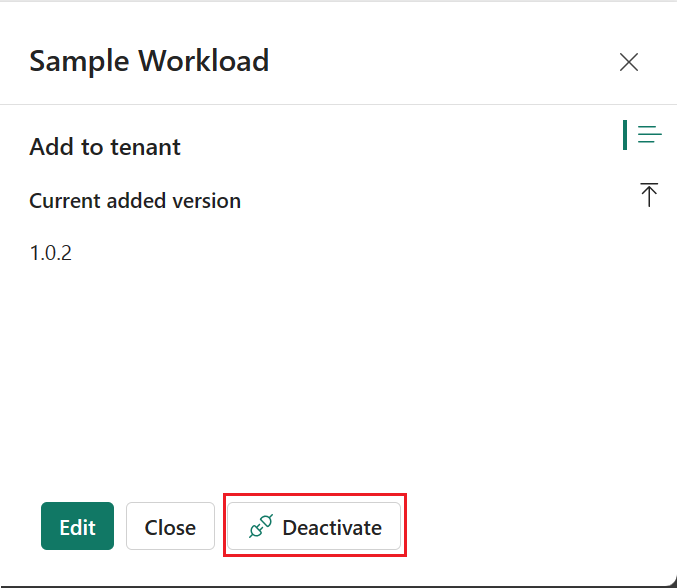
Deactivate a workload
To deactivate a workload:
In the Admin portal, on the Workloads pane, select the workload to deactivate.
On the Add tab, select Deactivate.