Note
Access to this page requires authorization. You can try signing in or changing directories.
Access to this page requires authorization. You can try changing directories.
Important
The Unreal Cloud Derived Data Cache (DDC) offering has been removed from the Azure Marketplace. As such, we're retiring this documentation on March 31, 2024. Until then, this documentation exists for reference only, with no official support available from Microsoft.
Please contact your Epic Games representative for more information about using Unreal Cloud DDC.
This quickstart describes how to create and manage an Unreal Cloud DDC from a GitHub Template Repository, using infrastructure as code (IaC) design principals.
This solution is useful for managing multiple Unreal Cloud DDC deployments, which may be helpful for testing or supporting multiple projects.
The repository provides a preconfigured CI/CD experience for managing your Unreal Cloud DDC deployments. Use this template as a base to easily manage multiple deployments.
Walkthrough
In this section, you'll deploy an Unreal Cloud DDC solution to Azure using GitHub. You'll also learn how to view and delete the solution.
Create and configure with basic options
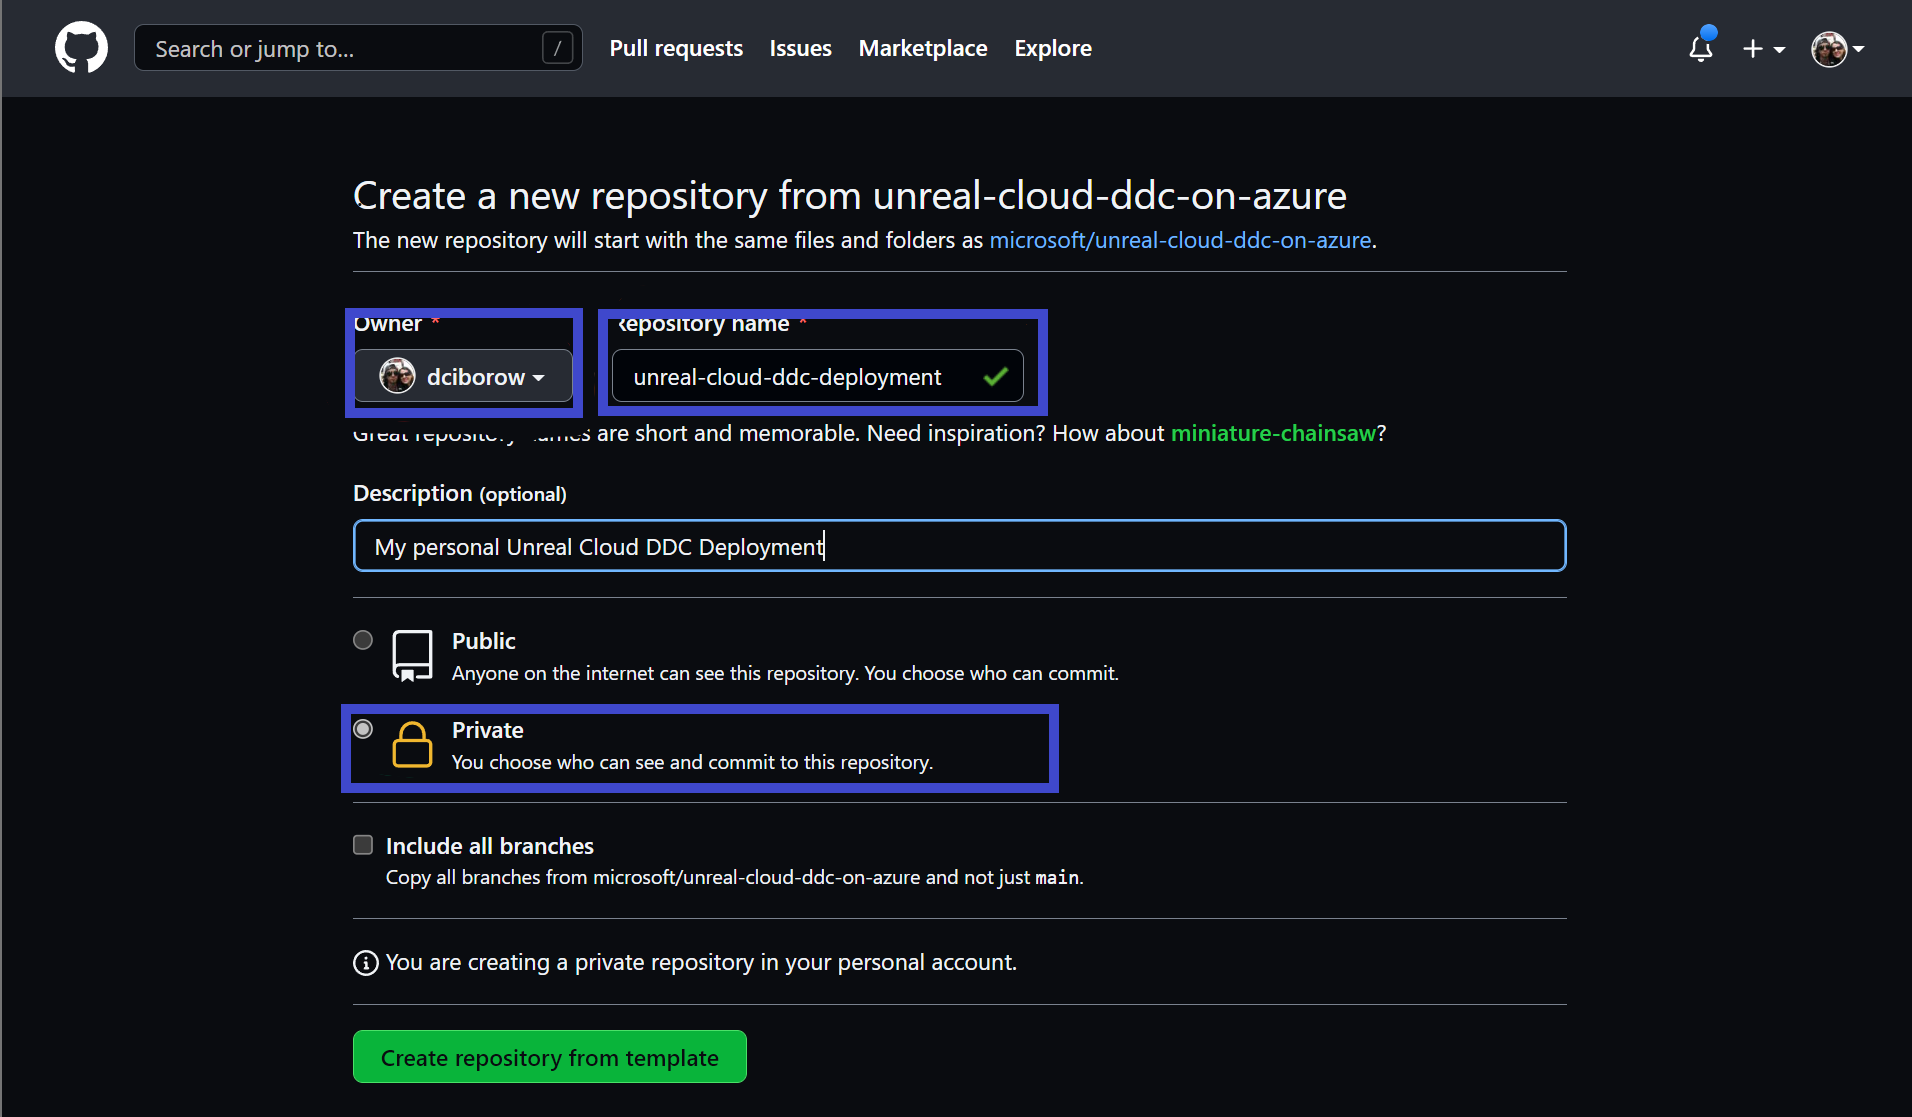
- Go to the GitHub Repository and select Use this Template -> Create a new repository.

- Select either your organization or your alias as the Owner and provide a Repository name. It is recommended the repository be set to Internal or Private.
- For the newly created repository, create a new Service Principal for the GitHub Actions automation following the steps here. The Service Principal will require Contributor and Role-based access control (RBAC) Granter or Owner access to the resource group. This is done once for the repository.
    az ad sp create-for-rbac \
        --name "unreal-cloud-ddc-github" \
        --role owner \
        --scopes /subscriptions/{subscription-id} \
        --sdk-auth
Important
You must been using an Enterprise or Public Github Repo to use Environments. If you are using a personal private repo, you will need to customize the deployment workflows instead using uniquely named repository secrets for each deployment.
- Go to Settings (settings icon) > Environments > Create a new environment for the Studio's GitHub account that you're using for this new repo.
Enter a new name for the environment. For example, "my-unreal-ddc-env". Remember the name used here as you'll be using it again later. You must have admin access to configure environments.
- Under Environment secrets, select Add secret. Enter AZURE_CREDENTIALS as the secret name and the JSON output of the previous step as the value.
- To add another secret, repeat the steps above. Enter APP_SECRET as the secret name and the secret from Worker SP you previously created as the value.
- Go to the configs folder and create a new folder within it. The folder name here must match the GitHub environment name that you created earlier. If you've used the example above, the folder name here needs to be "my-unreal-ddc-env".
- In the new folder (For example, configs > my-unreal-ddc-env), add a new JSON file called parameters.json. Customize this JSON file according to your needs.
{
    "$schema": "https://schema.management.azure.com/schemas/2019-04-01/deploymentParameters.json#",
    "contentVersion": "1.0.0.0",
    "parameters": {
        "location": {
            "value": "southcentralus"
        },
        "resourceGroupName": {
            "value": "studio-unreal-cloud-ddc",
        },,
        "servicePrincipalClientID": {
            "value": "<application-sp-id>"
        },
        "workerServicePrincipalClientID": {
            "value": "<worker-sp-id>"
        },
        "hostname":{
            "value": "<my-studio-hostname>"
        },
        "secondaryLocations": {
            "value": [
                "westus"
            ]
        },
        "epicEULA": {
            "value": true
        }
    }
}
Using configs/my-unreal-ddc-env/parameters.json as an example. Open the file and update the following parameters.
- Set your location
- Replace servicePrincipalClientID using the App ID created in the previous step.
- Replace workerServicePrincipalClientID using the App Object ID created in the previous step.
- Add the hostname which will be used as the endpoint to connect to Unreal Cloud DDC.
- List secondaryLocations, as additional regions to mirror the deployment.
- Set epicEULA to True to acknowledge that you're accepting the Unreal® Engine End User License Agreement.
Important
You must set the epicEULA value to TRUE in this file to acknowledge that you have accepted the Epic EULA.
After the parameters file has been committed, a GitHub action will automatically deploy the application into your Azure Subscription.
View the Unreal Cloud DDC deployment
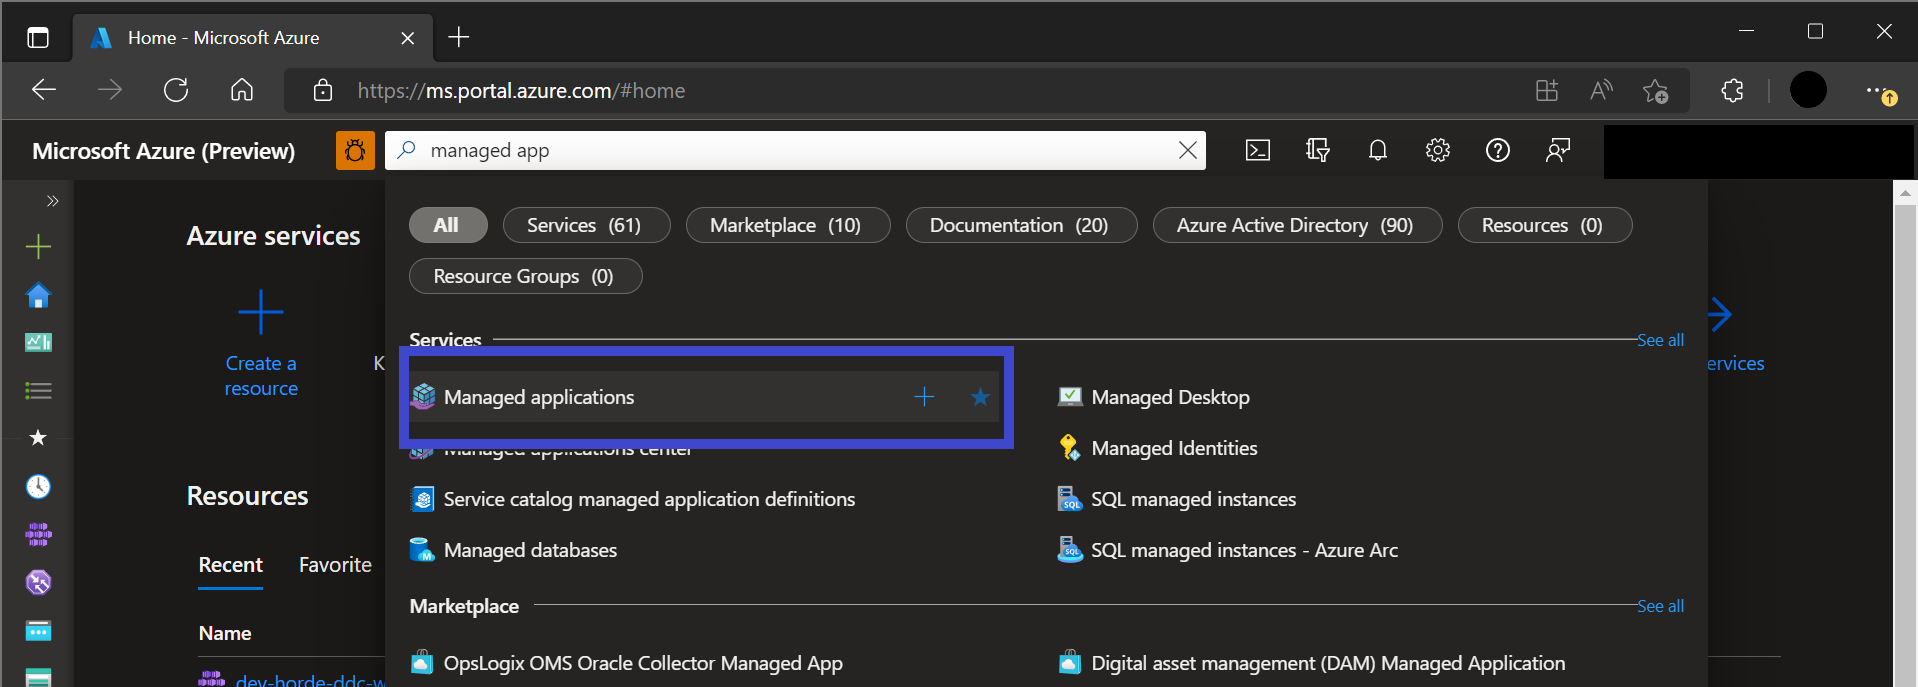
Go to the Azure portal menu or the home page and select Managed Applications.
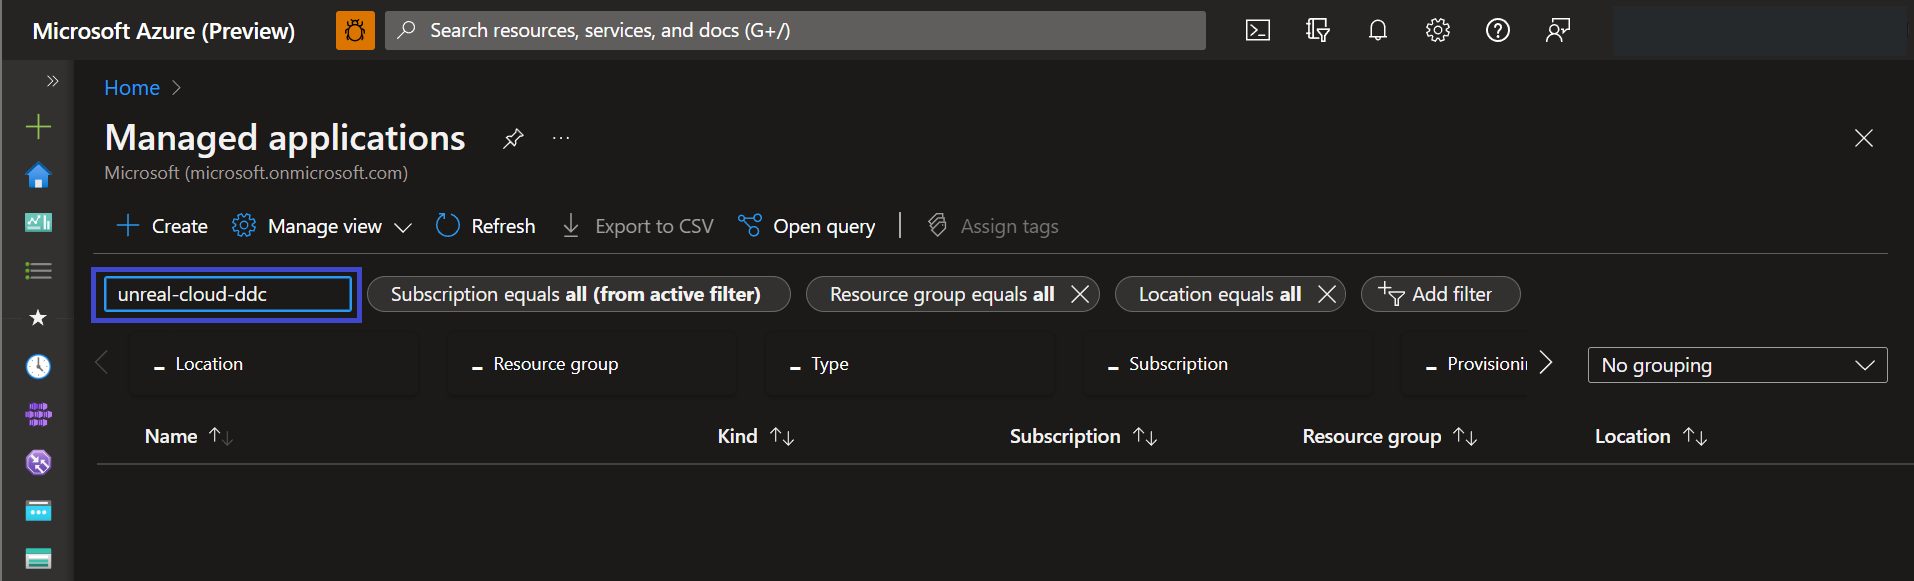
In the filter box, enter the deployment name and select it.
Delete the Unreal Cloud DDC deployment
If the deployment is no longer needed, delete it. This will also delete all nested resources within the group. There are several ways to delete the deployment. This is one way to do it.
- Go to the Azure portal menu or the home page and select Managed Applications.
- In the filter box, enter the deployment name.
- Select the check box and select Delete.
- Enter yes and select Delete.