Note
Access to this page requires authorization. You can try signing in or changing directories.
Access to this page requires authorization. You can try changing directories.
- PlayFab developer account
- Complete Quickstart: Game Manager to set up your PlayFab account.
- Visual Studio 2019 or 2022
- For GDK development, see SDK & tools requirements
Project Setup
Download and install the October 2025 (or later) Microsoft Game Development Kit (GDK), which includes the PlayFab Unified SDK.
Configure Project Compilation and Linking
- Additional Include Directories
- Right-click your Visual Studio project and select Properties.
- Go to C/C++ > General.
- Add the SDK's
includefolder (e.g.,$(GameDKLatest)\windows\include) to Additional Include Directories.
- Additional Library Directories
- Go to Linker > General.
- Add the SDK's
libfolder (e.g.,$(GameDKLatest)\windows\lib\x64) to Additional Library Directories.
- Additional Dependencies
- Go to Linker > Input.
- Add the required SDK
.libfiles from the SDK'slibfolder to Additional Dependencies (e.g.,xgameruntime.lib,PlayFabCore.lib,PlayFabServices.lib,PlayFabMultiplayer.lib,Party.libetc.).
- Runtime Dependencies
- Copy the required SDK
.dllfiles from the SDK'sbinfolder (e.g.,$(GameDKLatest)\windows\bin\x64) to your project's output directory (e.g.,libHttpClient.dll,PlayFabCore.dll,PlayFabServices.dll,PlayFabMultiplayer.dll,Party.dll, etc.).
- Copy the required SDK
Troubleshooting setup issues
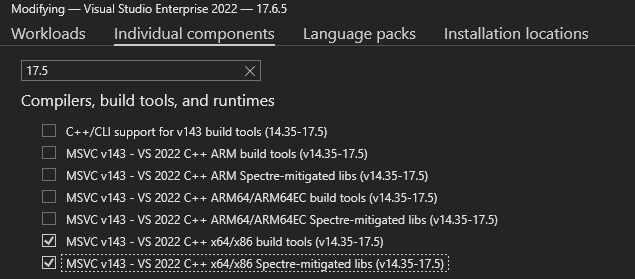
If you encounter linking issues, ensure Visual Studio build tools and libraries (version 17.5 or later) are installed. In Visual Studio Installer, select Modify for VS2022 and add the required components.