Note
Access to this page requires authorization. You can try signing in or changing directories.
Access to this page requires authorization. You can try changing directories.
Microsoft School Data Sync simplifies class management in Office 365. School Data Sync reads rosters from your SIS and creates classes and groups for Microsoft Teams, Intune for Education, and third-party applications. You must set up School Data Sync to use Microsoft Graph education APIs.
To access the School Data Sync admin portal, launch a private web browser, go to sds.microsoft.com, choose Sign In, and enter the Office 365 Global Admin account credentials that you created when you set up your demo EDU tenant. After you sign in:
In the left pane, choose + Add Profile to create a sync profile.
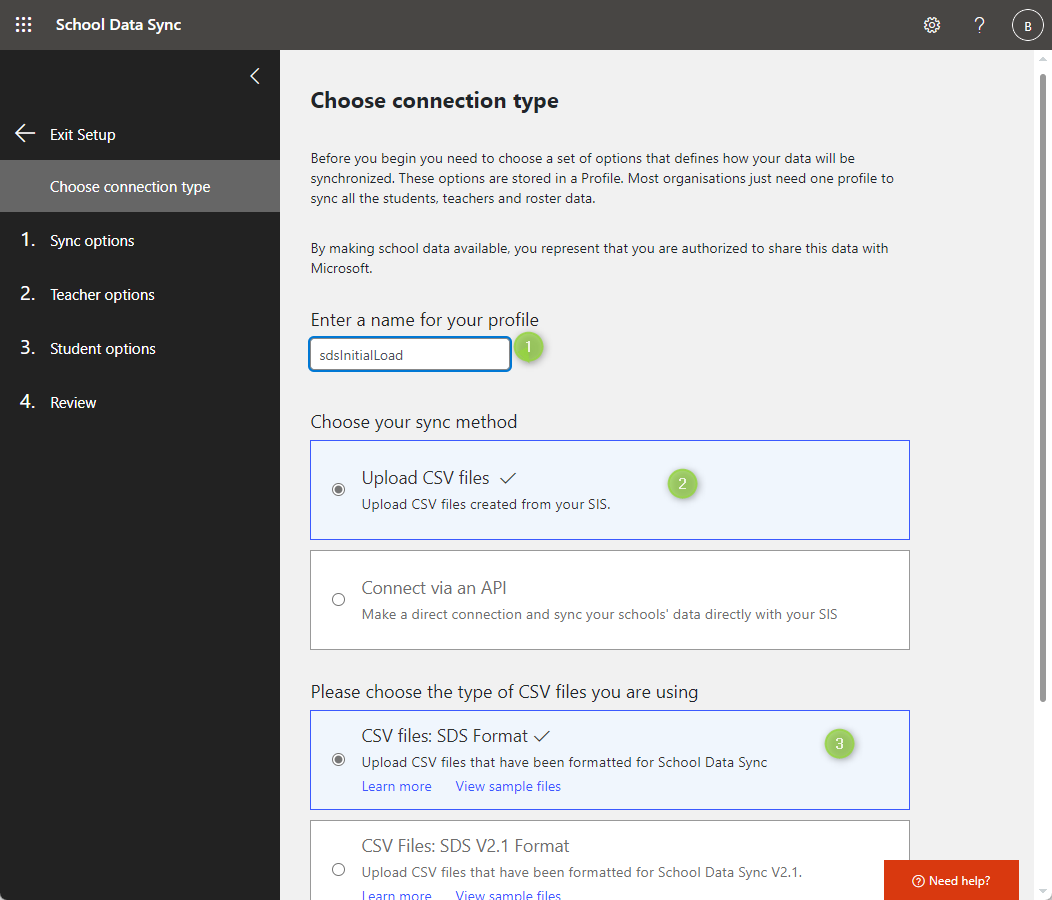
On the Choose connection type page, complete the form.
- Enter a name for your sync profile. This name will be used to identify the sync profile in the SDS Dashboard; you can't change it after you finish the setup process.
- Select Upload CVS files and CVS files: SDS Format.
- Choose Start.
On the Sync options page, select New users, and then choose Upload files to upload your six CSV files.
Choose a future stop date, and then choose Next.
- In a production scenario, you would choose to sync existing users.
- For more information about the sync process, see How to deploy School Data Sync by using CSV files.
On the Teacher options page, make sure that faculty licenses are selected and choose Next.
On the Student options page, make sure that student licenses are selected and choose Next.
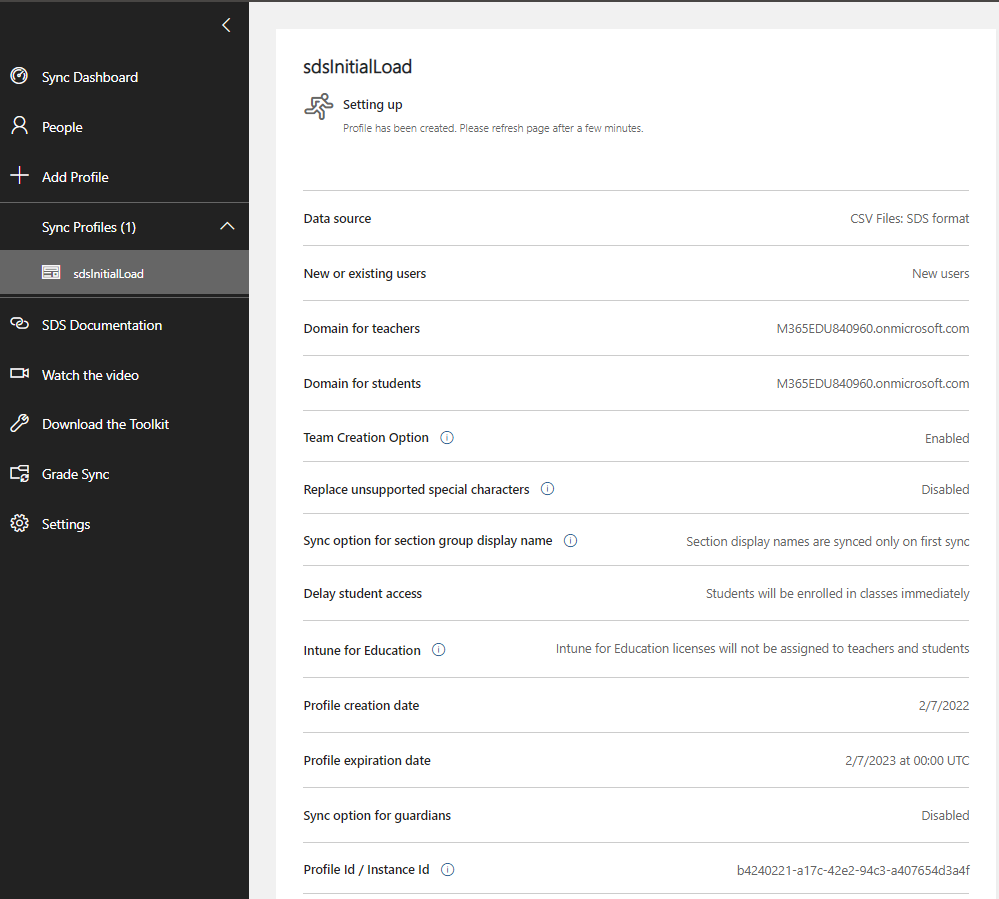
On the Review page, verify that you made the appropriate selections, and choose Create profile.
After you create a sync profile, SDS begins a presync validation process. During this process, SDS verifies that there are no obvious errors with your CSV files.
- If any errors are found during the pre-sync validation process, you will have the option to fix them and re-upload the files before you resume the sync.
- If errors occur and you choose not to update the CSV files, you can still choose to resume sync. Just be aware that SDS can only sustain up to 15,000 errors before the profile enters a quarantine status.
The sync process will take some time. When prompted, press F5 to manually refresh the status page.