Configure bookings for Collaboration Manager
You must configure bookings in Collaboration Manager before you are able to set up bookings with customers. You'll need to create a booking business if you don't already have one, and then update your settings value in Microsoft Power Apps. This article will guide you through the entire process.
Create a new Booking business
Sign in to Bookings as an admin user.
If this is your first time using Bookings, you may be prompted with a Get Started button. Fill in all the business information.
If you already have a Bookings business and need to create an additional one, select the chevron next to your currently active Bookings business. Then select New.
You can also create a new booking business by selecting New.

Add staff
- Select Staff to view your staff.
- Select Add to add a new staff member by searching for a user and selecting their name.
- Choose a user role. Users can either be a viewer, an administrator, or a guest.
- Viewer: A viewer can see bookings but can't create or delete them.
- Administrator: An administrator can view, create, and delete bookings.
- Guest: A guest can be assigned to a booking but can't view the calendar. Users assigned to this role have limited abilities, so it isn't recommended to assign someone as a guest unless you have reason to not want them to have access to the calendar.
Add services
- Select Services to view your services.
- Select Add a Service to add a new service and assign staff.
Booking customers
Customers will load automatically from Microsoft Dataverse and appear in the booking business when you create a booking. You don't need to create customers manually.
- Select Customers to view your customers.
- After creating a booking, you can select a customer to view their details.
Configure Booking business ID settings value
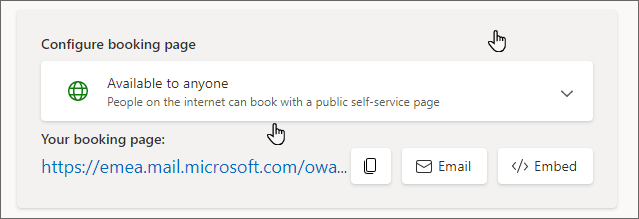
Go to your calendar's booking page.
Copy the URL to your booking page. The part of the URL that appears between /calendar/ and /bookings/ is your booking ID.
Note
Your bookings page may look different depending on which version of Booking's you're using. Enable the Try the new Bookings toggle at the top right of the page to use the latest version.
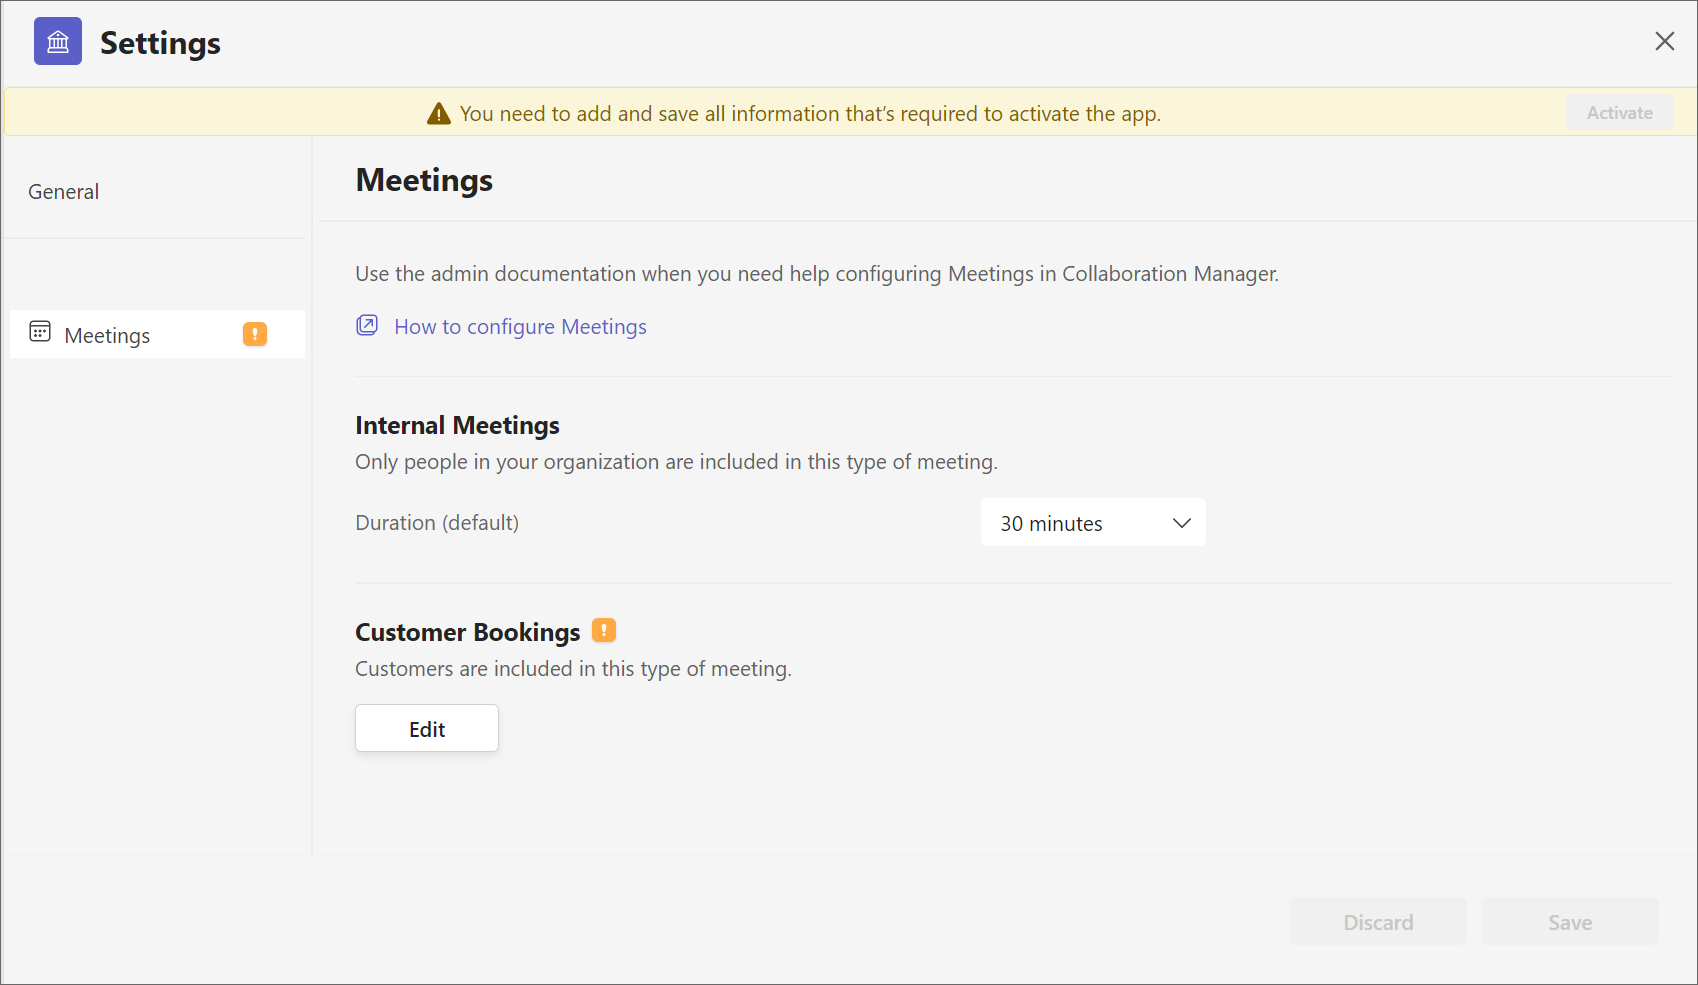
Open Collaboration Manager for Loans, select a record, and navigate to Settings from the Tasks tab.
Next, go into the Meetings tab to the Meetings section and choose Edit in Customer Bookings.
Paste in the Booking Business ID that you retrieved in step 2.

You can access Microsoft 365 Bookings apps from this page by using the link Manage customer information and create templates in Bookings.
Select Save to save your changes.
Configure the duration of internal meetings
The value you choose for internal meetings duration determines how long internal meetings will last by default.
Note
The duration you set for internal meetings won't affect how long customer bookings last.
Open Collaboration Manager for Loans and navigate to Settings.
Open the Meetings section and choose a duration for internal meetings.
Select Save to keep your changes.