Managing Access with IP Filters
Access to most DeployR services requires that the user be authenticated and have the proper permissions, which are determined by the system role(s) granted to that user. Access can be further restricted with an IP filter, which is managed in the IP Filters tab in this console.
Once you create an IP filter, you can specify and assign the filter to authenticated, asynchronous, and anonymous grid operation modes in the Server Policies page.
Figure: IP Filter list
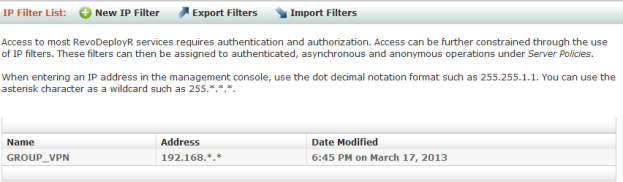
When entering an IP address, use the dot decimal notation format such as
255.255.1.1. Use the asterisk character as a wildcard such as255.*.*.*.
Creating New Filters
To create a new filter:
From the main menu, click IP Filters.
In the IP Filter List page, click New IP Filter in the menu. The New IP Filter page appears.
Figure: New IP Filter page
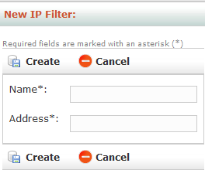
In the Name field, enter a unique name made up of alphanumeric characters and underscores but not spaces nor any other punctuation.
In the Address field, enter the IP address using the Ant-style patterns, such as
10.**, or masked patterns, such as192.168.1.0/24or202.24.0.0/14, specifying either IPV4 or IPV6 patterns. Do not enter http:// before the IP sequence.Click Create to save the new filter.
Deleting Filters
To delete a filter:
In the IP Filter List, click the filter name in the table. The Edit IP Filter page appears.
Click Delete and confirm the removal of the filter.
Viewing and Editing Filters
To view and edit a filter:
From the main menu, click IP Filters.
From the IP Filter List page, click the name of the filter you want to view or edit in the table. The Edit IP Filter page appears.
Make changes to the name or address as needed.
Click Update to save the changes.
Applying Filters
You can apply a filter to a specific node operating type in the Server Policies tab in this console so that all nodes designated for that type of operation inherit this IP filter automatically.
Exporting Filters
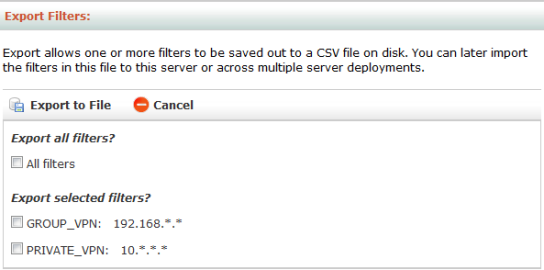
You can export one or more IP filters into one CSV file. Exporting can be used to copy the IP filters to another machine or to preserve them as a backup. You can later import the contents of this file to this server or across multiple server deployments.
Figure: Export Filters page
To export:
From the main menu, click R Filters.
From the R Filter List, click Export Filters.
Select the R filter(s) you want to export. You can choose to export all of them or individually select the filters to be exported
Click Export to File and save the CSV file.
Importing Filters
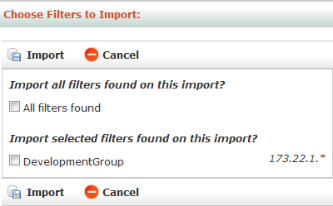
You can import IP filters from a CSV file into the server. This file can come from a previous export or might be a file you created manually using the proper format.
Figure: Import Filters page
To import:
From the main menu, click R Filters.
From the R Filter List, click Import Filters.
Click Browse and select the
CSVfile to import.Click Load.
Choose to import all filters or individually select the filter(s) to import.
Click Import. If a filter by the same name exists, then a message appears to inform you that the incoming filter was rejected.