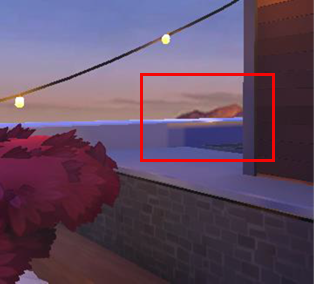
Lighting
For Microsoft Mesh environments, utilize Unity Baked Lighting. To include a Mesh object in the light bake, make sure you check the Static checkbox in the Inspector.
All Unity light types are available when using baked lighting. Make sure you set the mode to "Baked". Realtime lights aren't supported for use in the environment.

All Unity light types are available when using baked lighting.
To include a mesh object in the light bake, make sure you check the Static checkbox in the Inspector.

If this isn't checked, lighting won't be applied to the mesh and it won't cast any shadows in the scene.
The Scale in Lightmap value increases/decreases the size of the selected mesh's UVs in the Unity light map bake. If you need to change a specific mesh's resolution, this is where to do it.

Leave Scale in Lightmap at its default (1) while setting up your scene.
If you need to increase overall scene light map resolution, don't do it on a mesh-by-mesh basis; do it in the scene Lightmapping Settings.
Quick tips for lighting
The further a mesh object is from the scene's playable space, the smaller its Scale in Lightmap value can be.
Deemphasizing far away objects in the light bake is a great way to save light bake texture space and use resolution on objects that players can get up close to.
Dynamic lighting
Most environments use baked lighting, but there are a handful of objects in your environment that need to be dynamically lit. For example, avatars, user content, and physics objects. To ensure these objects are properly lit add a single directional light that is:
Type: Directional
Mode: Real time
Culling Mask: includes "Avatars" and "UserContent"
Color and intensity can be any values that suit the environment. The Content Performance Analyzer will also display an error if a light like this is not found.

Light Mapper Settings
- On the Windows menu, select Render > Lighting.
- Navigate to the Lightmapping Settings section.
 .
.
Save a new lighting file per scene.
To keep backface errors out of the light bake: Create a new Lightmap Parameters file and set Backface Tolerance to a very low number.
Here's a scene with a backface tolerance setting of 1.0:
 .
.
Here's the same scene with a backface tolerance setting of .002:
 .
.