Note
Access to this page requires authorization. You can try signing in or changing directories.
Access to this page requires authorization. You can try changing directories.
Initial View
When File / Open is selected, the desktop application "backstage" with the user’s Most Recently Used (MRU) document list and provisioned service locations are shown to the user.
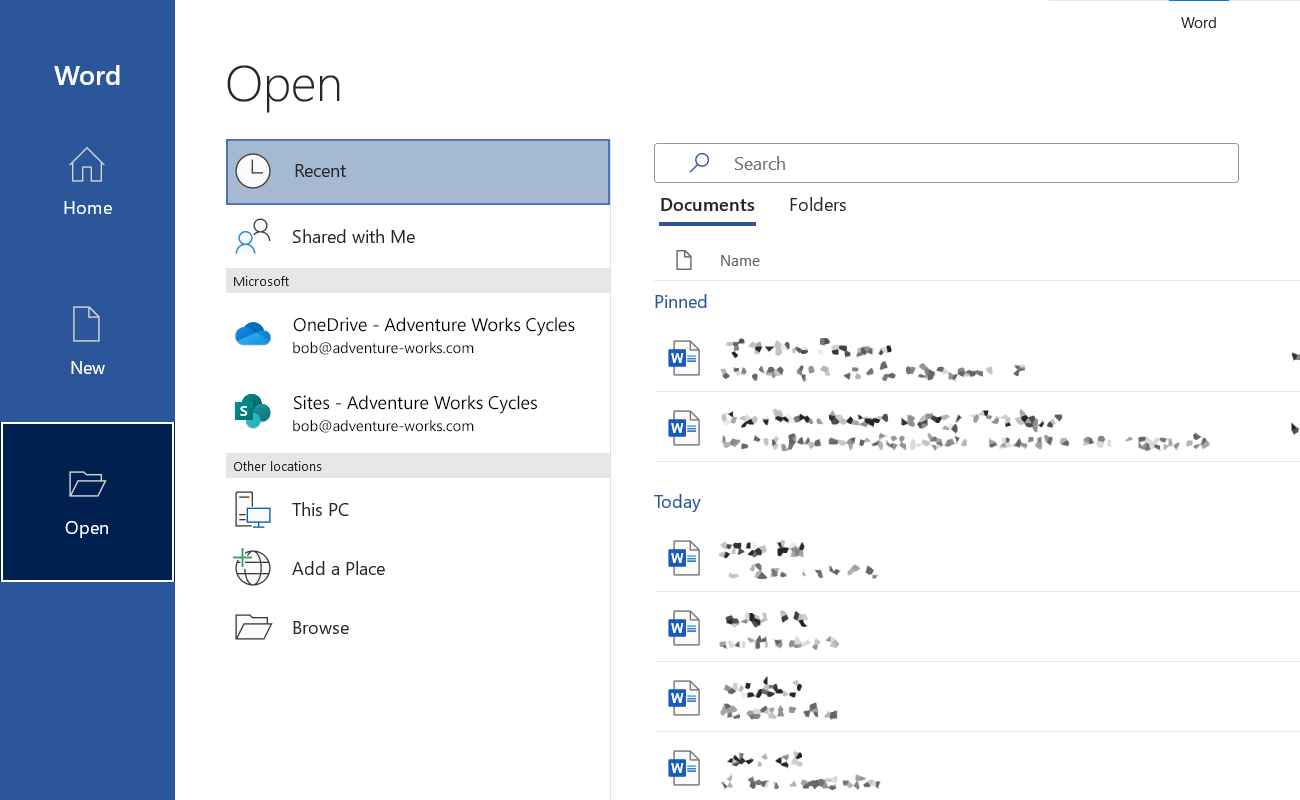
Figure 1a - Initial installation - Windows
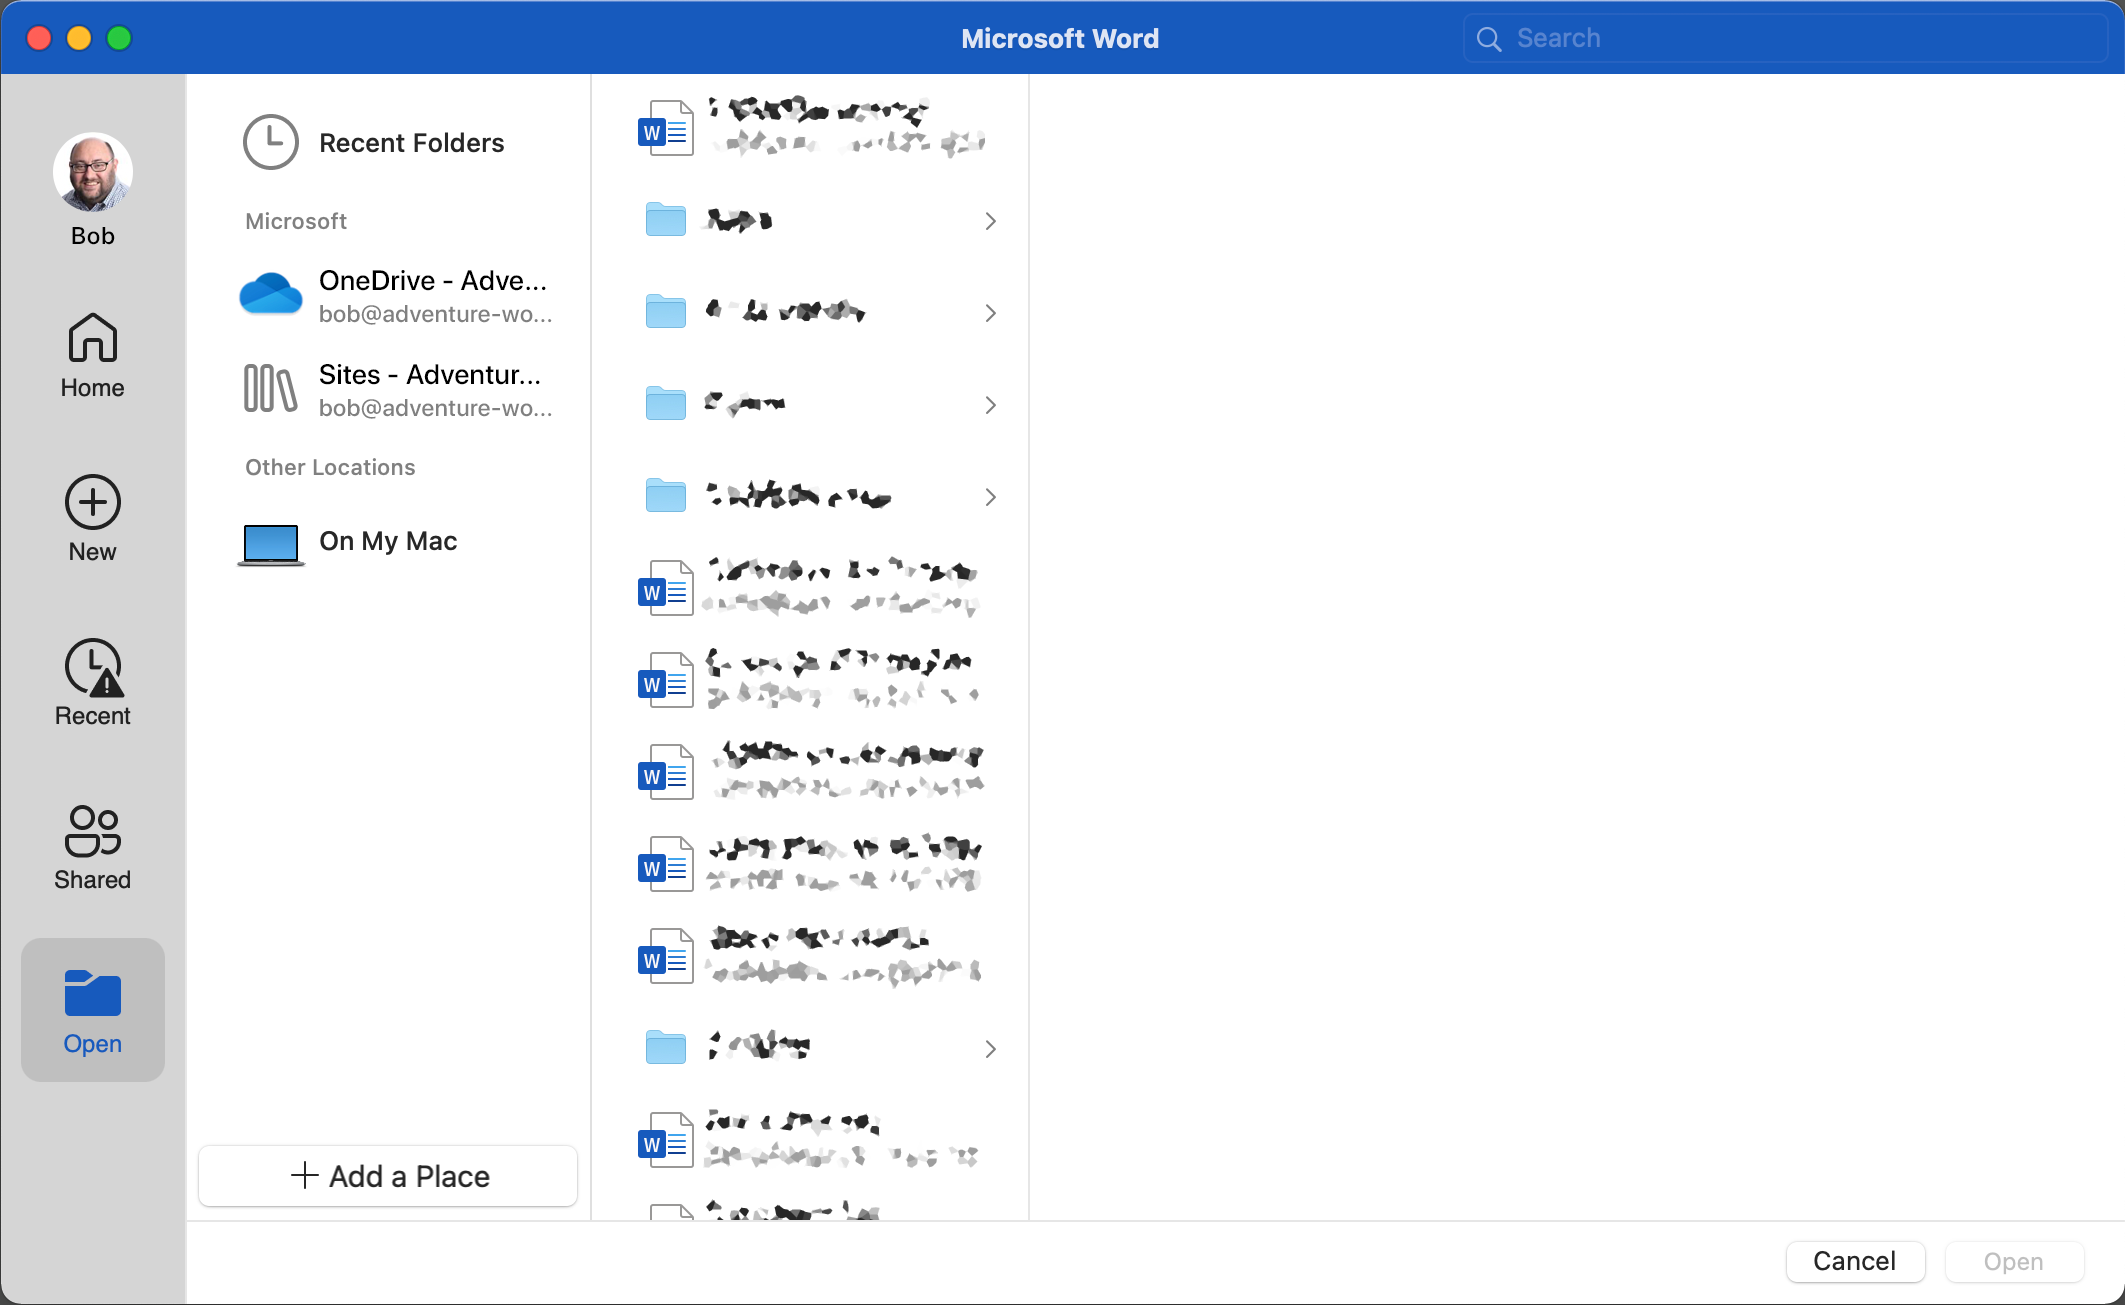
Figure 1b - Initial installation - Mac
In the example above, OneDrive for Business and SharePoint have been previously provisioned for this user.
Adding a Service
To enable opening, editing, and coauthoring of files stored in CSPP Plus third-party services using the Office Desktop applications, the user must first provision the third-party services for their device. This involves selecting the third-party service from the list shown in Add a Place and successfully signing in to that service. The same results can be obtained from Account / Add a service and selecting the third-party service from there.
Once successfully added, the third-party service will show up in the Open section of the application "backstage" across Word, Excel, and PowerPoint on that device.
Step 1: Select a service
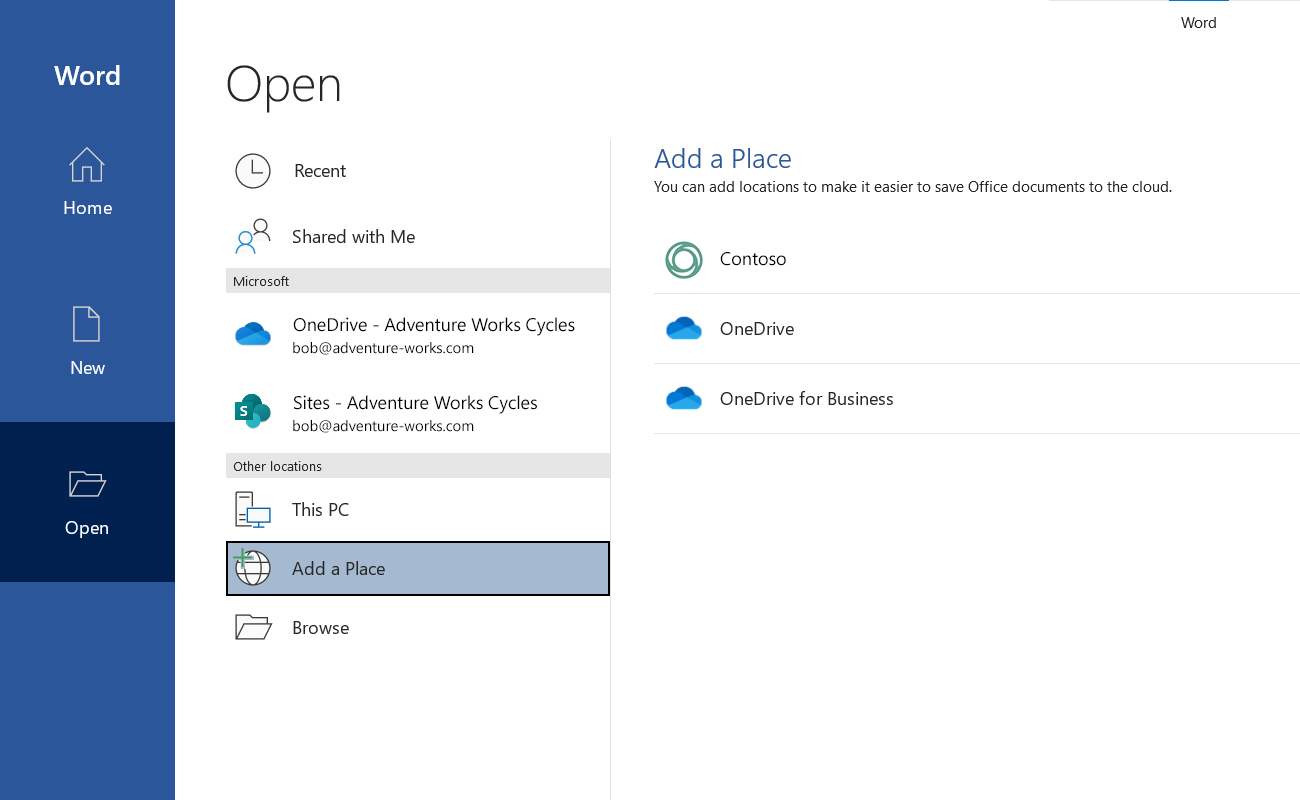
Figure 2a - List of available services in Add-a-Place - Windows

Figure 2b - List of available services in Add-a-Place - Mac
Step 2: Sign in
When a service is selected in the list, the user is prompted to sign in. This experience is provided by the third-party host.
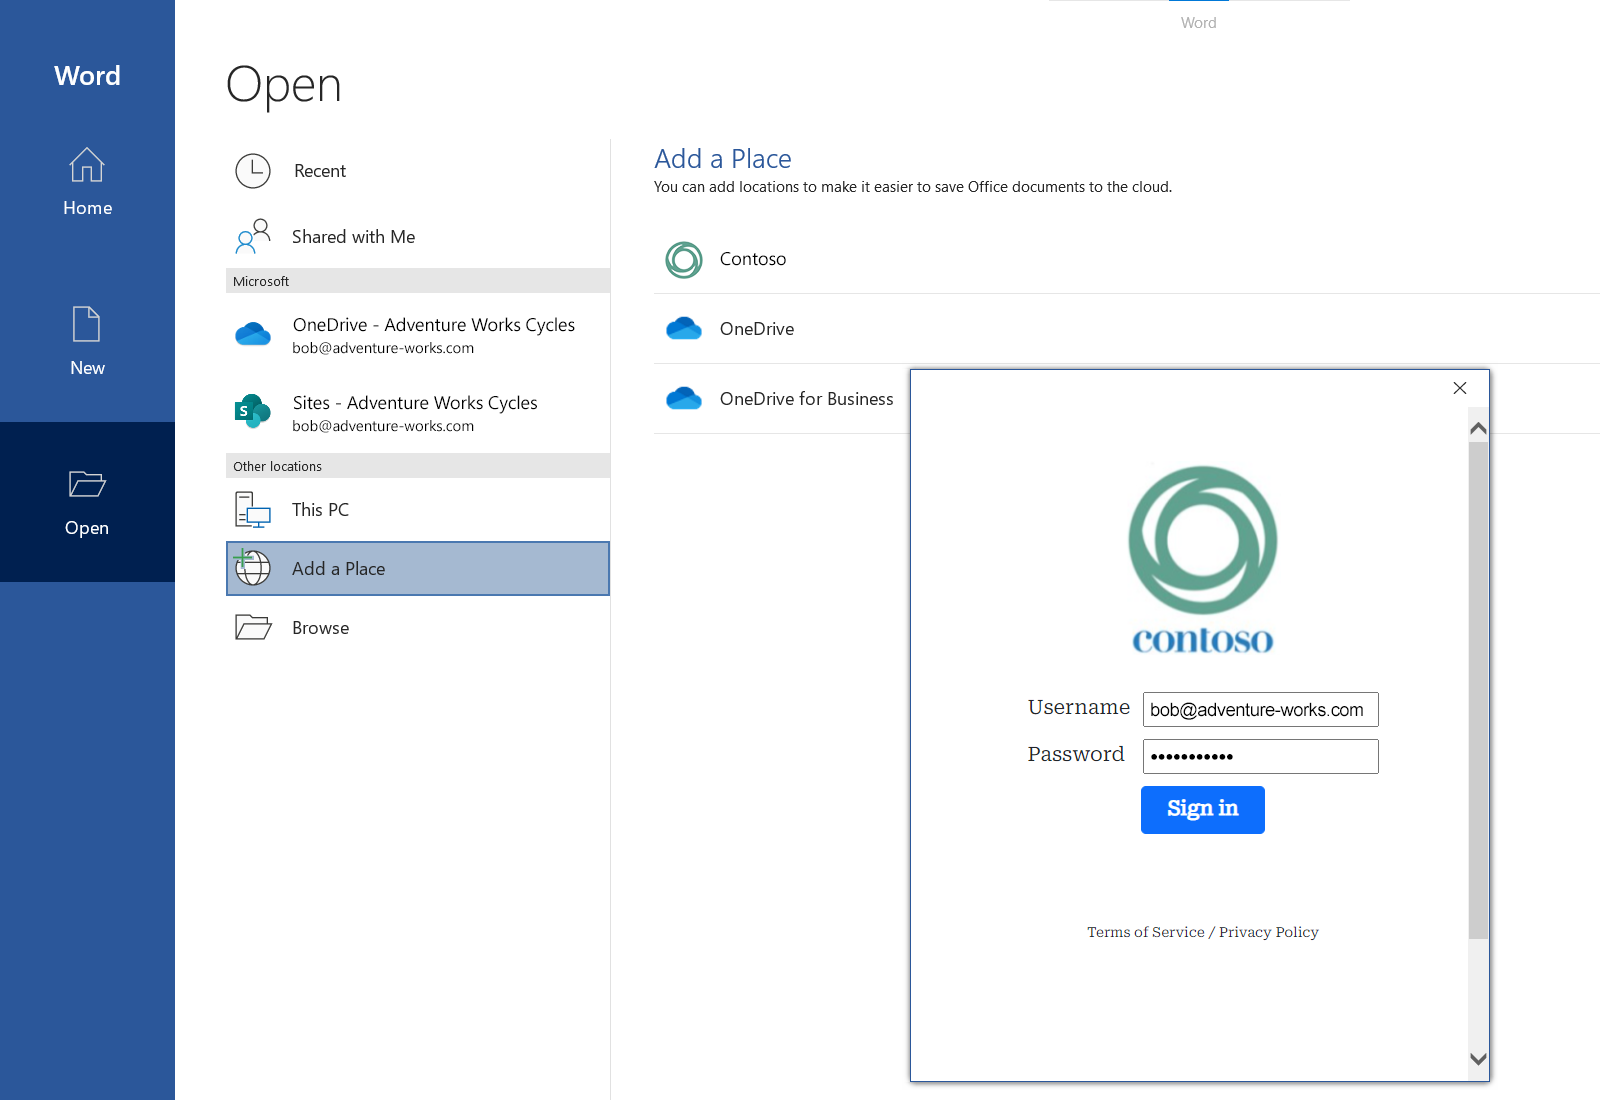
Figure 3a - Third-party service sign-in - Windows
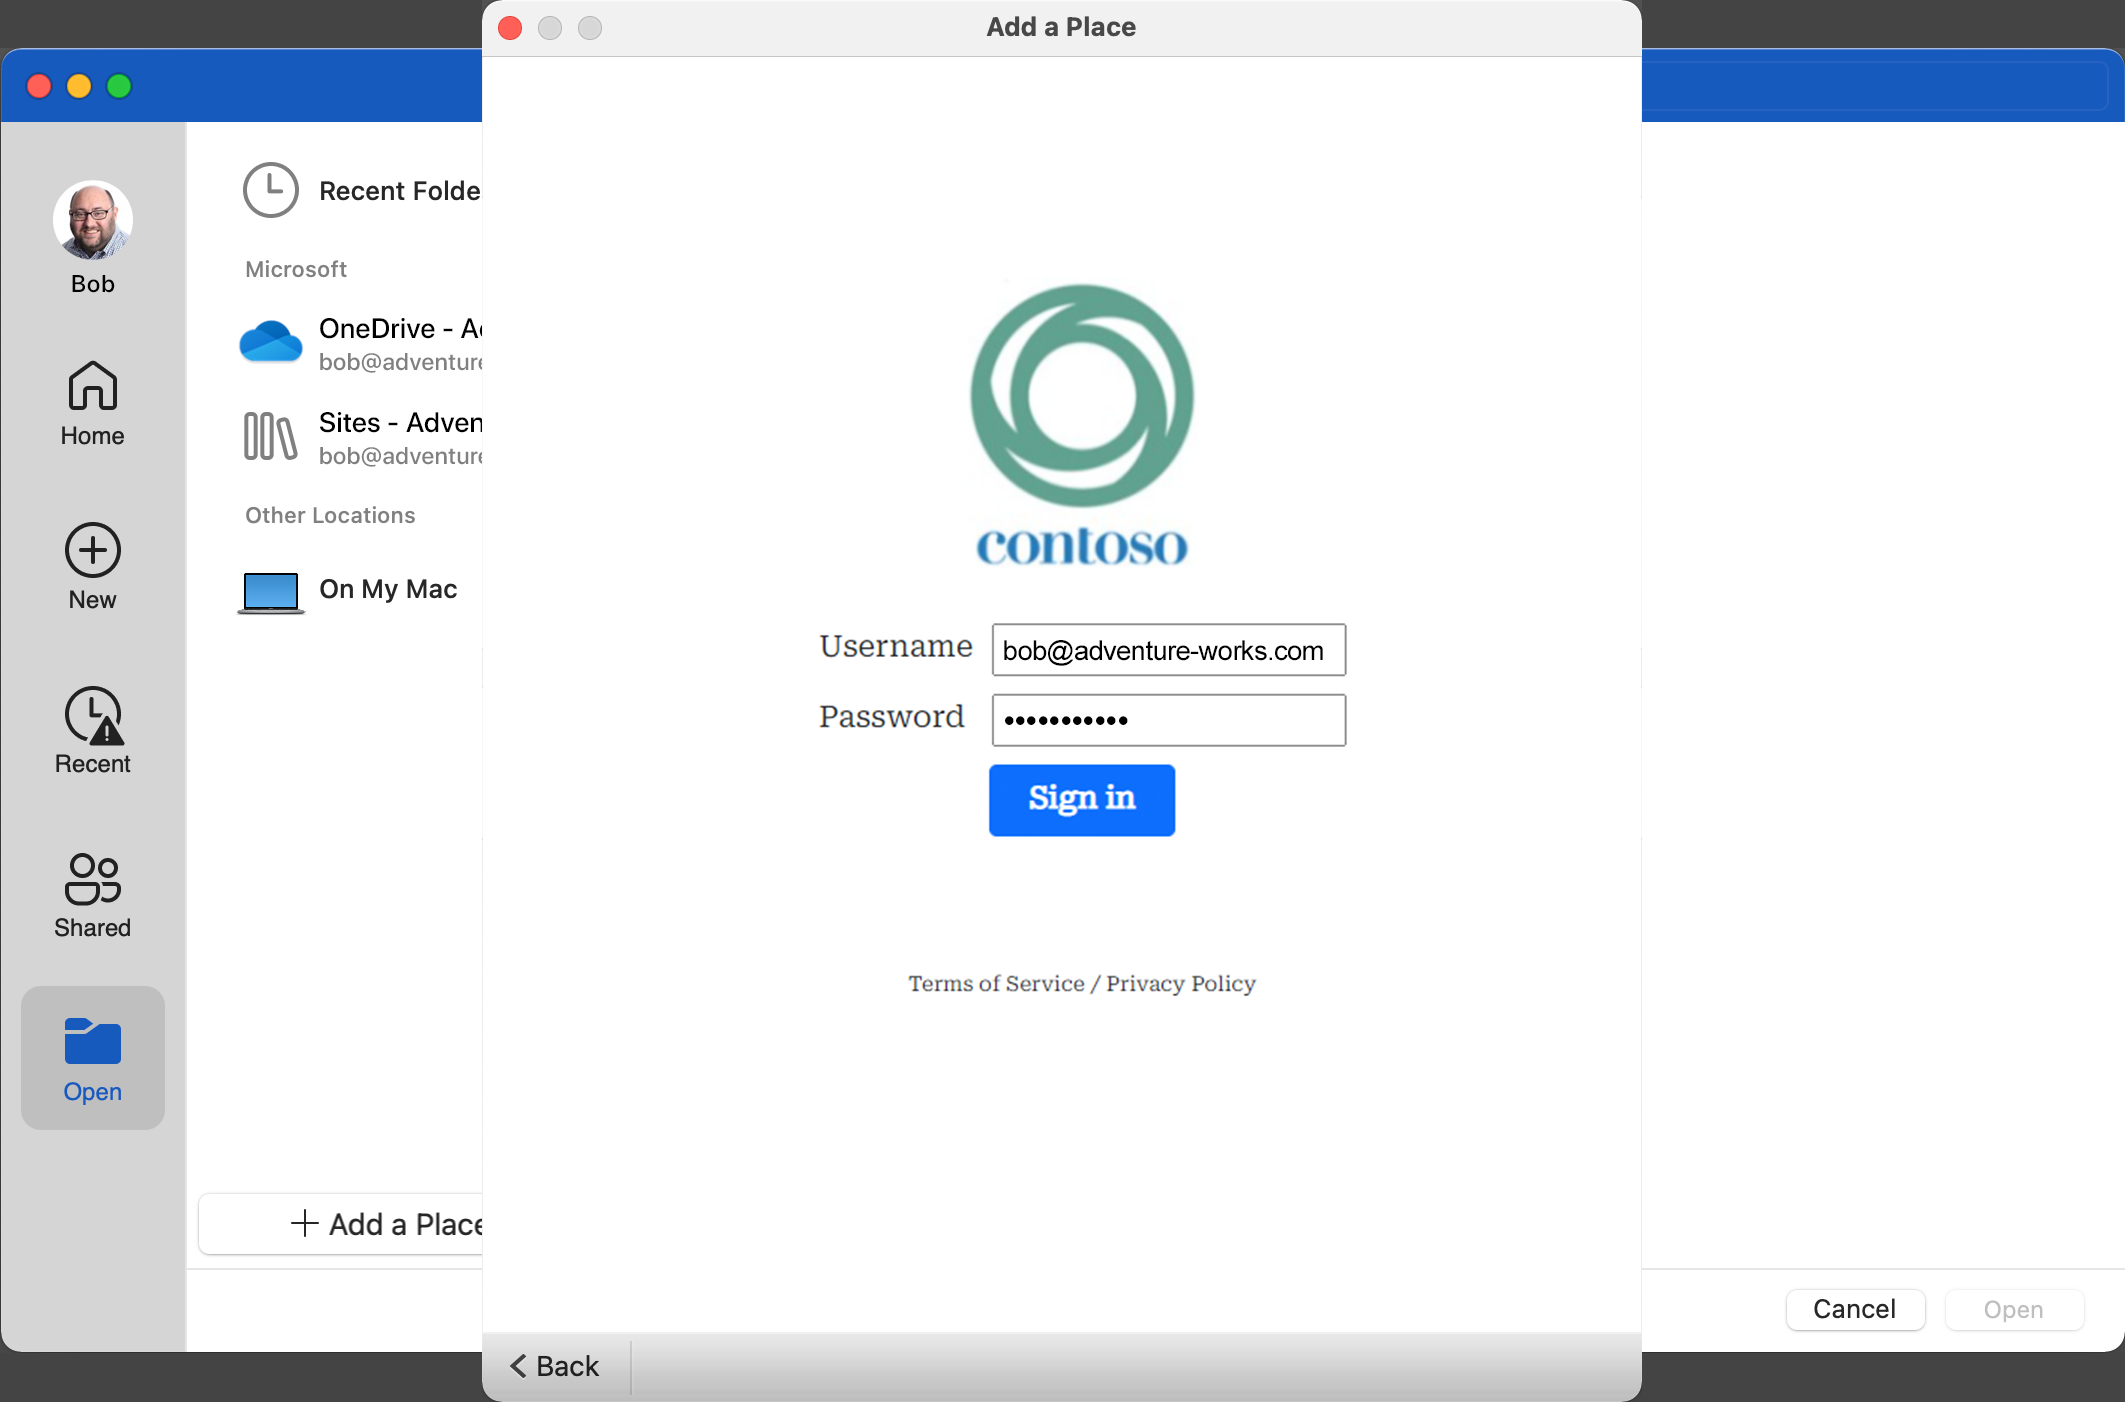
Figure 3b - Third-party service sign-in - Mac
Provisioning Complete
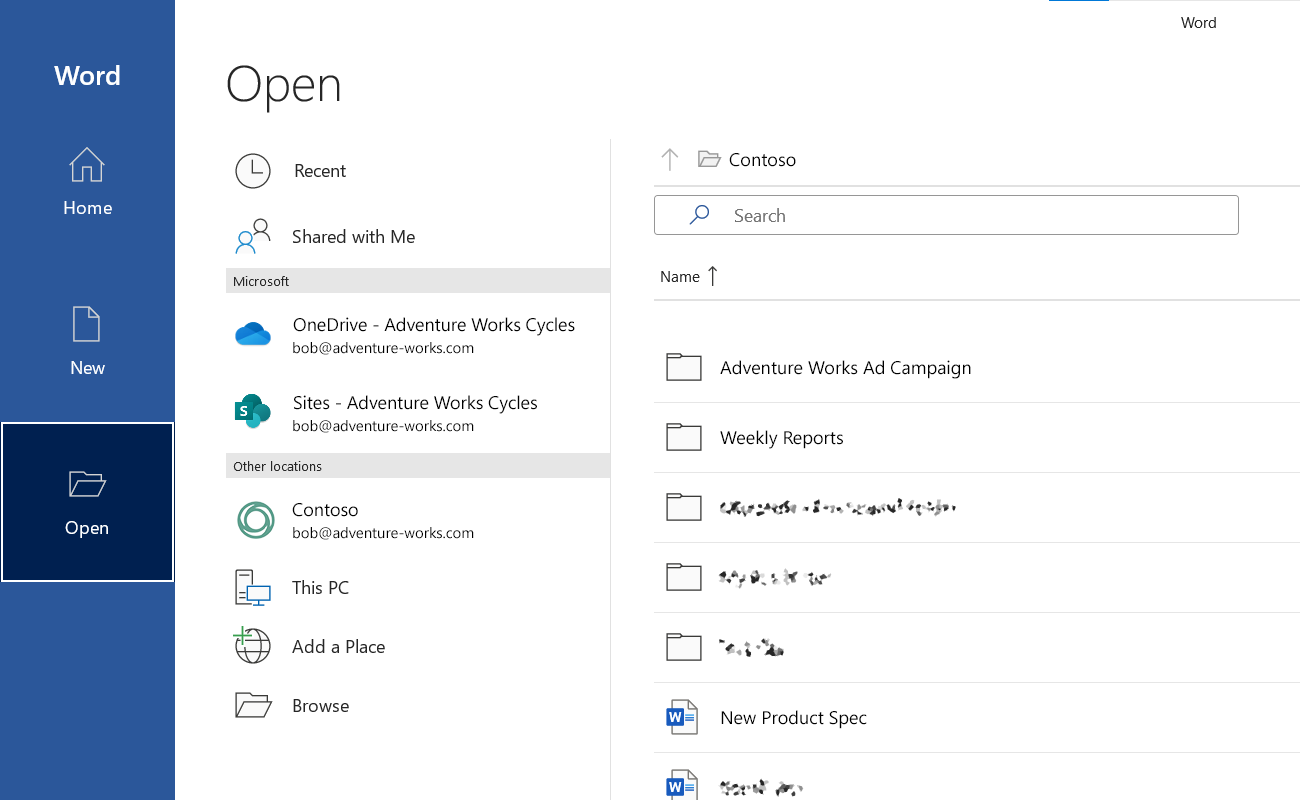
Figure 4a - After a successful login, the service appears in the list of provisioned services (similar to Figure 1a) - Windows
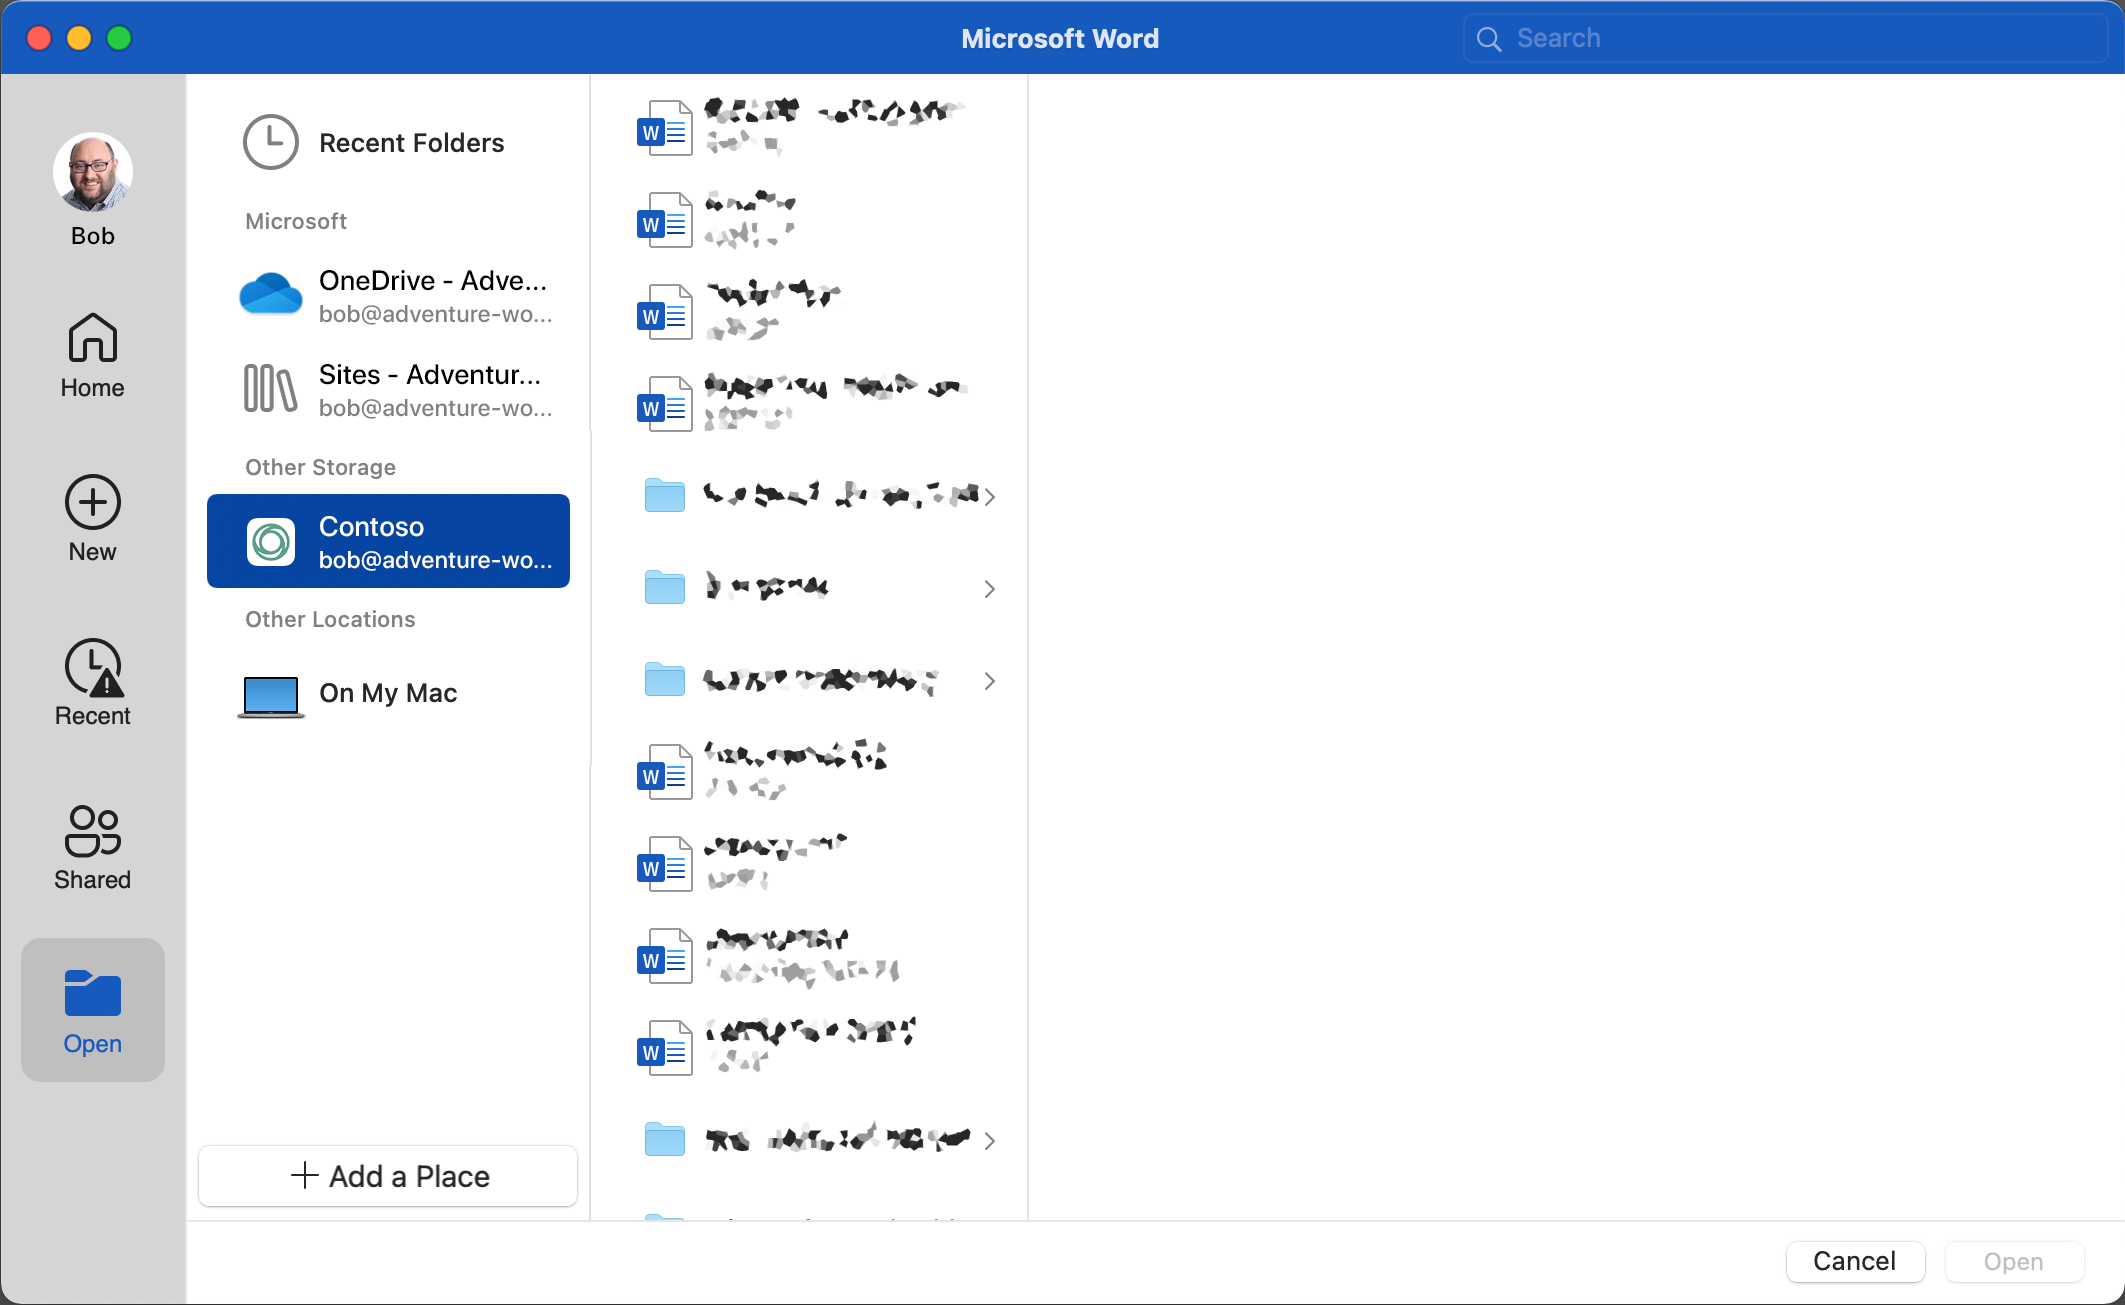
Figure 4b - After a successful login, the service appears in the list of provisioned services (similar to Figure 1b) - Mac
At this point, the service is provisioned and can be used without additional sign-in or provisioning requirements.
Users can use the application backstage to browse documents stored in their file hierarchy on the third-party service, save files to that service, and so on.
If the third-party provides a “sync-client” application that the end-user has installed, and that third-party sync-client has implemented the documented interfaces, Microsoft Office Desktop users are able to double-click a file in Windows File Explorer or macOS Finder to edit or coauthor a cloud file for a service that has been previously provisioned.
Similarly, using the defined protocol-handler URL pattern, the third-party service can open a particular cloud file in an Office Desktop application triggered from the web (for example, “Open in Desktop”).
Removing a Provisioned Service
If the end-user wants to remove a provisioned account from their device, they can easily do so via the Account tab in the application backstage.

Figure 5a - Removing a provisioned account - Windows
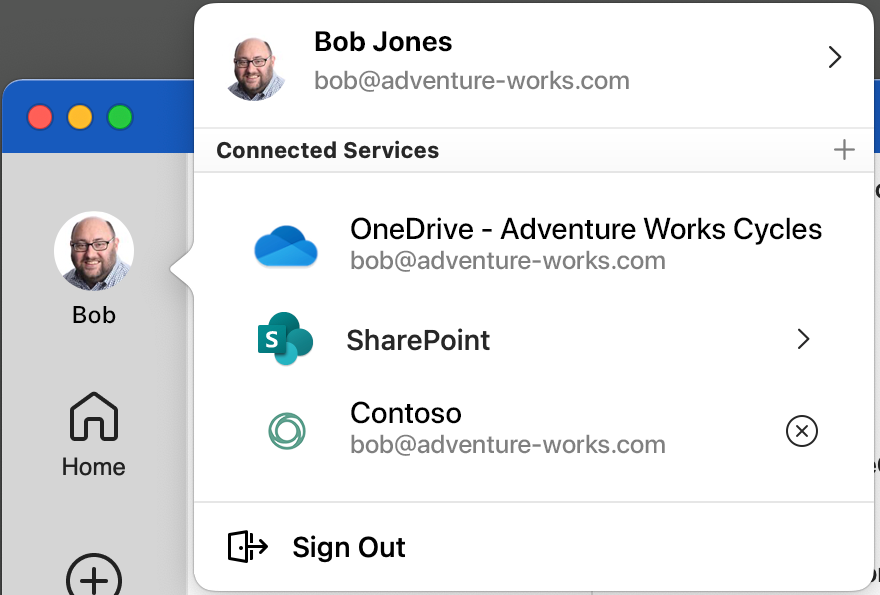
Figure 5b - Removing a provisioned account - Mac
Auto-Provisioning by the IT Administrator
To facilitate provisioning of third-party services at scale, Microsoft has made it possible for IT administrators to "auto-provision" the feature within their enterprise via script.
Windows
Microsoft provides third-party partners a PowerShell (auto-provisioning) script they can distribute to IT administrators. IT administrators can deploy this script to their users' Windows machines, which will partially provision the service on behalf of their users.
macOS
Similarly, on macOS, an additional CFPreferences-compatible preference has been added for Office to enable automatic provisioning of a third-party service. You can set this by using enterprise management software for Mac, such as Jamf Pro.
| Category | Details |
|---|---|
| Domain | com.microsoft.office |
| Key | OfficePrePopulatedThirdPartyCloudStorageProviders |
| Data Type | Array of Dictionary elements (see sample plist XML) |
Here is a sample plist XML for provisioning a third-party service with the TP_CONTOSO identifier:
<?xml version="1.0" encoding="UTF-8"?>
<!DOCTYPE plist PUBLIC "-//Apple//DTD PLIST 1.0//EN" "http://www.apple.com/DTDs/PropertyList-1.0.dtd">
<plist version="1.0">
    <dict>
        <key>OfficePrePopulatedThirdPartyCloudStorageProviders</key>
        <array>
            <dict>
                <key>CSPServiceID</key>
                <string>TP_CONTOSO</string>
            </dict>
        </array>
    </dict>
</plist>
Alternatively, IT administrators on macOS can also set this preference is by using the defaults command. For example, to provision the Contoso service with the TP_CONTOSO identifier, you can open Terminal and enter the following command:
defaults write com.microsoft.office OfficePrePopulatedThirdPartyCloudStorageProviders -array '{ CSPServiceID=TP_CONTOSO; }'
Auto-provisioning user experience
When a third-party service is auto-provisioned by the IT administrator, the user must complete provisioning by signing in to the service on their device before the service is available for use.
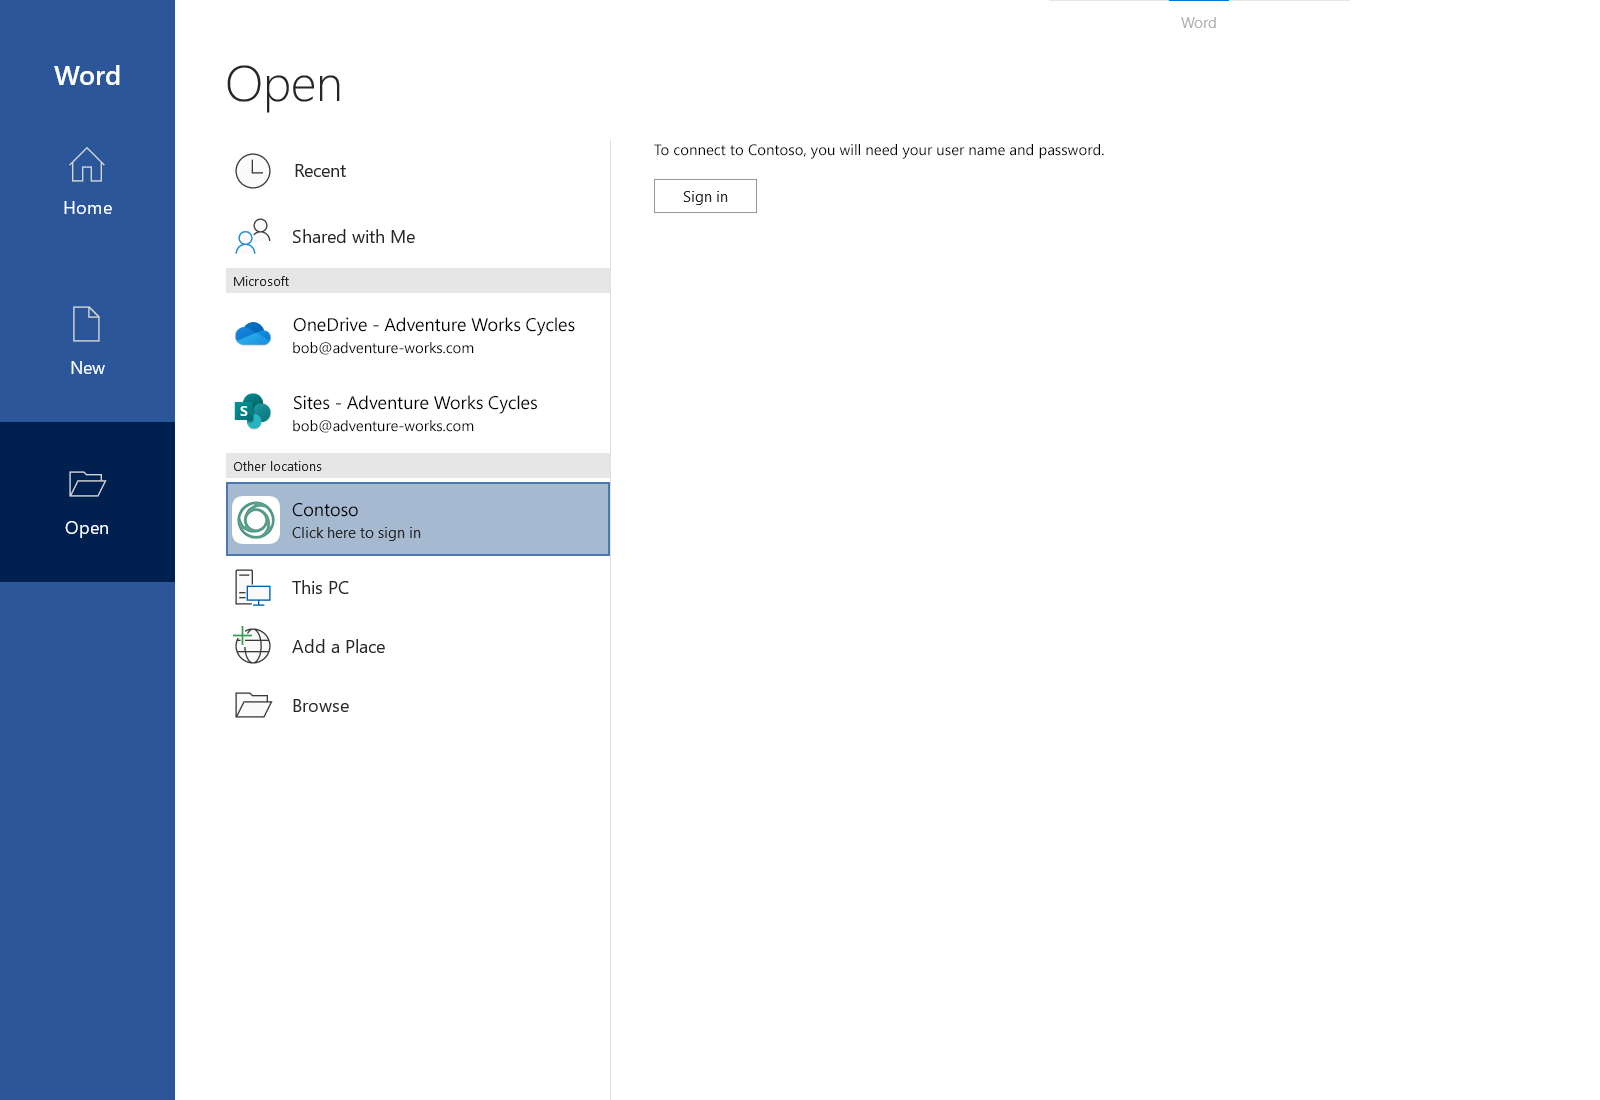
Figure 6a - Partially auto provisioned third-party service entry - Windows
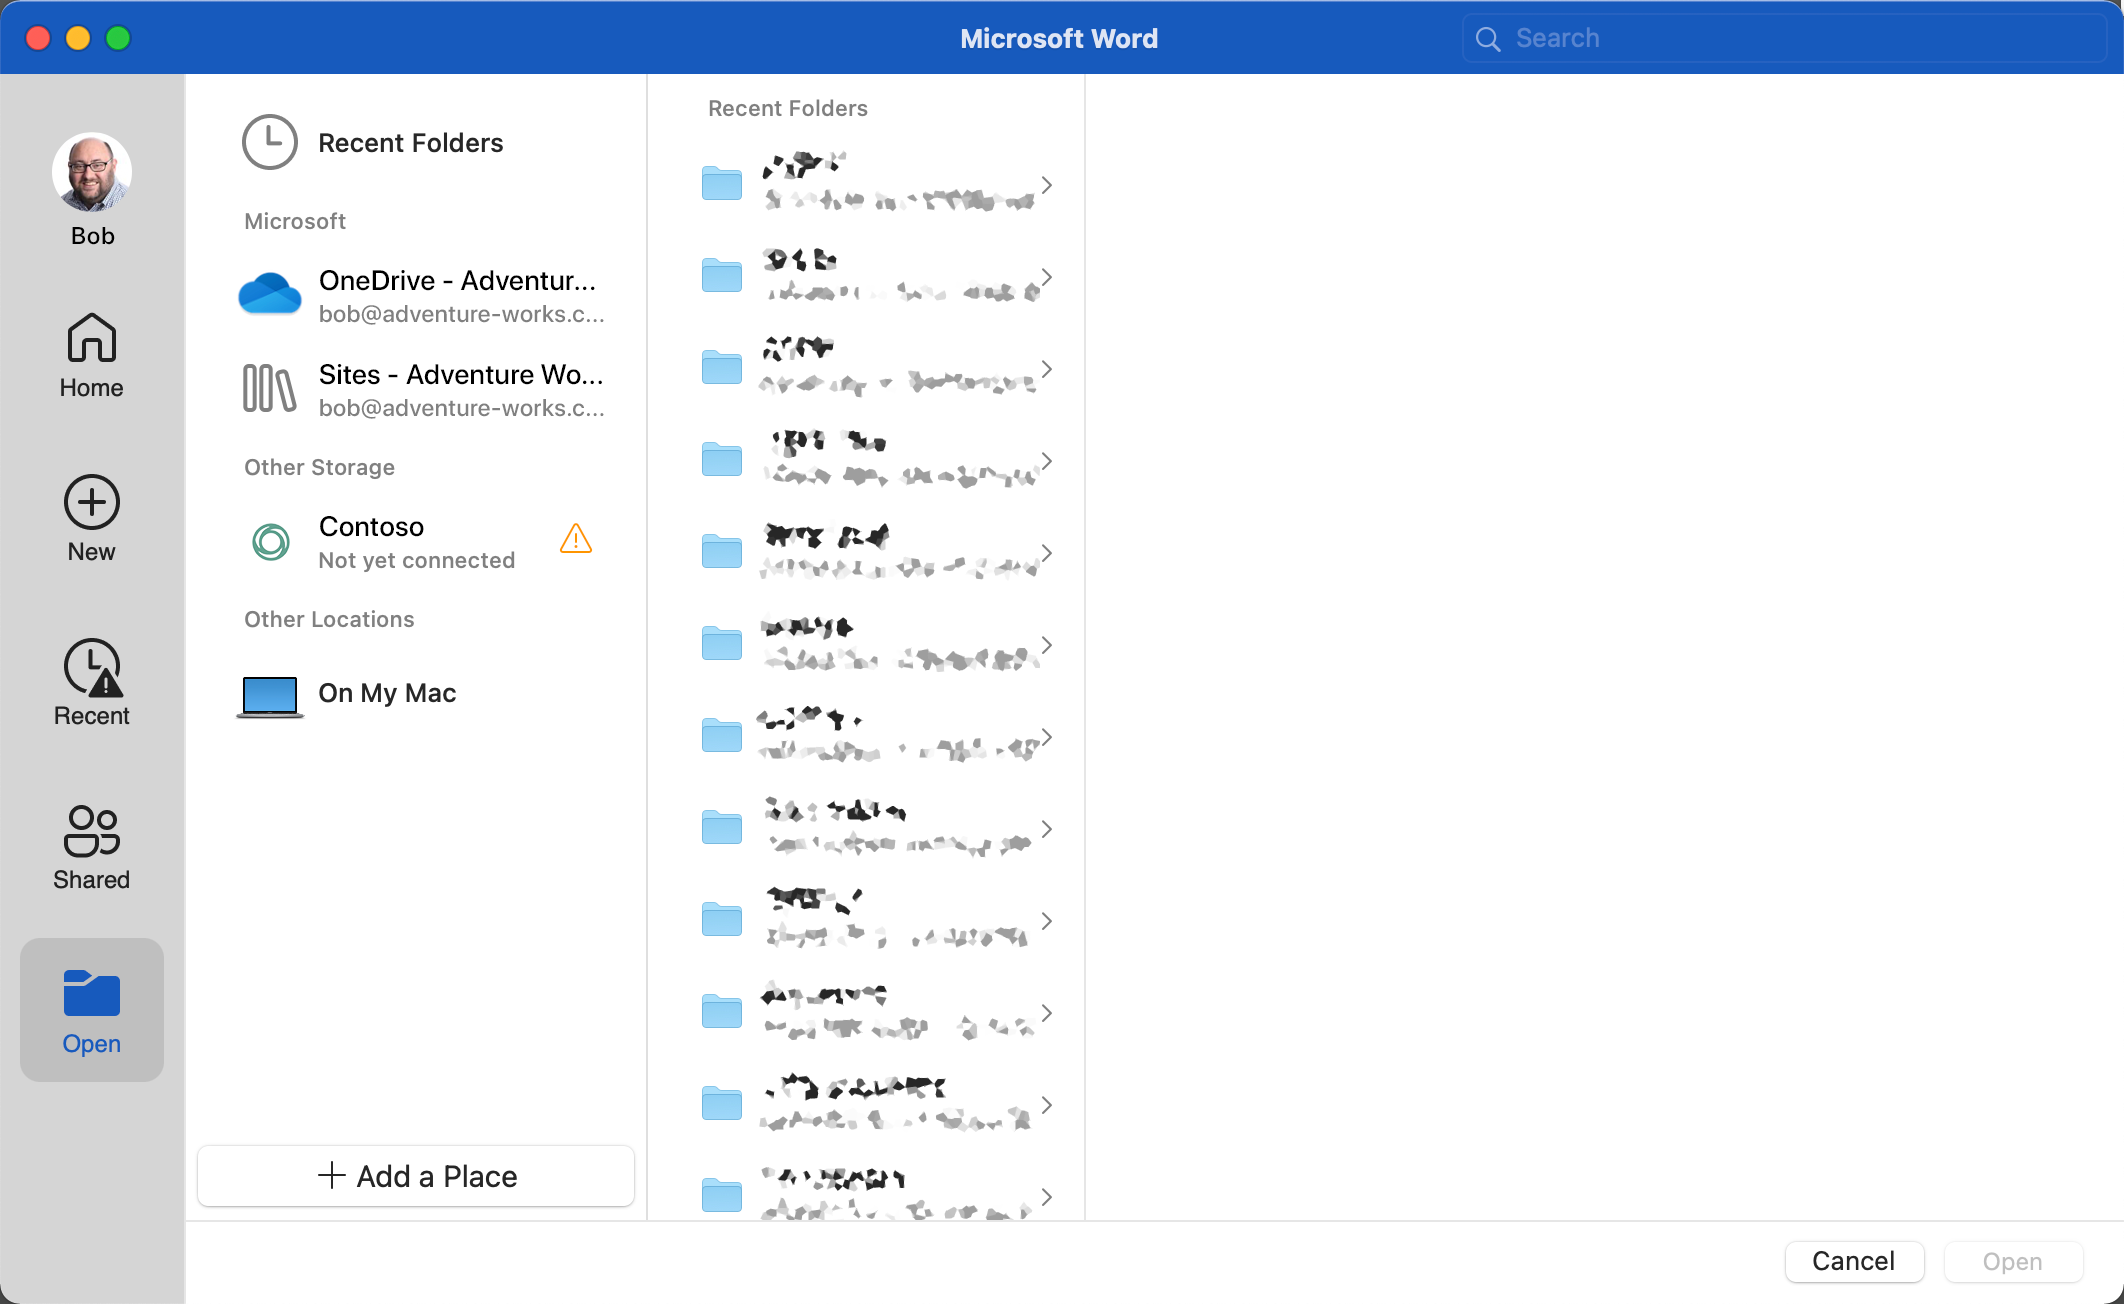
Figure 6b - Partially auto provisioned third-party service entry - Mac
Once the user clicks Sign in in the application backstage (Windows) or on the third-party service entry labeled Not yet connected (Mac), they are prompted to authenticate in the same way as if they had selected to add the service manually (see Steps 2a/2b: Sign in above).
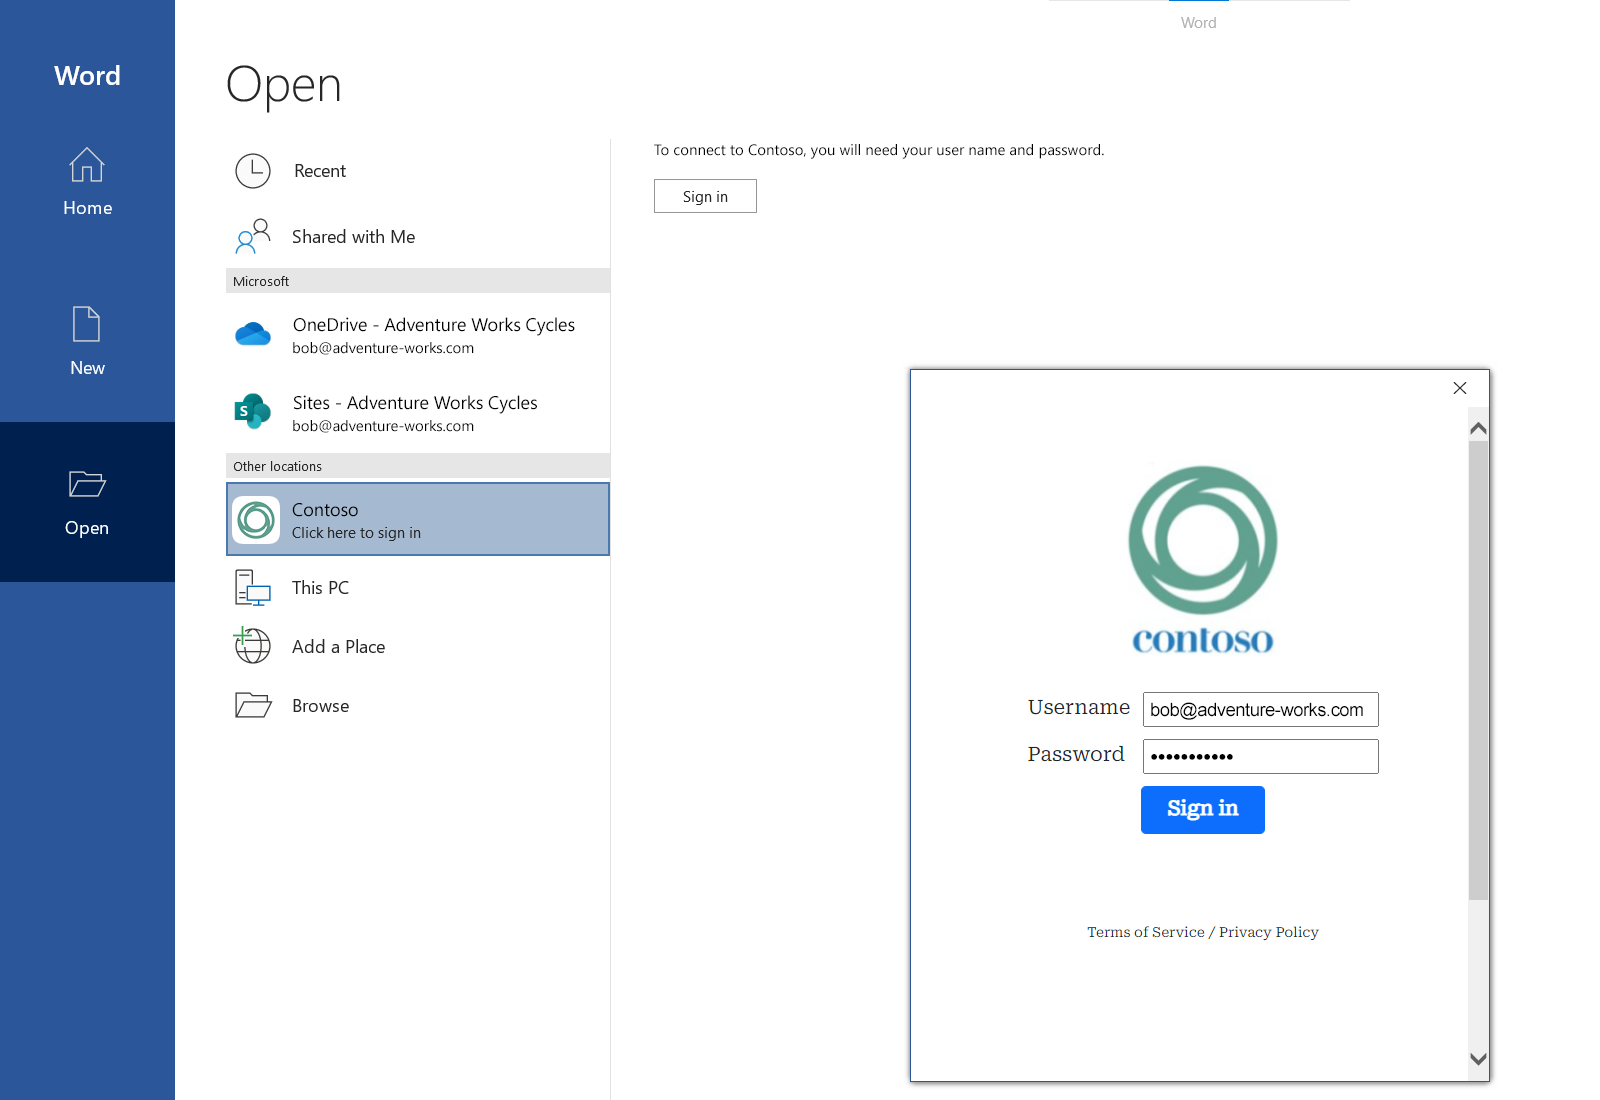
Figure 7 - Sign-in prompt after selecting Sign in for an auto-provisioned service (this experience is provided by the third-party host)
Once they complete their login, the service is provisioned and ready to use, as detailed earlier in this article:
Figure 8 - After a successful login, the service appears in the list of provisioned services (same as Figure 4a)
Auto-provisioning considerations
After the administrator deploys and runs the auto-provisioning script on a user’s machine (Windows) or sets the preference (macOS), the third-party service provisioning is not complete until the user signs in to the third-party service within Office on that device. This will impact access to the third-party service through the sync-client integration and through the “Open in Desktop” functionality.
Both the PowerShell script for Windows and the preference for macOS are applied when the Word, Excel, or PowerPoint applications launch, and should not be used while any Office applications are running.
The third-party service settings are specific to a user's login profile per device, and can't be applied machine-wide. For example, on Windows, IT administrators should deploy the script as part of the one-time login flow for their users.
Sync client integration – Opening a file within the user’s sync client-managed folder using File Explorer or Finder will open the file in Local Only mode, and coauthoring will not be available.

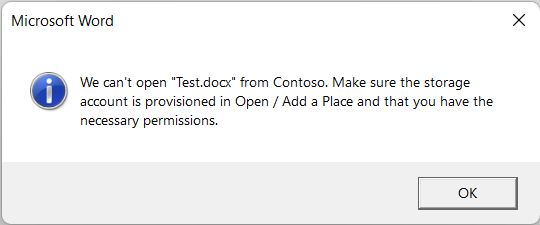
Open in Desktop – Trying to open a file in the Desktop app from a web browser using the protocol handler will result in the following error message:
Related administrative settings
The following administrative settings may impact the availability of CSPP Plus third-party services in the Office Desktop applications:
How to block OneDrive use from within Microsoft 365 Apps for enterprise and Office 2016 applications
"This feature has been disabled by your administrator" error in Microsoft Office
Use policy settings to manage privacy controls for Microsoft 365 Apps for enterprise