Rename a model in Microsoft Syntex
Applies to: ✓ All custom models | ✓ All prebuilt models
At some point, you might want to rename a model. A common example is when you create an initial draft of a model, you might not have given a lot of thought as to the final name (for example, you might have named it “AlexWilburModel1”). As you come closer to finalizing the model and putting it to use, you realize that a more proper name would be “Contract Renewals,” and you want to rename it.
Another example is when your organization makes a decision to refer to a process or document type by a different name. For example, after you create your model and are ready to apply it, your organization might mandate that all “Contracts” will now formally be referred to as “Agreements.” If needed, you can choose to rename your model from “Contract Renewals” to “Agreement Renewals.”
Important
You can only rename a model if it has not been applied to a document library.
Renaming a model also renames the content type that is associated with the model.
Rename a model
Follow these steps to rename a model.
From the content center, select Models to see your models list.
On the Models page, select the model you want to rename.
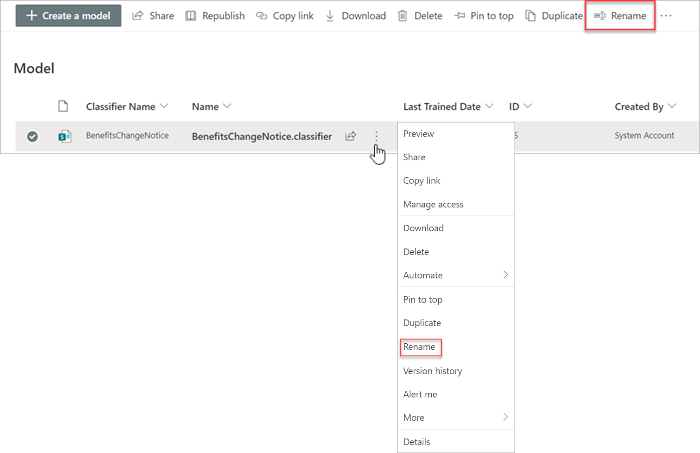
By using either the ribbon or the Show actions button (next to the model name), select Rename.
On the Rename model panel:
a. Under New name, enter the new name of the model that you want to rename.

b. (Optional) Under Advanced settings, select whether you want to associate an existing content type. If you choose Use an existing content type, the model will be renamed to match the selected content type.
Select Rename.
Feedback
Coming soon: Throughout 2024 we will be phasing out GitHub Issues as the feedback mechanism for content and replacing it with a new feedback system. For more information see: https://aka.ms/ContentUserFeedback.
Submit and view feedback for