Creating a Test Base Account
Important
Test Base for Microsoft 365 will transition to end-of-life (EOL) on May 31, 2024. We're committed to working closely with each customer to provide support and guidance to make the transition as smooth as possible. If you have any questions, concerns, or need assistance, submit a support request.
To create a Test Base account, perform the steps that follow.
Important
You'll need a subscription to register for a Test Base account. If you don’t have an Azure subscription, see Subscriptions on the Azure home page to learn how to create one.
To create a Test Base account
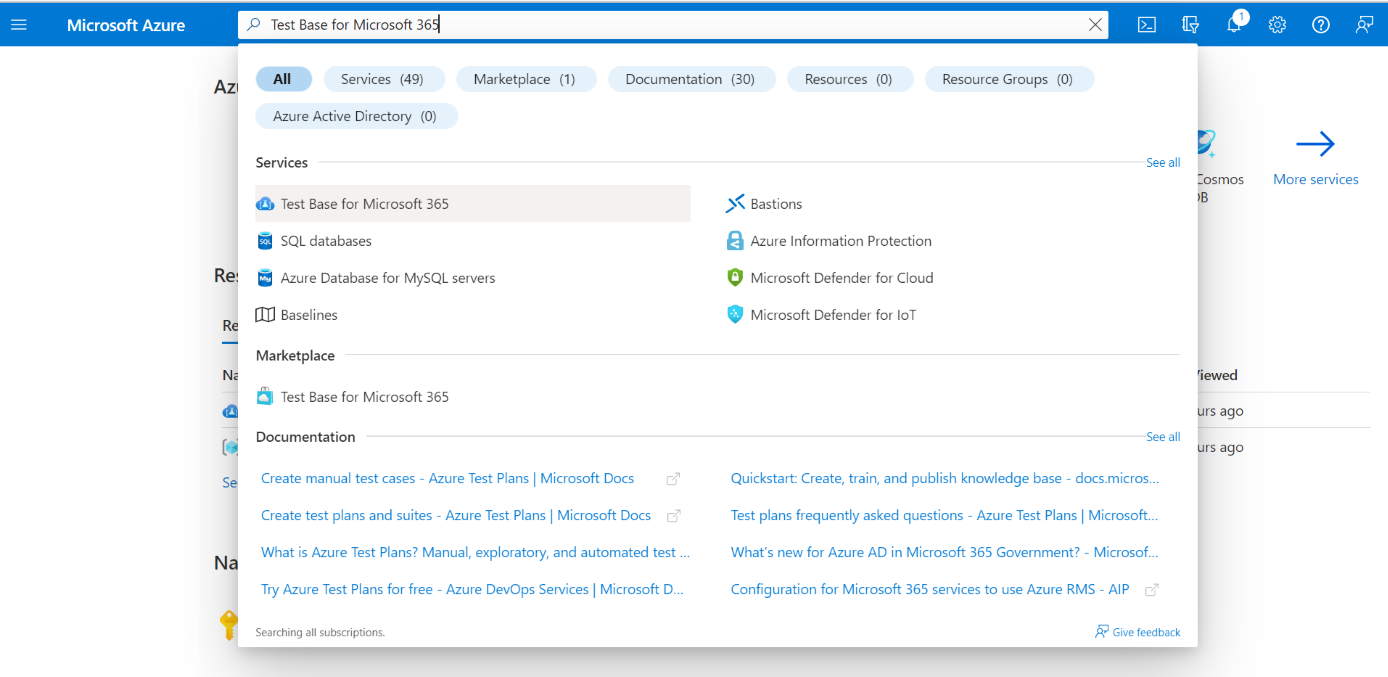
On the home page of the Azure portal, search the Test Base for Microsoft 365 in the Azure marketplace to display the controls for creating a Test Base account.
In the controls field of the Test Base for Microsoft 365 page, select the Create button as that follows to open the Create Test Base Account page.

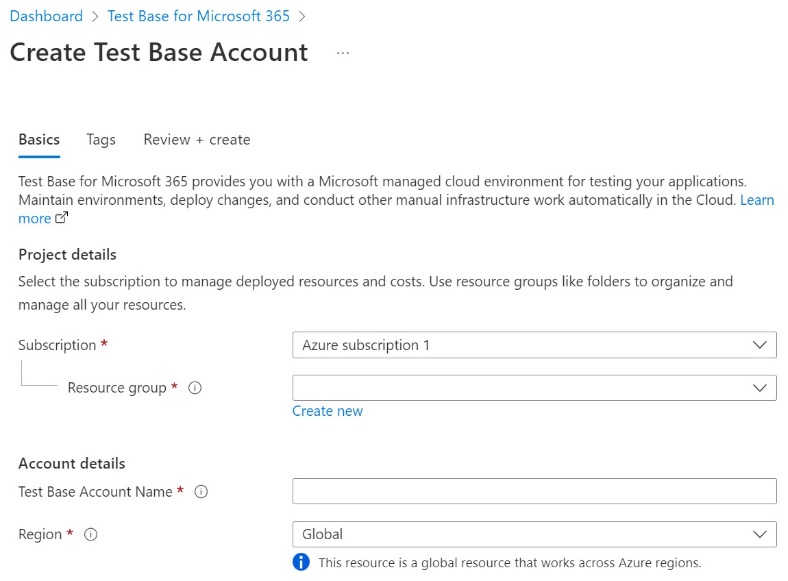
On the Create Test Base Account page, add your information to the following required input fields on the Create Test Base Account page:
- Subscription—from the drop-down list, locate your Azure subscription ID and select it.
- Resource group—create a new Resource group by selecting Create new and specifying a chosen name in the Name input text box that displays. Select OK when done. If you already have a Resource group, locate its name in the drop-down list and select it.
- Test Base account—under Account Details, as shown in the figure that follows, specify a chosen name for your Test Base account by typing it in the input text field.
Note
You must provide input for all required fields (*).
Note
As of April 2022, Test Base supports the Standard pricing tier only. The Pricing tier determines the resource and hourly service cost that is charged to your Azure subscription.

Read the Terms of Use. If the terms are acceptable, select the checkbox to confirm that you have read and accept the terms of use.
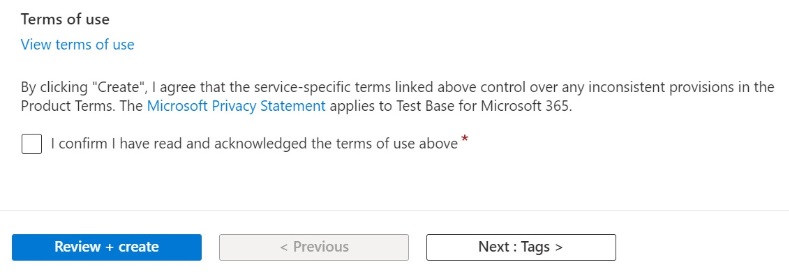
In the lower sector of the Create Test Base Account page, select Review + create to validate the input data you specified.
If the validation process succeeds, you can review your input data configuration in the Create Test Base Account page.
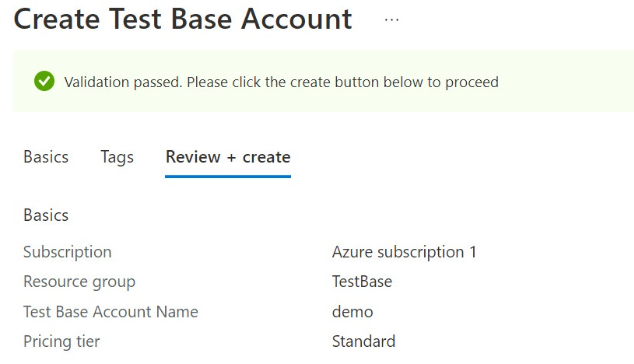
Select the Create button that is shown in the lower sector of the previous Create Test Base Account page.

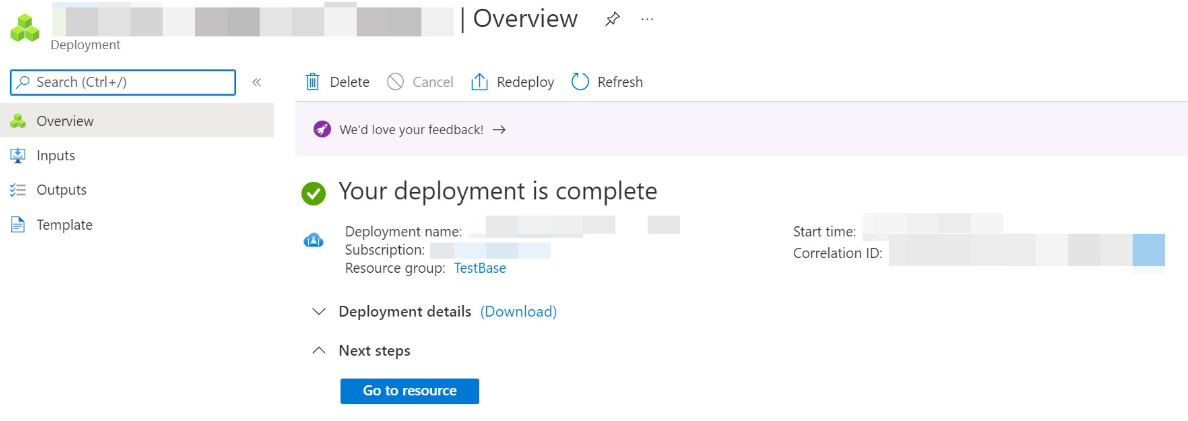
On your user Deployment page, select Go to resource to open your new Test Base account Overview page and begin your exploration, configuration, and journey of Test Base.


Feedback
Coming soon: Throughout 2024 we will be phasing out GitHub Issues as the feedback mechanism for content and replacing it with a new feedback system. For more information see: https://aka.ms/ContentUserFeedback.
Submit and view feedback for