Note
Access to this page requires authorization. You can try signing in or changing directories.
Access to this page requires authorization. You can try changing directories.
Important
- This is a preview feature.
- Preview features aren't meant for production use and might have restricted functionality. These features are subject to supplemental terms of use, and are available before an official release so that customers can get early access and provide feedback.
This document defines the MCP server endpoints for Fabric Ontology that expose list entities and query capabilities to MCP clients. These endpoints are part of the Fabric Data Plane and enable AI assistants, agents, and tools to discover ontology entities and execute natural language-based queries over Fabric Ontology through a standards-based MCP interface.
Server endpoints (preview)
For public preview, there are new MCP server endpoints.
New server name: mcp_FabricIQOntology
Endpoint: https://agent365.svc.cloud.microsoft/agents/tenants/<tenant_id>/servers/mcp_FabricIQOntology/workspaces/<workspace-ID>/ontologies/<ontology-item-ID>
The scopes required for the new server are: McpServers.FabricIQOntology.All
Tool definition
Available tools for the Fabric IQ Ontology MCP server include:
| Tool name | Purpose | Usage |
|---|---|---|
list_ontology_entity_types |
Retrieves the specified or all entity types in the ontology and their details, such as property names, property types, and available telemetry. Helps users explore the schema of the ontology. | Useful for exploring available entity types in an ontology. |
search_ontology |
Retrieves the answer to a natural language question from the ontology data estate. Returns raw results in JSON format and optionally a derived natural language answer. | Enables users to run queries against the ontology using plain language. |
Important
This feature is in preview.
Prerequisites
Before using ontology as an MCP server, make sure you have the following prerequisites:
- A paid F2 or higher Fabric capacity, or a Power BI Premium per capacity (P1 or higher) capacity with Microsoft Fabric enabled.
- Ontology item (preview) enabled on your Fabric tenant.
- An ontology (preview) item.
- M365 Copilot License for using Agent 365 governance in Microsoft Admin center.
Connect to Fabric IQ MCP using VS Code
To create the MCP server endpoint, you need the URL of your ontology (preview) item.
To find the URL, follow these steps:
Open your ontology item in Fabric.
Copy the values of
<environment id>,<workspace-ID>, and<ontology-item-ID>from the URL.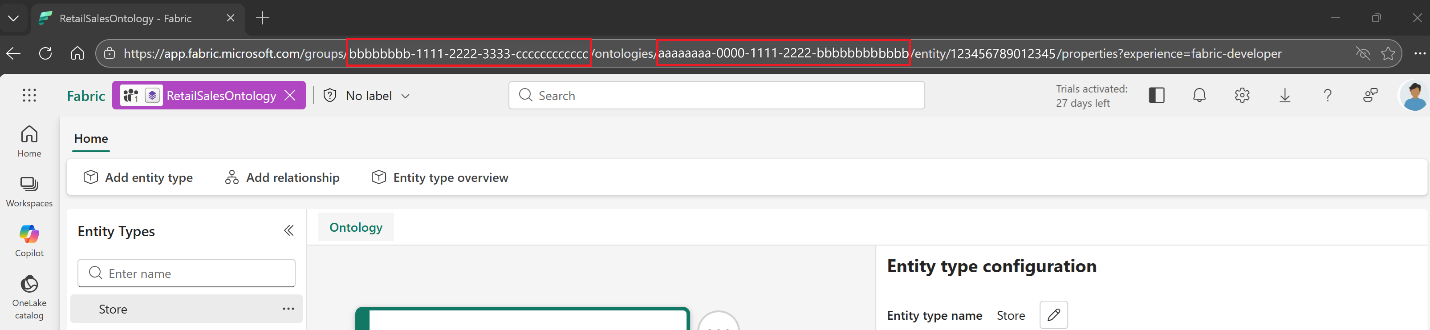
Form the MCP server URL by entering the copied values into this string:
https://agent365.svc.cloud.microsoft/mcp/environments/<environment id>/servers/mcp_FabricIQOntology/workspaces/<workspace-ID>/ontologies/<ontology-item-ID>Use this MCP server URL in the next section.
Set up the MCP server in VS Code
Open VS Code and select a folder to work in.
Inside this folder, create a folder named .vscode.
Inside the inner folder, create a file called mcp.json.
Select the Add Server button at the bottom right of the window.
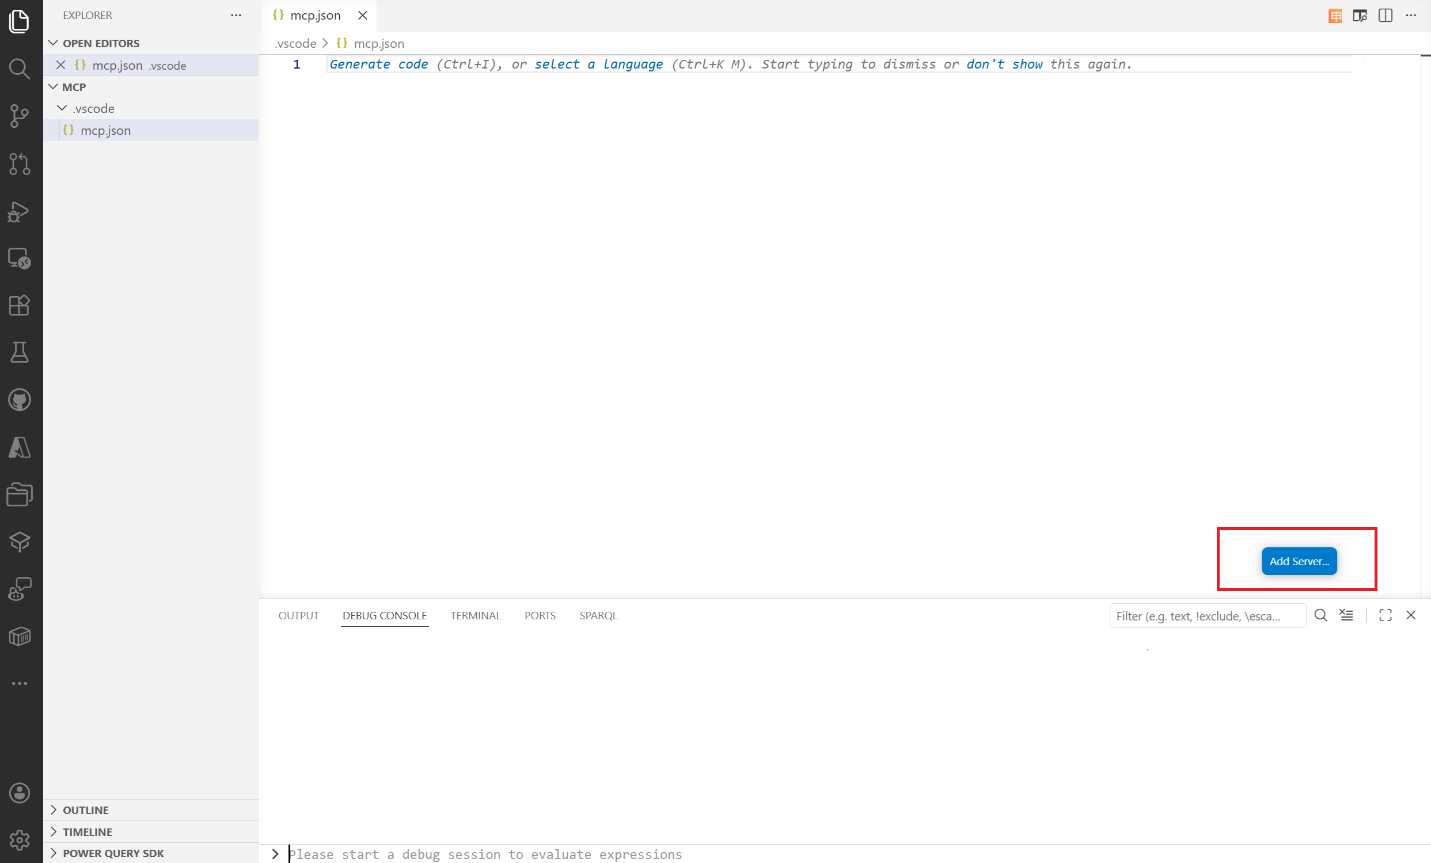
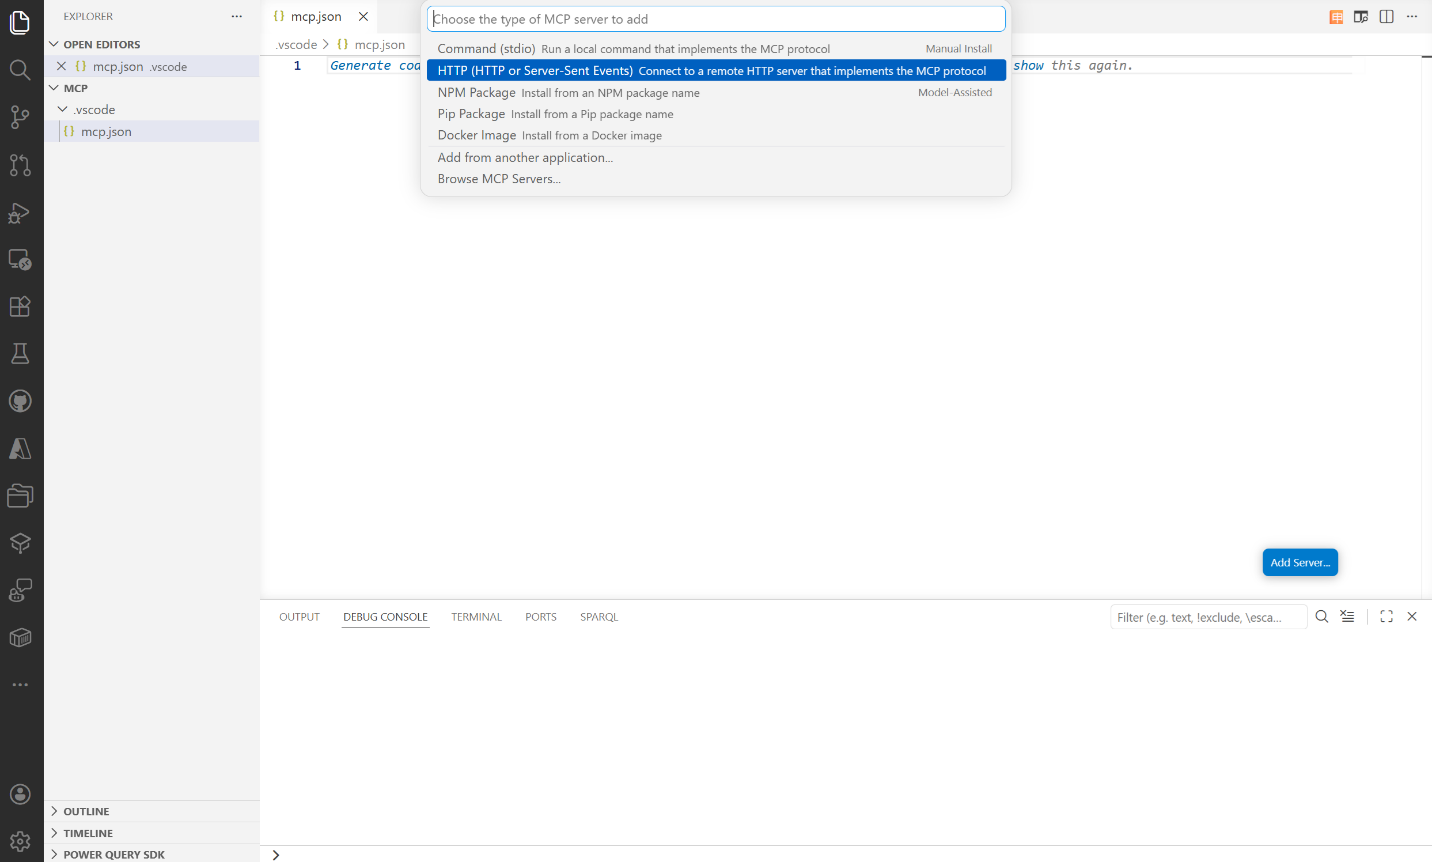
Select HTTP. You're prompted to enter a URL. Use the MCP server URL that you copied in the previous section.
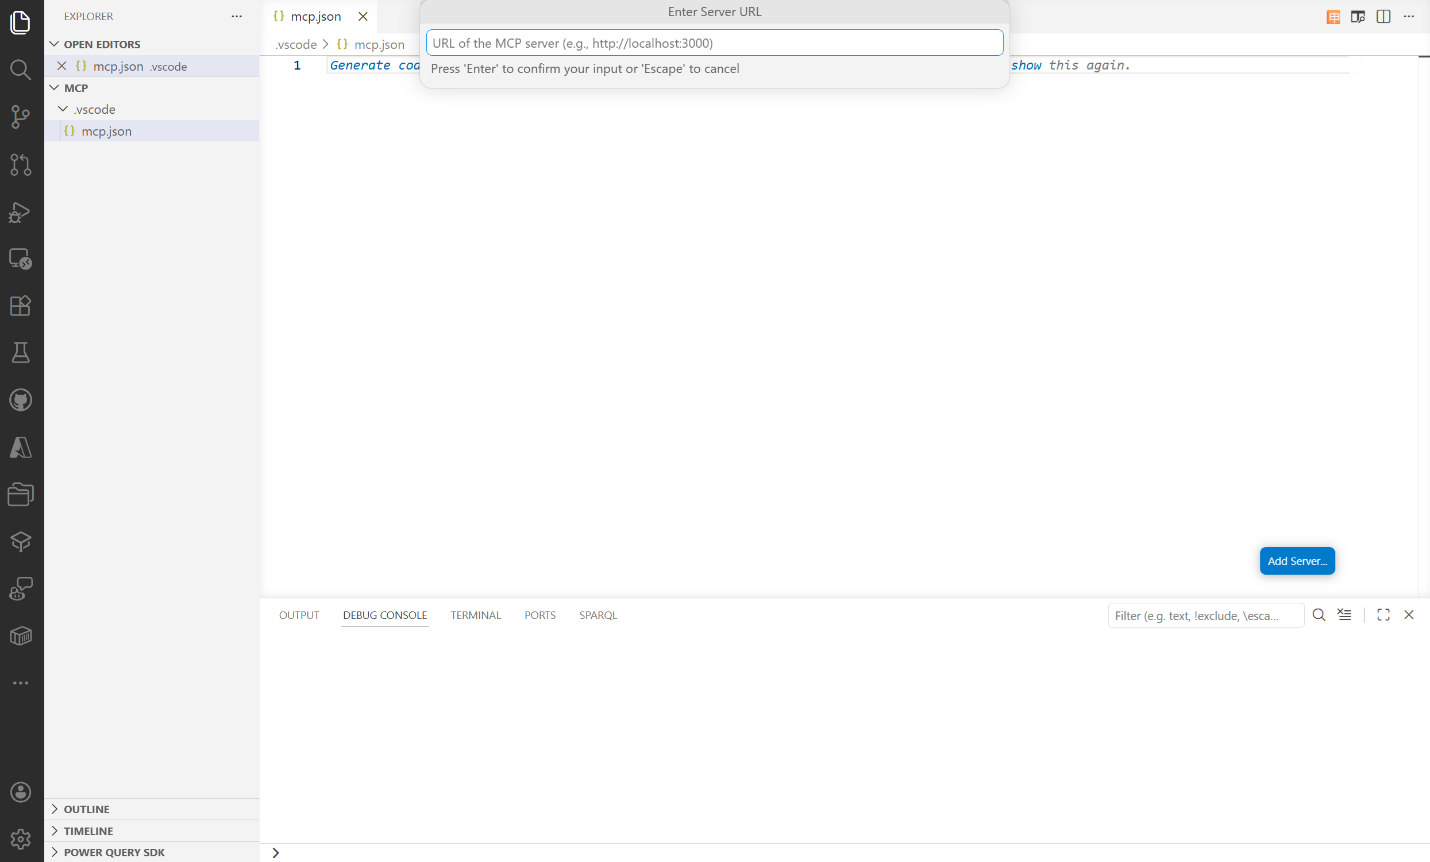
Select Enter and provide a name for your MCP server. Use this name to display the MCP server in your VS Code environment.
VS Code attempts to authenticate with the server. Select Allow and sign in with your credentials.
The server is created.
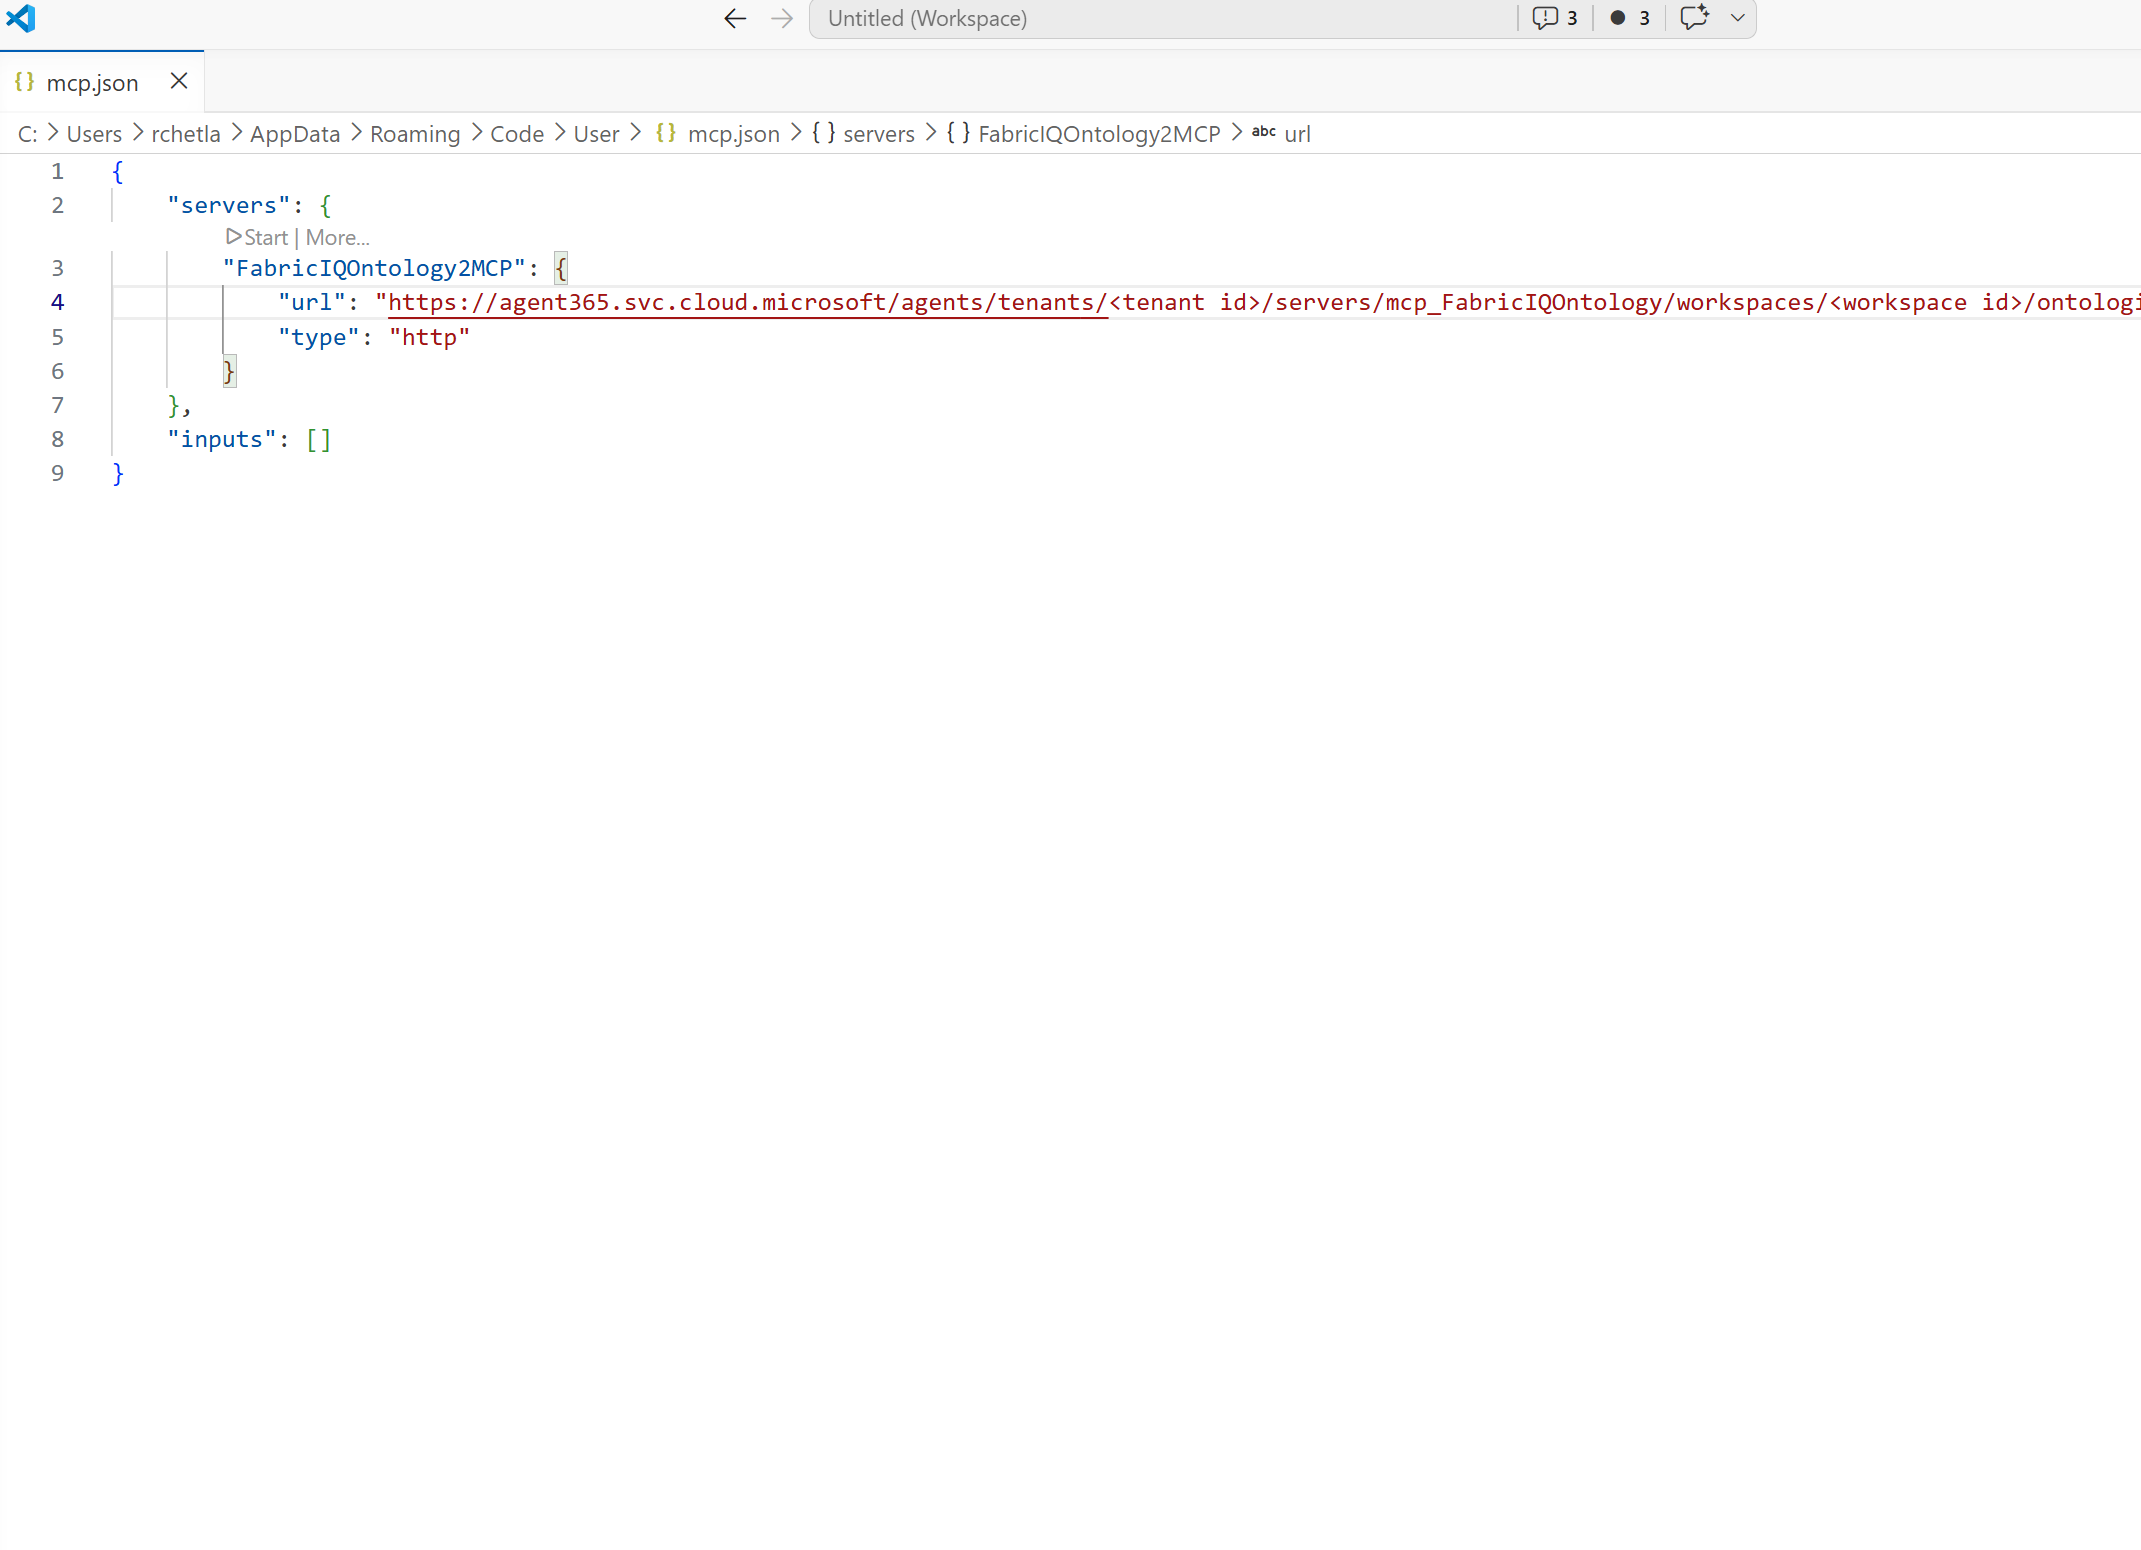
Enable Agent Mode
After adding the MCP server, enable Agent Mode in VS Code. Agent Mode lets VS Code act as an orchestrator interface, connecting your editor with MCP servers to interact with external tools like ontology. To enable it:
In VS Code, open Chat (Ctrl + Shift + I).
Start the MCP server.
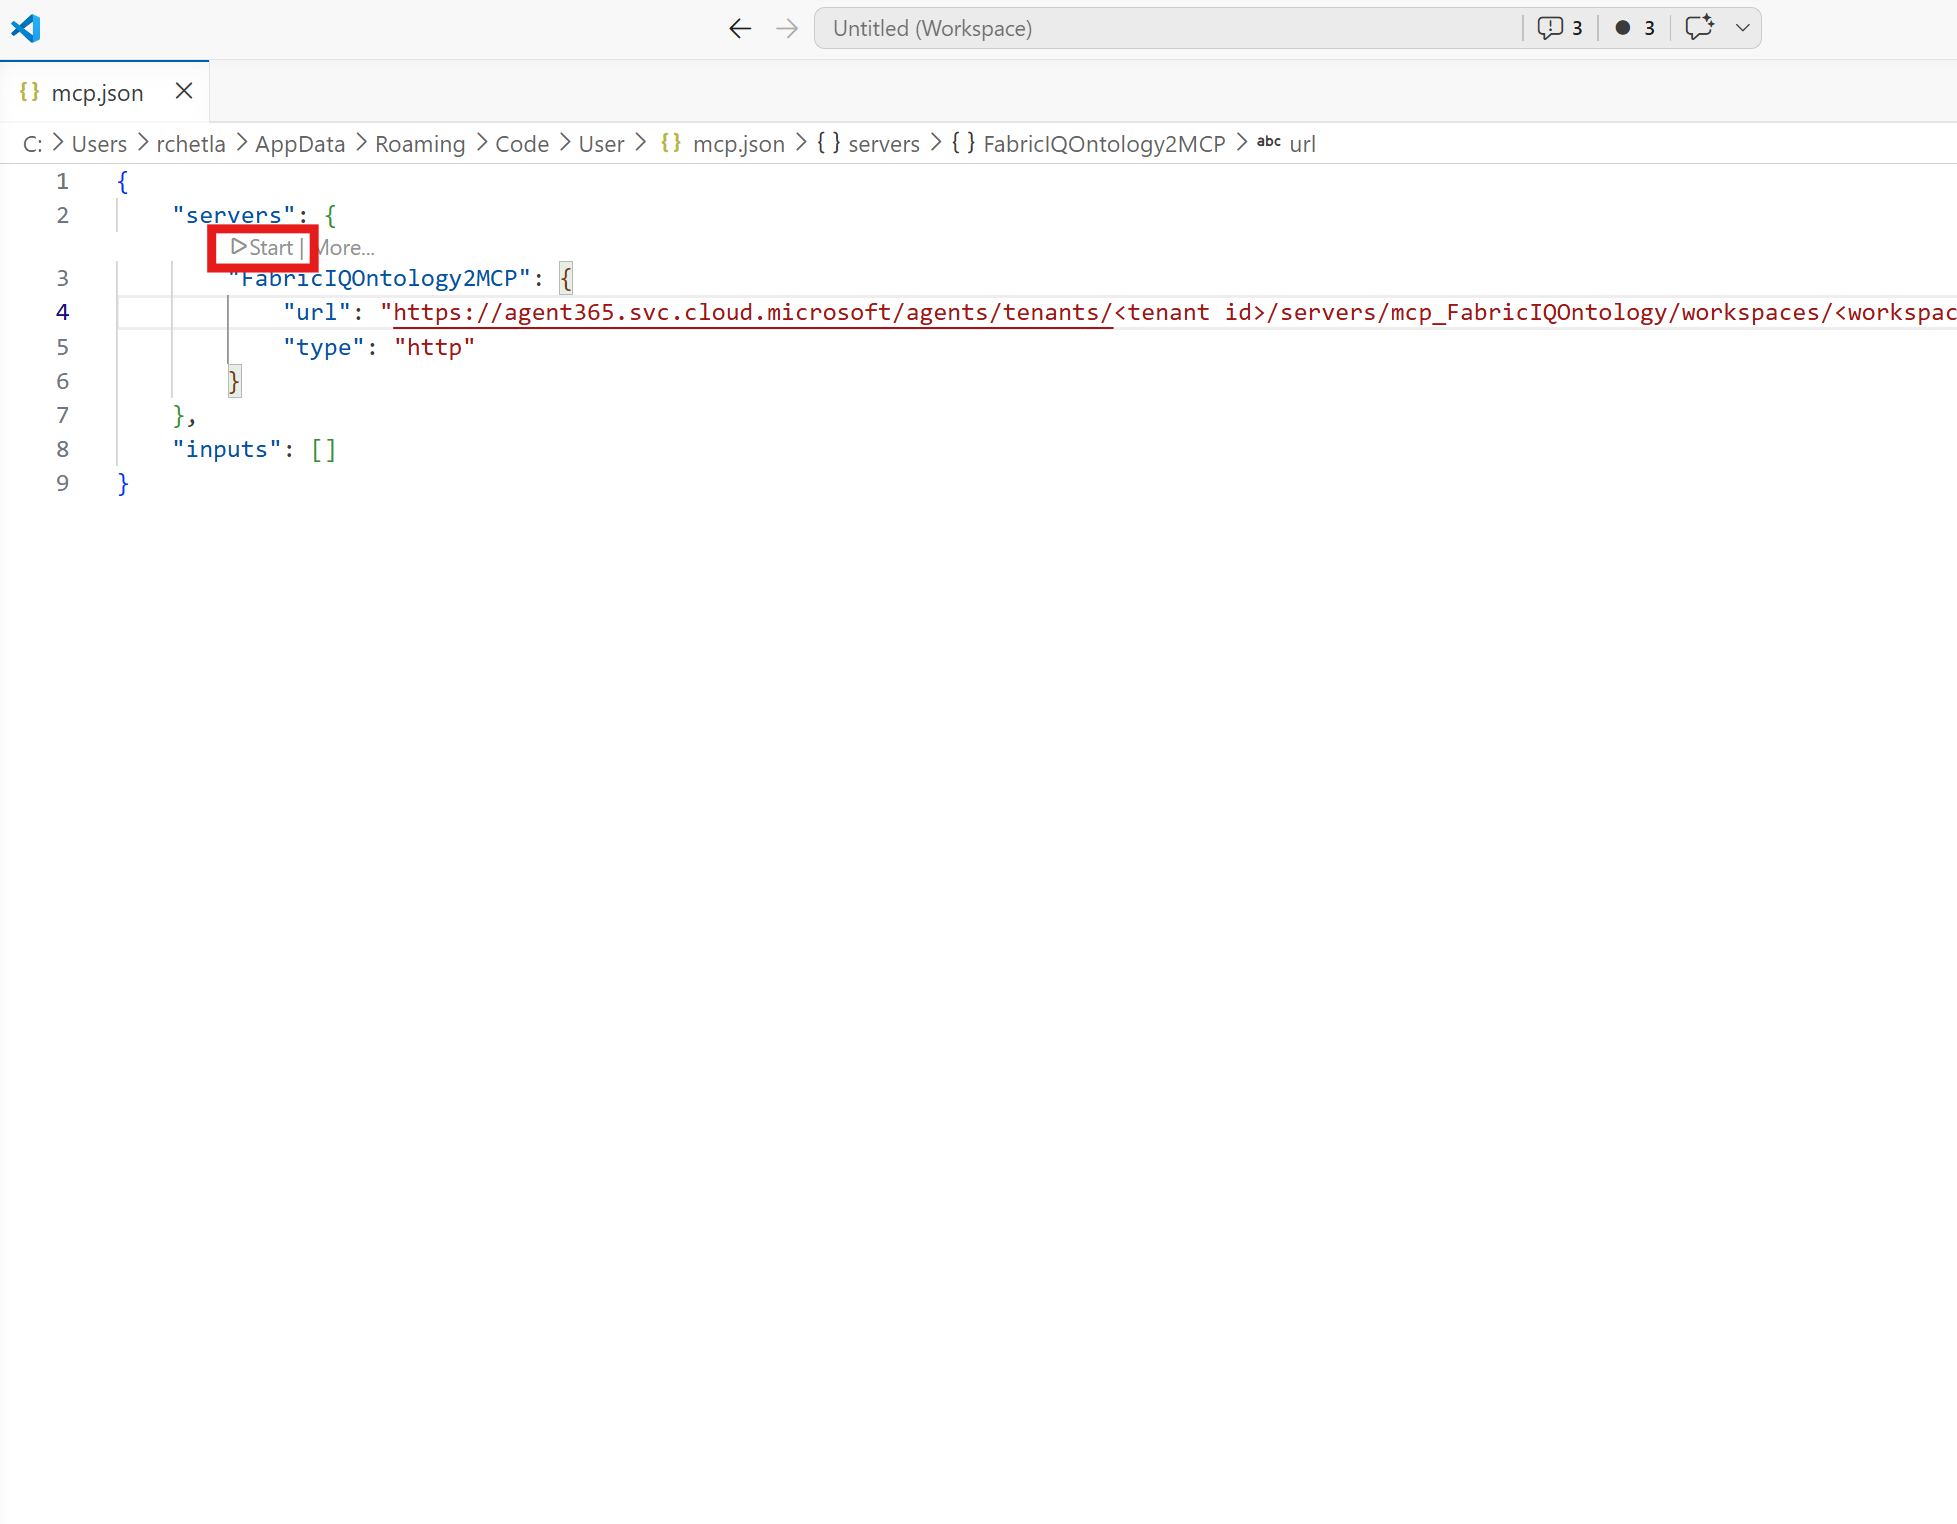
Confirm that the server is running. Then, enter any prompts to activate the mode.
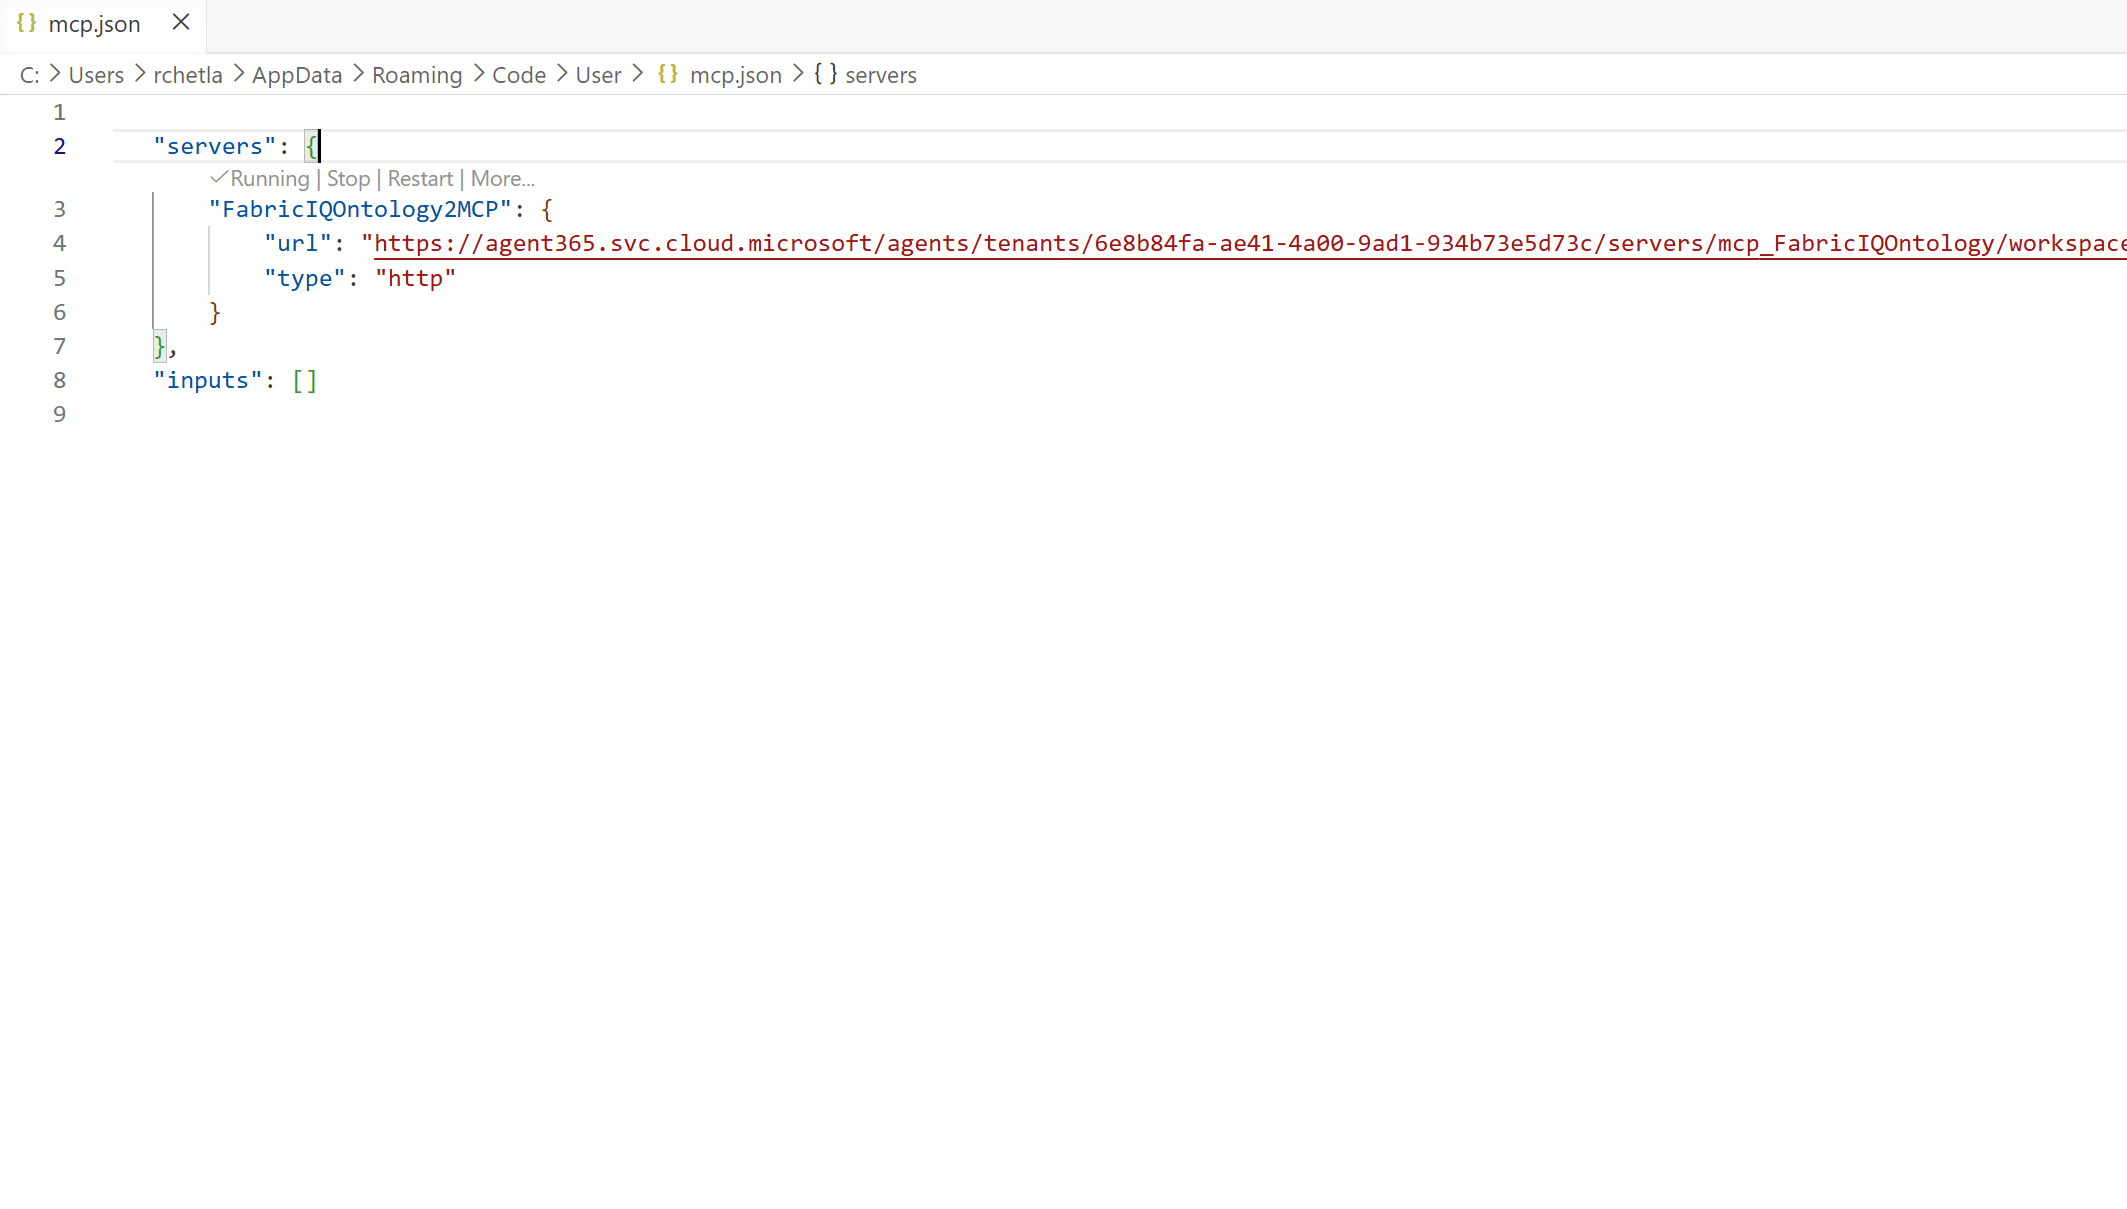
When Agent Mode is active, select an orchestrator to handle your queries. Available orchestrators in public preview include GPT-5, GPT-4.1, Claude Sonnet 4.5, Gemini 2.5 pro, and many more. The orchestrator manages the flow of information between your queries in VS Code and the ontology MCP server.
Use Fabric IQ Ontology in Microsoft Copilot Studio
Follow this tutorial to connect your Fabric IQ Ontology MCP server to an agent in Microsoft Copilot Studio.
This tutorial walks you through how to:
- Create a new agent in Copilot Studio.
- Configure your agent to use a Fabric IQ Ontology as a data source by connecting to an existing ontology.
- Validate your agent's functionality using the built-in Test pane.
By the end, you'll have a fully functional agent capable of answering business questions by leveraging your ontology as a trusted, single source of truth.
Before you begin
Before you get started, make sure you have the following items:
- An active Copilot Studio environment with Fabric IQ Ontology MCP tools enabled
- A Microsoft Fabric workspace that contains at least one Fabric IQ Ontology item, accessible through the OneLake catalog
- A modern browser (Microsoft Edge or Google Chrome) signed in with an identity that has access to both your Copilot Studio environment and your Fabric workspace
Step 1: Sign in to Copilot Studio
- Open your browser and go to Copilot Studio.
- Sign in with your work or school account.
- Select the environment where you want to build your agent from the environment picker on the top bar.
Step 2: Create a new agent
- Select Agents from the left navigation pane and choose + New agent.
- Select Skip to configure if you want to set up the agent manually.
- Enter a unique name for your agent, such as Retail Insights Agent, and a short description.
- Select Create to provision your agent.
Step 3: Add the Fabric IQ MCP Tool
- Open your agent and select the Tools tab.
- Select + Add a tool.
- Select Model Context Protocol.
- Search for Fabric IQ Ontology and select Fabric IQ MCP (preview).
- Create a new connection by providing the following details for the ontology you want to ground your agent in:
- Workspace ID — The ID of the Fabric workspace that contains your ontology.
- Ontology ID — The ID of the Fabric IQ Ontology item you want to use.
Tip
You can find both IDs in the OneLake catalog or in the URL of your ontology item in the Fabric portal.
- After you add the tool, select Fabric IQ MCP (Preview) from your list of tools to view its details. Scroll down and confirm that the
list_ontology_entity_typesandsearch_ontologytools are listed and available to your agent.
Step 4: Test your agent
- Open the Test pane by selecting the Test button in the upper-right corner.
- Ask a sample business question that's relevant to your ontology. For example, "What were our top-selling products last quarter?"
- When prompted, select Allow to give the agent permission to use the MCP tool.
- If asked, open the Connection manager and select Connect to authorize the Fabric IQ connection.
- Select Retry on your original question and verify that the agent returns a grounded response based on your ontology.