Note
Access to this page requires authorization. You can try signing in or changing directories.
Access to this page requires authorization. You can try changing directories.
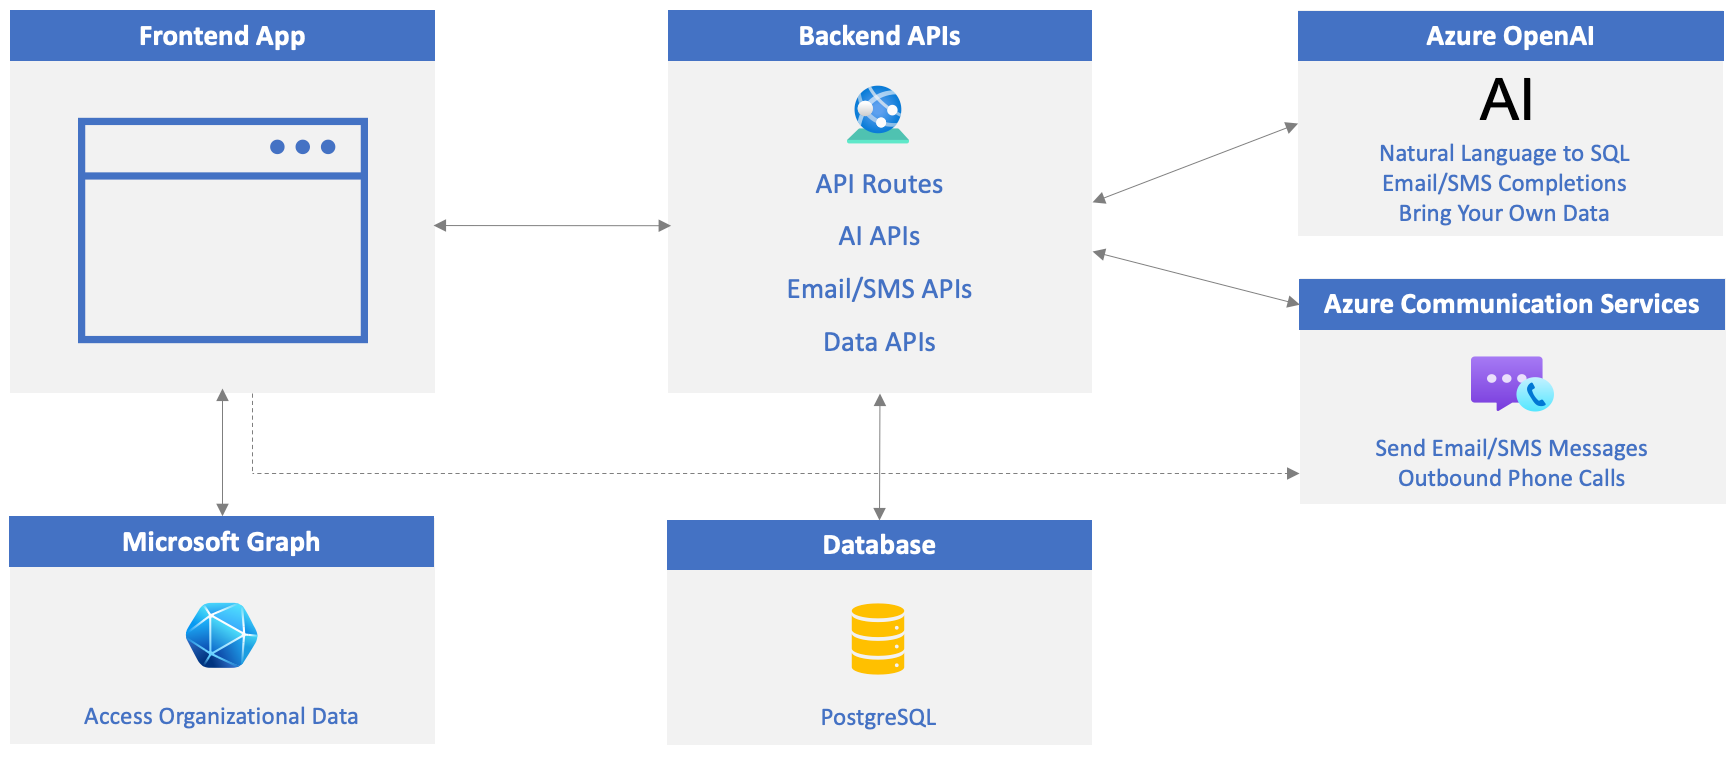
To get started using Azure OpenAI in your applications, you need to create an Azure OpenAI Service and deploy a model that can be used to perform tasks such as converting natural language to SQL, generating email/SMS message content, and more.
In this exercise you will:
- Create an Azure OpenAI Service resource.
- Deploy a model.
- Update the .env file with values from your Azure OpenAI service resource.
Create an Azure OpenAI Service Resource
Visit the Azure portal in your browser and sign in.
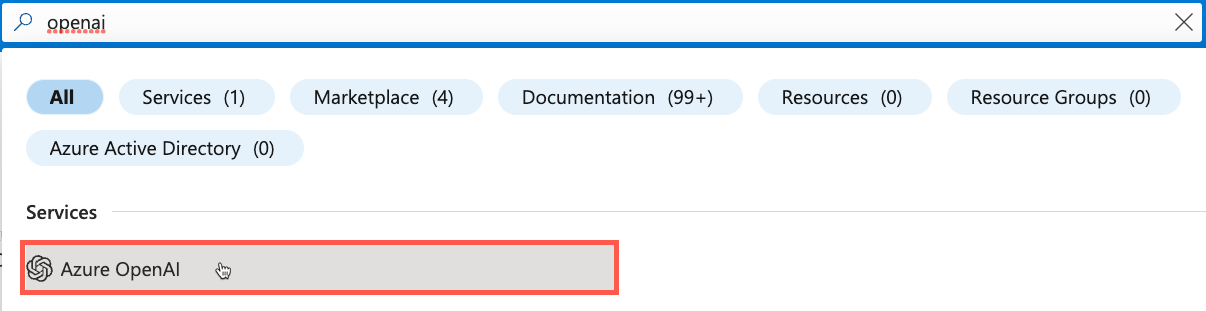
Enter openai in the search bar at the top of the portal page and select Azure OpenAI from the options that appear.
Select Create in the toolbar.
Note
While this tutorial focuses on Azure OpenAI, if you have an OpenAI API key and would like to use it, you can skip this section and go directly to the Update the Project's .env File section below. Assign your OpenAI API key to
OPENAI_API_KEYin the .env file (you can ignore any other.envinstructions related to OpenAI).Azure OpenAI models are available in specific regions. Visit the Azure OpenAI model availability document to learn which regions support the gpt-4o model used in this tutorial.
Perform the following tasks:
- Select your Azure subscription.
- Select the resource group to use (create a new one if needed).
- Select a region where the gpt-4o model is supported based on the document you looked at earlier.
- Enter the resource name. It must be a unique value.
- Select the Standard S0 pricing tier.
Select Next until you get to the Review + submit screen. Select Create.
Once your Azure OpenAI resource is created, navigate to it and select Resource Management --> Keys and Endpoint .
Locate the KEY 1 and Endpoint values. You'll use both values in the next section so copy them to a local file.

Select Resource Management --> Model deployments.
Select the Manage Deployments button to go to Azure OpenAI Studio.
Select Deploy model --> Deploy base model in the toolbar.

Select gpt-4o from the list of models and select Confirm.
Note
Azure OpenAI supports several different types of models. Each model can be used to handle different scenarios.
The following dialog will display. Take a moment to examine the default values that are provided.
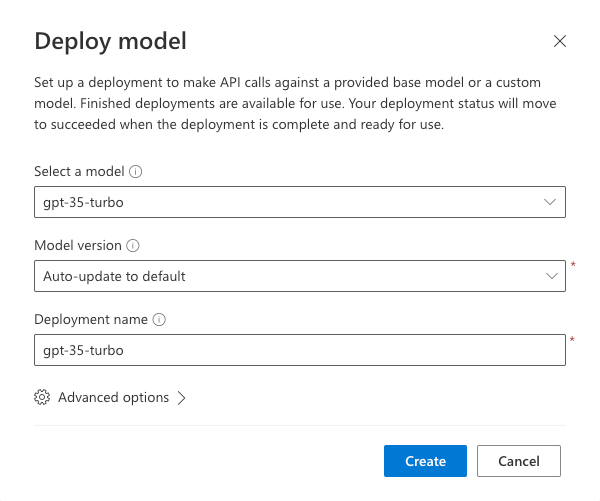
Change the Tokens per Minute Rate Limit (thousands) value to 100K. This will allow you to make more requests to the model and avoid hitting the rate limit as you perform the steps that follow.
Select Deploy.
Once the model is deployed, select Playgrounds --> Chat.
The Deployment dropdown should display the gpt-4o model.

Take a moment to read through the System message text that's provided. This tells the model how to act as the user interacts with it.
Locate the textbox in the chat area and enter Summarize what Generative AI is and how it can be used. Select Enter to send the message to the model and have it generate a response.
Experiment with other prompts and responses. For example, enter Provide a short history about the capital of France and notice the response that's generated.
Update the Project's .env File
Go back to Visual Studio Code and open the
.envfile at the root of the project.Copy the KEY 1 value from your Azure OpenAI resource and assign it to
OPENAI_API_KEYin the .env file located in the root of the openai-acs-msgraph folder:OPENAI_API_KEY=<KEY_1_VALUE>Copy the *Endpoint value and assign it to
OPENAI_ENDPOINTin the .env file. Remove the/character from the end of the value if it's present.OPENAI_ENDPOINT=<ENDPOINT_VALUE>Note
You'll see that values for
OPENAI_MODELandOPENAI_API_VERSIONare already set in the .env file. The model value is set to gpt-4o which matches the model deployment name you created earlier in this exercise. The API version is set to a supported value defined in the Azure OpenAI reference documentation.Save the .env file.
Start the Application Services
It's time to start up your application services including the database, API server, and web server.
In the following steps you'll create three terminal windows in Visual Studio Code.
Right-click on the .env file in the Visual Studio Code file list and select Open in Integrated Terminal. Ensure that your terminal is at the root of the project - openai-acs-msgraph - before continuing.
Choose from one of the following options to start the PostgreSQL database:
If you have Docker Desktop installed and running, run
docker-compose upin the terminal window and press Enter.If you have Podman with podman-compose installed and running, run
podman-compose upin the terminal window and press Enter.To run the PostgreSQL container directly using either Docker Desktop, Podman, nerdctl, or another container runtime you have installed, run the following command in the terminal window:
Mac, Linux, or Windows Subsystem for Linux (WSL):
[docker | podman | nerdctl] run --name postgresDb -e POSTGRES_USER=web -e POSTGRES_PASSWORD=web-password -e POSTGRES_DB=CustomersDB -v $(pwd)/data:/var/lib/postgresql/data -p 5432:5432 postgresWindows with PowerShell:
[docker | podman] run --name postgresDb -e POSTGRES_USER=web -e POSTGRES_PASSWORD=web-password -e POSTGRES_DB=CustomersDB -v ${PWD}/data:/var/lib/postgresql/data -p 5432:5432 postgres
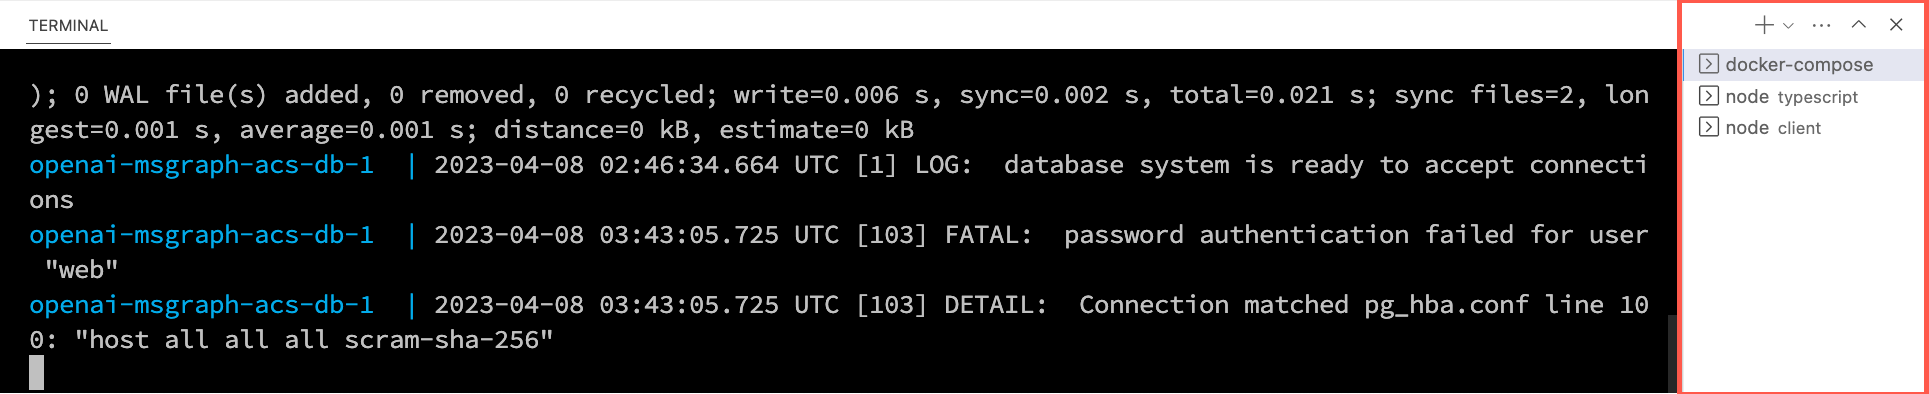
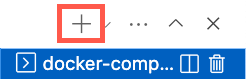
Once the database container starts, press the + icon in the Visual Studio Code Terminal toolbar to create a second terminal window.
cdinto the server/typescript folder and run the following commands to install the dependencies and start the API server.npm installnpm start
Press the + icon again in the Visual Studio Code Terminal toolbar to create a third terminal window.
cdinto the client folder and run the following commands to install the dependencies and start the web server.npm installnpm start
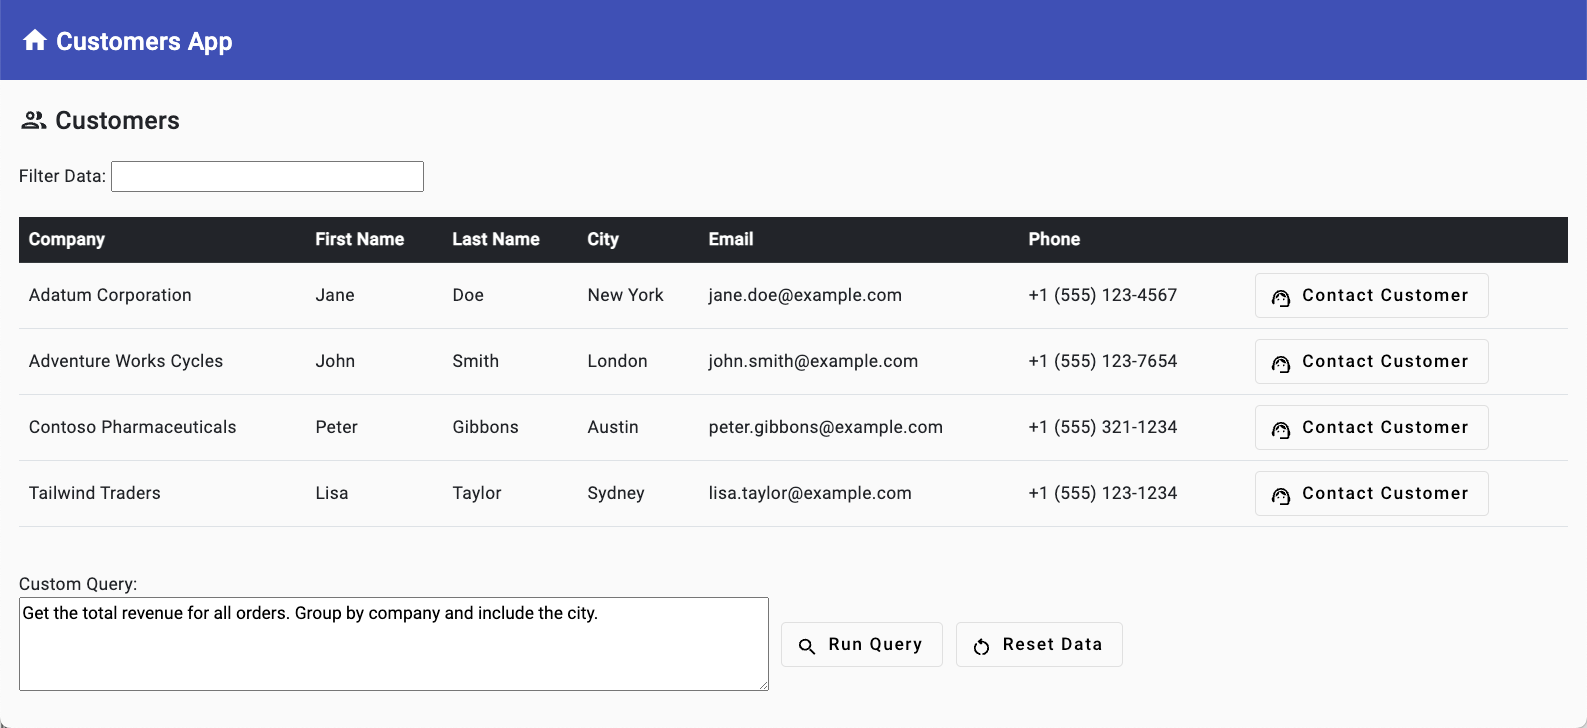
A browser will launch and you'll be taken to http://localhost:4200.