Note
Access to this page requires authorization. You can try signing in or changing directories.
Access to this page requires authorization. You can try changing directories.
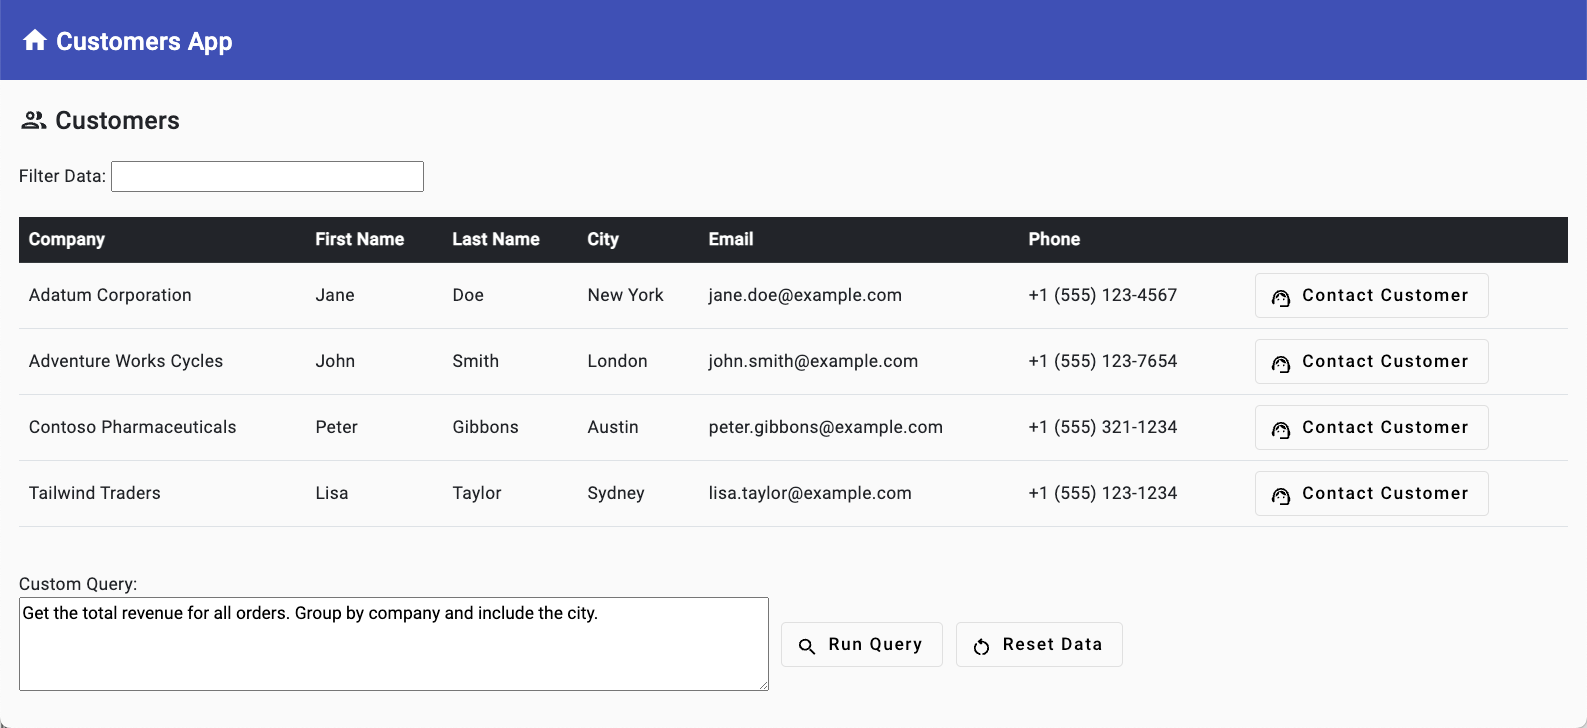
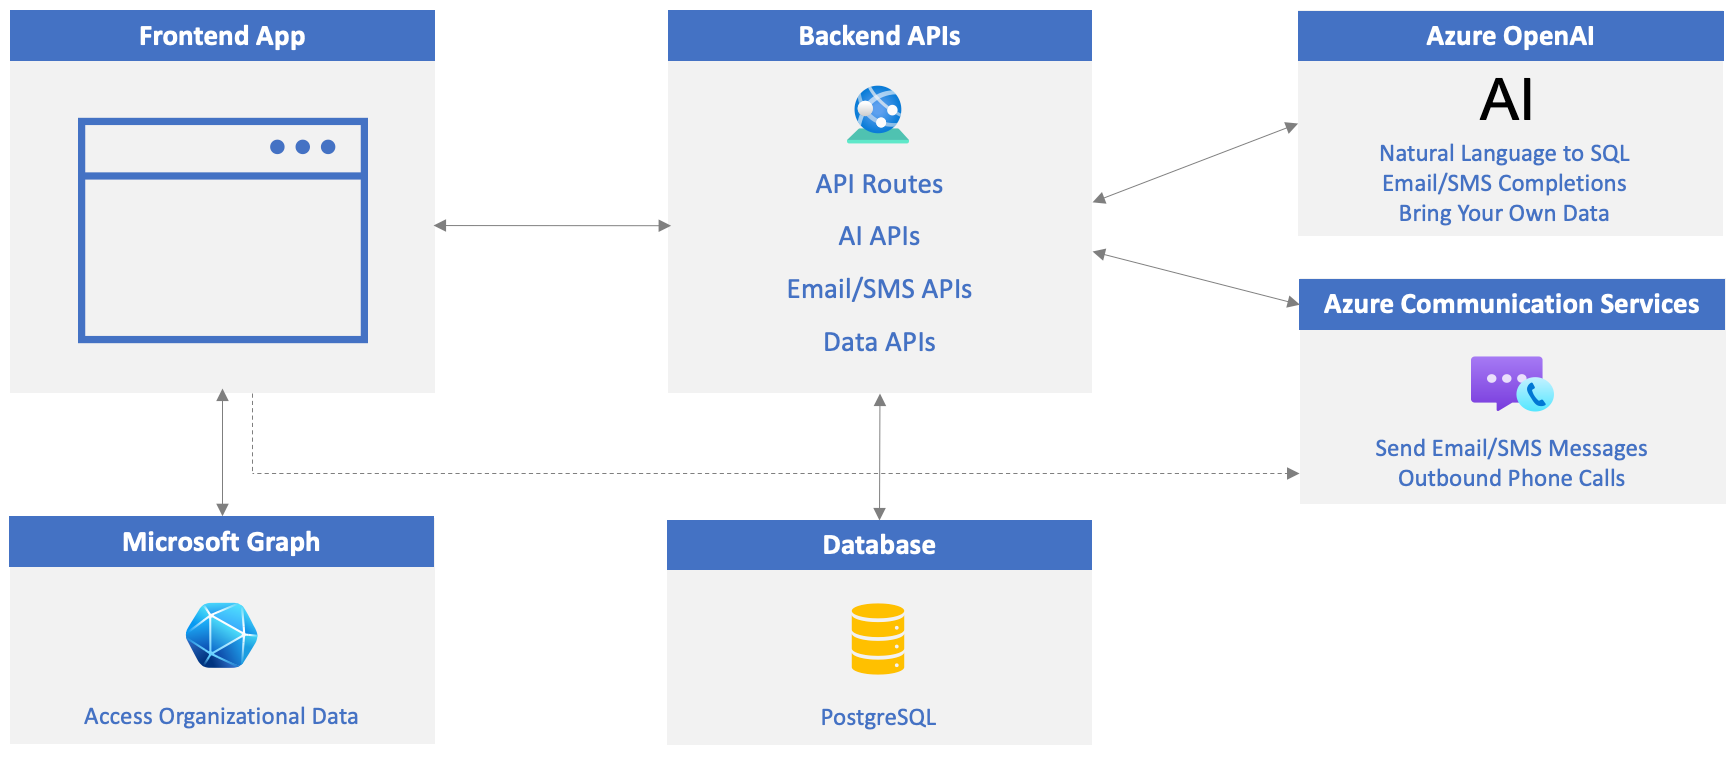
Effective communication is essential for successful custom business applications. By using Azure Communication Services (ACS), you can add features such as phone calls, live chat, audio/video calls, and email and SMS messaging to your applications. Earlier, you learned how Azure OpenAI can generate completions for email and SMS messages. Now, you'll learn how to send the messages. Together, ACS and OpenAI can enhance your applications by simplifying communication, improving interactions, and boosting business productivity.
In this exercise, you will:
- Create an Azure Communication Services (ACS) resource.
- Add a toll-free phone number with calling and SMS capabilities.
- Connect an email domain.
- Update the project's .env file with values from your ACS resource.
Create an Azure Communication Services Resource
Visit the Azure portal in your browser and sign in if you haven't already.
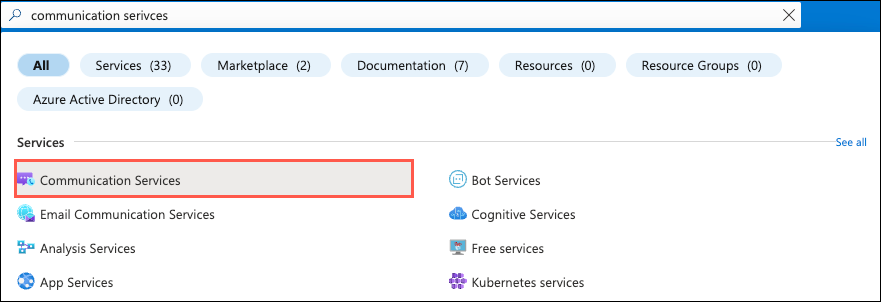
Type communication services in the search bar at the top of the page and select Communication Services from the options that appear.
Select Create in the toolbar.
Perform the following tasks:
- Select your Azure subscription.
- Select the resource group to use (create a new one if one doesn't exist).
- Enter an ACS resource name. It must be a unique value.
- Select a data location.
Select Review + Create followed by Create.
You've successfully created a new Azure Communication Services resource! Next, you'll enable phone calling and SMS capabilities. You'll also connect an email domain to the resource.
Enable Phone Calling and SMS Capabilities
Add a phone number and ensure that the phone number has calling capabilities enabled. You'll use this phone number to call out to a phone from the app.
Select Telephony and SMS --> Phone numbers from the Resource menu.
Select + Get in the toolbar (or select the Get a number button) and enter the following information:
- Country or region:
United States - Number type:
Toll-free
Note
A credit card is required on your Azure subscription to create the toll-free number. If you don't have a card on file, feel free to skip adding a phone number and jump to the next section of the exercise that connects an email domain. You can still use the app, but won't be able to call out to a phone number.
- Number: Select Add to cart for one of the phone numbers listed.
- Country or region:
Select Next, review the phone number details, and select Buy now.
Note
SMS verification for toll-free numbers is now mandatory in the United States and Canada. To enable SMS messaging, you must submit verification after the phone number purchase. While this tutorial won't go through that process, you can select Telephony and SMS --> Regulatory Documents from the resources menu and add the required validation documentation.
Once the phone number is created, select it to get to the Features panel. Ensure that the following values are set (they should be set by default):
- In the Calling section, select
Make calls. - In the SMS section, select
Send and receive SMS. - Select Save.
- In the Calling section, select
Copy the phone number value into a file for later use. The phone number should follow this general pattern:
+12345678900.
Connect an Email Domain
Perform the following tasks to create a connected email domain for your ACS resource so that you can send email. This will be used to send email from the app.
- Select Email --> Domains from the Resource menu.
- Select Connect domain from the toolbar.
- Select your Subscription and Resource group.
- Under the Email Service dropdown, select
Add an email service. - Give the email service a name such as
acs-demo-email-service. - Select Review + create followed by Create.
- Once the deployment completes, select
Go to resource, and select1-click addto add a free Azure subdomain. - After the subdomain is added (it'll take a few moments to be deployed), select it.
- Once you're on the AzureManagedDomain screen, select Email services --> MailFrom addresses from the Resource menu.
- Copy the MailFrom value to a file. You'll use it later as you update the .env file.
- Go back to your Azure Communication Services resource and select Email --> Domains from the resource menu.
- Select
Add domainand enter theMailFromvalue from the previous step (ensure you select the correct subscription, resource group, and email service). Select theConnectbutton.
Update the .env File
Now that your ACS phone number (with calling and SMS enabled) and email domain are ready, update the following keys/values in the .env file in your project:
ACS_CONNECTION_STRING=<ACS_CONNECTION_STRING> ACS_PHONE_NUMBER=<ACS_PHONE_NUMBER> ACS_EMAIL_ADDRESS=<ACS_EMAIL_ADDRESS> CUSTOMER_EMAIL_ADDRESS=<EMAIL_ADDRESS_TO_SEND_EMAIL_TO> CUSTOMER_PHONE_NUMBER=<UNITED_STATES_BASED_NUMBER_TO_SEND_SMS_TO>ACS_CONNECTION_STRING: Theconnection stringvalue from the Keys section of your ACS resource.ACS_PHONE_NUMBER: Assign your toll-free number to theACS_PHONE_NUMBERvalue.ACS_EMAIL_ADDRESS: Assign your email "MailTo" address value.CUSTOMER_EMAIL_ADDRESS: Assign an email address you'd like email to be sent to from the app (since the customer data in the app's database is only sample data). You can use a personal email address.CUSTOMER_PHONE_NUMBER: You'll need to provide a United States based phone number (as of today) due to additional verification that is required in other countries/regions for sending SMS messages. If you don't have a US-based number, you can leave it empty.
Start/Restart the Application and API Servers
Perform one of the following steps based on the exercises you completed up to this point:
If you started the database, API server, and web server in an earlier exercise, you need to stop the API server and web server and restart them to pick up the .env file changes. You can leave the database running.
Locate the terminal windows running the API server and web server and press CTRL + C to stop them. Start them again by typing
npm startin each terminal window and pressing Enter. Continue to the next exercise.If you haven't started the database, API server, and web server yet, complete the following steps:
In the following steps you'll create three terminal windows in Visual Studio Code.
Right-click on the .env file in the Visual Studio Code file list and select Open in Integrated Terminal. Ensure that your terminal is at the root of the project - openai-acs-msgraph - before continuing.
Choose from one of the following options to start the PostgreSQL database:
If you have Docker Desktop installed and running, run
docker-compose upin the terminal window and press Enter.If you have Podman with podman-compose installed and running, run
podman-compose upin the terminal window and press Enter.To run the PostgreSQL container directly using either Docker Desktop, Podman, nerdctl, or another container runtime you have installed, run the following command in the terminal window:
Mac, Linux, or Windows Subsystem for Linux (WSL):
[docker | podman | nerdctl] run --name postgresDb -e POSTGRES_USER=web -e POSTGRES_PASSWORD=web-password -e POSTGRES_DB=CustomersDB -v $(pwd)/data:/var/lib/postgresql/data -p 5432:5432 postgresWindows with PowerShell:
[docker | podman] run --name postgresDb -e POSTGRES_USER=web -e POSTGRES_PASSWORD=web-password -e POSTGRES_DB=CustomersDB -v ${PWD}/data:/var/lib/postgresql/data -p 5432:5432 postgres
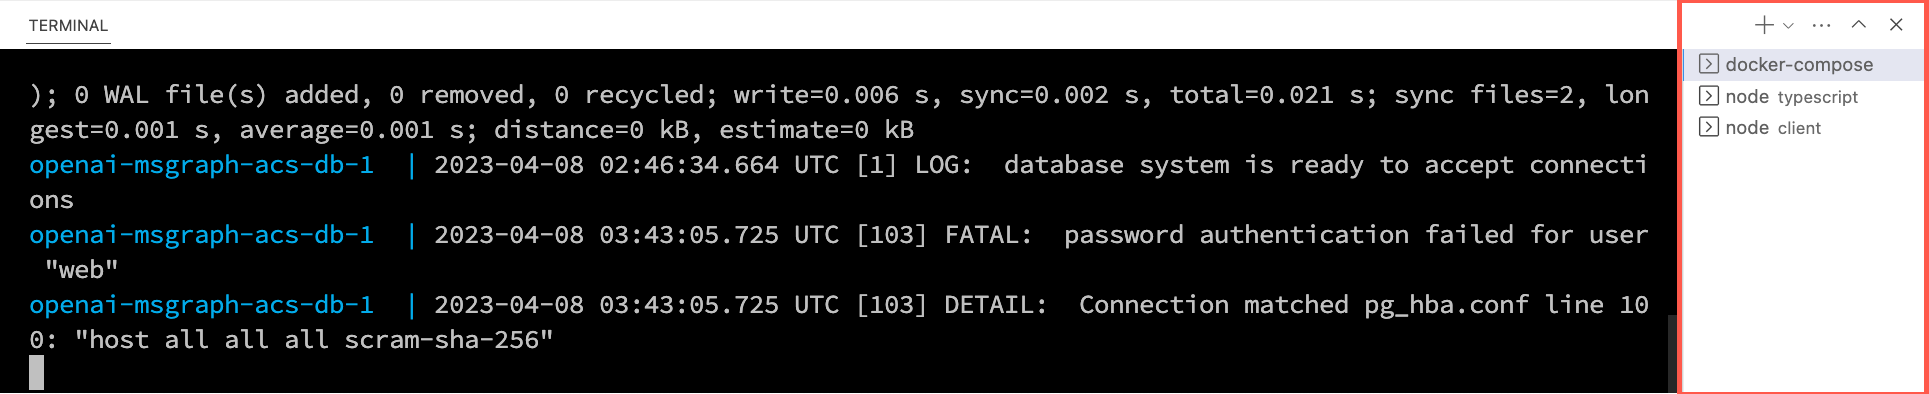
Once the database container starts, press the + icon in the Visual Studio Code Terminal toolbar to create a second terminal window.
cdinto the server/typescript folder and run the following commands to install the dependencies and start the API server.npm installnpm start
Press the + icon again in the Visual Studio Code Terminal toolbar to create a third terminal window.
cdinto the client folder and run the following commands to install the dependencies and start the web server.npm installnpm start
A browser will launch and you'll be taken to http://localhost:4200.