Note
Access to this page requires authorization. You can try signing in or changing directories.
Access to this page requires authorization. You can try changing directories.
[This article is prerelease documentation and is subject to change.]
Your customer service representatives (service representatives or representatives) rely on data and information from a wide variety of systems. With plugins, you can interact directly with your non-Microsoft CRM data. This direct interaction helps reduce the need for service representatives to switch to other tabs and tools to do their work, and improves resolution time and customer satisfaction.
Prerequisites
- In Copilot Studio, if you want to use a prompt plugin in your embedded AI agent, create a prompt plugin.
- In Copilot Studio, if you want to use a connector plugin in your embedded AI agent, create a custom connector plugin.
Configure plugins
To use the prompt plugin or connector plugin in your embedded AI agent after you create the plugin in Copilot Studio, you must enable the plugin in the admin center. The following sections describe how to enable and configure plugins.
- In Copilot Service admin center, select Productivity.
- On the Productivity page, select Manage for Plugins for generative AI (Preview). The Plugins for generative AI (Preview) page appears with all the plugin prompts generated for the environment.
- Select the prompt plugin that you want to enable, and then select Turn on on the command bar.
- On Select access type, select one of the following types:
- All agents who have Copilot: Agents who have Copilot enabled for them through their agent experience profiles.
- Specific user roles: Select the roles in the list.
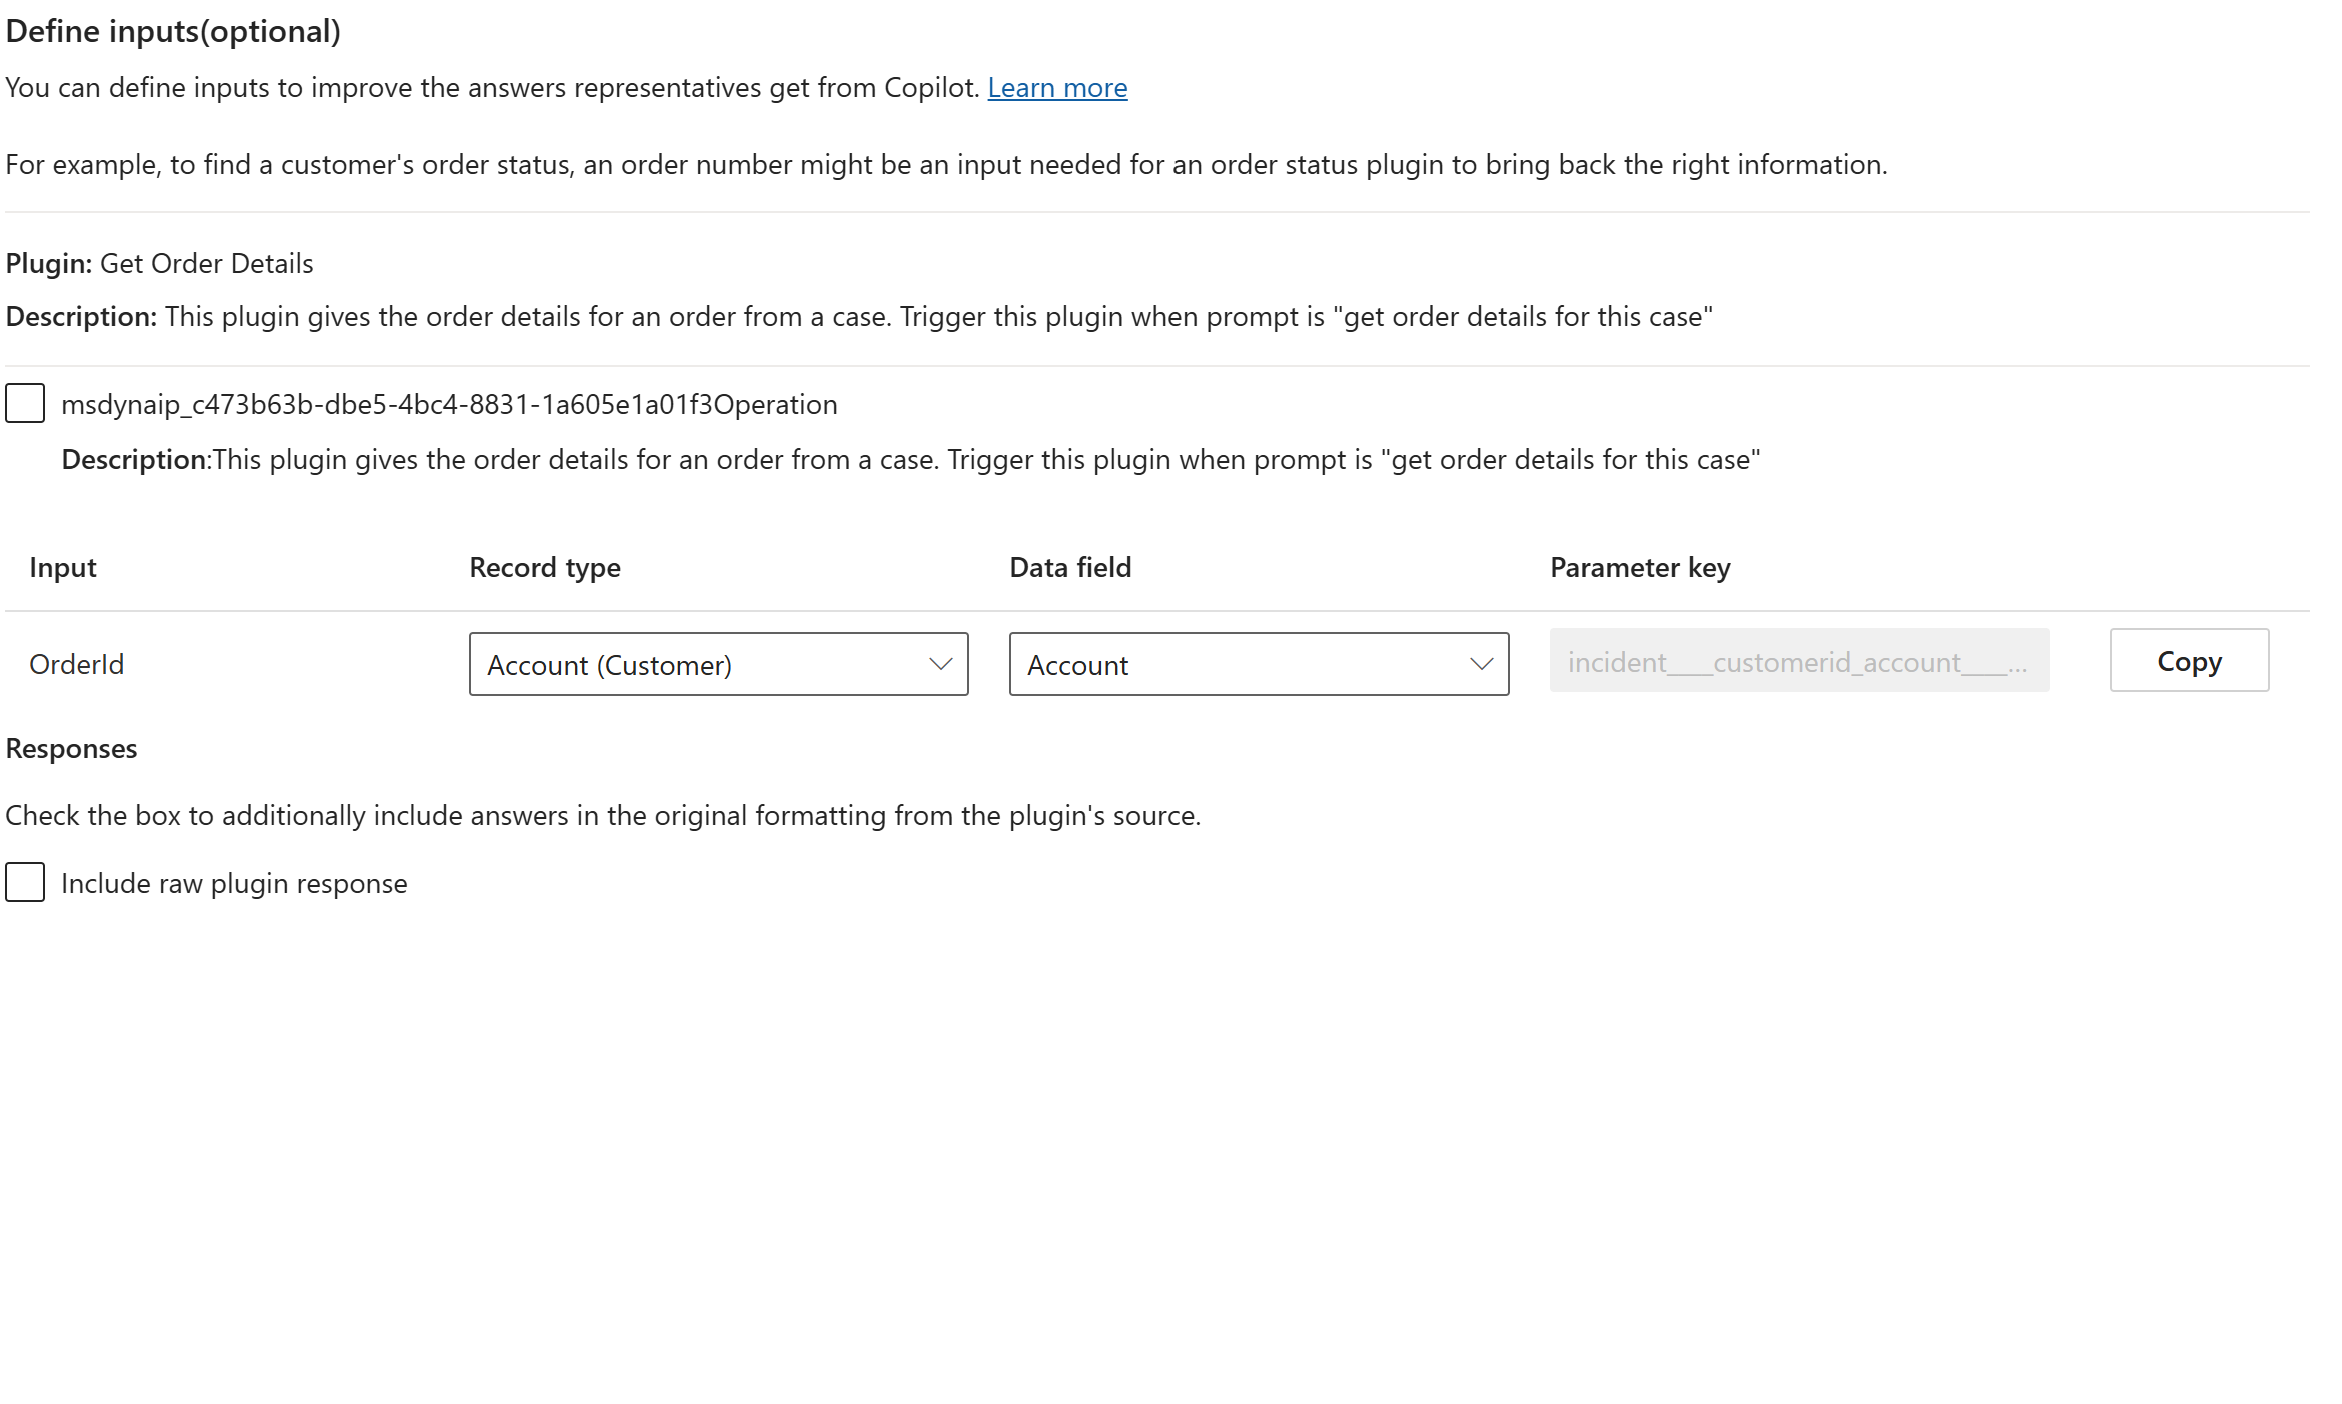
- The Define inputs(optional) screen appears. This step is optional, and lets you provide context that Copilot can automatically use to generate answers. If you don't add an input, service representatives have to manually specify the context when they run the plugin. To configure inputs and learn more about how this feature works, perform the steps in the Define inputs section.
- Select Next, and then on the Plugin data screen, select Store this plugin's data. The data is stored in your Dataverse database as part of your service representative interactions with Copilot as chat transcripts. Learn more in Copilot transcripts and interaction data.
- Select Turn on plugin.
- Select Publish changes on the alert message at the top of the page, and then select Confirm on the confirmation dialog that appears. It can take up to 15 minutes for the changes to publish.
Define inputs for prompts
When you add inputs on the Define inputs (optional) screen, you enable your prompt to become context-aware by automatically incorporating relevant data. This input allows Copilot to directly access the specified fields without requiring customer service representatives to manually enter information that already exists in the system.
If you don't configure inputs, prompts remain static and lack the ability to access context. The plugin then prompts the service representatives for additional information they must enter manually.
For example, you have a prompt that retrieves a customer's order details based on the customer's name and case ID. You can add the customer name and case id fields as an input in Define inputs (optional).
When a service representative opens a case and triggers the prompt, Copilot automatically picks up the customer name and case ID from the case record and uses them as inputs to the prompt.
For embedded AI agents, you need to generate a Parameter key. The Parameter key is a unique identifier that's used in a JavaScript file to retrieve the required context from the non-Microsoft CRM.
Set up the parameter key
To set up the parameters on the Define Inputs page, perform the following steps:
Specify the Record type and Data field. You need to specify this information to generate the Parameter key.
Select Copy to copy the value in Parameter key. The Parameter key value is a variable the system uses in a JavaScript to store the value the system passes to the plugin as an input.
Select Save.
Select Next to go to Save plugin data in Dynamics 365, and then complete the steps to finish the plugin configuration.
Use the Parameter Key in you copied in step 2 in the JavaScript file. Learn more in Pass the parameter key as input to the plugin.
Configure the JavaScript file URL in non-Microsoft CRMs to complete the setup.
Pass the parameter key as input to the plugin
Create a JavaScript file that uses the Parameter Key variable you copied in step 2 of Set up the parameter key and subscribes to the Microsoft.CCaaS.EmbedSDK.Copilot.onGetPluginData function within the Microsoft CCaaS Embed SDK. The following actions are applicable:
- The function listens for a request to get plugin data.
- It retrieves the required data from the system and assigns the value to the Parameter key variable. This Parameter key variable is the value copied in step 2 of Set up the parameter key section.
- It returns the value of the Parameter key variable to the plugin. The plugin uses this value as input to the prompt.
For example, you generated two Parameter Keys, incident____customerid_account____accountid and customerid_account____accountid in the Define Input(optional) page. Here's the sample code of the function that returns a value of 1 for incident____customerid_account____accountid and 2 for customerid_account____accountid that are then passed as inputs to the plugin.
Microsoft.CCaaS.EmbedSDK.Copilot.onGetPluginData((request) => {
  return new Promise((resolve, reject) => {
    // 7 get plugin data
    const { objectData } = request;
    const pluginContext = objectData || {};
    const { entityId, entityName, parameters, parameterValues } = pluginContext;
    let responseData = null;
  console.log("External adapter plugin invoked...");

    if (entityName === "incident" && // sample entity name (case == incident)
      parameters.length > 0) {
      // copy parameter values
      const values = parameterValues;
      // override parameter values for 1P or 3P scenario
      parameters.forEach((param) => {
        if (param === "incident____customerid_account____accountid") {
          values[param] = "1";
        }

    if (param === "customerid_account____accountid") {
          values[param] = "2";
        }
      });
      // return the updated parameter values
      responseData = {
        entityId,
        entityName,
        parameters,
        parameterValues: values,
      };
    }
    const dataResponse = {
      objectId: request.objectId,
      objectType: request.objectType,
      data: responseData,
    };
  console.log("External adapter sending data from plugin:",responseData);
    resolve(dataResponse);
  });
});
Note
Make sure you host this file on a web server and make it publicly accessible to avoid authentication issues.
Configure the URL in non-Microsoft CRMs
You can append the URL of your JavaScript file to the Copilot embeddable widget URL that you use to embed the Copilot widget in your non-Microsoft CRM by adding "&copilotExtensionUrl=<URL to customer hosted .js file>" to the existing embed URL.
For example, if the URL for your JavaScript file is https://embedcopilotnonprod.blob.core.windows.net/embedcopilotnonprodcontainer/demopromptplugin.js, then the URL you need to add in your non-Microsoft CRMs is as follows:
https://copilotforservice-prod.azureedge.net/widget/index.html?dynamicsUrl=https://X<your_org_URL>&copilotExtensionUrl=https://embedcopilotnonprod.blob.core.windows.net/embedcopilotnonprodcontainer/demopromptplugin.js
Manage plugins
Use the options on the command menu to manage the plugins. The edit button lets you update the plugin settings and publish the changes. You can't change any settings while the publish is in process.
Considerations
- You can add one plugin action only.
- If you update the plugin, we recommend that you save and republish the plugin in Copilot Studio. You can then select Refresh on the Plugins for generative AI (Preview) in Copilot Service admin center to see the changes.